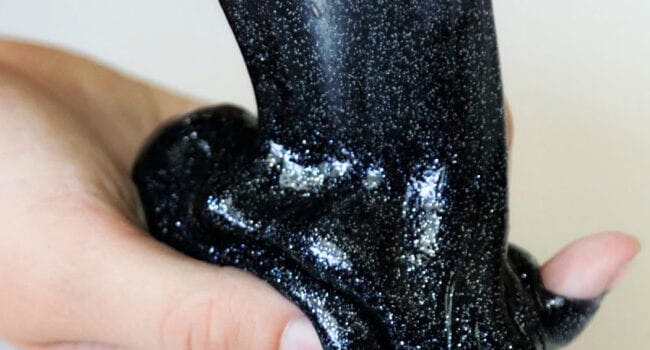
Use this easy recipe to make your own black glitter slime. It’s great for Hallowe’en or just for sensory play. The glitter gives it a unique look.
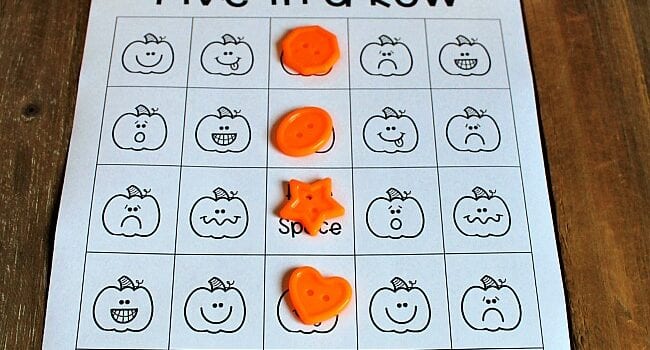
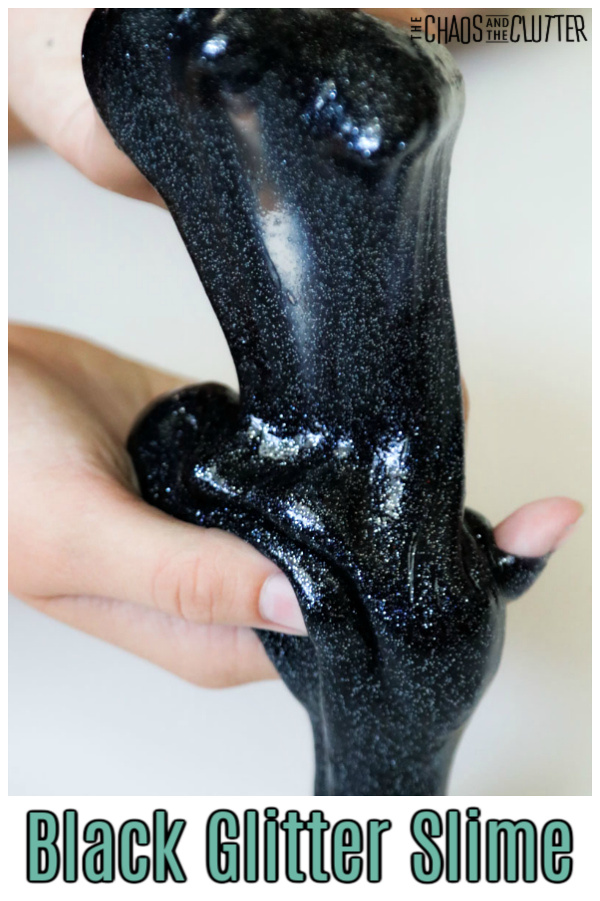 If you’re looking for a fun Hallowe’en activity that uses slime, check out our Hallowe’en Sensory Game for kids. It’s easy to put together and great for the classroom or for parties.
Black Glitter Slime Recipe:
Supplies needed:
- 1 (6 oz.) bottle black glitter glue
- ¼ cup warm water
- ½ tsp. baking soda
- 1½ Tbsp. contact lens solution that contains boric acid
- 1 Tbsp glitter (if you want a more glittery slime)
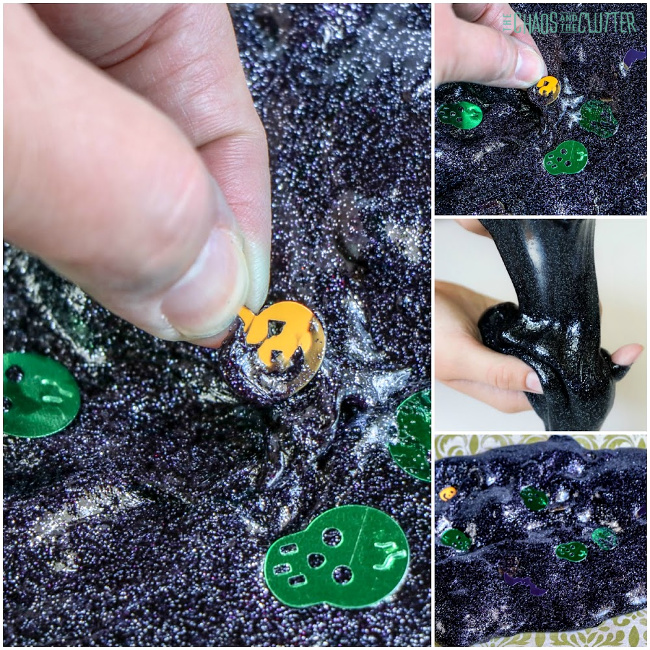
- optional: pumpkin confetti
Directions:
- Empty the black glitter glue into a medium sized bowl.
- Add 1/4 cup warm water to the empty glue bottle and seal with the lid. Shake well to combine the remaining glue with the water.
- Pour into the bowl with the glue and stir to combine.
- Add the baking soda to the glue and stir to mix thoroughly.
- If you are adding extra glitter or confetti, stir them into the glue mixture at this point.
- Add contact lens solution to the glue mixture and stir well.
- Remove the slime from the bowl allowing any excess liquid to remain in the bowl. The slime will be sticky. Begin to play with the slime, kneading it as if it were bread dough, to bring the slime together. The slime is ready when it is no longer sticky.
Note: Glitter glue requires more contact lens solution than making slime with regular clear or white glue. Add the contact lens solution slowly, mixing between additions, and add only enough to bring the glue together into a soft ball.
Slime should be stored in an airtight container or resealable bag when not being played with. 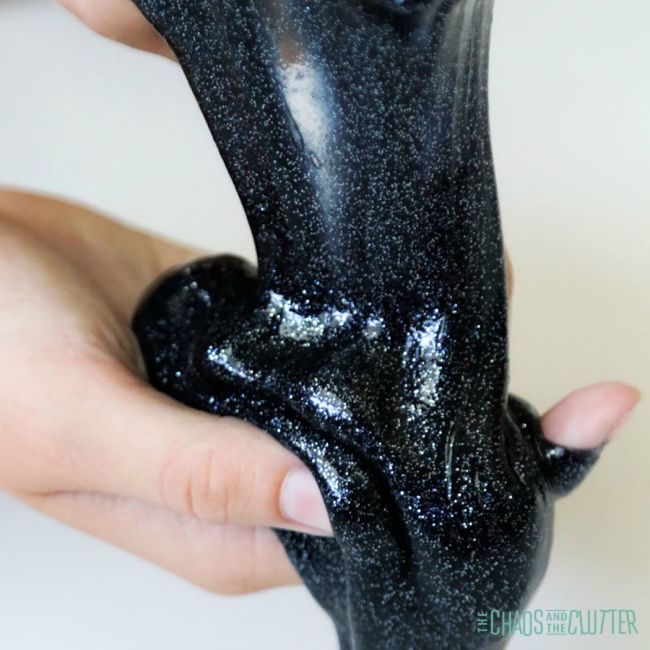
Possible Variations of Glitter Slime:
- To make this black slime more appropriate for Hallowe’en, you can add different types of Hallowe’en confetti.
- You can change the look of this slime by adding different colours of glitter.
- Try adding tiny Hallowe’en themed erasers.
Are you looking for more easy sensory play recipes to try? Join us for a five day email series on Sensory Activities and Solutions and get a free sample of our Sensory Play Recipes eBook.
You might also be interested in checking out these other easy slime recipes:
Camo Fluffy Slime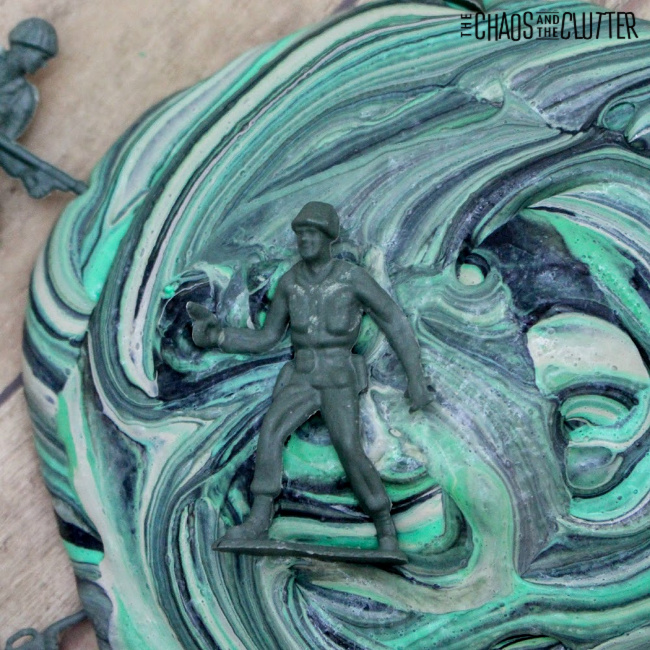 Googly Eyed Monster Slime
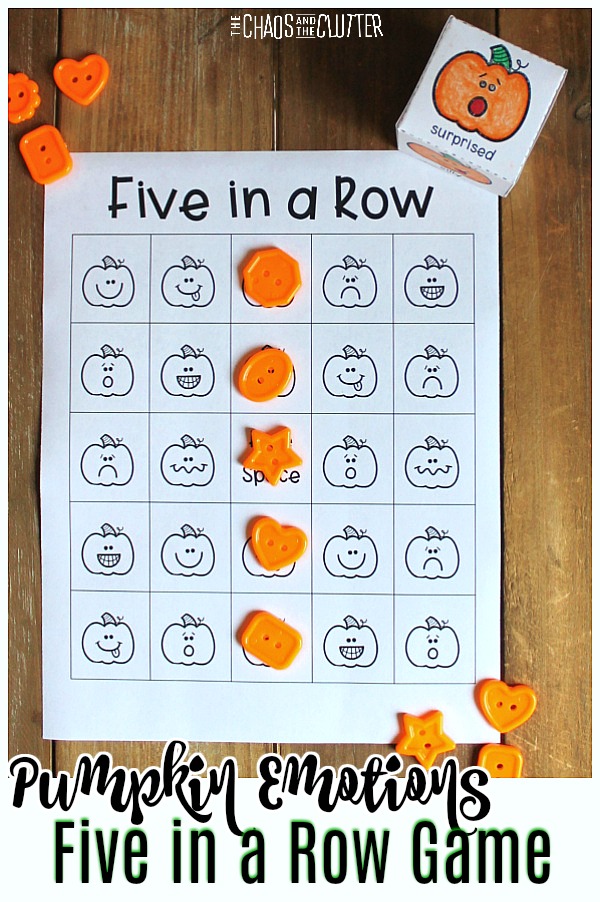
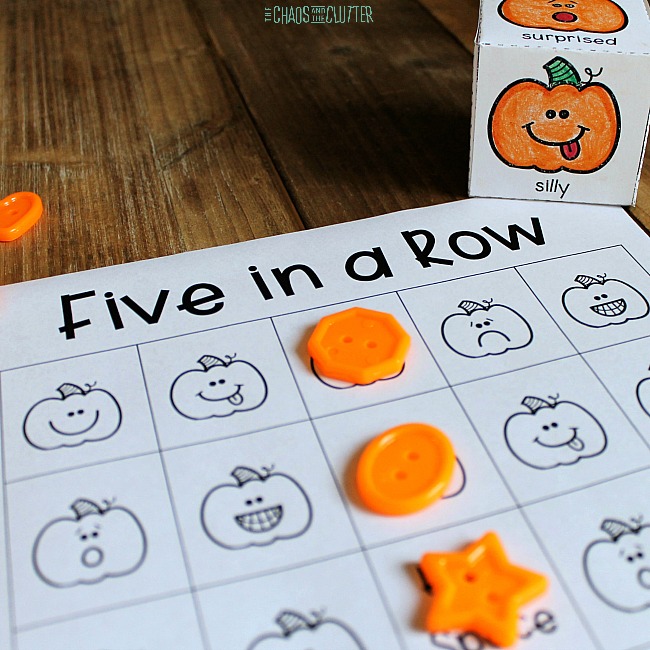 Supplies needed:
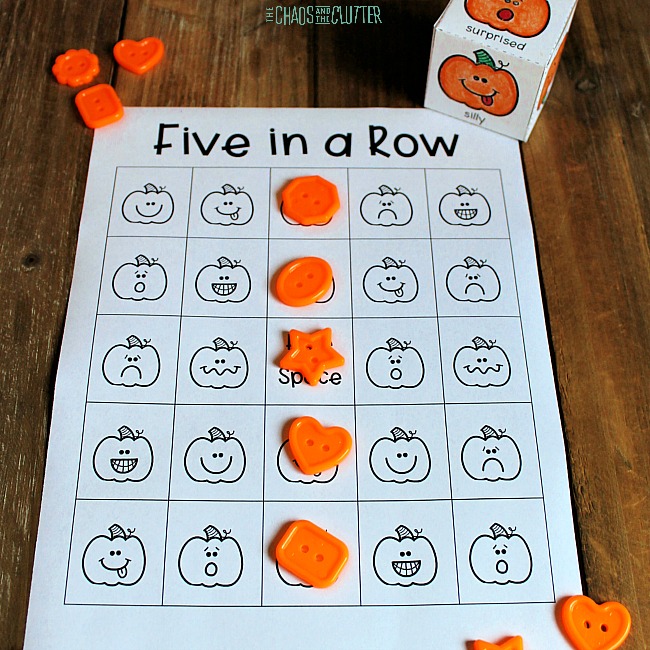 Game Play:
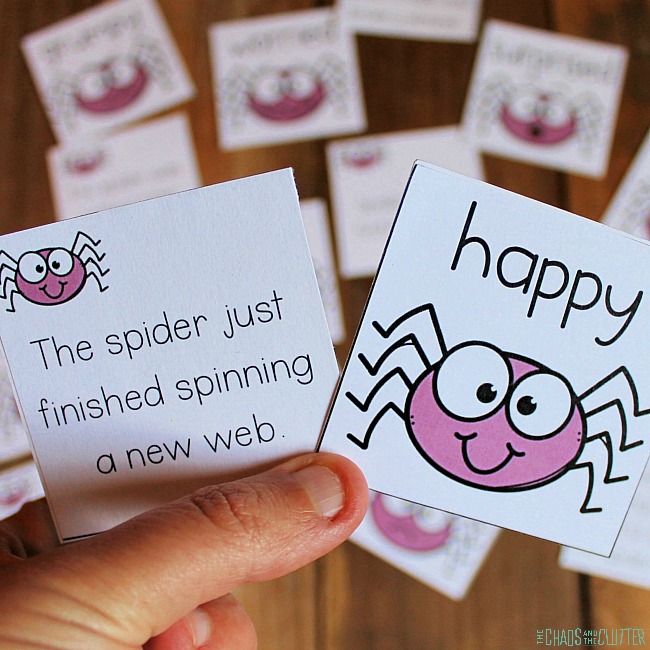
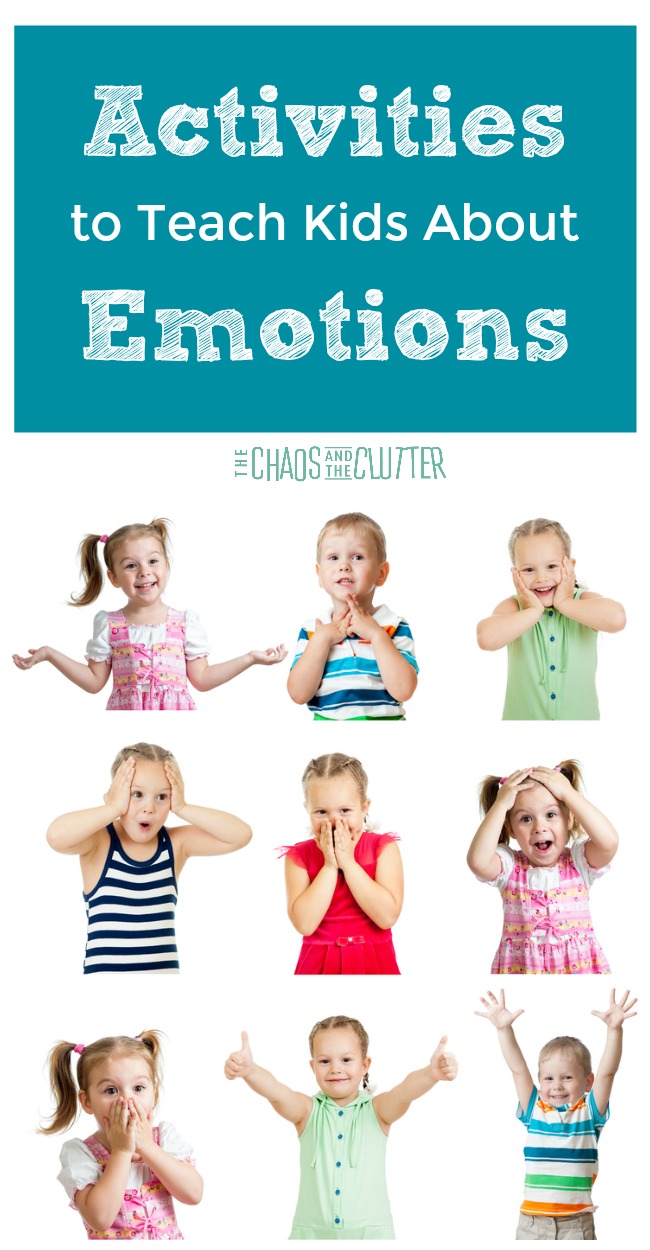
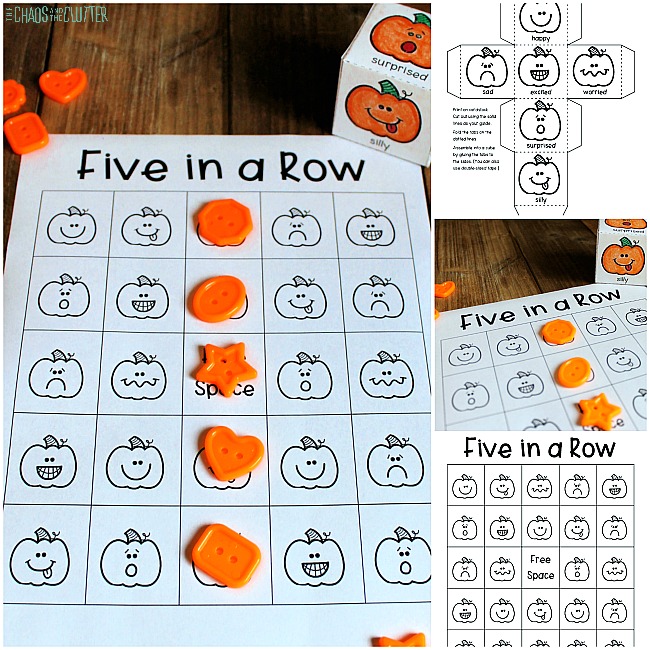 Some children may find it more challenging than others to think of scenarios when they have felt a particular emotion. It’s okay for you to step in and give them verbal prompts to help them or to share one of your own examples.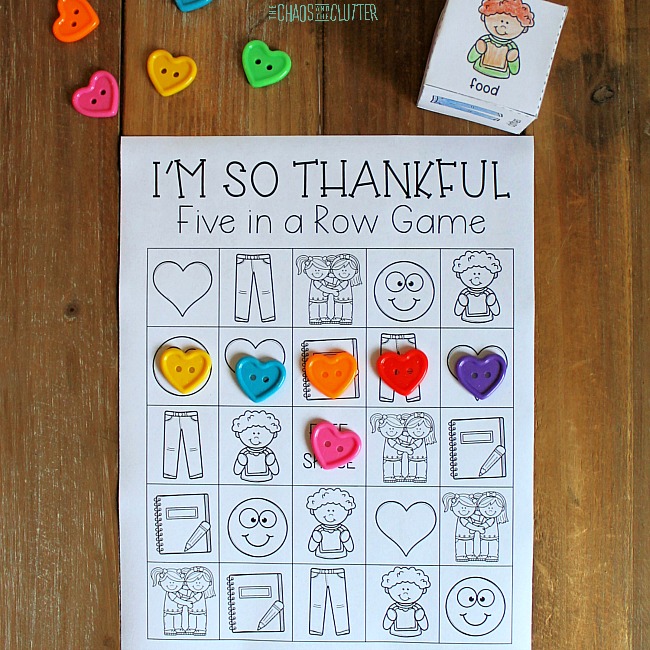
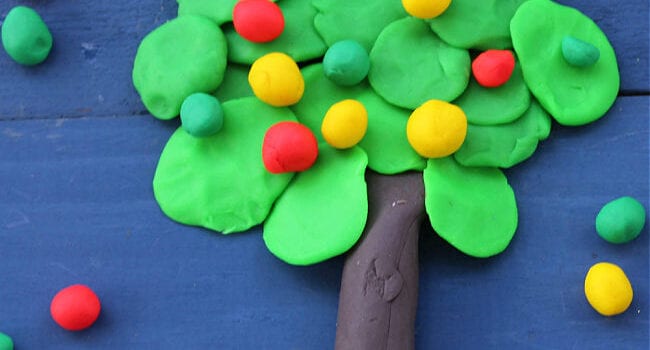
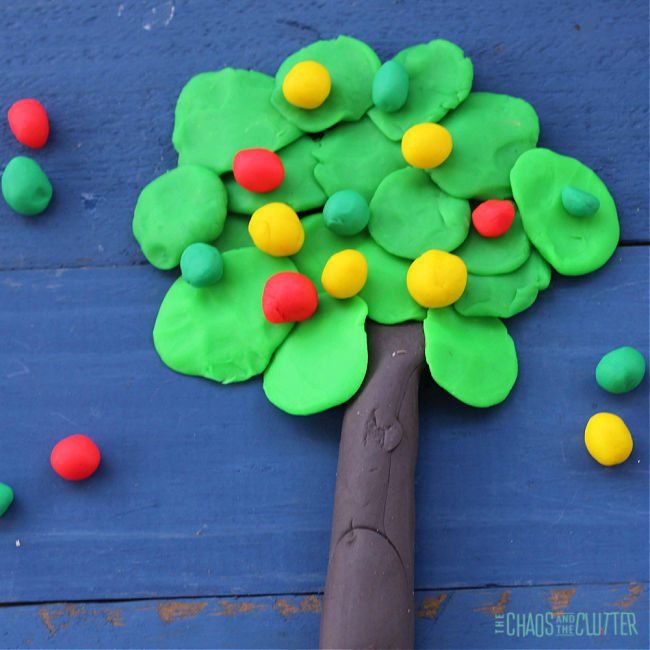
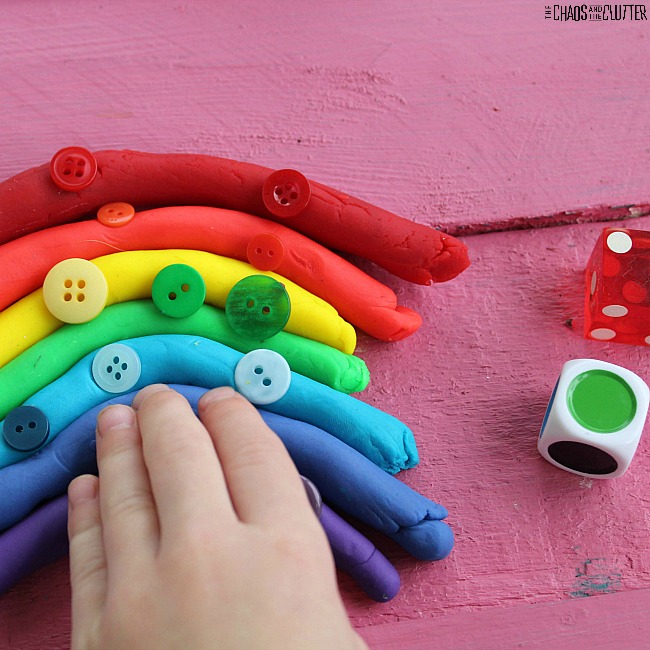
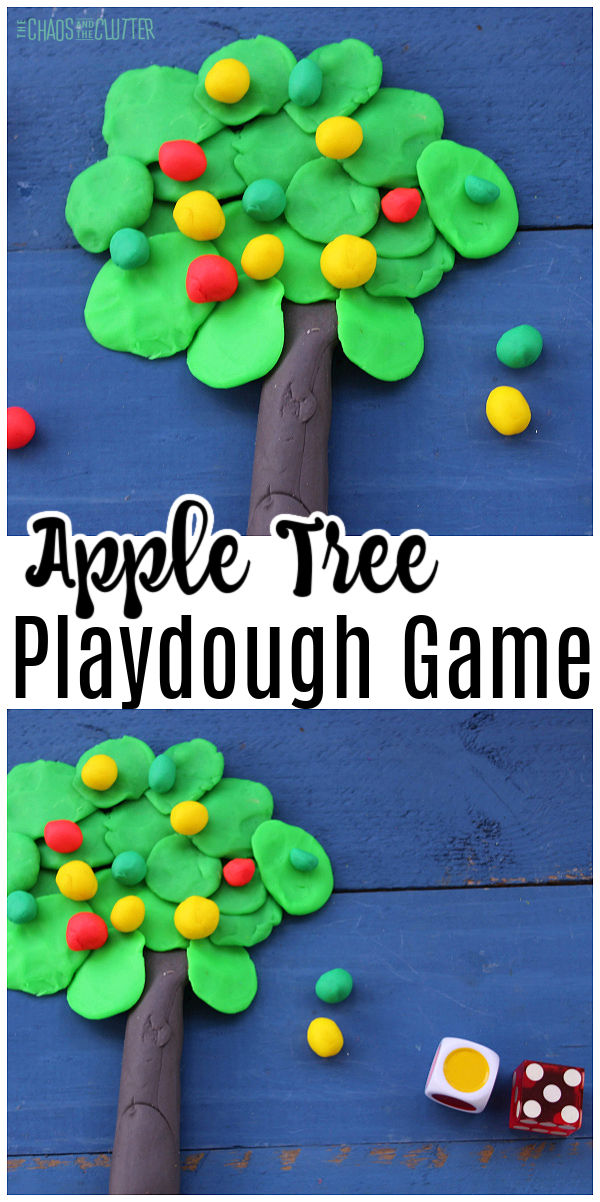 This easy activity is suitable for preschoolers who are just learning these concepts or even for children in Kindergarten or early elementary to help reenforce colour and counting concepts.
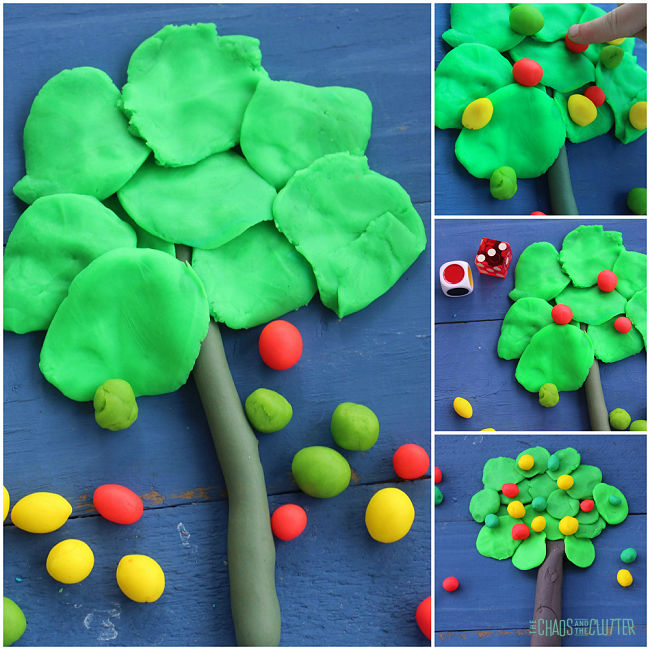 Directions: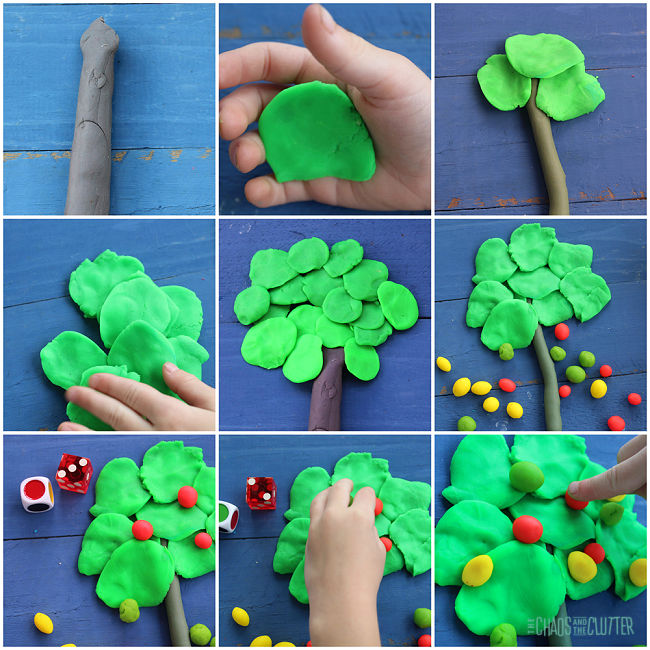


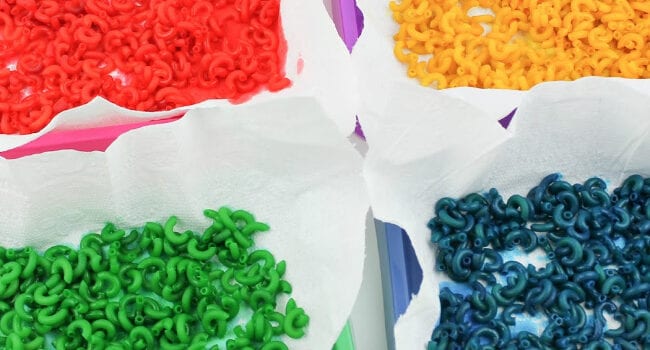
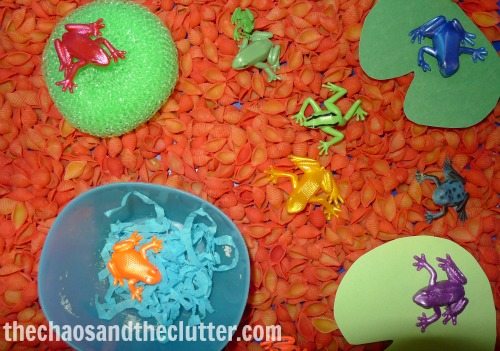
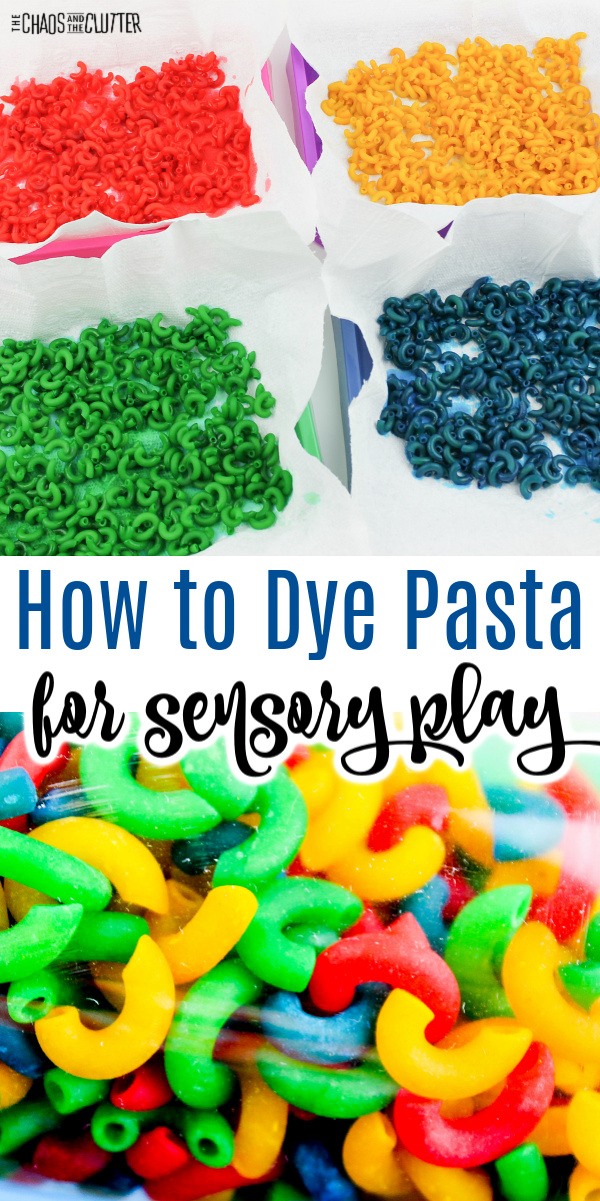 In our house, we do a lot of sensory play. I keep a variety of materials on hand for this including dyed noodles and dyed rice. Read our instructions on
 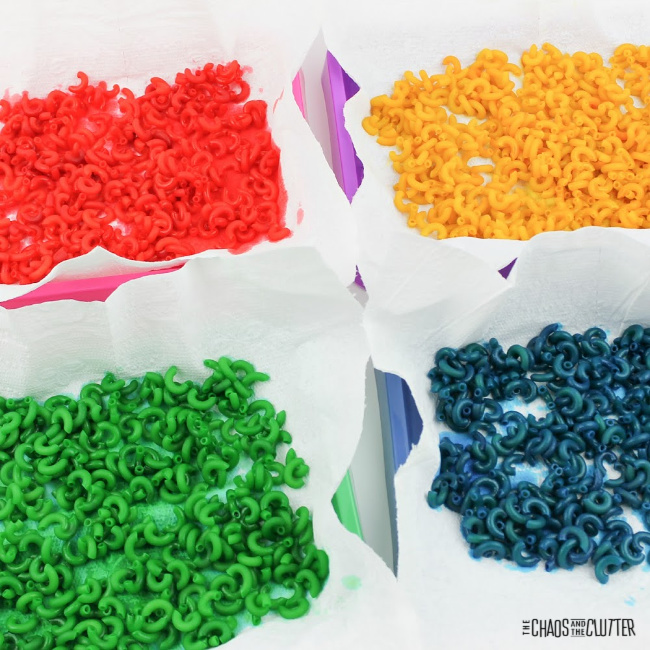 Directions:
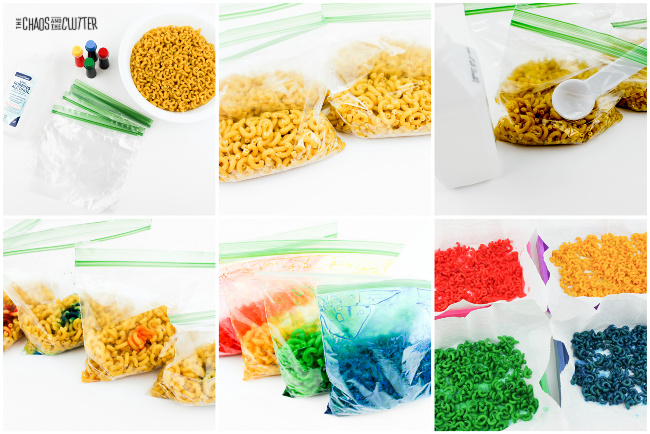 You can now use your brightly coloured noodles for art activities, preschool crafts, stringing onto yarn to make a necklace, or all kinds of sensory play. Dyed noodles make a great
 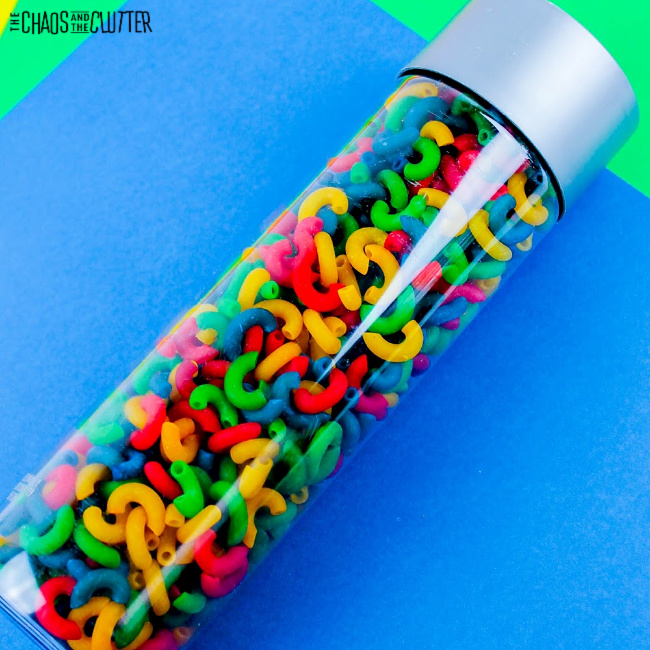 This method can be used to dye pasta of any shape. For larger noodles, you may find that you need slightly more food colouring. I find that you get the best colour results from using small pastas such as orzo, mini shells, Alphabet noodles, and macaroni.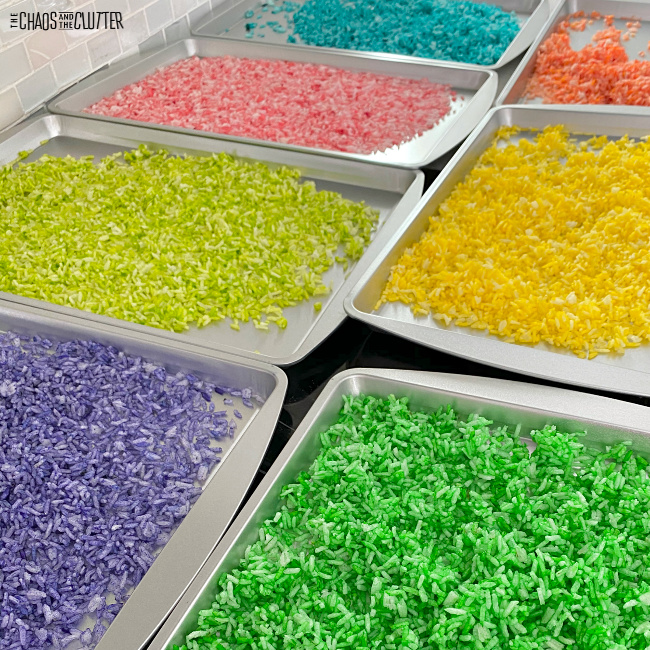


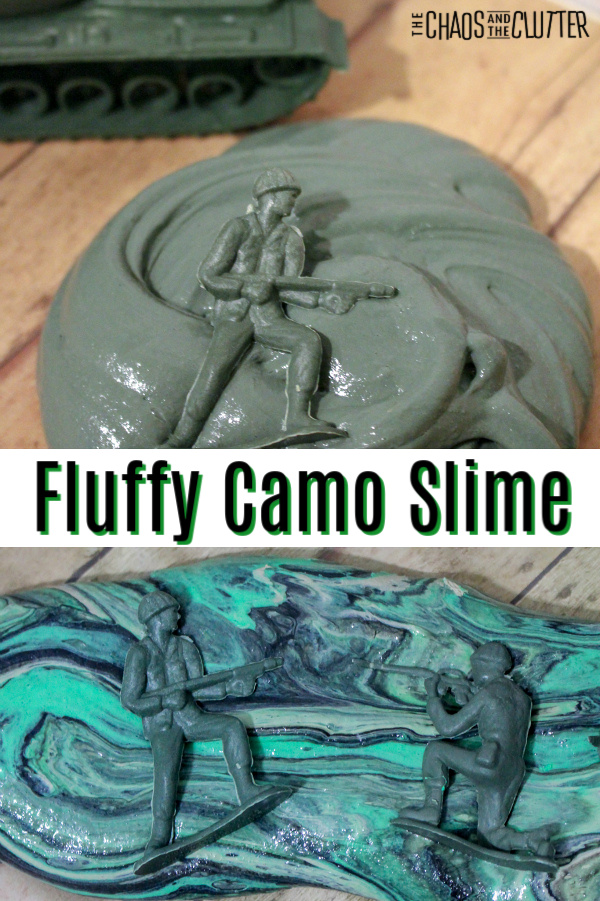 There are so many fun play options with this camo fluffy slime recipe. It also makes a great party favour for birthday parties too. When my middle son was younger, he had an army theme birthday party and I wish I’d had this recipe back then.
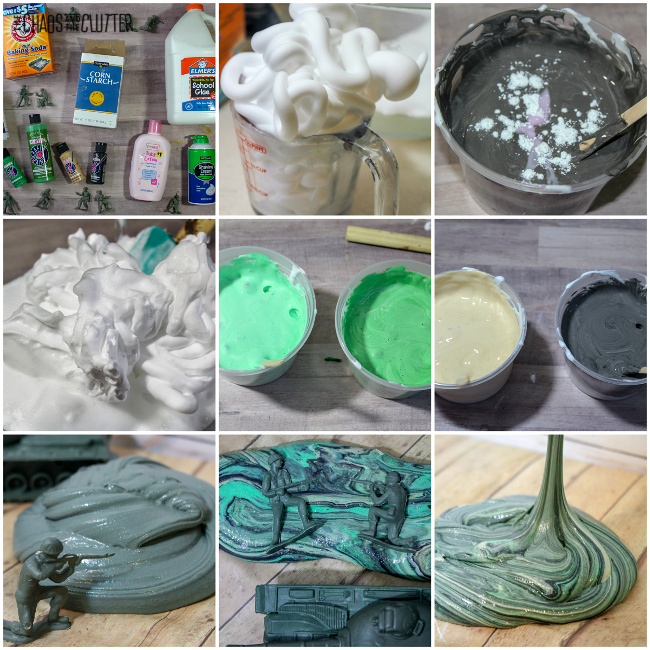 At first, the slime will have that marbled camouflage look but of course, eventually with play, the colours will combine. When this happens, your slime should turn an army green which is also a lot of fun.
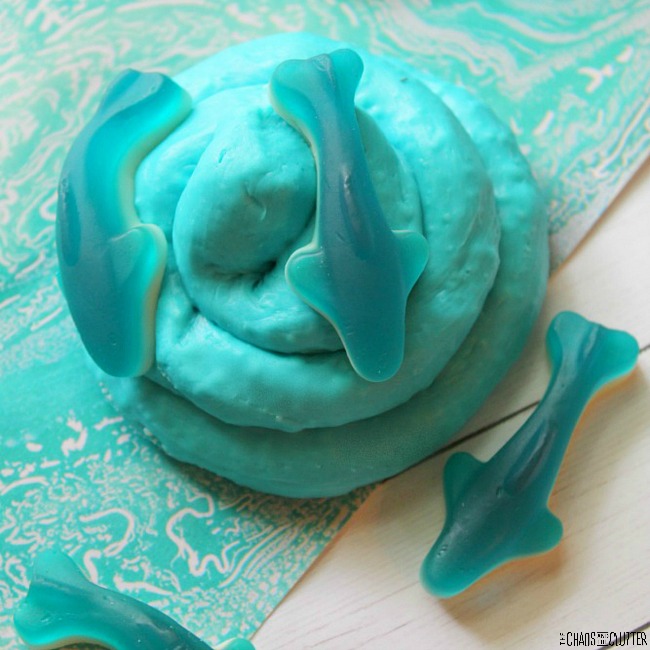
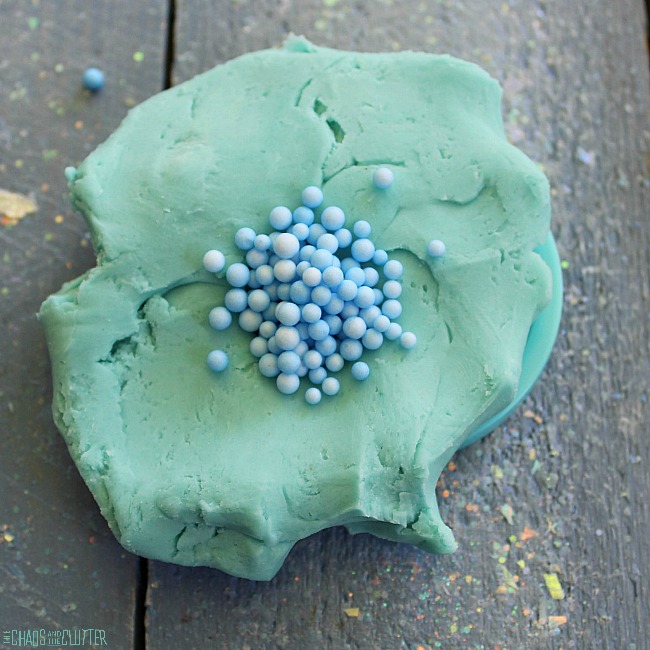

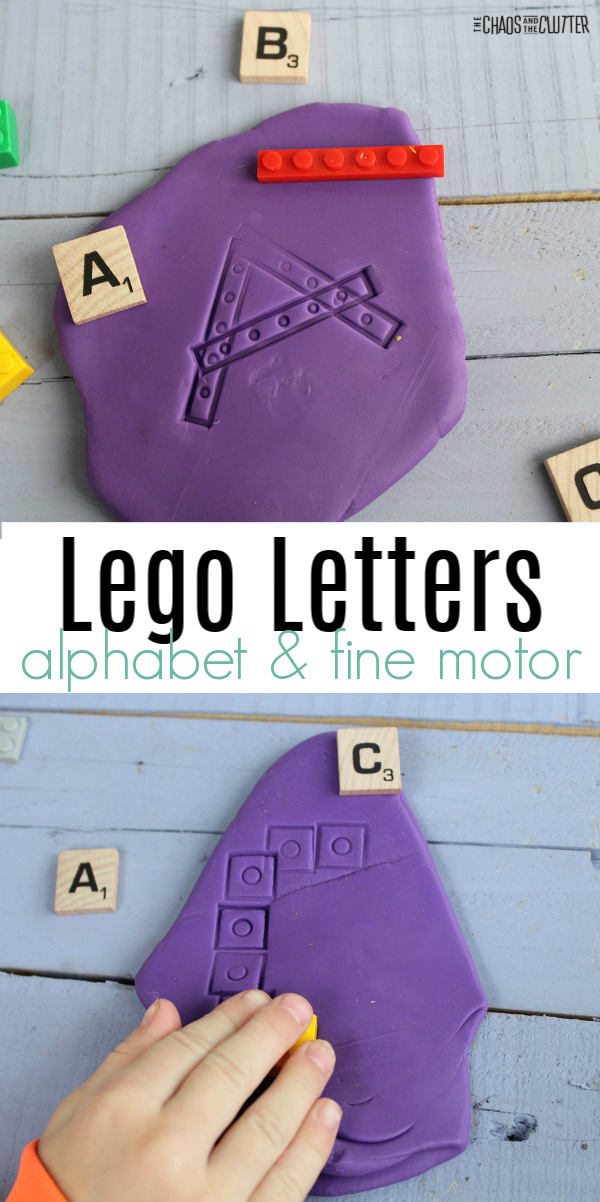
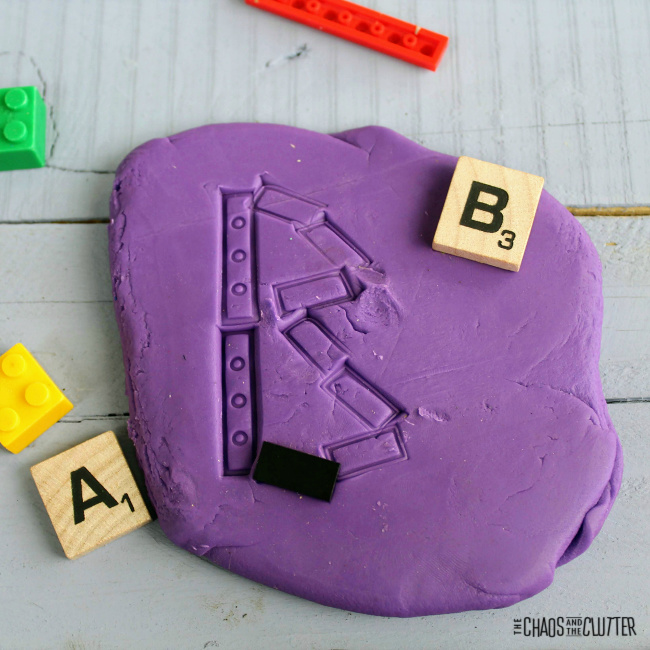 Directions:
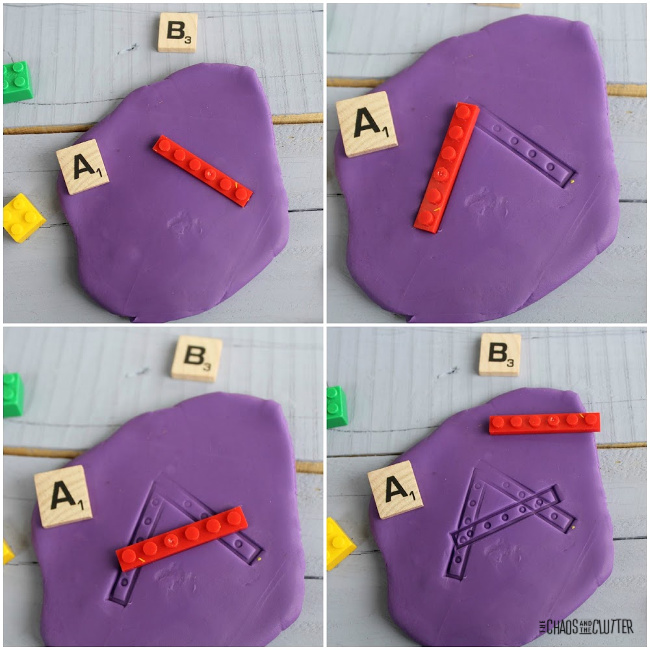 It can be helpful to start this activity with letters your child is most familiar with such as the letter their first name starts with.
 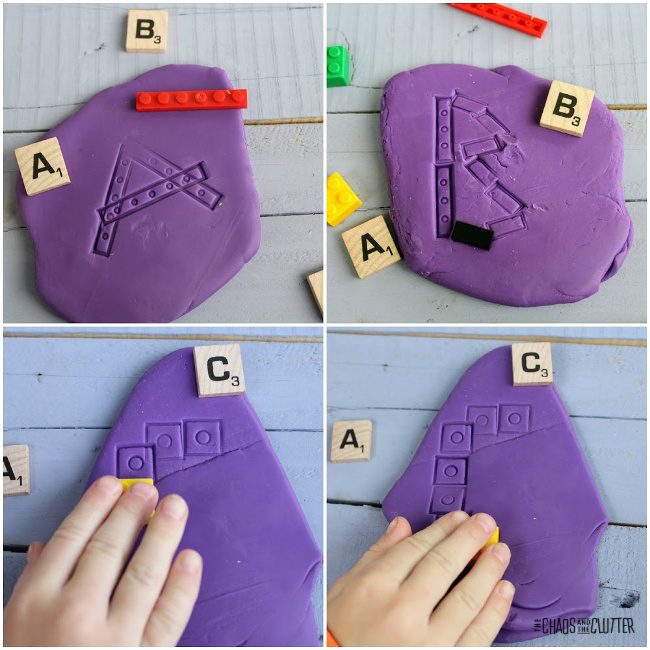 Be sure to allow your child to come up with their own way to stamp the letter in the playdough. As long as they get the basic shape of the letter, there is no “right” or “wrong” way to create it. It can be tempting to step in and show them and you may need to show them how to do one as an example, but once they get the idea, step back and allow them to create.