• Skip to primary navigation
  • Skip to main content
  • Skip to primary sidebar
  • Home
  • About
  • Contact
  • Privacy + Terms
  • Affiliates

The Chaos and the Clutter

  • Facebook
  • Twitter
  • Pinterest
  • Google Plus
  • RSS
  • Email
  • School at Home
  • Sensory
    • Sensory Processing Disorder
    • Awesome Sensory Play Activities
      • Sensory Bins
      • Sensory Bottles
      • Sensory Bags
  • Family Games
    • Minute to Win It Games
  • Special Needs Parenting
    • Childhood Anxiety
    • Reactive Attachment Disorder
    • Sensory Processing Disorder
  • Store
  • Course Login

Sensory

Timon Inspired Lion King Slime

By Sharla Kostelyk

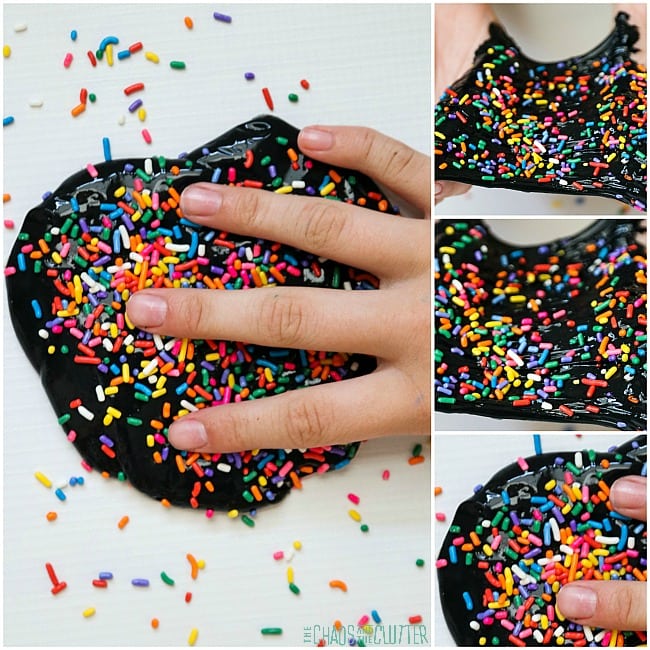
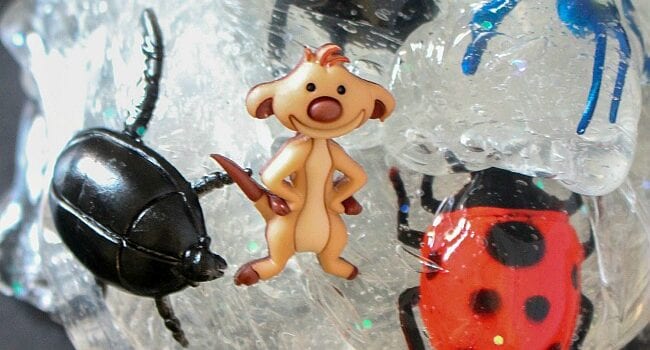
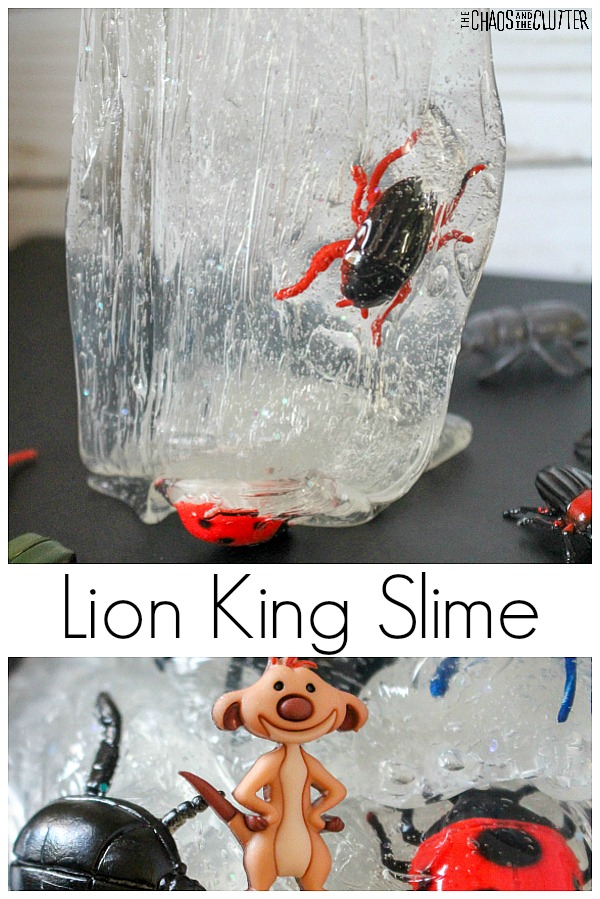
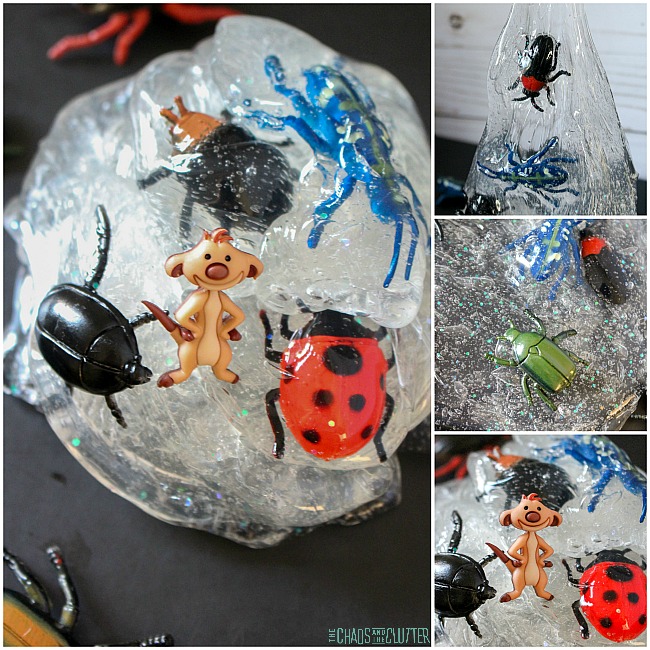
Timon is a meerkat from the Lion King movie. Timon is known for his love of bugs and most especially, grubs. This Timon inspired Lion King Slime will quickly be a favourite for kids who are a fan of the movie. Lion King Slime with Timon the Meerkat #slime #slimerecipes #sensoryplay #lionkingThis beloved character is pretty cute, even if he does eat bugs!
Timon Inspired Lion King Slime Recipe:

  • 5 oz. clear glue*
  • 1/2 cup water
  • 1/2 tsp baking soda
  • 1 Tbsp. contact solution (use a buffered contact lens saline solution)
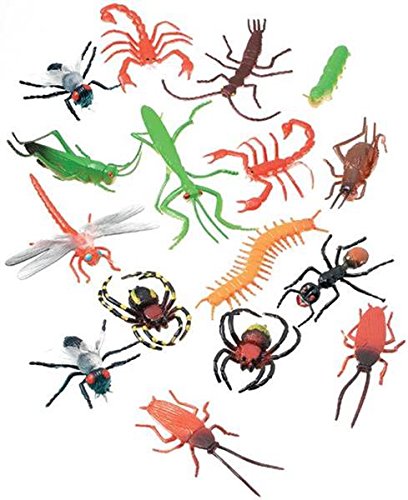
  • plastic bugs
  • Timon mini figurine or cake pick

*A note about the glue: I find that when making slime, Elmers school glue works best. I’ve tried other glues and the results haven’t been as predictable as they are when I use Elmers for my slime. Instructions:
  1. In a bowl, pour 5 oz. of clear glue.
  2. Add 1/2 cup of water. Mix until the glue has broken up and is incorporated well in the water.
  3. Mix 1/2 cup baking soda in. Baking soda will help determine your slime’s thickness.
  4. Add 1 Tbsp. of contact solution. Mix. The slime will be ready to knead when the slime pulls away from the sides of the bowl. Contact solution is what makes the stickiness of the slime.
  5. Knead the slime. It will be too sticky at first. Just keep kneading it! If you have to, you can add a drop or two more of the contact solution, but be careful not to over-activate.
  6. Once your slime has formed, you can add your bugs and knead them inside.  
  7. Place the Timon figure in or on the slime.
  8. Store the slime in an airtight container when not playing with it.
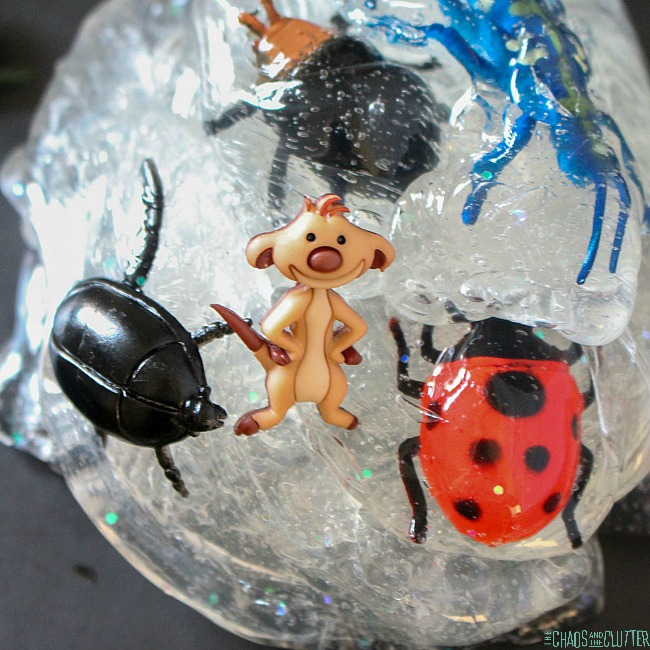
Slime is a great sensory play material. It allows for visual, tactile, and proprioceptive feedback. It can be an effective calming tool when used for proprioception. Ideas for doing this include:

  • stretching
  • pulling
  • kneading
  • pressing, pushing
  • squishing

Check out these other fun slime recipes:
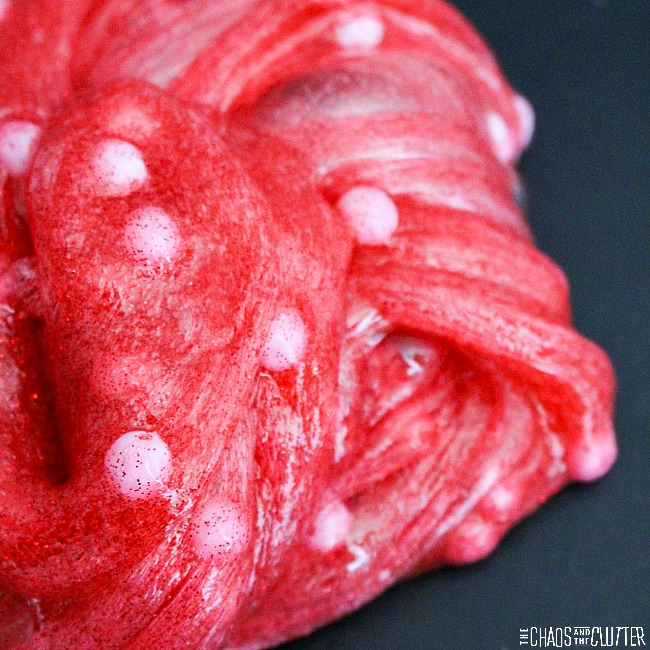
Minnie Mouse Slime

Unicorn Fluffy Slime 

Rainbow Confetti Party Slime 

Filed Under: Sensory Tagged With: sensory play, slime

Insect Sensory Bin with Pasta

By Sharla Kostelyk

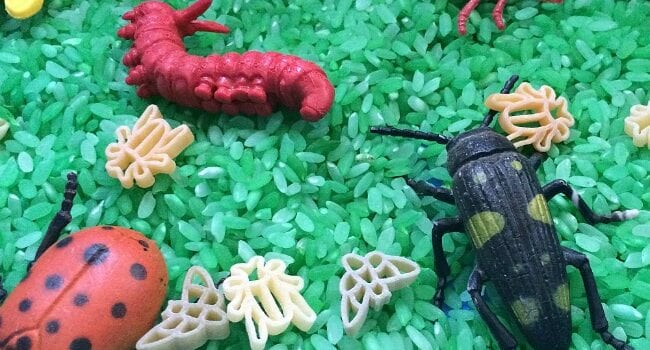
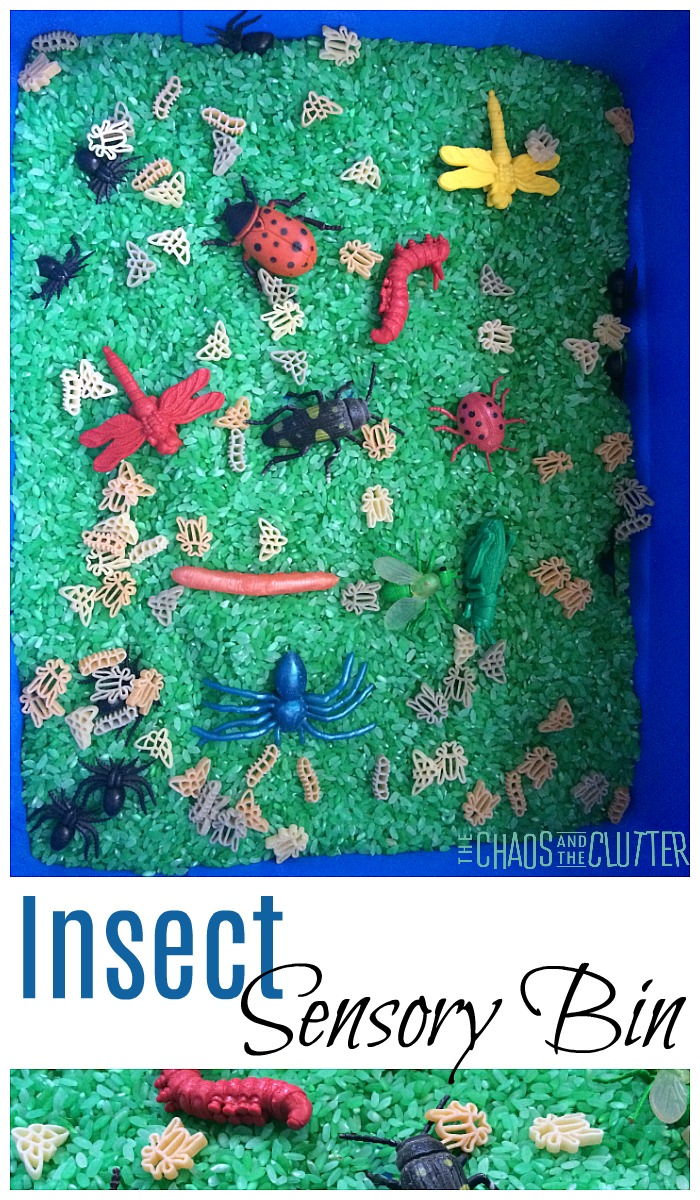
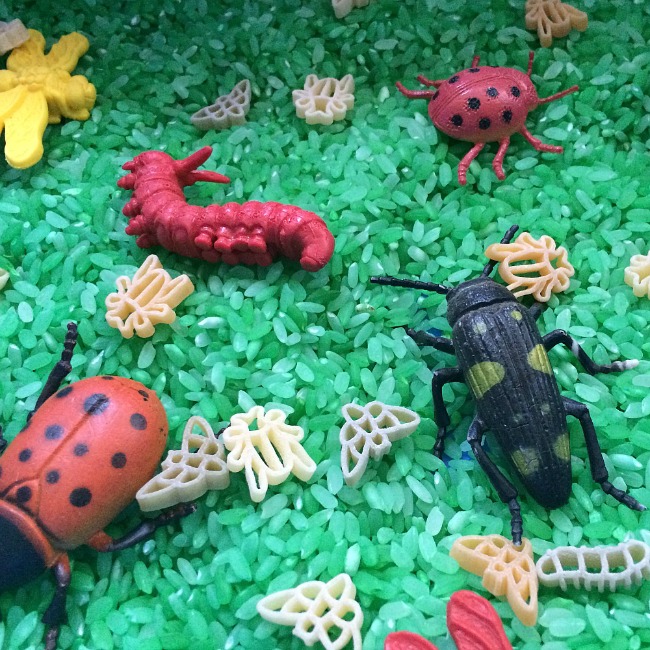
This Insect Sensory Bin is a great addition to a preschool unit on insects or Spring. It has a variety of textures and colours. This adds to both the visual and tactile sensory experiences.

Insect Sensory Bin #sensory #sensoryplay #sensorybins #sensoryscienceWe used this sensory bin while studying insects in our homeschool. The kids enjoyed playing in it. The green rice looks like grass and made us look forward to Spring.
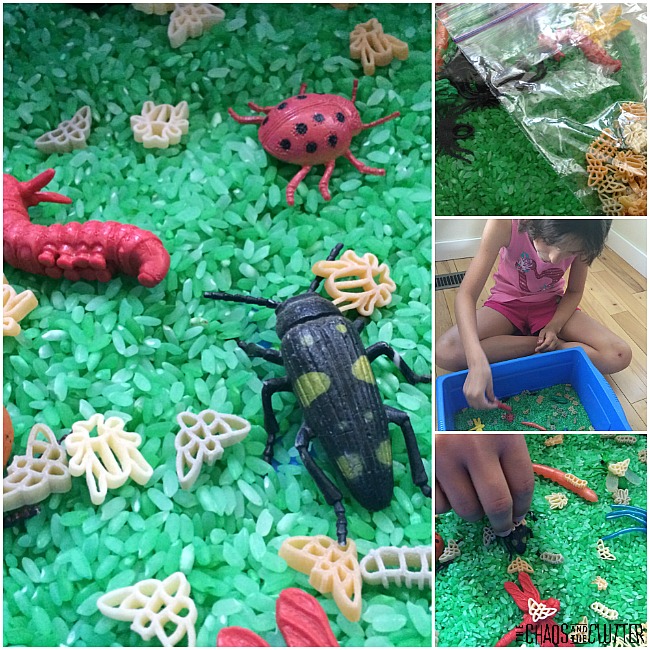
My kids were quite surprised that there was a pasta shaped like insects! We used some of the pasta for the sensory bin and cooked the rest for lunch. This created a gustatory (taste) sensory experience for them as well.This particular sensory bin was one of the ones we had made in our sensory bin swap. That meant that when the kids and I got to the insect unit in our science, I could easily just dump the contents of the bag into a bin and voila!

Insect Sensory Bin:

  • rice dyed green*
  • insect shaped dry pasta
  • toy bugs
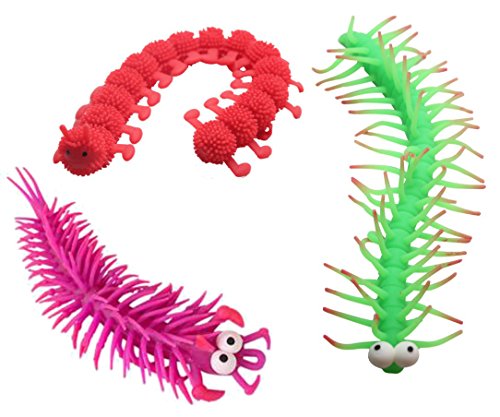
  • stretchy insects
  • spiders (see note below on spiders)

*you can find a tutorial on how to dye rice for sensory play here.

Bug Shaped PastaBug Shaped PastaBug Shaped PastaStretchy BugsStretchy BugsStretchy BugsPlastic Bugs and ArachnidsPlastic Bugs and ArachnidsPlastic Bugs and Arachnids

A note about the dyed rice:

When you’re finished using this sensory bin, you can store the green rice in a resealable plastic bag. The green rice makes a nice sensory bin base for a lot of different themes because it looks like grass. You can also use it inside sensory bottles or bags.

Spiders are not insects:

Yes, I know that spiders are not an insect. The kids wanted to add them and we actually used it as a compare and contrast science lesson on why they are not an insect. If you prefer to have this be an authentic insect sensory bin, simply leave the spiders out!

Ideas to expand the learning:

  • Add magnifying glasses to the sensory bin.
  • Set out books about insects and let the kids try to match them up.
  • Add scoops, small cups, and tweezers for fine motor skill practise.

You may also be interested in checking out these sensory bins:

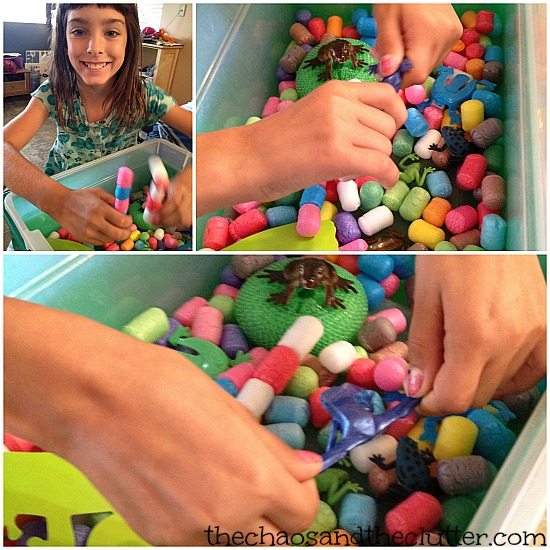
Frog Sensory Bin Frog Sensory Bin Play

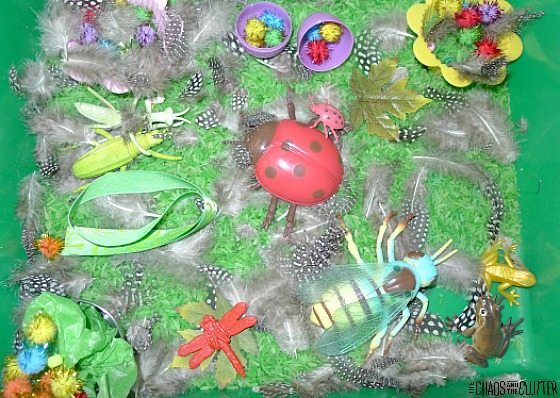
Spring Sensory Bin 

Filed Under: Sensory, Sensory Bins Tagged With: sensory bin, sensory play

Sensory Sound Eggs

By Sharla Kostelyk

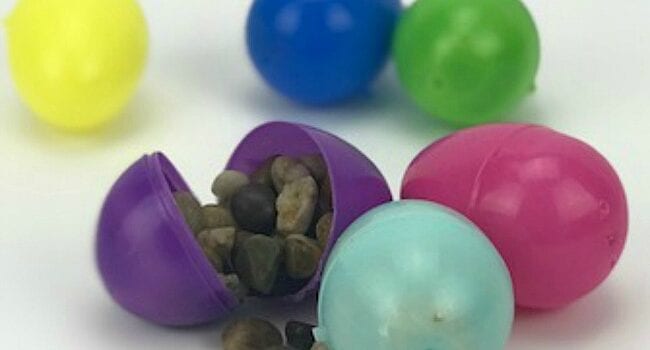
This activity is a great auditory sensory activity. It is simple to set up and very engaging for kids. These sensory sound eggs are easy to use in the home or as a classroom activity.

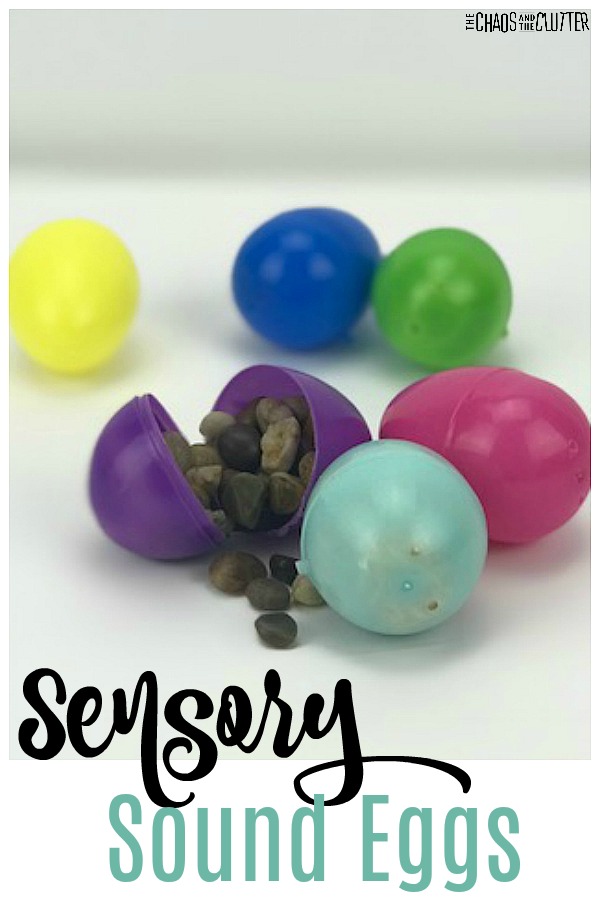
Sensory Sound Eggs #sensoryplay #easteractivity #auditorysystem #sensory #spdSensory sound eggs are great at helping children with early auditory discrimination skills. As they use their sense of sound and other clues such as weight to determine what item is in each egg, they are developing important skills.
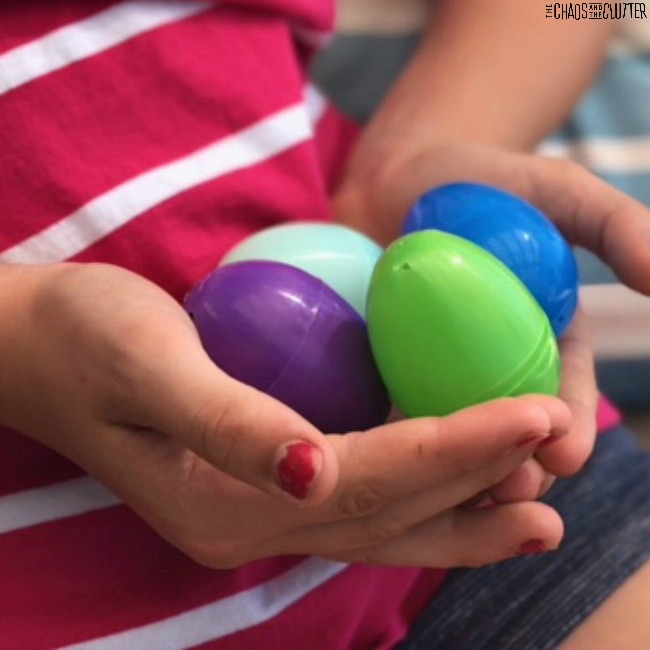
Sometimes, the simplest activities are the best ones. For me, that is actually always true because if an activity is too complex, it just doesn’t happen! This is very inexpensive to do. If you buy plastic eggs right after Easter, you can get them on sale for ridiculously cheap!
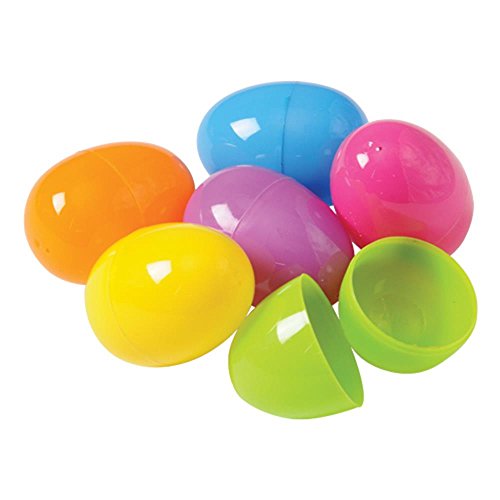
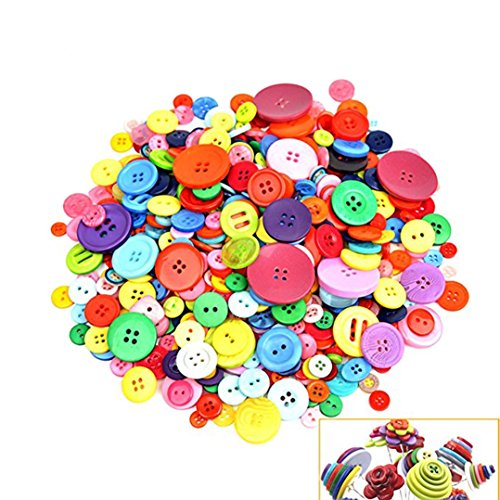
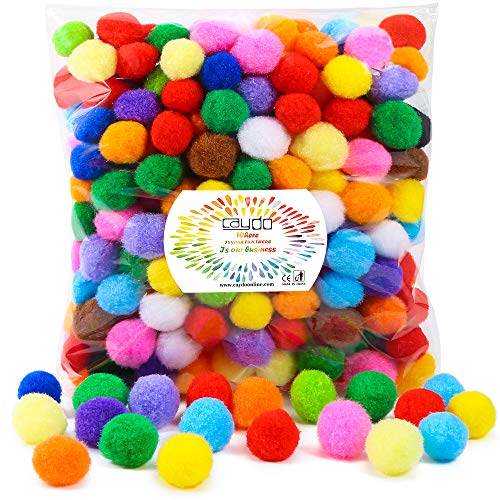
And you can fill them with things you already have around the house making this something you can do on the spur of the moment.

How to Make Sensory Sound Eggs:

Supplies needed:

  • plastic Easter eggs
  • jingle bells
  • popcorn seeds
  • dry rice
  • rocks
  • pompoms or cotton balls
  • buttons

Plastic Easter EggsPlastic Easter EggsPlastic Easter EggsMixed Colour ButtonsMixed Colour ButtonsMixed Colour Buttons1 Inch Pompoms1 Inch Pompoms1 Inch Pompoms

Directions:

  1. Fill each empty egg with some of one of the items.
  2. Close the eggs. Place tape around the middle of the eggs to ensure they won’t open when using with younger children. Some of the items could be a choking hazard, so adult supervision is needed with this and any other sensory activity.
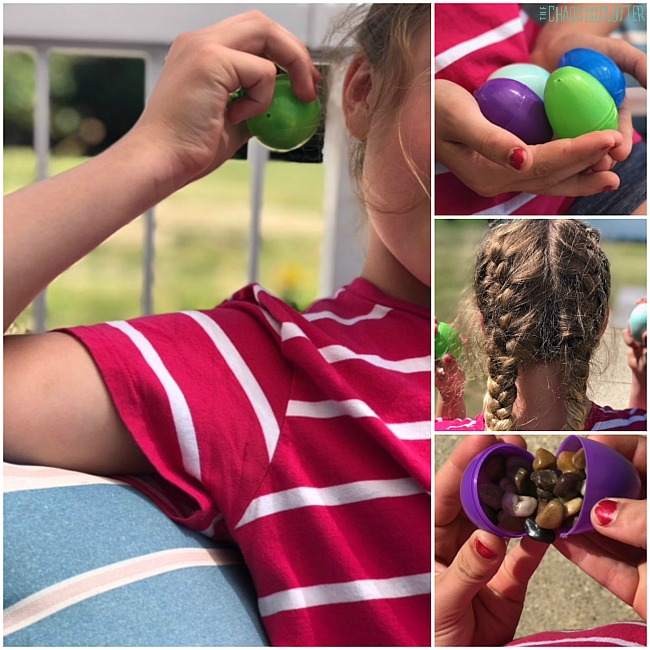
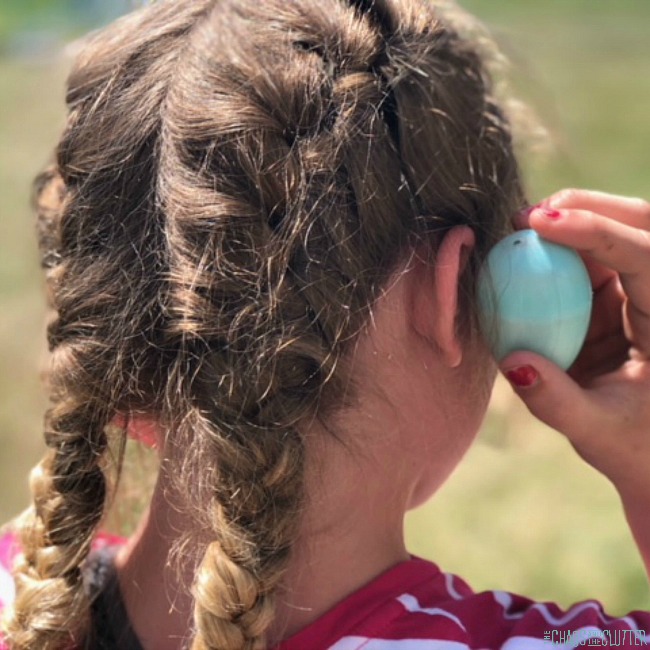
  3. Have the child guess what item is in each egg based on the sound it makes when shaken.

Ways to Adapt this Sensory Activity:
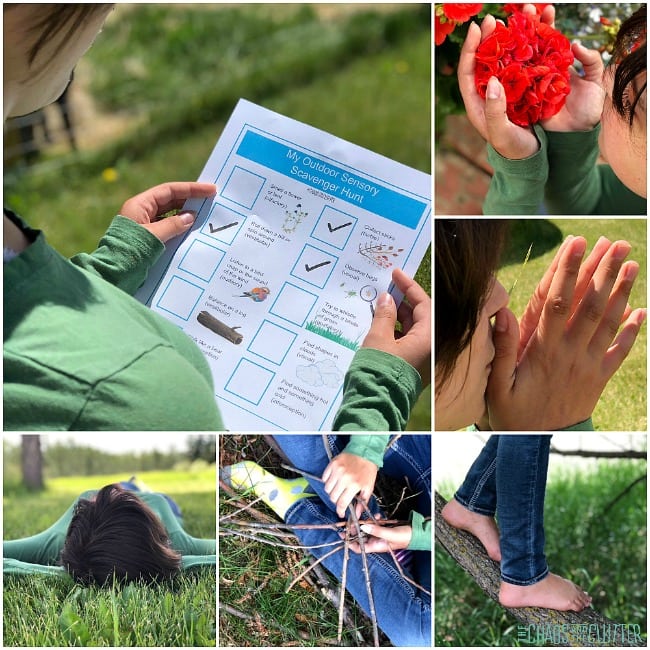
Try this activity using other fillers in the eggs such as coffee beans or coffee grounds, beads, water, salt, or whatever else your imagination can come up with.

Have your child think of ideas for fillers and create their own sound eggs. You can then take a turn at guessing what’s in them.

Auditory Match Up

One game you can play is to make two eggs with each filler and have kids try to match the eggs that are the sound matches. 

Discussion Points:

Talk about why the items make different sounds (weight, shape, size).

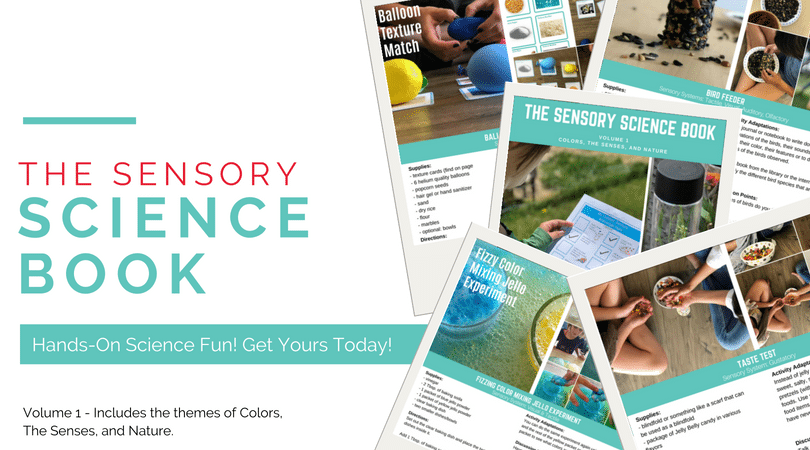
This simple idea is included in our eBook The Sensory Science Book Volume 1 in the Senses chapter. The book includes easy to put together sensory activities that correspond with science units for school or home. Other activities you may be interested in:

Colour Mixing Sensory Bottle Sensory Scavenger Hunt 

Filed Under: Sensory Tagged With: sensory play

The Best Things to Include in a Calm Down Kit

By Sharla Kostelyk

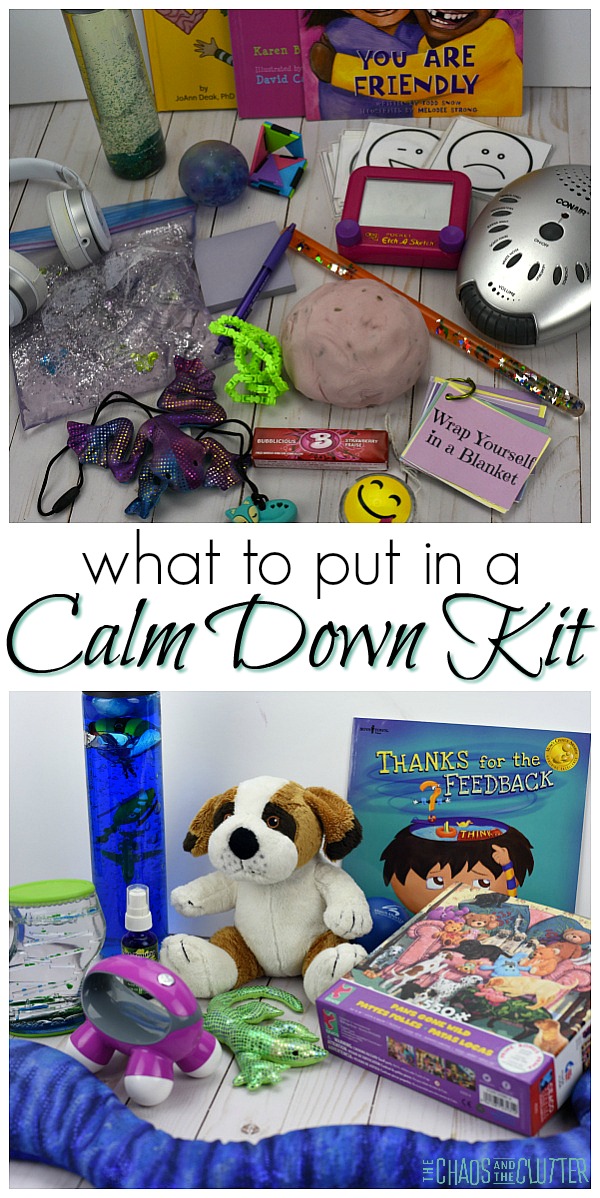
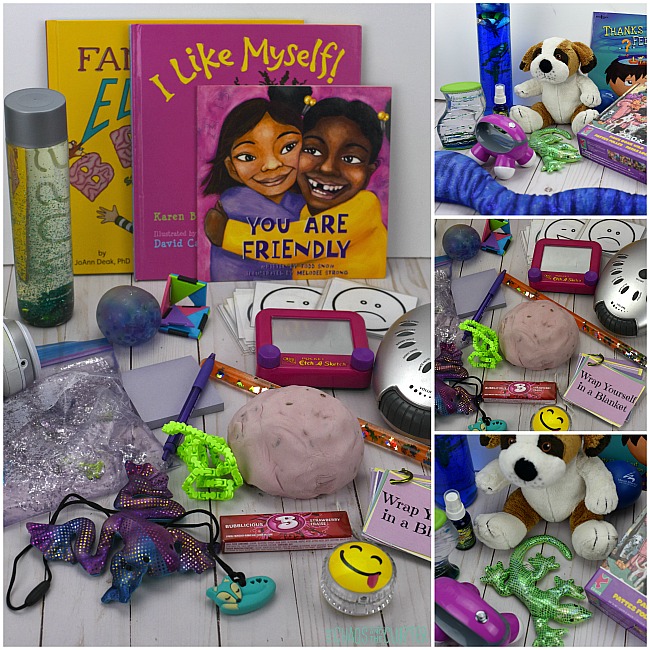
When I created a calm down kit for our daughter, it was a turning point for all of us. It helped her in so many ways. It gave her tools and strategies to calm herself and help regulate her emotions. She is empowered. These suggestions of the best things to include in a calm down kit should be helpful for you to create your own.Items to put in a calm down kit for kids

It is important to note that what works best in a calm down kit for one child will not necessarily work for another. You’ll start to see in time what is most effective for your child.

It’s only once you’ve used the kit a number of times that you’ll get a sense of what items might not be necessary and even what type of things to perhaps include more of.

It’s important to teach your child to use the kit and “practise” using it when they are calm. During a meltdown or period of anxiety, a child can go into fight, flight, or freeze mode, making it difficult for them to make decisions and think logically.

Practising using the calm down kit during down times will enable them to know what things help in times of distress.

What to Include in a Calm Down Kit:

  • calm down cards
  • small container of bubbles
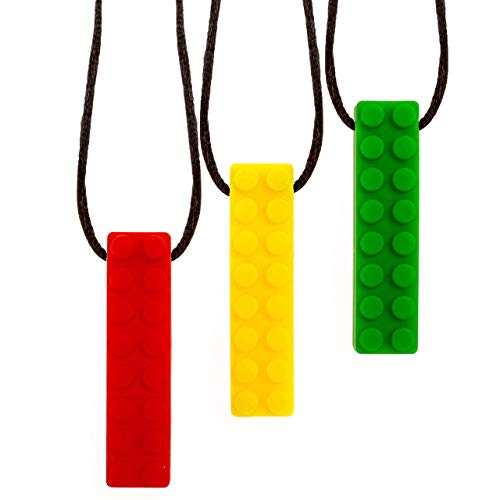
  • chewelry
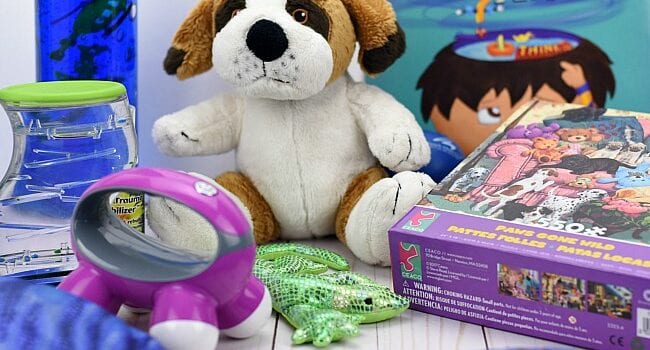
  • weighted stuffed animal
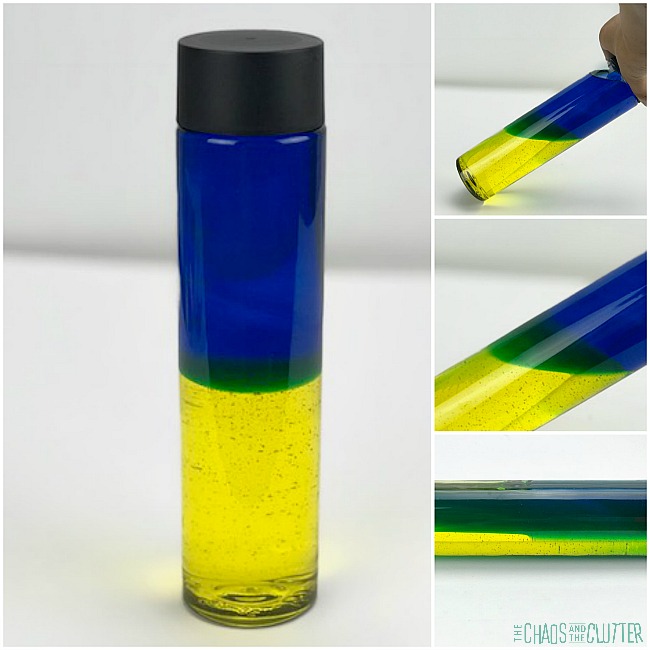
  • calm down bottle
  • emotion cards
  • weighted blanket or soft blanket
  • playdough (this calming lavender playdough is perfect)
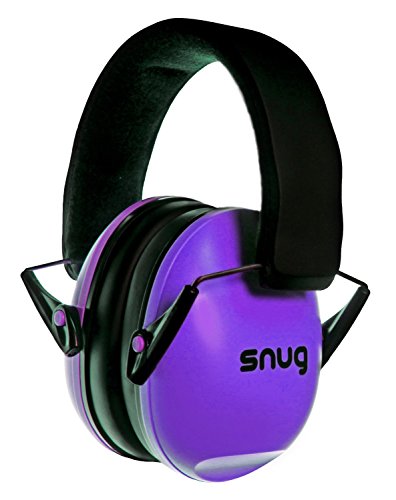
  • noise cancelling headphones
  • stress ball (easily make your own)
  • water bottle with a chewable straw
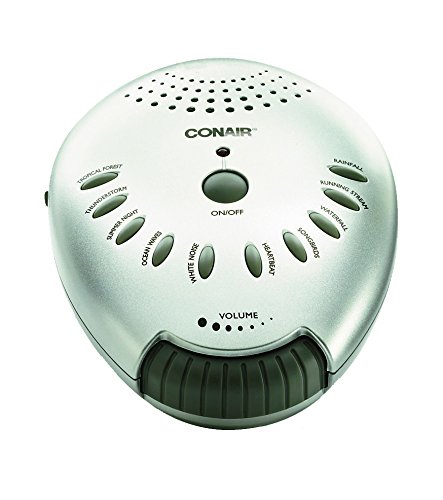
  • sound machine
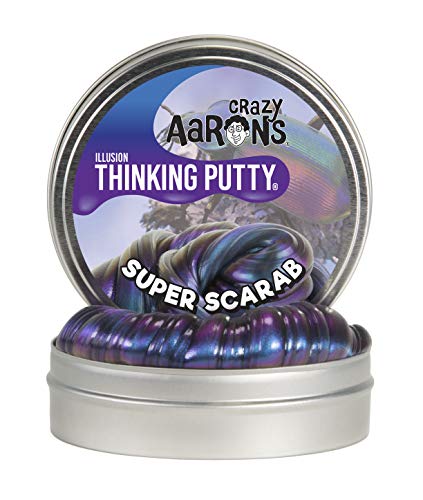
  • slime or silly putty
  • Rescue Remedy
  • fidgets
  • I Spy wand
  • kaleidoscope
  • favourite book or a book about feelings
  • affirmations colouring book and crayons
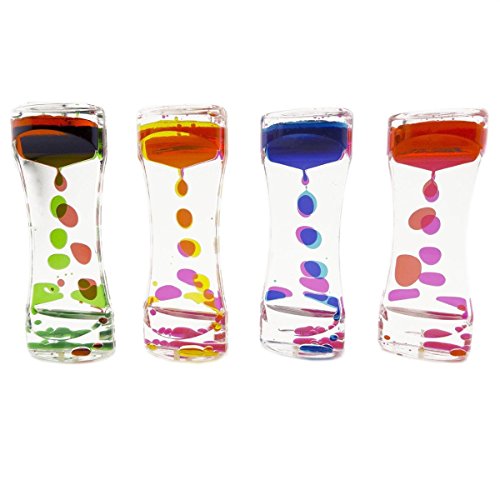
  • liquid motion bubble timer
  • squishies
  • small framed photo of their family or beloved pet
  • mini Etch-a-Sketch
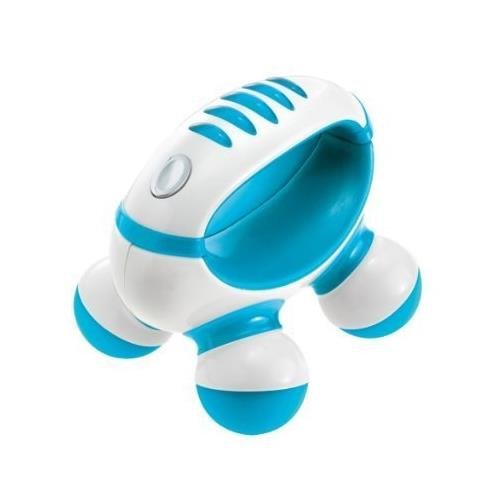
  • palm massager
  • harmonica
  • smell bottles
  • textured sensory balls
  • pinwheel
  • sensory bag

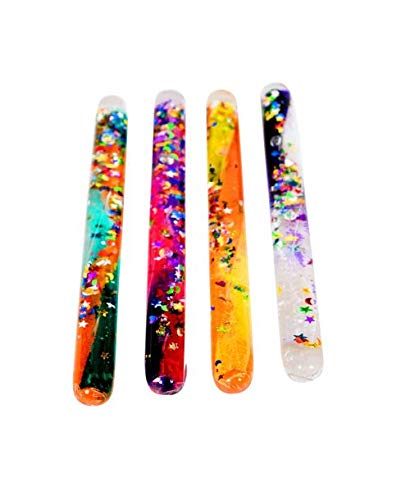
Lego Sensory Chew NecklaceLego Sensory Chew NecklaceLego Sensory Chew NecklaceNoise Cancelling HeadphonesNoise Cancelling HeadphonesNoise Cancelling HeadphonesConair Sound Therapy Sound MachineConair Sound Therapy Sound MachineConair Sound Therapy Sound MachineKids Rescue Remedy Natural Stress Relief DropsKids Rescue Remedy Natural Stress Relief DropsKids Rescue Remedy Natural Stress Relief DropsCrazy Aaron's Thinking PuttyCrazy Aaron’s Thinking PuttyCrazy Aaron's Thinking PuttyRetro Voyage Map KaleidoscopeRetro Voyage Map KaleidoscopeRetro Voyage Map KaleidoscopeWonder TubesWonder TubesWonder TubesLiquid Motion Bubble TimersLiquid Motion Bubble TimersLiquid Motion Bubble TimersPalm MassagerPalm MassagerPalm Massager

For younger kids, it is sometimes best to use pictures on the calm down prompt cards even if the child can read. If they are in a state of fight, flight, or freeze, reading will be difficult for them. The easier you make it, the better.

What to Include in a Calm Down Kit for Older Kids:

  • anything from the list above
  • calm down cards
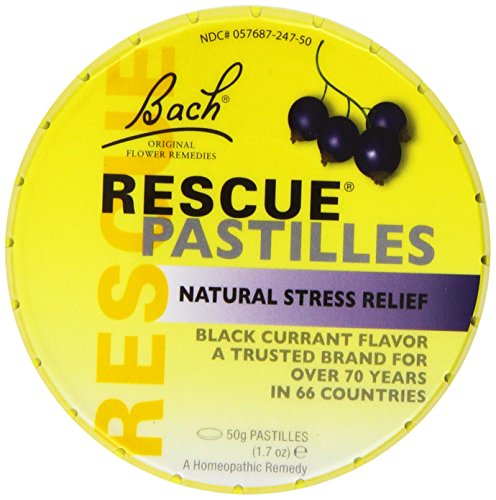
  • hard candies to suck on
  • favourite book
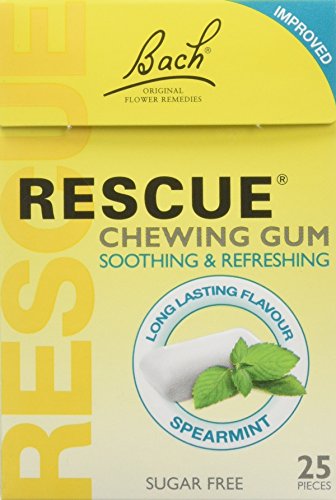
  • chewing gum
  • puzzle
  • Rubik’s cube
  • bubble wrap (for popping)
  • Big Life Journal
  • colouring book and markers or pencil crayons
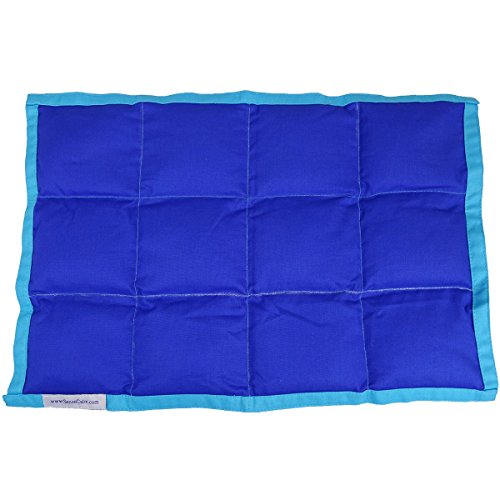
  • weighted lap pad
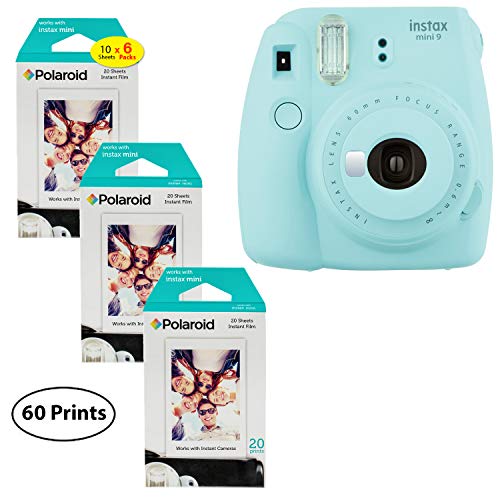
  • instant camera (for taking “selfies” to better understand their emotions)
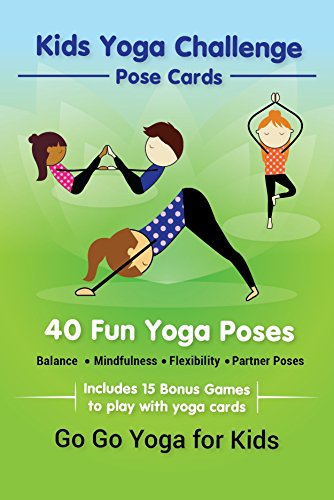
  • yoga pose cards
  • journal and pen
  • knitting or crocheting (for kids who know how to knit or crochet)

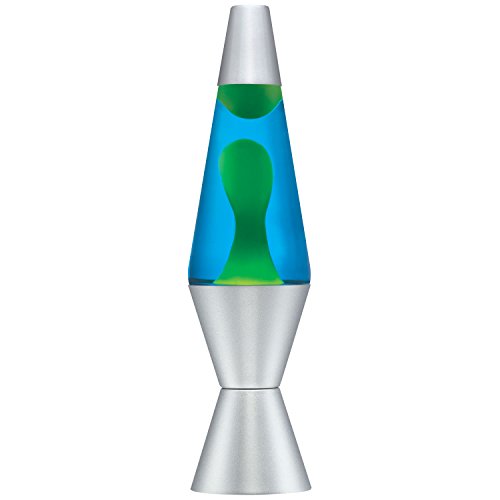
Big Life JournalBig Life JournalBuy NowLava LampLava LampLava LampSensory Weighted Lap PadSensory Weighted Lap PadSensory Weighted Lap PadRescue Remedy Rescue Chewing GumRescue Remedy Rescue Chewing GumRescue Remedy Rescue Chewing GumBach Rescue Remedy Hard CandyBach Rescue Remedy Hard CandyBach Rescue Remedy Hard CandyKids Yoga Challenge Pose CardsKids Yoga Challenge Pose CardsKids Yoga Challenge Pose CardsInstant CameraInstant CameraInstant Camera

If possible, provide a quiet area in the home or classroom that the child can go to use their calm down kit. This could be a corner with a bean bag chair or exercise ball to sit on. One thing to keep in mind when making an anti-anxiety kit for your child is to personalize it. One way to do this is to consider their sensory preferences (ie: a child who is sensory avoidant for auditory would prefer noise cancelling headphones in their kits whereas a child who is sensory seeking for auditory would prefer an audiobook or harmonica in theirs).
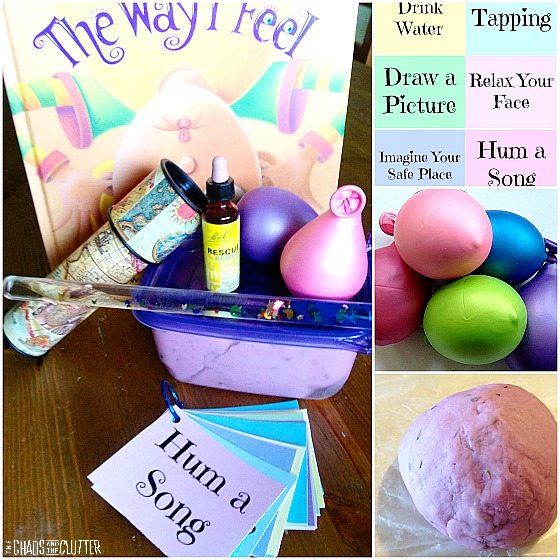
Another way to personalize the kit is to consider what interests your child has and include those. If your child loves dinosaurs, you could include this dinosaur chew necklace, this dinosaur squeeze ball, this dinosaur sensory slap bracelet, and this dinosaur fidget.

Creating a personalized kit for each child is also a great way for them to feel known and special. You can choose any theme that suits them.

Get printable calm down cards to include in your kit.

Read about how we use our calm down kit and other tips here:

Create Your Own Calm Down Kit for Children

Filed Under: Sensory, Special Needs Parenting

Calming Lavender Scented Playdough

By Sharla Kostelyk

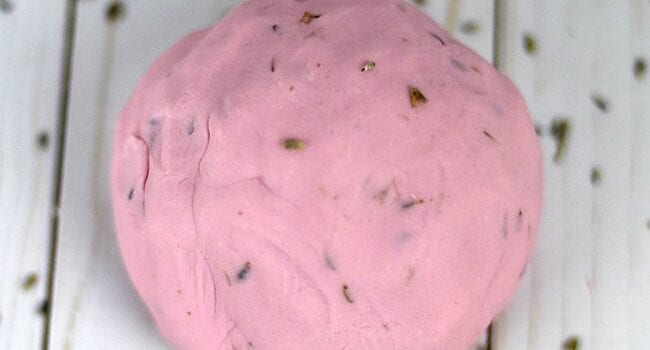
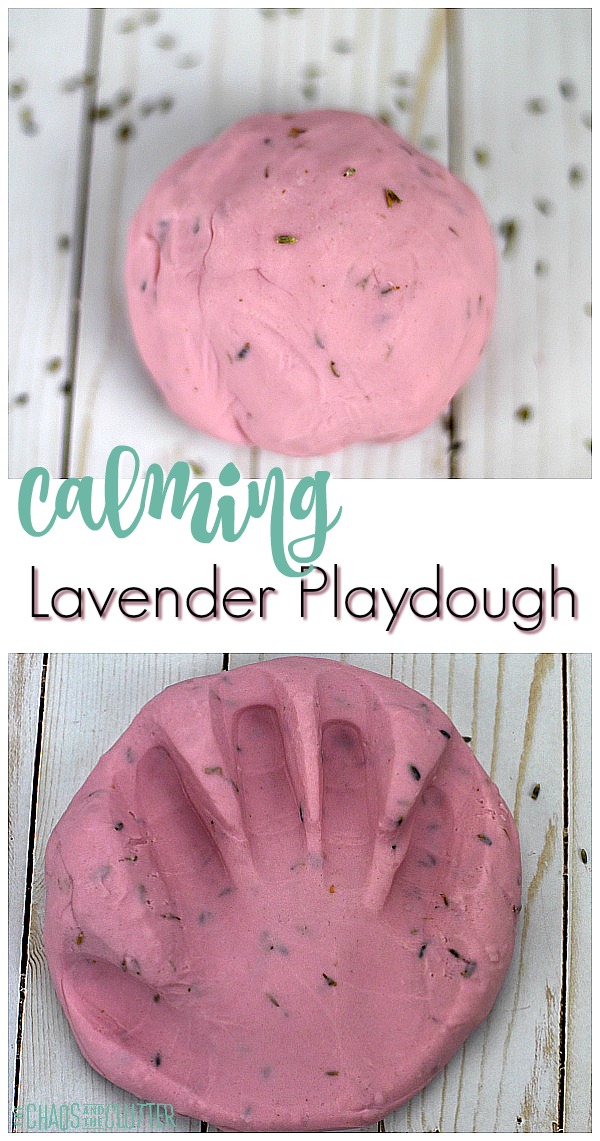
I made a calm down kit for my youngest daughter for her anxiety and I wanted to include some lavender scented playdough. The playdough makes a good sensory outlet for her and lavender is a soothing scent. I chose purple because purple is supposed to be the most calming colour and it also happens to be her favourite. It turned out really well. Calming Lavender Scented Playdough for sensory play #sensoryplay #playdough #lavender #specialneedsparentingI have since made this recipe several times. I have made it on the stovetop or in the KitchenAid. The reason that I prefer that method is because it is easier on my arms. Either method works though.
Lavender Scented Playdough Recipe:

  • 2 cups flour
  • 1/2 cup salt
  • 3 Tbsp. cream of tartar
  • 1 Tbsp. lavender or 3 drops lavender essential oil
  • 2 Tbsp. vegetable oil
  • 2 cups water (boiling if using the KitchenAid method)
  • purple food colouring
  • glitter (optional – I used purple)

Stovetop instructions:

  1. Mix the dry ingredients including the lavender together in a pot and stir in the oil, water and food colouring.
  2. Cook over medium heat, stirring constantly, being sure to scrape the sides and bottom.
  3. Cook until dough forms a ball.
  4. Remove from heat.
  5. Place it on a piece of wax paper.
  6. Knead.
  7. If you are adding glitter, add it in at this point.
  8. Let cool. Store in an airtight container or in a resealable bag.

KitchenAid instructions:

If you’re not a fan of getting a sore arm from stirring the playdough, you can instead make it in a KitchenAid mixer. To use this method (which I highly recommend!):

  1. Place the dry ingredients into the mixer.
  2. Add the oil and food colouring and begin mixing with the flat beater (the one for making dough).
  3. Add 2 cups of boiling water and continue to mix until a playdough texture is achieved.
  4. Next, take the dough out of the mixer and knead for one minute. If you’re adding glitter, add it at this stage and knead to combine it throughout the dough.
  5. Allow to cool. Store in an airtight plastic container or in a resealable bag.

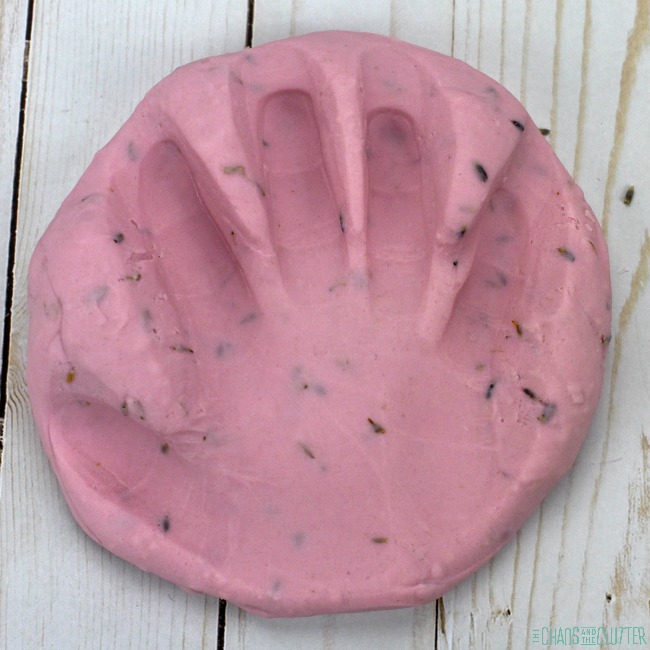
Playdough handprintOnce the playdough is made, it can be played with just like regular playdough.
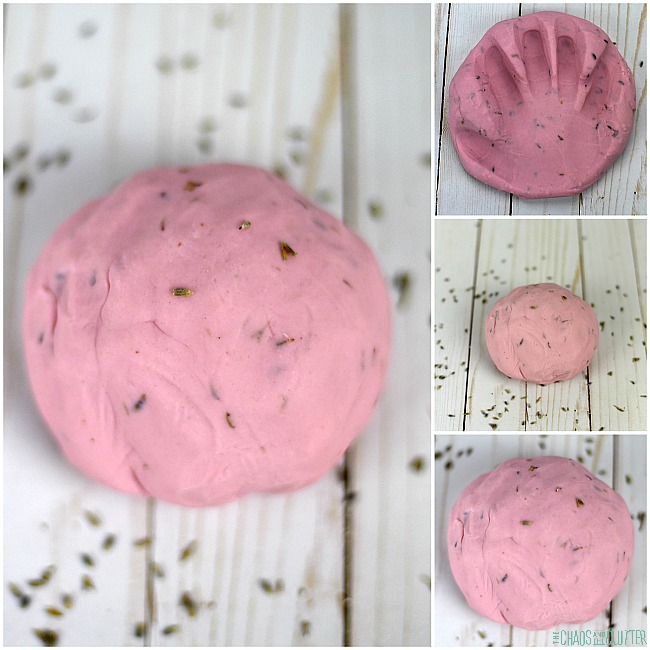
As kids knead and pull and shape the dough, the lavender scent and the proprioceptive sensory feedback will provide a calming effect.

You can include a container of lavender playdough in your child’s calm down kit.

Ideas for Sensory Play with Playdough:

  • squish
  • knead
  • pull
  • smash
  • cut with plastic scissors (great for fine motor)
  • twist
  • roll
  • use a rolling pin
  • press cookie cutters in
  • stretch
  • stamp
  • play
  • shape onto a playdough mat
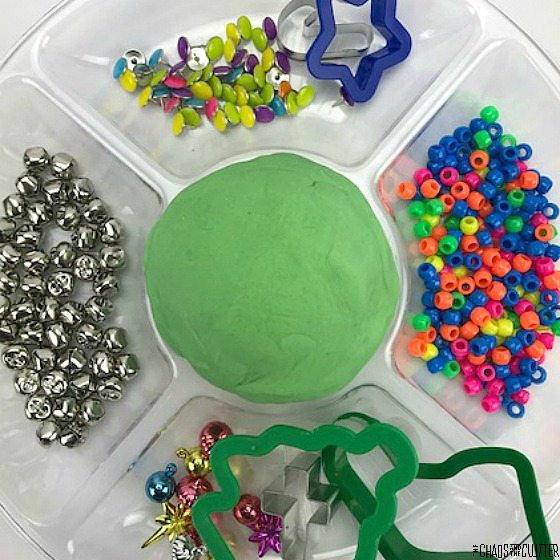
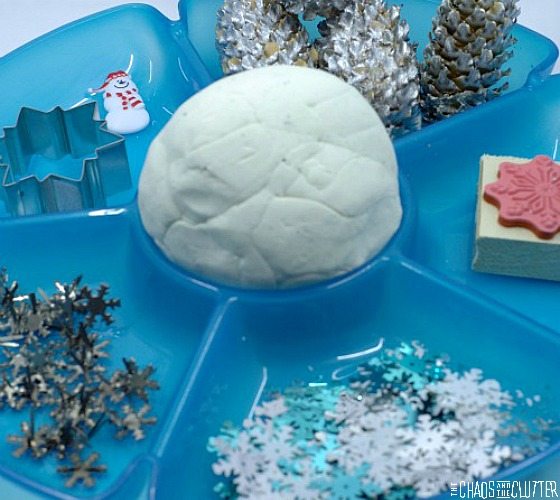
  • press buttons, beads, pipe cleaners, pompoms, dry pasta, shells, small toys, rocks, sticks, pine cones, googly eyes, leaves, keychains, or gems in

For kids who are sensory avoiding, you can put the playdough into a medium sized resealable bag and seal. The child can then squish and squeeze to their heart’s content without the texture of the dough actually touching their hands. They can also trace shapes or letters into the dough through the bag. This playdough engages the tactile, olfactory, visual, and proprioceptive senses.
Looking for more great sensory play recipes? Join for a five day email series on Sensory Activities and Solutions and get a free sample of our Sensory Play Recipes eBook.

Some of our other popular playdough ideas:

Peppermint Scented PlaydoughSnow Playdough Snow Playdough and invitation to play

Filed Under: Sensory Tagged With: playdough stations, sensory play

Sensory Meltdown Tips from Moms Who’ve Been There

By Sharla Kostelyk

If you’re a parent or teacher who has experienced a sensory meltdown, you know that there is no fun to be had there. It’s upsetting for the child, for the adult present, and awkward and uncomfortable for anyone within a one mile radius! While I have my own tried and true strategies for helping my kids through these, I know that one size does not fit all, so I wanted to gather sensory meltdown tips from other moms who’ve been there.

I know that their words are going to help you. Not only will you gather more tools for yourself by learning what works for them, you will be able to know without a doubt that you are not alone. I know that you will hear yourself in some of what they say.

Sensory Meltdown Tips from Moms Who've Actually Been There #sensory #SPD #sensoryprocessingdisorder #parentingtips #sensorymeltdownsIf you’re new to the term “sensory meltdown”, I encourage you to take a few minutes and read about the difference between a tantrum and a sensory meltdown. You can also read about meltdown prevention and strategies that really help. (just click that link above or the photo below)

Sensory Meltdown Tips from Moms Who’ve Been There:

“Stay calm yourself, as hard as that may be.” ~ Dyan from And Next Comes L

“Stop talking! As parents it’s our instinct to comfort our child and say “it’s okay” or ask what they need, but every word you say during a meltdown is just more sensory input your child’s brain needs to decode.” ~ Kaylene from Autistic Mama

“If you can start documenting the meltdowns, do it. Even something as simple as a journal to mark down things like possible triggers, time of day, location, etc. The more you can keep track, the better. Then you might be able to determine possible causes and figure out the most appropriate solutions.” ~ Kori from Kori at Home

You can find a sensory trigger log to help you document in the More Calm in the Chaos Planner for Moms.

“We try to leave the situation and I hold him tightly in a hug (if he will let me). I’ve learned that getting mad or raising my voice never helps. So I try to talk calmly and use words like “I understand you feel overwhelmed…” ” ~ Angela from Teaching Mama

“Counteract negative sensory input with positive sensory input. By doing so it’s easier to bring the child back to the present and move forward. We do this by making sure we have sensory kits ready at home or on the go. Once the child is calm and brought back to the present moment we can communicate feelings appropriately and come up with a solution together to solve the initial sensory issue.” ~ Renae from Every Star is Different

“Doctor recommended lollipops for grocery store trips. Taste, smell and texture helped my boys stay calm long enough to do quick shopping. Oldest son is autistic and seemingly constantly was in a state of meltdown. I was a single mom. Kids went everywhere with me. Lollipops helped.” ~ Samantha M.

More Sensory Meltdown Tips by Moms with Experience:

“We always have a box of sensory stuff in our car as well as I have a big purse that I throw a few things in for any outing. Her ear muffs, chewy necklace, snack( usually a cracker of some sort) and a spill proof water bottle. She does horrible in crowds and will chew her fingers raw if we don’t have her chewy necklace and with the ear muffs we have cut our meltdowns in half because she isn’t overwhelmed by the noises but still can hear somewhat.” ~ Ari C.

“I always have earplugs in my bag for unexpected noise. We have invested in a swing ( daughter is 12 and swing takes up to 30stone in weight so will last) Swinging helps a lot and is calming so we get her on the swing. A rocking chair I picked up from the charity shop is good too.” ~ Samantha T.

“My son loves the brushing and joint compressions still at 14. He gets so relaxed and calm. If we venture out to eat, and it gets to be overwhelming, I can do his joints in his fingers and he loves it.” ~ Jill L.

“During meltdowns, we rock together and I will also tap on his head. Learned that one from a chiropractor.” ~ Michelle W.

“It’s absolutely about prevention. Once a child is in a meltdown, their brains cannot think things through as they normally would. Recognize, avoid, accommodate.” ~ Amanda W.

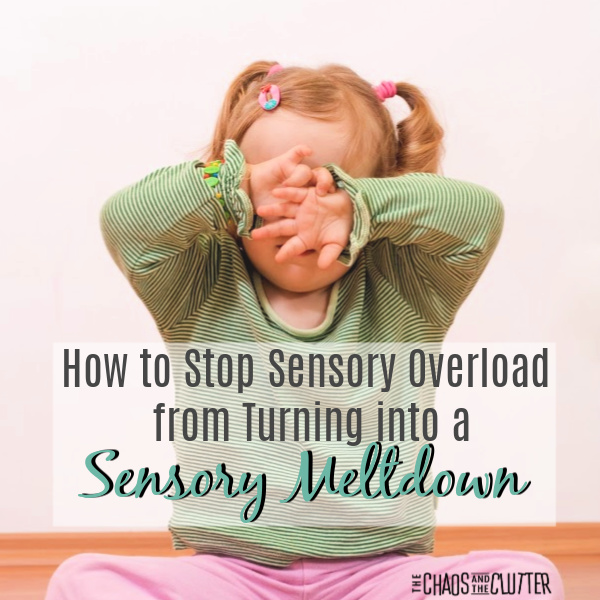
You can also read helpful tips on how to stop sensory overload from turning into a sensory meltdown, as I know that is a common issue for parents.


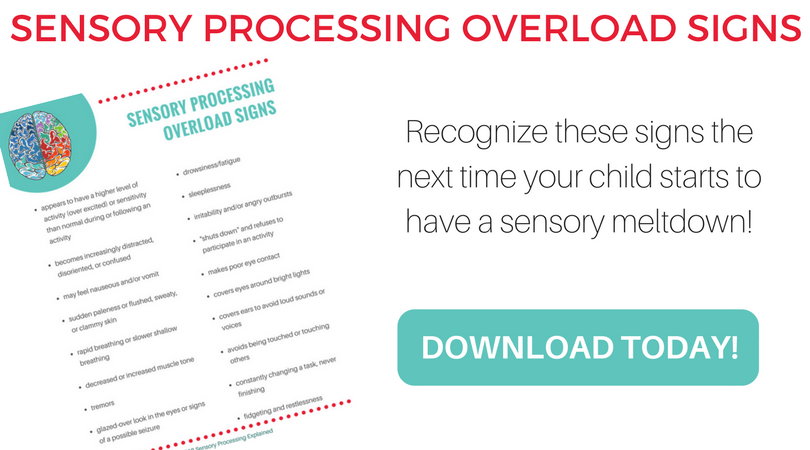
Being able to recognize the signs of sensory overload can help you to take action before it turns into a full blown sensory meltdown. My friend Heather and I created a free cheatsheet to help you see the signs. Read more about the signs of sensory overload here or get your own copy of the cheatsheet to print off and keep as a reminder here. 

Filed Under: Sensory, Special Needs Parenting

  • « Go to Previous Page
  • Page 1
  • Interim pages omitted …
  • Page 16
  • Page 17
  • Page 18
  • Page 19
  • Page 20
  • Interim pages omitted …
  • Page 50
  • Go to Next Page »

Primary Sidebar

Categories

We are a participant in the Amazon Services LLC Associates Program, an affiliate advertising program designed to provide a means for us to earn fees by linking to Amazon.com and affiliated sites.

Copyright © 2026 • The Chaos and the Clutter • Site Design by Jeni @ The Blog Maven

Return to top of page

Copyright © 2026 · Chaos and the Clutter 2.0 on Genesis Framework · WordPress · Log in