• Skip to primary navigation
  • Skip to main content
  • Skip to primary sidebar
  • Home
  • About
  • Contact
  • Privacy + Terms
  • Affiliates

The Chaos and the Clutter

  • Facebook
  • Twitter
  • Pinterest
  • Google Plus
  • RSS
  • Email
  • School at Home
  • Sensory
    • Sensory Processing Disorder
    • Awesome Sensory Play Activities
      • Sensory Bins
      • Sensory Bottles
      • Sensory Bags
  • Family Games
    • Minute to Win It Games
  • Special Needs Parenting
    • Childhood Anxiety
    • Reactive Attachment Disorder
    • Sensory Processing Disorder
  • Store
  • Course Login

Sensory

My child doesn’t have SPD. Do they still need sensory play?

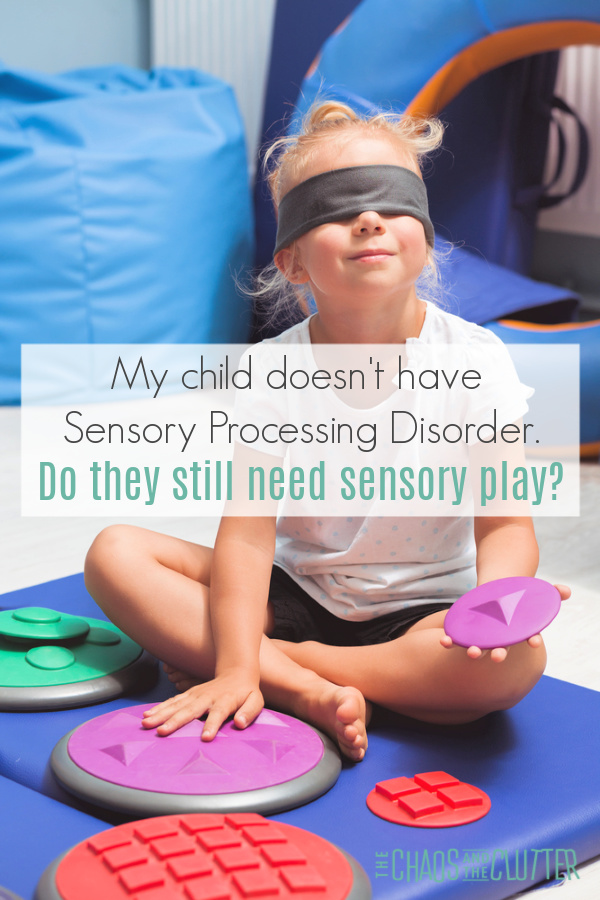
A little blonde girl sits cross legged wearing a black blindfold while she is touching a purple textured disk and holding another smaller textured purple disk. The words "My child doesn't have Sensory Processing Disorder. Do they still need sensory play?" are on the image.

By Sharla Kostelyk

“My child doesn’t have Sensory Processing Disorder. Do they still need sensory play?” This is a common question I get from readers.

The answer is “absolutely yes”! My child doesn't have Sensory Processing Disorder. Do they still need sensory play? #sensory #sensoryplay #parentingtipsSensory play is important for all children. Sensory play can improve your child’s development, cognition, social skills, and behaviour.
As more research is done, experts are recognizing the importance of sensory play and touting its benefits. Sensory play is not only important for babies and toddlers, it’s good for kids of all ages.

And of course, if your child is exhibiting signs of sensory issues, then sensory play is a critical component of their days.


Just some of the benefits of sensory play for kids:

  • exploration of the world around them
  • encourages problem solving
  • increases brain development
  • provides sensory input
  • leads to better retention in learning
  • promotes language development
  • helps regulate emotions and behaviour
  • improves fine motor skills and gross motor skills
  • introduces opportunities for social skills
  • makes learning interesting and fun

Even if your child doesn’t have Sensory Processing Disorder or obvious sensory issues, all of us have sensory preferences. Sensory play can help us to get out of our sensory comfort zone. It can introduce tastes, textures, sounds, sights, and smells that we may not be familiar with or may not be as comfortable with.

Another great reason that all kids need sensory play? Sensory input, particularly proprioceptive input helps regulate mood and behaviour. If you’re a parent, that reason alone should be enough to have you scrambling to climb aboard the sensory train!

This doesn’t have to be complicated or involve you spending hundreds of dollars on fancy equipment. It only requires that you take more notice of what opportunities are around.
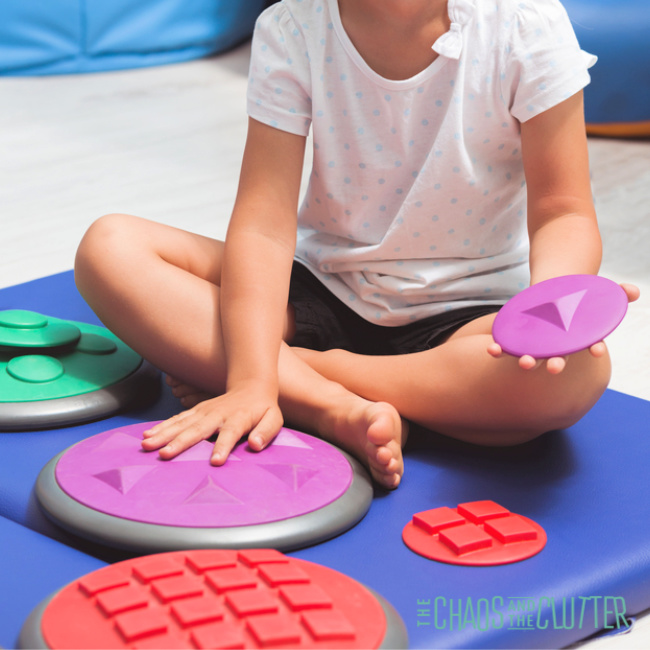
Simple sensory play ideas:

  1. Fill a plastic container with shaving cream. Drop a few toys in and let your child dig to find them.
  2. Let them play in dirt or mud. Messy play is good for them!
  3. Get out the fingerpaints or make some of your own.
  4. Go on an outdoor sensory scavenger hunt.
  5. Take them to a playground. The merry-go-round, monkey bars, swing, and slide all provide great sensory input.
  6. Fill a laundry basket with books and have your child push it around.
  7. Allow your child to walk outside barefoot.
  8. Let your child help you bake. Kneading, mixing, rolling, and decorating.
  9. Play with playdough.
  10. Make some sensory smell bottles.

You can find all of our sensory play activities here. Incorporating several into every day can make such a difference for your child.
Filed Under: Sensory

Bee Life Cycle Sensory Bin

By Sharla Kostelyk

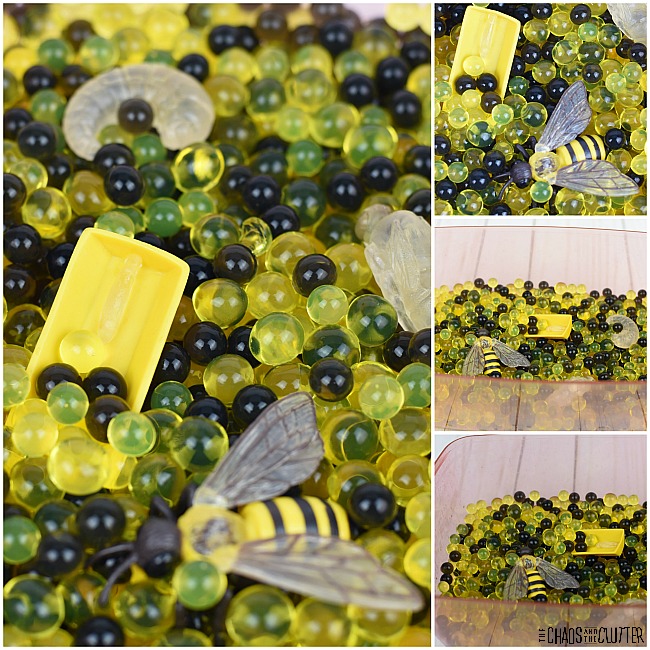
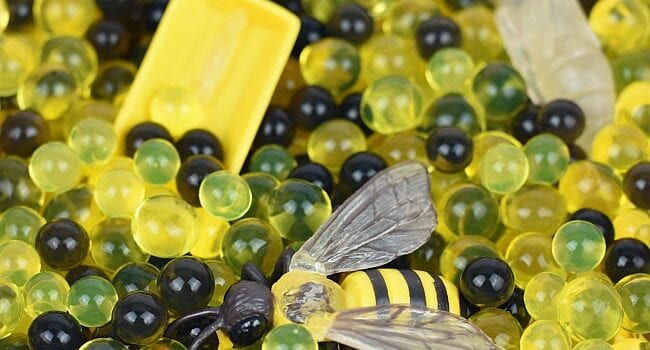
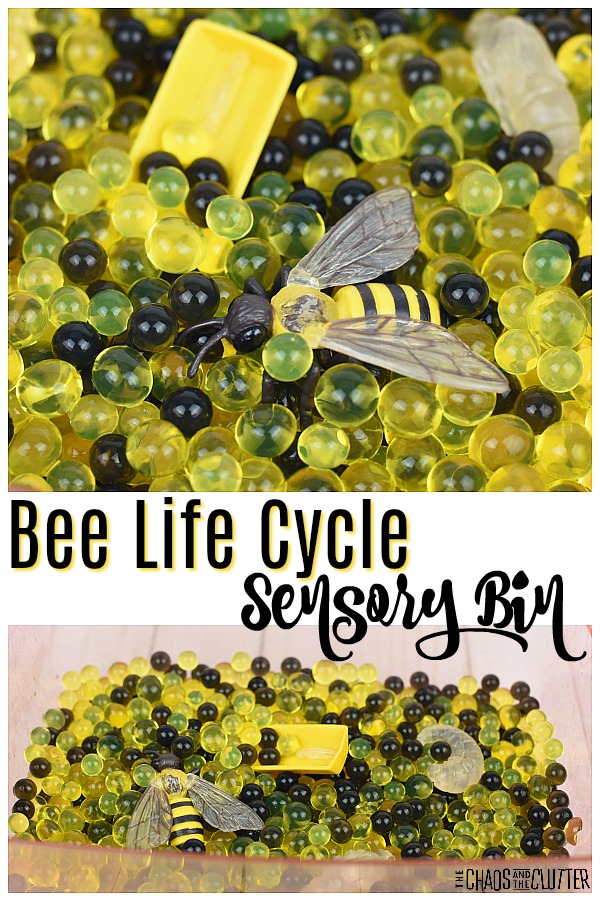
A bee life cycle sensory bin is a hands-on way to reinforce learning for kids on this topic. You can use this bin in a science unit or at a sensory station in your home or classroom.Bee Life Cycle Sensory Bin #sensorybin #sensoryplay #beelifecycle #kidsactivities #scienceWalk kids through the transformation of a bee from egg to larva to pupa to a mature honey bee. You can either add everything to the bin all at once, or you can add them in after the amount of time they would happen in real life.
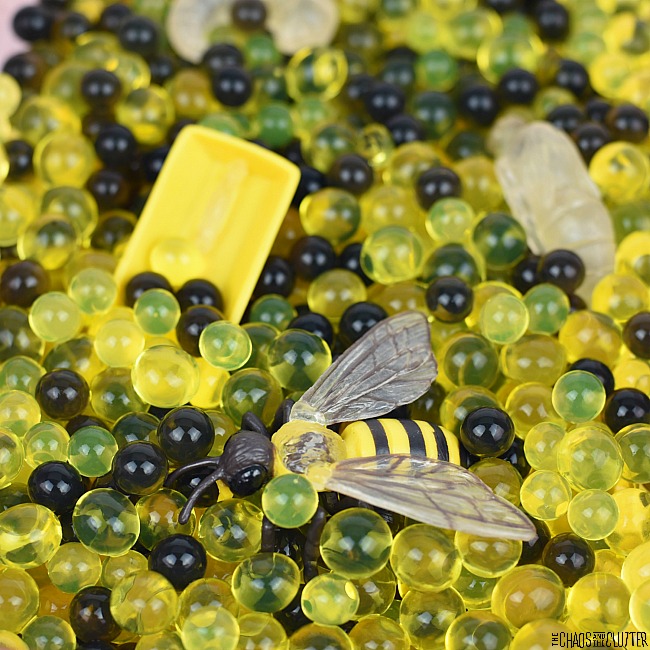
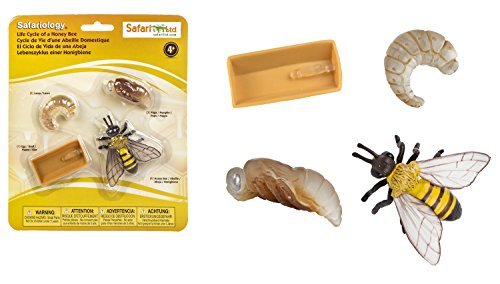

In that case, you would add the egg on the first day and it would “hatch” into the larva after 3 or 4 days, so you could add the larva on that day. The next stage takes between 6 and 11 days depending on whether the bee is a future queen or a worker bee.

Bee Life Cycle Sensory Bin:

Materials needed:

  • plastic bin
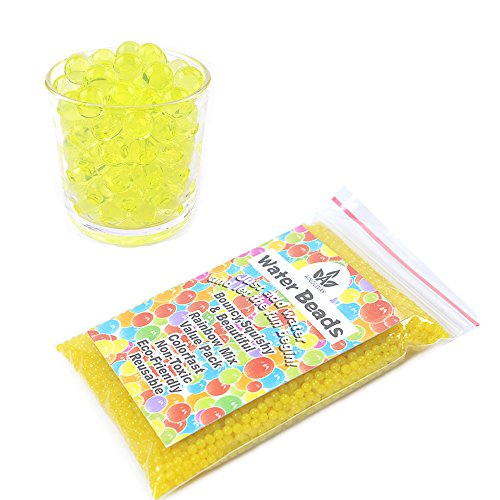
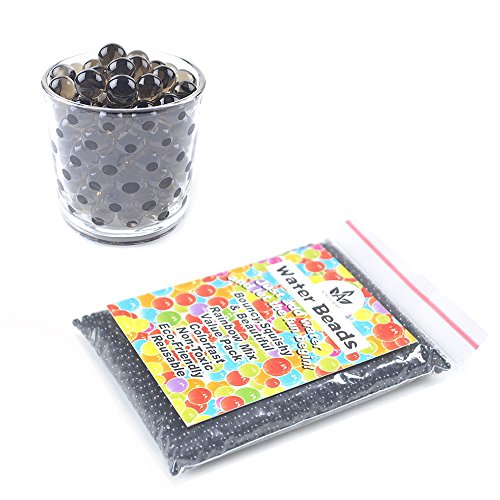
  • black and yellow water beads
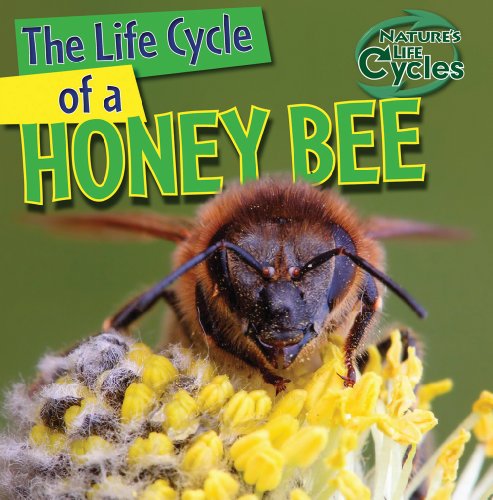
  • the life cycle of a honey bee pack
  • optional: small jar of honey to touch, taste, and smell

Life Cycle of a Honey BeeLife Cycle of a Honey BeeLife Cycle of a Honey BeeYellow Water BeadsYellow Water BeadsYellow Water BeadsBlack Water BeadsBlack Water BeadsBlack Water Beads

  1. Place the water beads in a plastic container. I used three packs of yellow beads and one pack of black water beads.
  2. Add water.
  3. Allow the water beads to expand fully (this will take several hours) before adding the items from the life cycle of a bee package.

Kids can use their hands to dig in the bin and touch each of the stages in the honey bee cycle. If you’ve included some honey, they will also be able to use their sense of taste and smell to enhance their learning.
This sensory bin engages the visual and tactile sensory systems and if honey is included, it also engages the olfactory (smell) and gustatory (taste) systems as well. This is hands-on learning at its best.

If you’re doing a learning unit on bees, here are some other great resources to check out:

Free Bee Life Cycle Printables from Homeschool Preschoool

How to Make a Bee Habitat from Natural Beach Living

Printable Life Cycle of a Bee Layer Book from Passionate Curiosity

Books that would go along well with this unit:

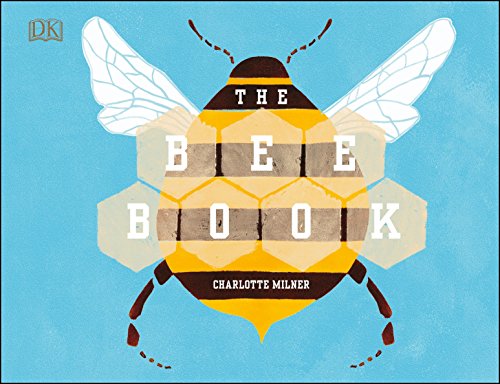
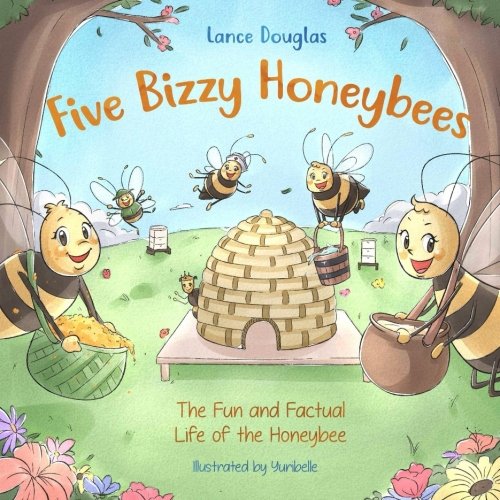
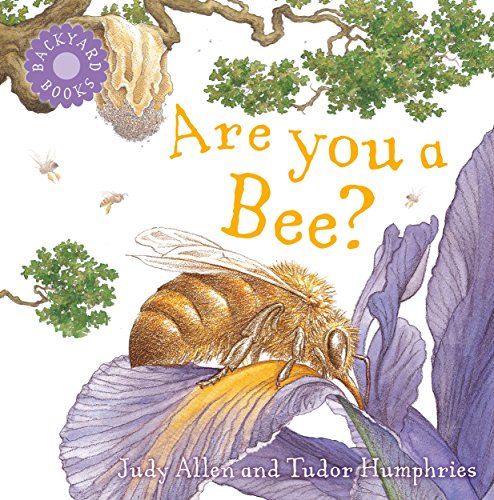
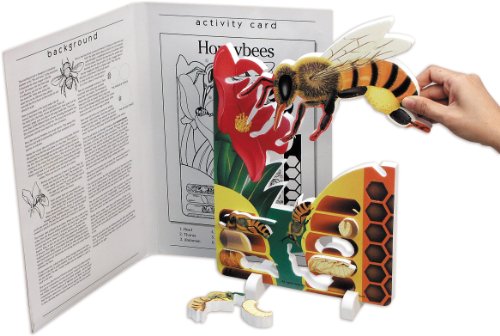
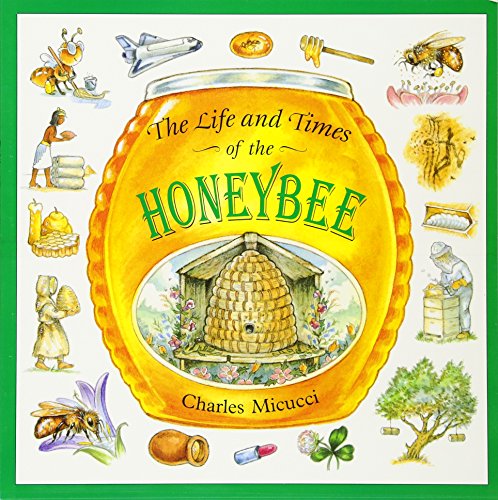
Are You a Bee?Are You a Bee?Are You a Bee?Book Plus Bee Life Cycle Foam ModelBook Plus Bee Life Cycle Foam ModelBook Plus Bee Life Cycle Foam ModelThe Life and Times of the HoneybeeThe Life and Times of the HoneybeeThe Life and Times of the HoneybeeThe Life Cycle of a HoneybeeThe Life Cycle of a HoneybeeThe Life Cycle of a HoneybeeThe Bee BookThe Bee BookThe Bee BookFive Bizzy Honey BeesFive Bizzy Honey BeesFive Bizzy Honey Bees

Check out some of our other science related sensory bins:

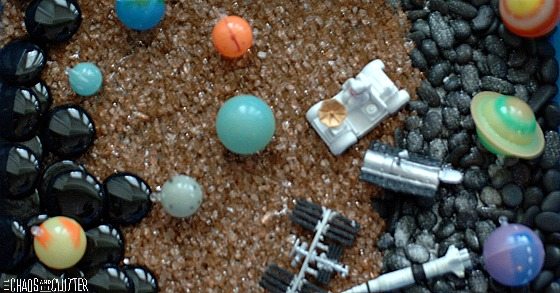
Solar System Sensory Bin Solar System sensory bin glows in the dark

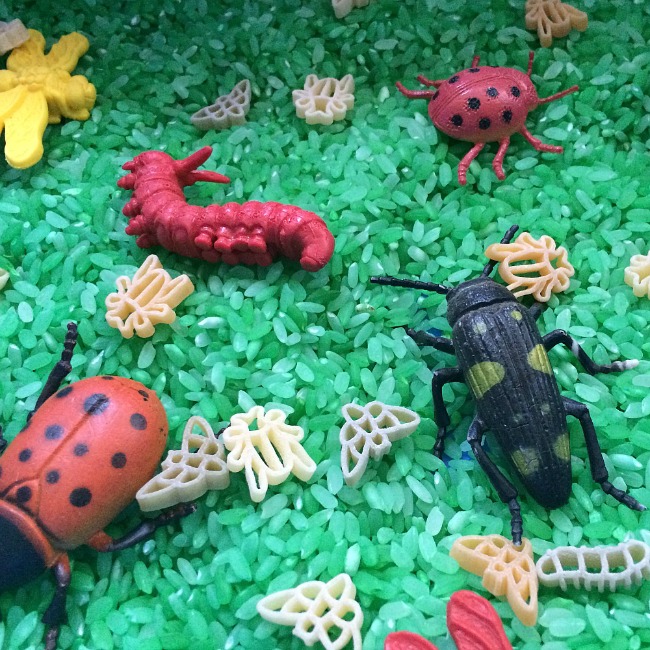
Insect Sensory Bin 

Filed Under: Sensory, Sensory Bins Tagged With: sensory bin, sensory play

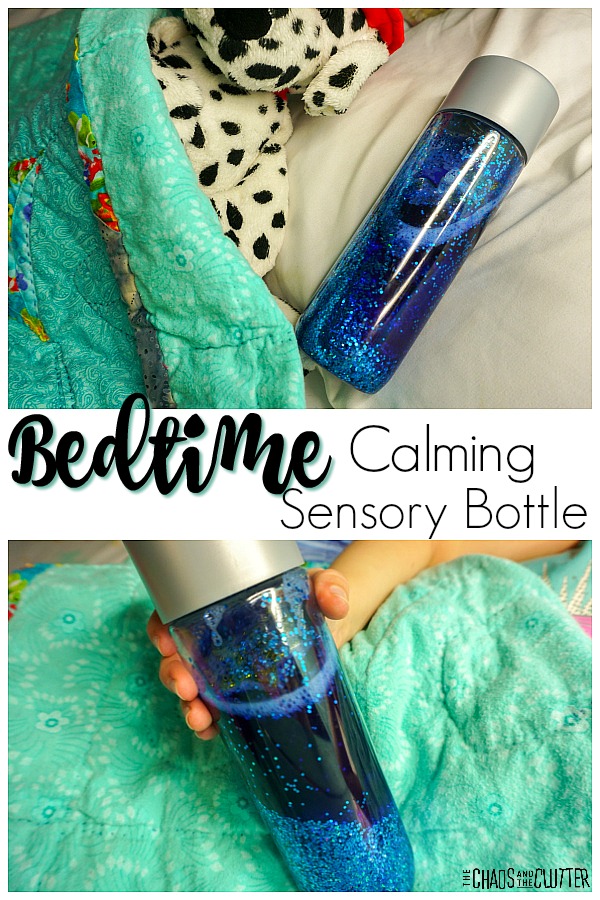
Bedtime Calming Sensory Bottle

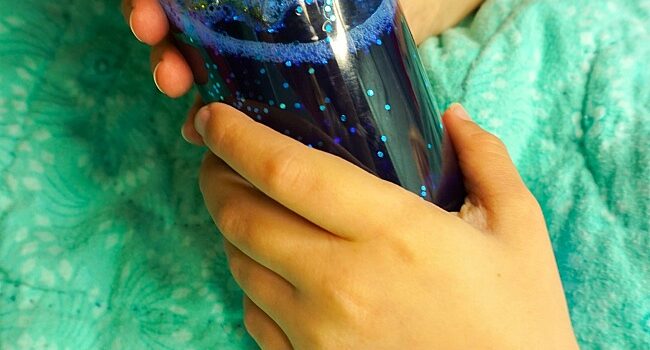
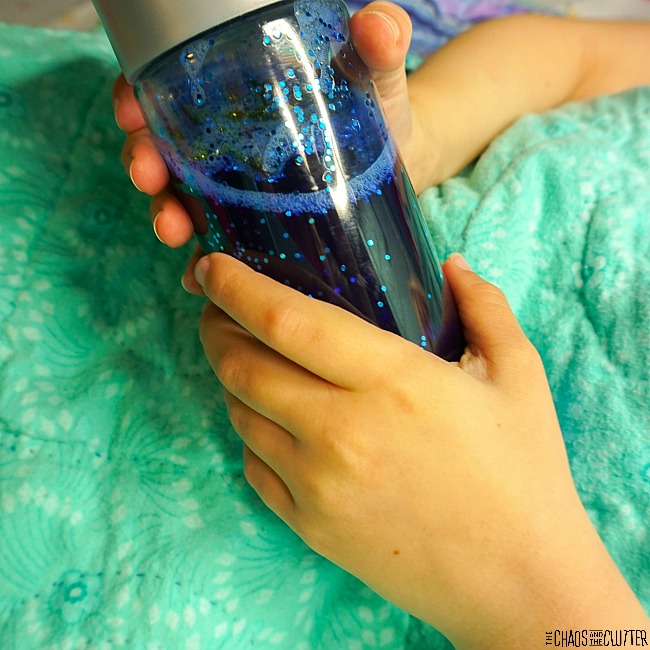
a child's hands hold a blue calm down bottle. The child's hands are all that is visible as the child is snuggled underneath a green blanket.

By Sharla Kostelyk

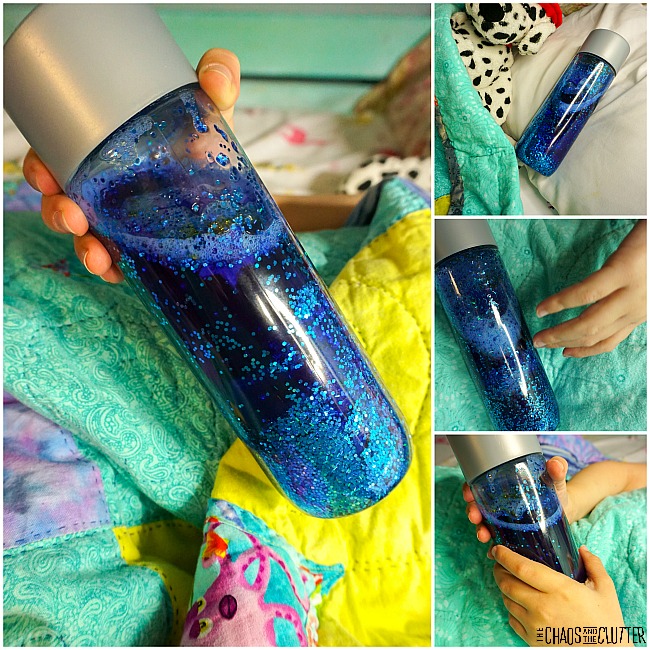
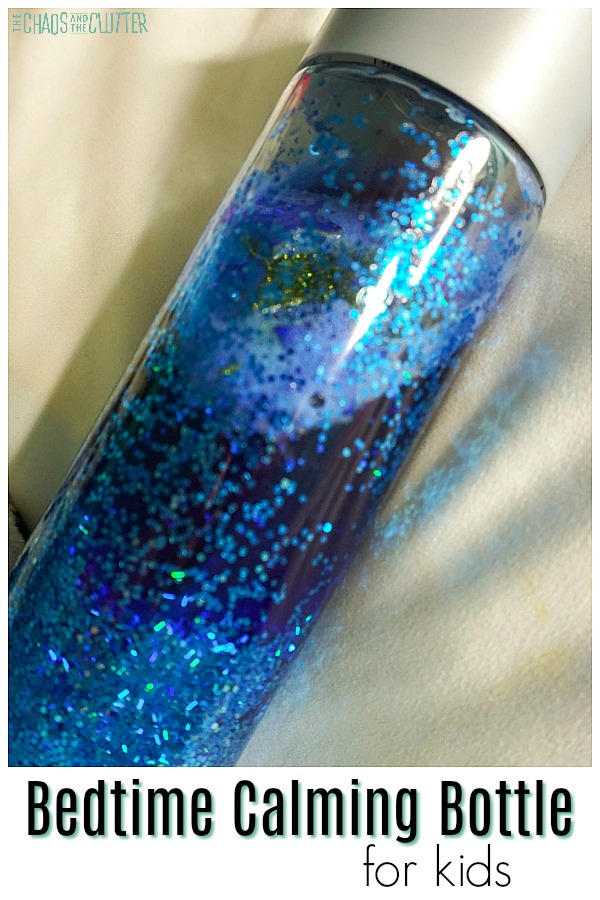
This bedtime calming sensory bottle is perfect for helping children fall asleep. Your child can watch the stars in the bottle be revealed from within the glitter and count them until falling asleep.

Bedtime Calming Sensory Bottle for Kids #calming #calmdown #sensoryplay #sensorybottle #sensoryHaving a comfort item such as this calming bottle can help kids who have anxiety about bedtime. Incorporating this into the nighttime routine can be good for both children and parents.
Making a Bedtime Calming Sensory Bottle:

Supplies needed:

  • plastic Voss water bottle
  • 5-10 foam stars (glitter gold)
  • ¼ cup holographic glitter (royal blue)
  • ¼ cup glitter (royal blue)
  • 1 cup hand sanitizer
  • 1 cup water
  • funnel
  • Superglue

Directions:

  1. If using a Voss water bottle, empty the bottle of water and allow the bottle to fully dry.
  2. Add hand sanitizer and water to the sensory bottle using the funnel.
  3. Add the foam stars (these may have to be folded in half depending on size).
  4. Add both glitters to the bottle using the funnel.
  5. Seal with lid with Superglue and allow the glue to dry fully (at least 15 minutes).*

*Note: I normally only Superglue the lids on sensory bottles for small children, but since this one is going into bed with your child, you should secure the lid with glue. It would be quite a mess to clean up glitter and hand sanitizer from bedding! 

Bedtime Use:

Hand your child the calming bottle when they’re having trouble going to sleep and ask them to count the stars. They will have to allow the stars to reveal themselves from the glitter in order to count them. This will keep the child focused until they fall asleep.

Some kids also just find it helpful to have something to hold onto.

Be sure that the lid is securely in place before allowing your child to sleep with this sensory bottle and for younger kids who may choke on small objects (such as the stars), only use during the day when you can supervise.

Learning Opportunities:

Sensory – Describe the sounds the calming sensory bottle makes, the feel of the bottle (is it light, heavy, etc.), what you can see when you shake the bottle, how quickly the stars fall. This bottle provides visual, tactile, and proprioceptive feedback. 

Math Skills – Count the stars, count the different size stars, and sort the stars by size.

Science Skills – Watch how the glitter moves around, falling down, swirling around and moving with the shaking. Watch how the stars reveal themselves as the glitter shifts, kind of like the stars in the night sky are revealed as the sun goes down. 

Try making the same bottle with just water or just hand sanitizer instead of hand sanitizer and water and compare and contrast how the glitter falls in each of the bottles.

Fine Motor – Getting the stars into the sensory bottle can be a challenge for those little hands. This is great fine motor skill practise for them. It is also an opportunity to problem solve and discuss what happens if you fold the stars, push them in with your fingers or just try to get them to “fall” into the bottle.

Language Skills – have kids use descriptive language to explain what the stars and glitter look like, what sizes the stars are, and what they are experiencing. They can also practise their conversation skills by asking for their sensory bottle at bedtime and talking about how it makes them feel.

Bedtime Calming Bottle for KidsCheck out these other calming techniques for kids:
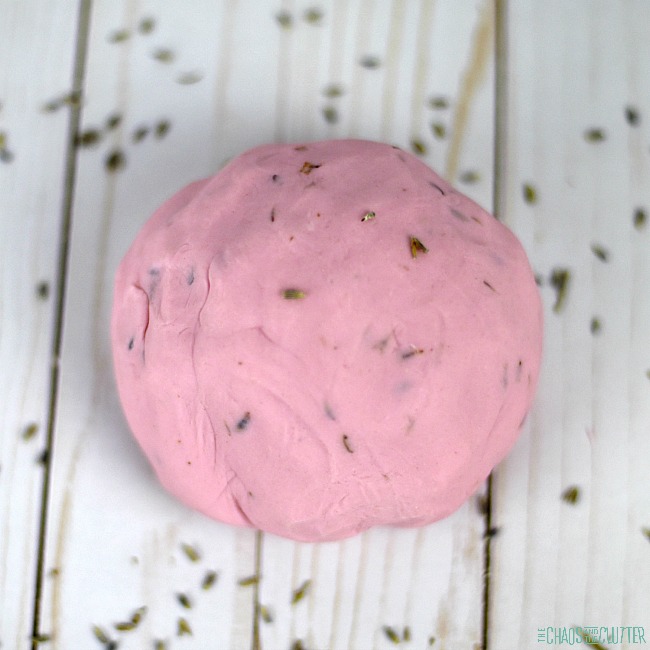
Calm Down Breathing for Kids Calming Lavender Playdough The Best Things to Include in a Calm Down Kit 

Filed Under: Sensory Tagged With: sensory bottles, sensory play

Kinetic Sand Activities

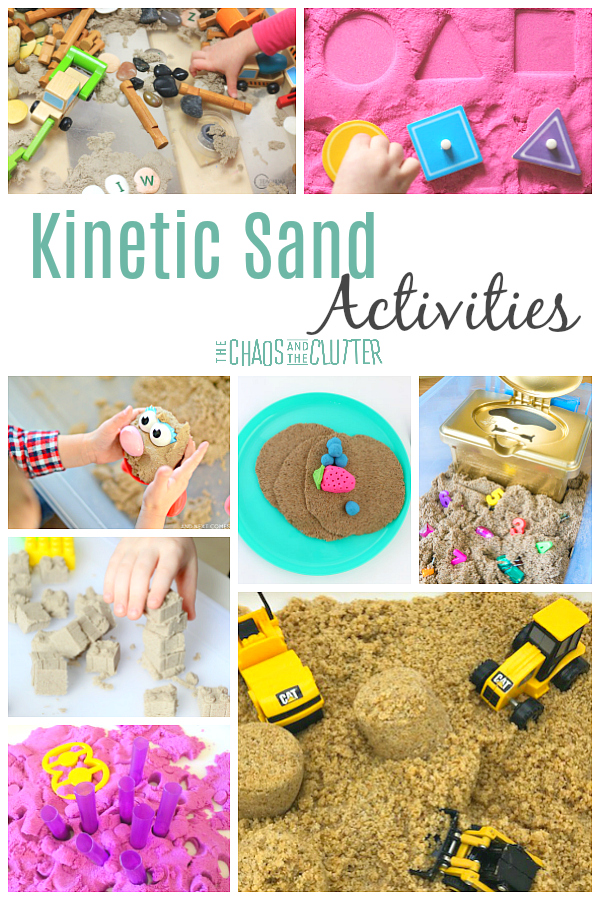
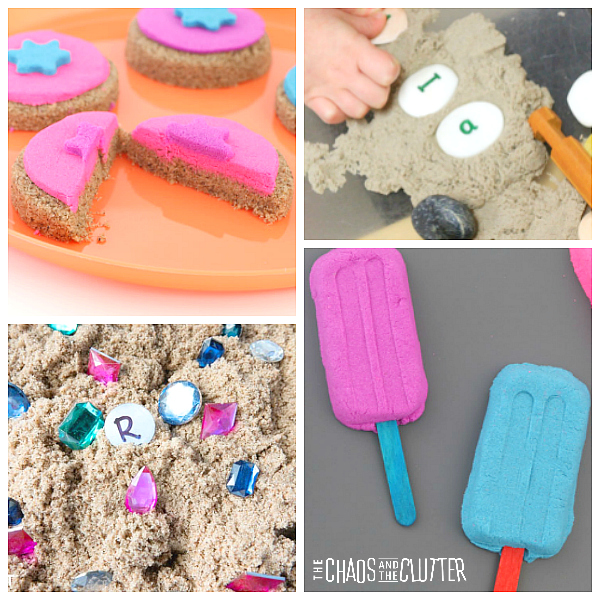
a collage of photos demonstrating different activities using kinetic sand including stamping, stacking, shaping, and building. The words "kinetic sand activities" are on the image.

By Sharla Kostelyk

Kinetic sand is a fantastic sensory play material. It behaves similarly to wet sand in that it can be moulded and shaped, but it doesn’t dry out. You can purchase it or you can use our kinetic sand recipe to make your own. Making homemade kinetic sand is a much cheaper option and is easier than you may think.

Is kinetic sand safe?

Kinetic sand can be dangerous to pets and children if eaten. Although it is technically considered non-toxic, the store bought kinetic sand does not pass through the body the same way that regular sand does.

There have been reports of pets such as this dog requiring surgery to have kinetic sand removed once ingested. My recommendation is that you keep kinetic sand far away from your pets and of course, as with all sensory play activities, that you use adult supervision with children when playing.

Homemade kinetic sand recipes may be safer due to their ingredients, but I wouldn’t suggest taking a risk.

Kinetic Sand Activities for Sensory Play #kineticsand #sensoryplay #preschool #kidsactivities

Kinetic sand activities:

There are so many possibilities when it comes to play with kinetic sand. There are also ways to incorporate learning into this type of sensory play.

Kids can practise scooping, shaping, squeezing, and digging in a kinetic sand sensory bin. This is so good for proprioceptive sensory feedback. This type of sensory bin also allows for imaginative play.

Still Playing School shares stamping shapes in kinetic sand. This idea is wonderful for kids who are learning their shapes as well as practising fine motor skills.

This idea for kinetic sand play food at The Craft Train is so cool! I think kids are going to be amazed at what they can create.

If you grew up playing with Mr. Potato Head, you’re going to love the potato head idea over at And Next Comes L. It’s great for sensory and imaginative play.

Fine motor, sensory play, and number recognition all come together in this kinetic sand number hunt.

Left Brain Craft Brain shares different ideas for fun ways to incorporate math into kinetic sand play.

Fun Learning for Kids shares how to build with kinetic sand and blocks. If you have a child who is a fan of building or playing with Lego, this is going to be a big hit!

This Treasure Chest Sensory Bin from The Simple Parent repurposes a wipes container. If you’re a parent, chances are, you have one of those around somewhere!

If you’re doing a dinosaur unit, this dinosaur excavation activity from Crafts on Sea would be a fun one to try.

Teaching 2 and 3 Year Olds has a fun Alphabet Sensory Bin using kinetic sand. There are several suggestions for helping children with their ABCs.

Kinetic sand goes beautifully in a Zen Rock Garden like this one from 3 Dinosaurs.

More activity ideas for kinetic sand:

  • do a fossil hunt
  • provide paintbrushes for kids to “paint” in the kinetic sand
  • bury objects in the sand and have kids dig for them with their hands or small shovels or scoops
  • add seashells for digging and drawing shapes
  • shape it into logs and then slice it with a plastic knife
  • make indoor sandcastles using small sand toys
  • fill sand or snow moulds
  • push buttons or beads into the kinetic sand for fine motor practise

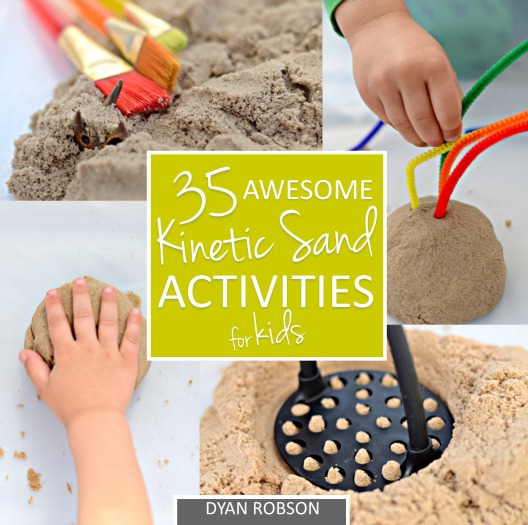
Looking for more ideas? Check out the eBook 35 Awesome Kinetic Sand Activities. 

Filed Under: Sensory Tagged With: sensory play

Seek and Find Sensory Bin

By Sharla Kostelyk

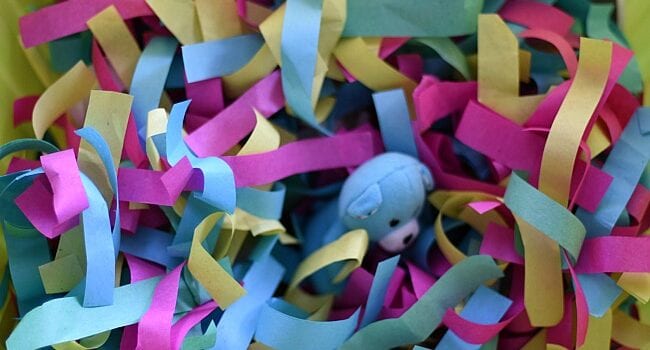
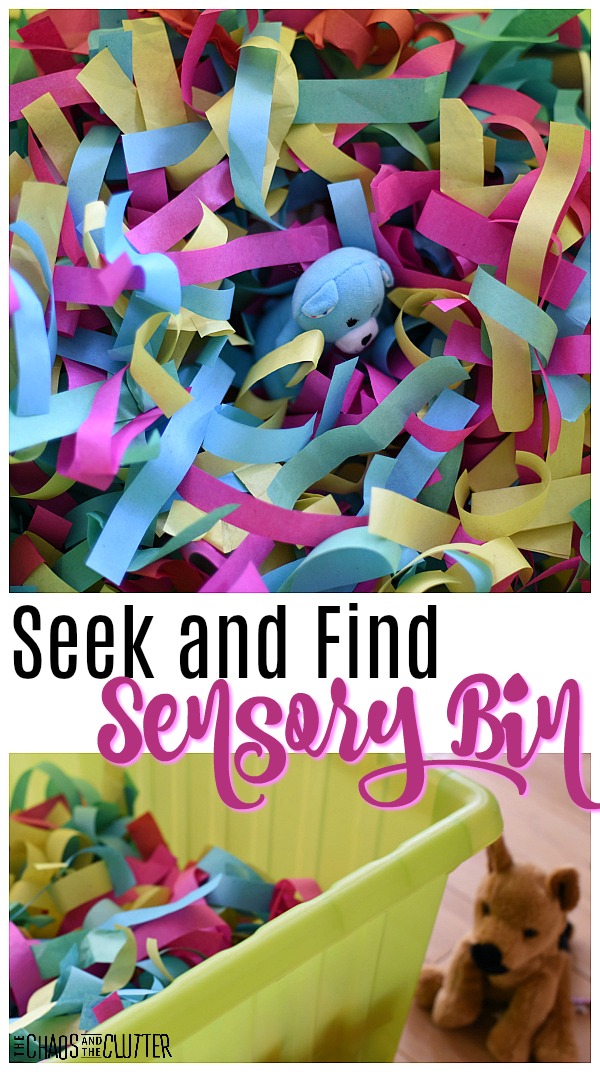
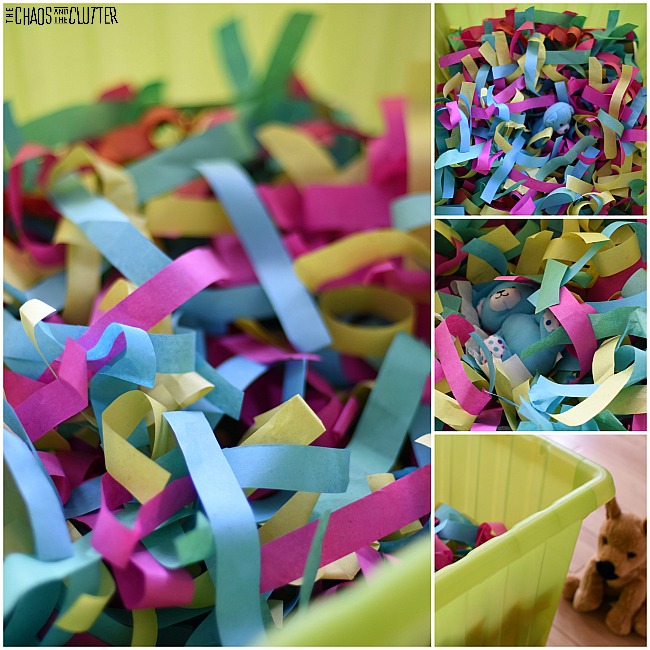
This seek and find sensory bin is so simple and yet, so much fun. Kids will love searching through to find their hidden items. This Seek and Find Sensory Bin is so much fun for kids! #sensorybins #sensoryplay #sensoryFor younger kids, this sensory bin can almost mimmic a peek-a-book type of effect. You can drop a toy in and it disappears until they find it and it reappears again.
Seek and Find Sensory Bin:

Materials needed:

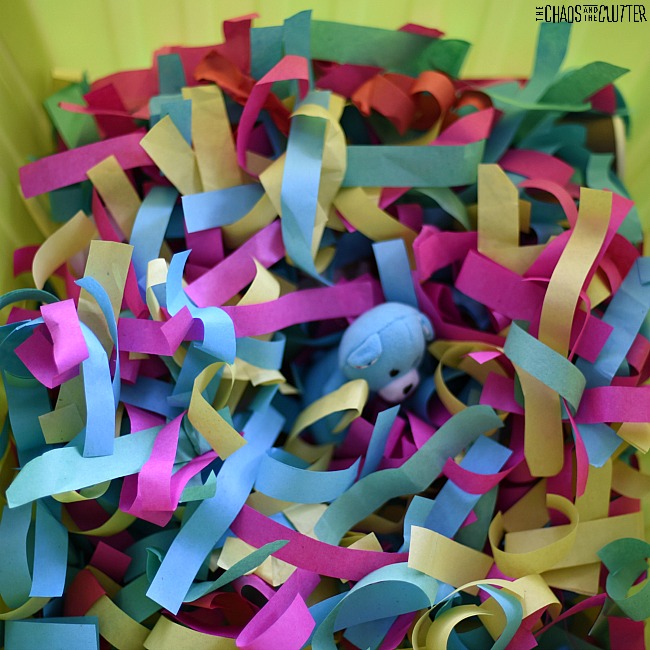
  • multicoloured paper shreds (we actually got ours from inside those confetti popper things, but you can cut or tear tissue paper, use paper scraps, or leftover Easter grass)
  • small toys or stuffed animals
  • plastic bin 
  1. Fill a plastic bin with paper shreds.
  2. Toss in a few favourite toys or stuffed animals.
  3. Have your child go “seek and find” the toys.
  4. Throw the toys back in and repeat!

Seriously, that’s it! I love the simplicity of this sensory bin.

You don’t need to put too much thought into this. You don’t need expensive sensory items. This is just a wonderful, simple activity that kids will enjoy.

For younger kids, this bin is a great way to reinforce the concept of object permanence. They see the object before it goes in, then it disappears under the paper shreds, but they are able to find that it still exists when they find it again.

It has that peek-a-boo type of factor that kids just love!

As long as this is used with supervision and the toys used are large enough not to be a choking hazard, this sensory bin is safe for use with babies and toddlers.

This activity engages the visual and tactile sensory systems. If you place the bin on the ground and your child bends over to go through it looking for their toy, then it also engages the vestibular sensory system. And the crunching of the paper can provide auditory input as well.
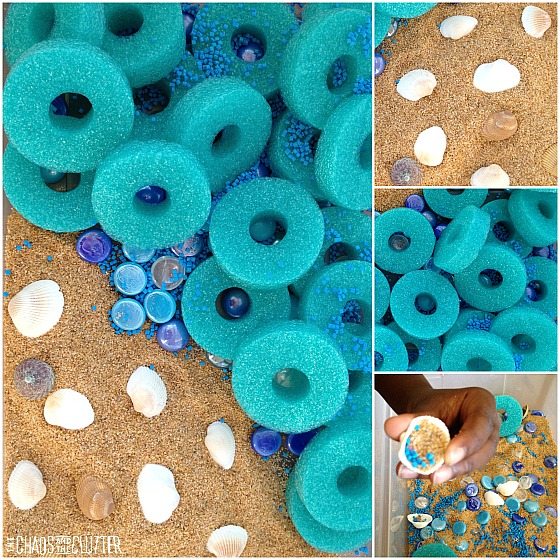
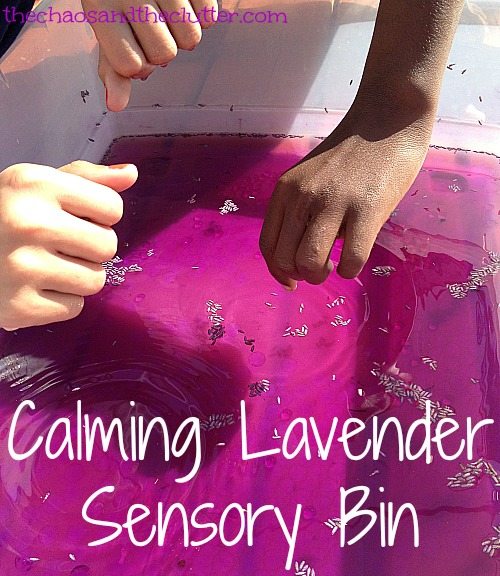
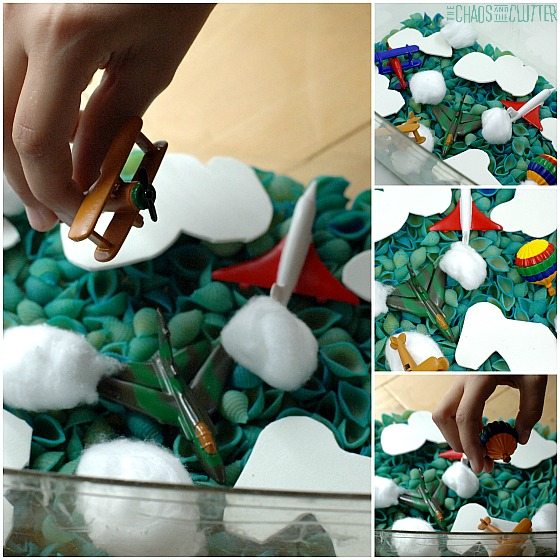
Check out some of our other sensory bins:

Seaside Sensory Bin 

Calming Lavender Sensory Bin Calming Lavender Sensory Bin

Sky Sensory Bin 

Filed Under: Sensory, Sensory Bins Tagged With: sensory play

Van Gogh Inspired Starry Night Sensory Bottle

By Sharla Kostelyk

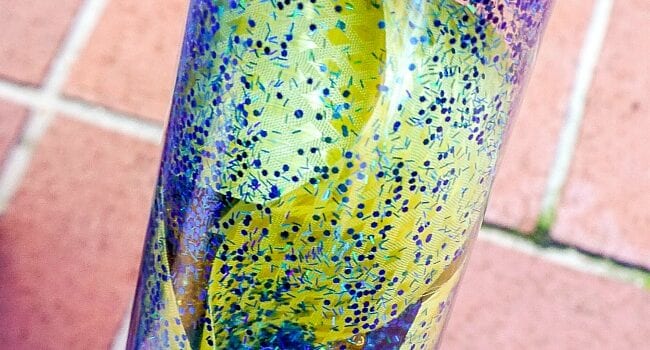
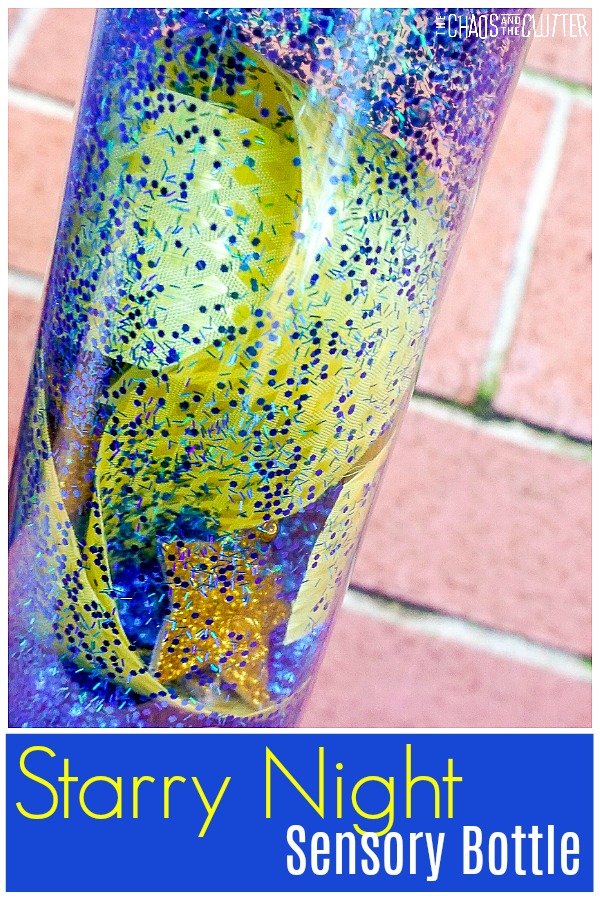
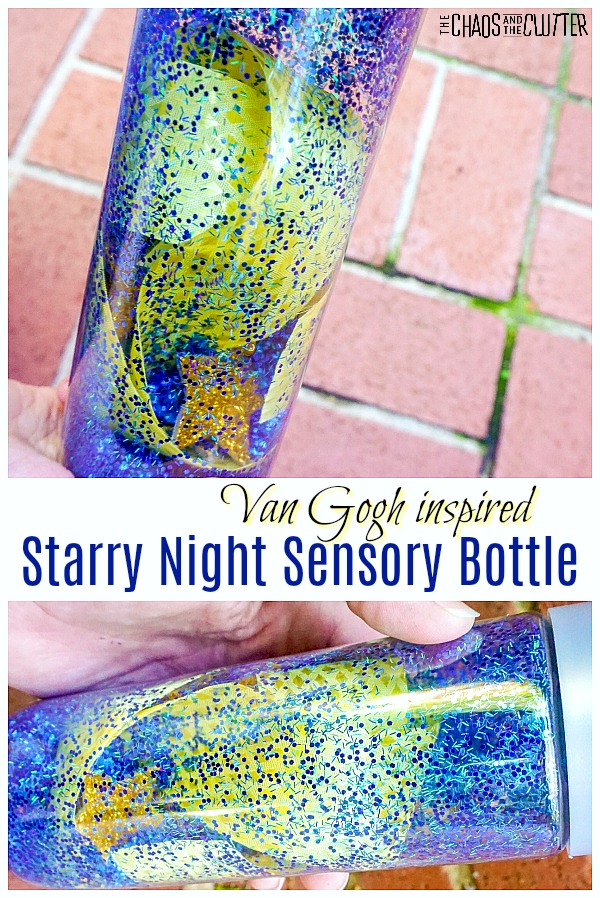
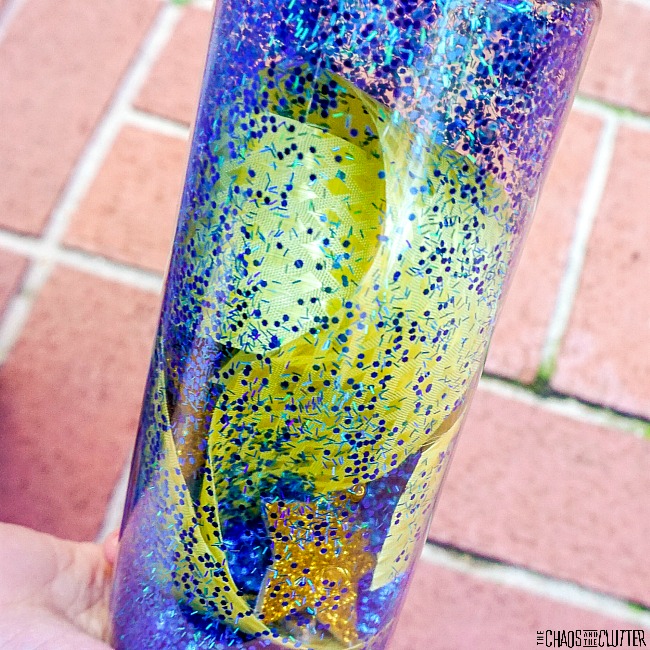
My oldest daughter loves Vincent Van Gogh’s Starry Night artwork. This starry night sensory bottle is inspired by that piece. Van Gogh Inspired Starry Night Sensory Bottle #sensorybottle #sensoryplay #sensory #kidsactivities #starrynightThis sensory bottle is extremely lightweight. This makes it perfect for keeping in the vehicle or in a backpack. Having easy access to a sensory bottle can help kids to stay calm when they need it. 

Starry Night Sensory Bottle:

Materials needed:

  • plastic water bottle (I like the Voss ones because of the shape and the wide spout)
  • 12-inch long, 3-inch wide yellow ribbon
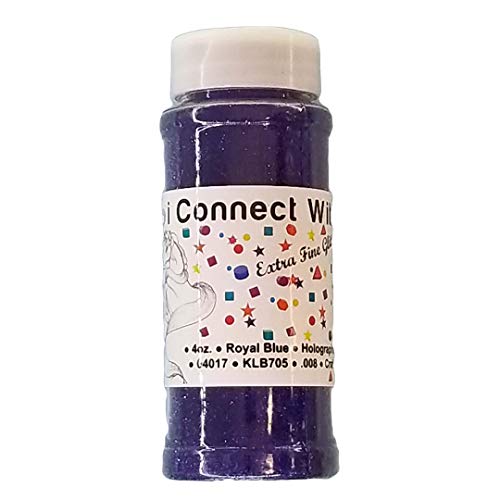
  • ½ cup Royal Blue holographic glitter
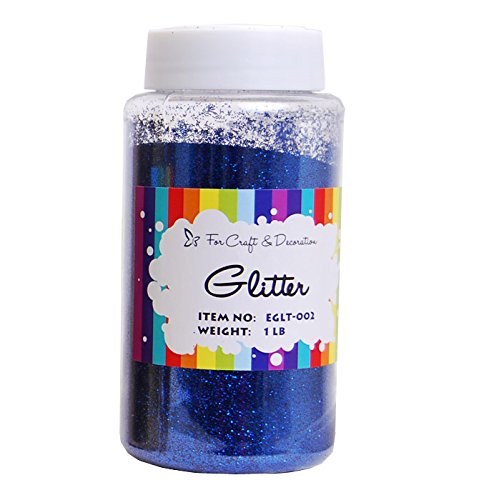
  • ½ cup Royal Blue glitter
  • 5-10 gold glitter foam stars, varying sizes
  • funnel
  • Super Glue, optional

VOSS Water BottlesVOSS Water BottlesVOSS Water BottlesRoyal Blue Holographic GlitterRoyal Blue Holographic GlitterRoyal Blue Holographic GlitterRoyal Blue GlitterRoyal Blue GlitterRoyal Blue Glitter

Directions:

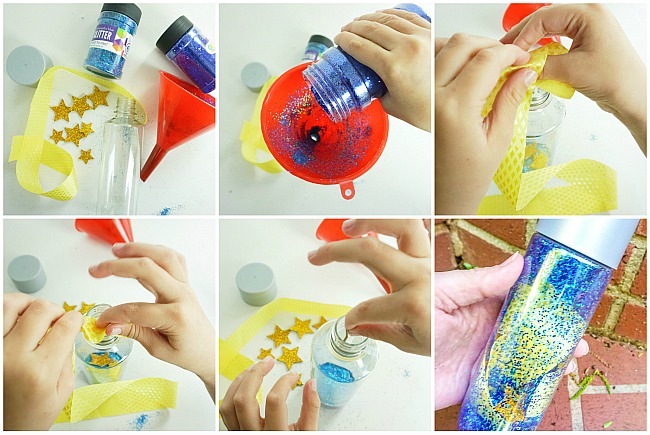
  1. If using a Voss water bottle, empty the bottle of water and allow the bottle to air dry.
  2. Fold the ribbon and slide it into the sensory bottle.
  3. Add stars (these may have to be folded in half depending on the size).
  4. Add both glitters to the bottle using the funnel.
  5. Replace the lid and play! (see note below)

Note: If you are intending to use this sensory bottle with small children, seal the lid with super glue before screwing the lid back on. You will need to give the super glue at least 15 minutes to dry before handing it over to a child.
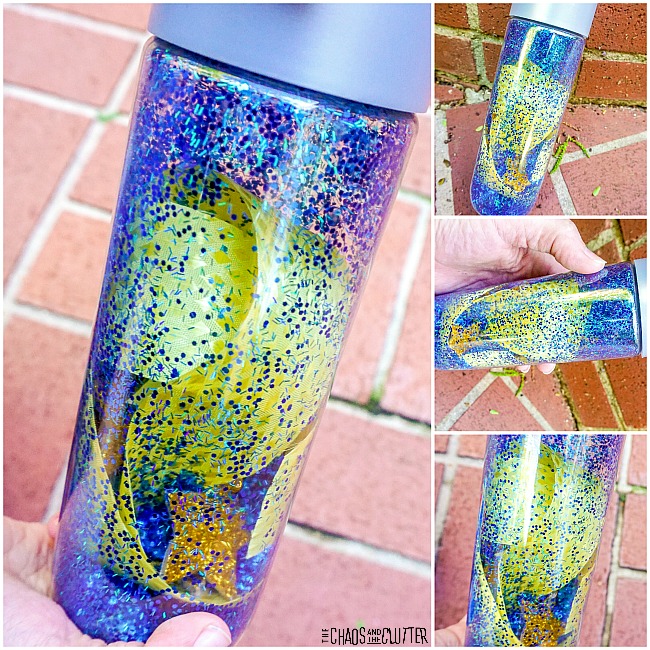
Learning Objectives for the Starry Night Sensory Bottle:

Sensory – Describe the sound the bottle makes, describe the feel of the bottle (light, heavy, etc), describe what you see when you shake the bottle. This bottle provides good visual sensory input. 

Math Skills – Counting stars, counting the different size stars, sorting the stars by size.

Science Skills – Over time, watch how the glitter sticks to the side of the bottle, creating a new “painting” with every shake.Fine Motor – Getting the ribbons and stars into the sensory bottle can be a challenge for little hands. Not only will this challenge their fine motor muscles, it is also an excellent chance to problem solve and discuss what happens if you fold the ribbon, push it in with your fingers or just try to get it to “fall” into the bottle.

Language Skills – Have kids use descriptive language to explain what the ribbon, stars and glitter look like, what sizes the stars are, how long the ribbon is and what they are experiencing. Each child can practice pragmatic language for rules on how to use the sensory bottle and how to share the sensory bottle (informing, demanding, stating, and requesting).

Art Appreciation – Look together at images of the original Starry Night painting by Vincent Van Gogh. Discuss how the sensory bottle is similar and how it is different.

Check out these other sensory bottles:

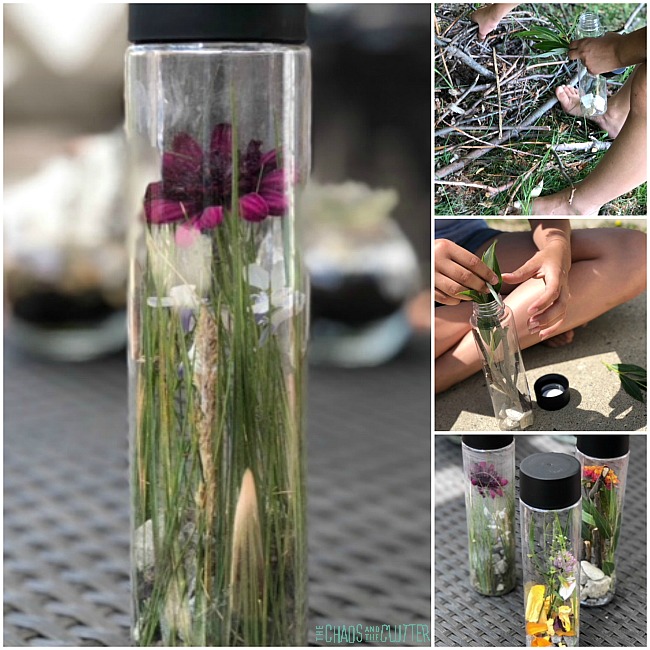
Nature Sensory Bottle

Rainbow Rainfall Sensory Bottle

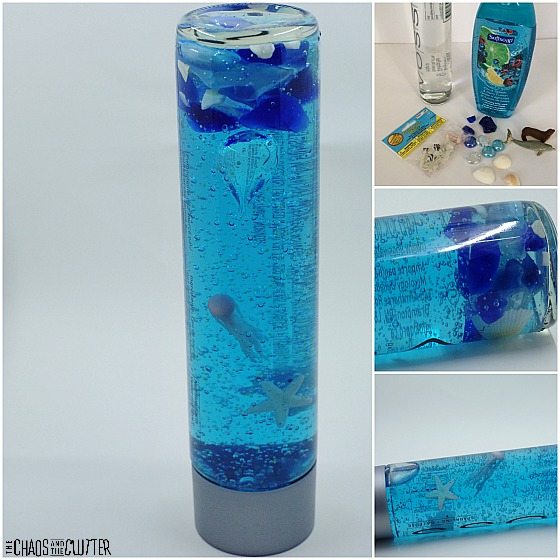
Ocean Sensory Bottle

Filed Under: Sensory Tagged With: sensory bottles, sensory play

  • « Go to Previous Page
  • Page 1
  • Interim pages omitted …
  • Page 15
  • Page 16
  • Page 17
  • Page 18
  • Page 19
  • Interim pages omitted …
  • Page 50
  • Go to Next Page »

Primary Sidebar

Categories

We are a participant in the Amazon Services LLC Associates Program, an affiliate advertising program designed to provide a means for us to earn fees by linking to Amazon.com and affiliated sites.

Copyright © 2026 • The Chaos and the Clutter • Site Design by Jeni @ The Blog Maven

Return to top of page

Copyright © 2026 · Chaos and the Clutter 2.0 on Genesis Framework · WordPress · Log in