• Skip to primary navigation
  • Skip to main content
  • Skip to primary sidebar
  • Home
  • About
  • Contact
  • Privacy + Terms
  • Affiliates

The Chaos and the Clutter

  • Facebook
  • Twitter
  • Pinterest
  • Google Plus
  • RSS
  • Email
  • School at Home
  • Sensory
    • Sensory Processing Disorder
    • Awesome Sensory Play Activities
      • Sensory Bins
      • Sensory Bottles
      • Sensory Bags
  • Family Games
    • Minute to Win It Games
  • Special Needs Parenting
    • Childhood Anxiety
    • Reactive Attachment Disorder
    • Sensory Processing Disorder
  • Store
  • Course Login

Sensory

Fill an Ornament Christmas Sensory Bag

By Sharla Kostelyk

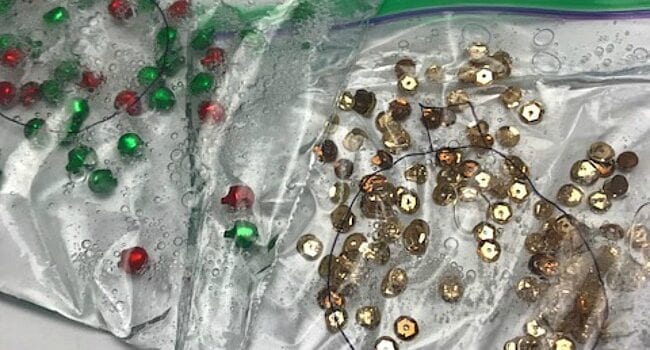
Not only is this Christmas sensory bag a great sensory activity, it is also an excellent fine motor activity. Kids can push the sequins into the area to fill the ornament.
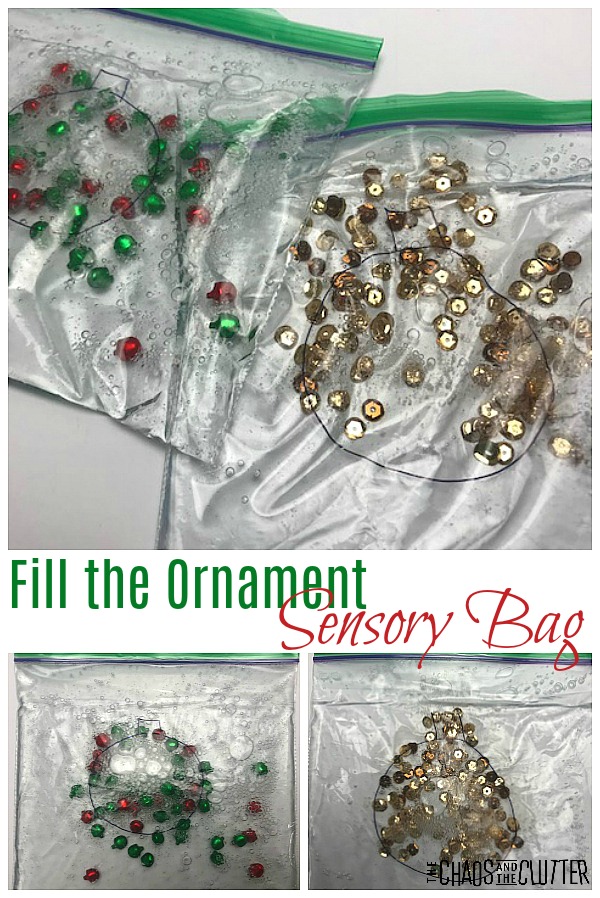
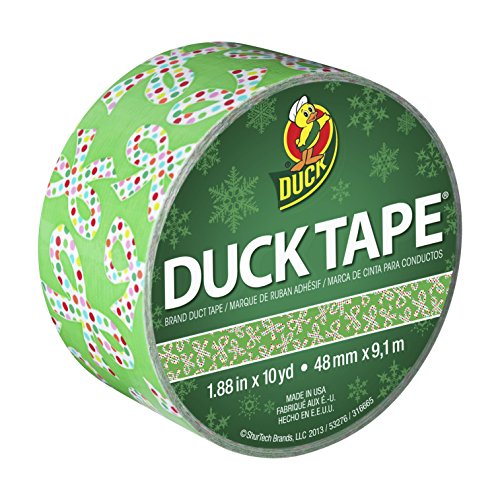
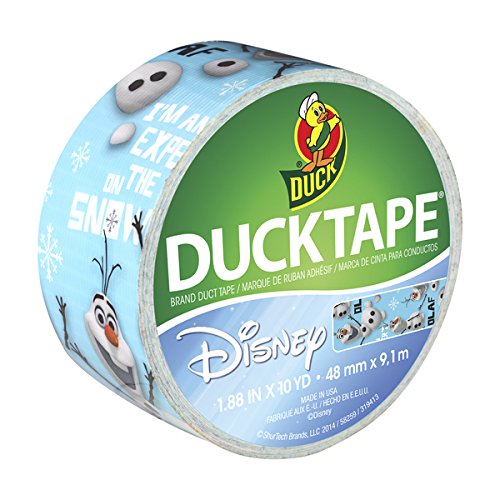
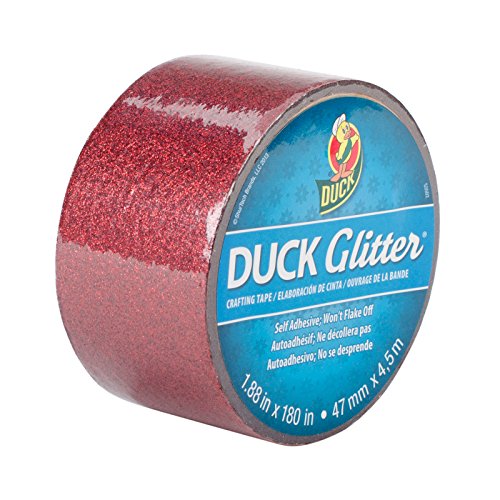
Fill the Ornament Christmas Sensory Bag sensory and fine motor activity #finemotor #Christmassensory #sensoryplay #holidayactivities #kidsactivities #sensorybagThis cute activity can be taken with you for use as a busy bag. It can be taken in the vehicle or used in waiting rooms. If you’re going to take it out and about, it’s definitely best to seal the edges with duct tape. Using a holiday themed duct tape makes it extra cute.

Fill the Ornament Christmas Sensory Bag:

  • sandwich or medium sized resealable bag (I like the medium freezer bags)
  • clear hand sanitizer
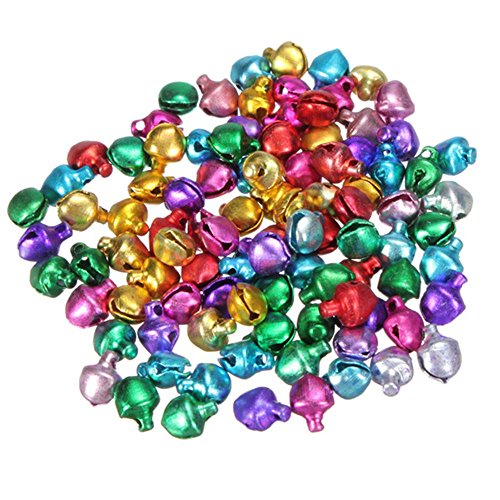
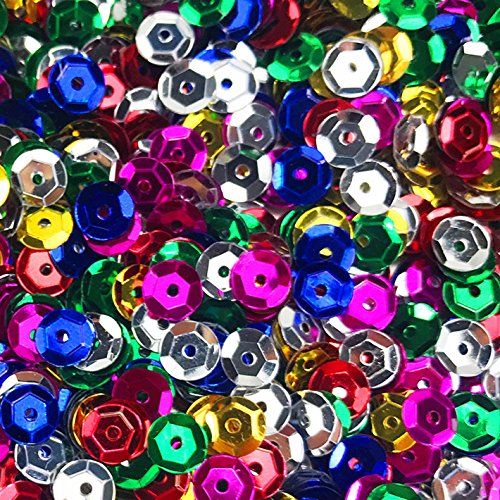
  • sequins and/or mini ornaments
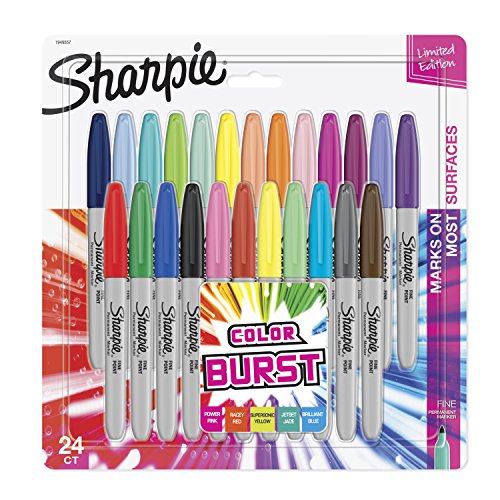
  • permanent marker
  • optional: duct tape (way more fun if you use holiday themed duct tape)
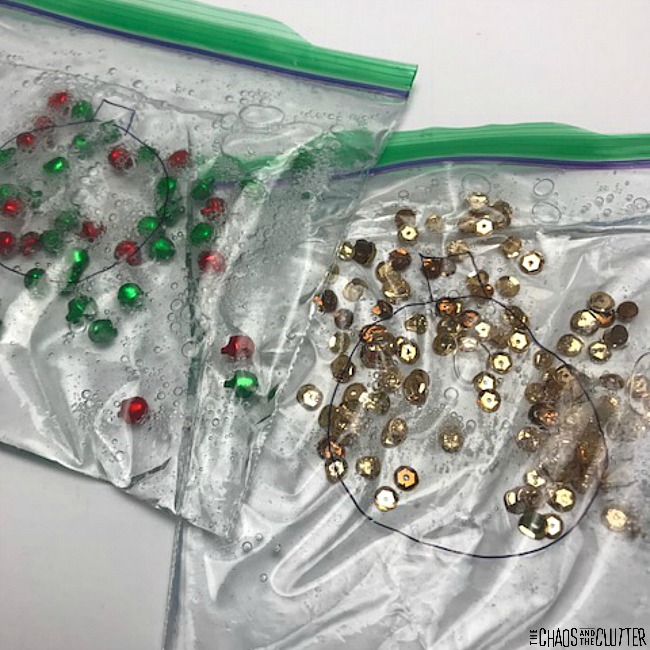
  1. With a permanent marker, draw an ornament shape on a resealable bag.
  2. Fill the bag slightly less than halfway with hand sanitizer. Add a healthy amount of sequins or mini ornaments in holiday colours to the bag.
  3. Remove as much air as you can from the bag.
  4. Seal.
  5. If you’re going to be using this with younger children or are worried about a potential mess, fold duct tape over the edges of the bag. You can get all kinds of fun holiday printed tapes to use that will make this look even more festive.

Duct Tape, Holiday BowsDuct Tape, Holiday BowsDuct Tape, Holiday BowsDuct Tape, Frozen Inspired OlafDuct Tape, Frozen Inspired OlafDuct Tape, Frozen Inspired OlafDuct Tape, Red GlitterDuct Tape, Red GlitterDuct Tape, Red Glitter

The child can now “fill” the ornament by moving the sequins with their finger on the outside of the bag.

You can make multiples of these Christmas sensory bags and use different colours of sequins or small ornaments. The kids can race to see how quickly they can fill the ornament.

Multicolor Mini OrnamentsMulticolor Mini OrnamentsMulticolor Mini OrnamentsMulticolor SequinsMulticolor SequinsMulticolor SequinsMulticolor SharpiesMulticolor SharpiesMulticolor Sharpies

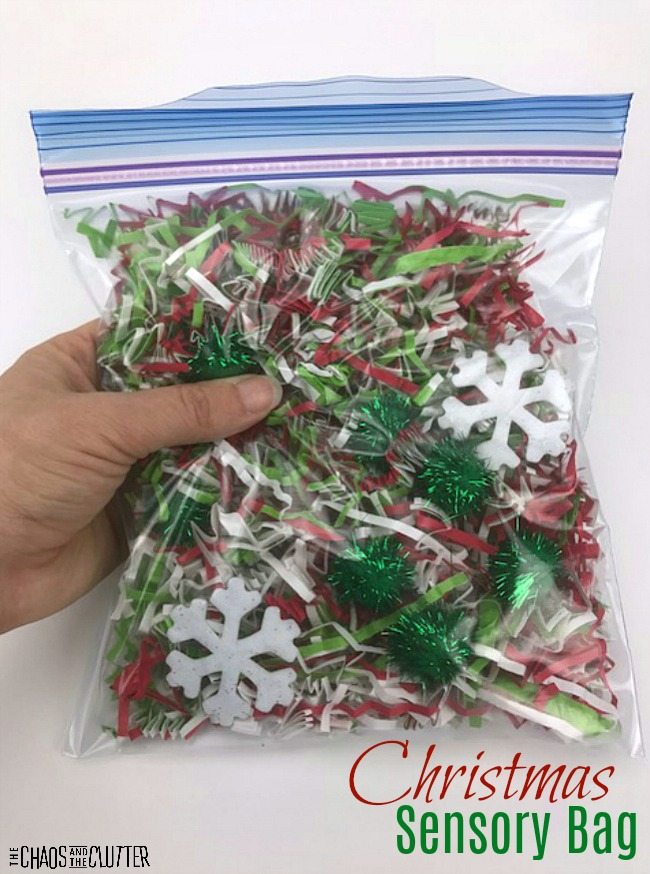
Check out some of our other Christmas themed sensory bags:
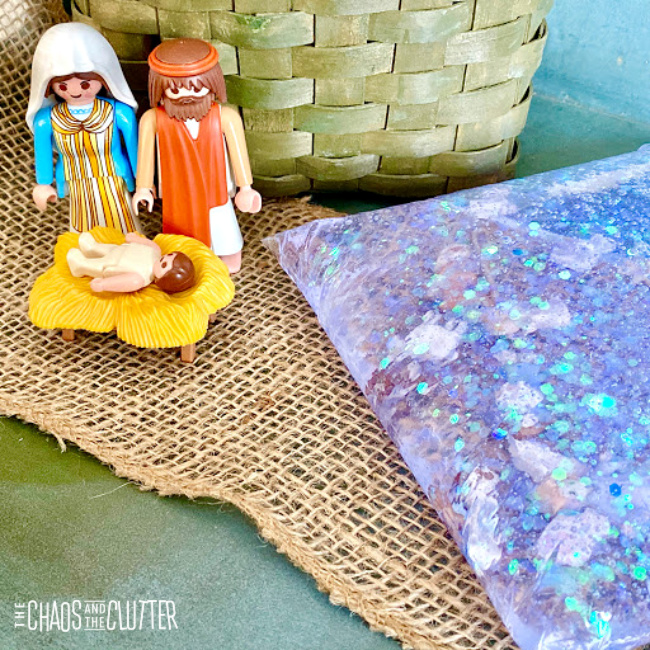
Nativity Sensory Bag

I-Spy Christmas sensory bag 

Simple Christmas sensory bag This simple Christmas Sensory Bag makes a delightful

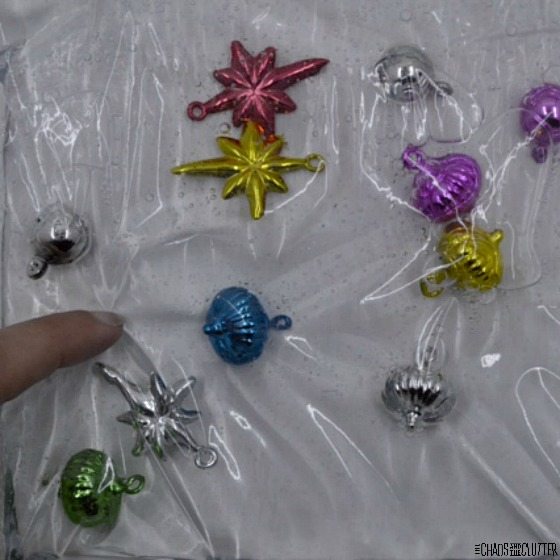
Christmas ornaments sensory bag 

Filed Under: Sensory Tagged With: sensory bags, sensory play

10 Things You Can Do to Make Each Day Easier for Your Sensory Kiddo

By Sharla Kostelyk

Being a child with sensory needs can make even the simplest things like combing your hair or getting dressed feel challenging. Sometimes making small adjustments can make the everyday struggles easier.10 Tips to Make Every Day Easier for Sensory Kiddos #sensory #spd #sensoryprocessingdisorderAs a parent, you can feel helpless as you watch your child struggle. Using the strategies below, you can make life easier for your child and cut back on sensory meltdowns and day-to-day battles.
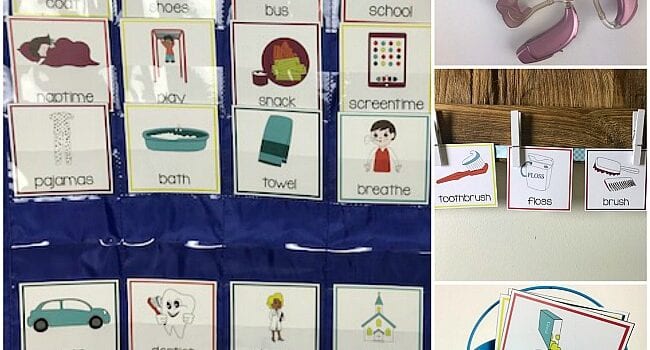
Here are some tips that can help with those everyday battles:

  1. Use a visual schedule. This allows the child to know exactly what to do and what’s coming next. It can ease the pain of transitions and lessen the chance of meltdowns. For some kids, they need the tasks broken up into smaller steps, so look for a visual schedule that breaks things down.
  2. Give warnings for upcoming transitions and allow for extra time so that your child can adjust. Be sure to allot margins in your day to allow for this and to reduce stress on both you and your child.
  3. Offer sensory breaks throughout the day. This gives your child the necessary sensory input. Sensory breaks also make good transition bridges.
  4. Use a Sensory Triggers Log to help you identify your child’s sensory triggers. This will allow you to avoid them or make changes to your child’s environment to accommodate them.
  5. Work on giving your child an emotional vocabulary so that they can express their feelings.
  6. Teach your child calming breathing techniques.
  7. Meet your child’s sensory needs during the day with sensory activities and heavy work opportunities. This will not only help them all day long, it will help them sleep better at night.
  8. Don’t die on the clothing mountain. Let your child wear what’s comfortable to them. Be a sensory detective to discover why certain articles of clothing bother them. This will help you find solutions.
  9. Have your child use a vibrating toothbrush. Not only will this add more sensory input to their day, it will decrease oral sensitivity and eventually lead to less battles over food.
  10. Teach your child about sensory processing and the 8 sensory systems so that they can better identify their needs and voice them to you.

Bonus tip: Carry a pack of Post-It notes with you in your purse so that you can cover the automatic flush sensor on toilets in public bathrooms. No more surprise loud noise for your child to contend with!

I love this list so much because it has some actionable strategies that you can start using right away.

Filed Under: Sensory, Special Needs Parenting

How to Use Visual Schedules with Your Special Needs Child

By Sharla Kostelyk

Does this sound familiar? You are trying to get your child out the door to school or for an appointment and they can’t seem to accomplish the smallest tasks. They are easily distracted and moving as slow as molasses. You give reminder after reminder, but they seem to go in one ear and out the other. It’s the same scene every morning. You are becoming more and more agitated until finally, you explode. Learn how to use visual schedules to ease transitions, reduce meltdowns, create independence in daily life, and make mornings more peaceful. #specialneedsparenting #sensory #visualscheduleYou feel guilty as your child leaves for school once again feeling deflated.
Your child can’t move from one activity to another or one location to another without having a meltdown. You try to remember to give them a “five minute warning”, but sometimes there just isn’t time. Sometimes, even with the warning, they still don’t seem to be able to make the transition.

You find yourself once again dealing with a meltdown.

The teacher calls again. Your child came out of the bathroom at school with their pants down around their ankles. Again. At home, they always forget to flush the toilet or leave the water running after they wash their hands…when they remember to wash their hands at all. You know that your child is doing their best.

You wish you could help them gain more independence.

Why use visual schedules?

Visual schedules carry many benefits, particularly for children who have special needs. Visual schedules:

  • break down tasks into easy-to-complete steps
  • simplify
  • provide structure
  • create predictability
  • teach independence
  • improve focus and attention
  • help with time management
  • instill consistency
  • form healthy habits
  • reduce cognitive load
  • maintain daily routines
  • establish a schedule that works
  • ease transitions
  • prevent meltdowns
  • promote positive choices
  • decrease problem behaviours
  • provide helpful reminders

Visual schedules are especially beneficial for children on the autism spectrum, children with FASD, ADHD, sensory issues or SPD, RAD, or other special needs. They can be an invaluable tool. Many parents report that they have been a “game changer” in their household.

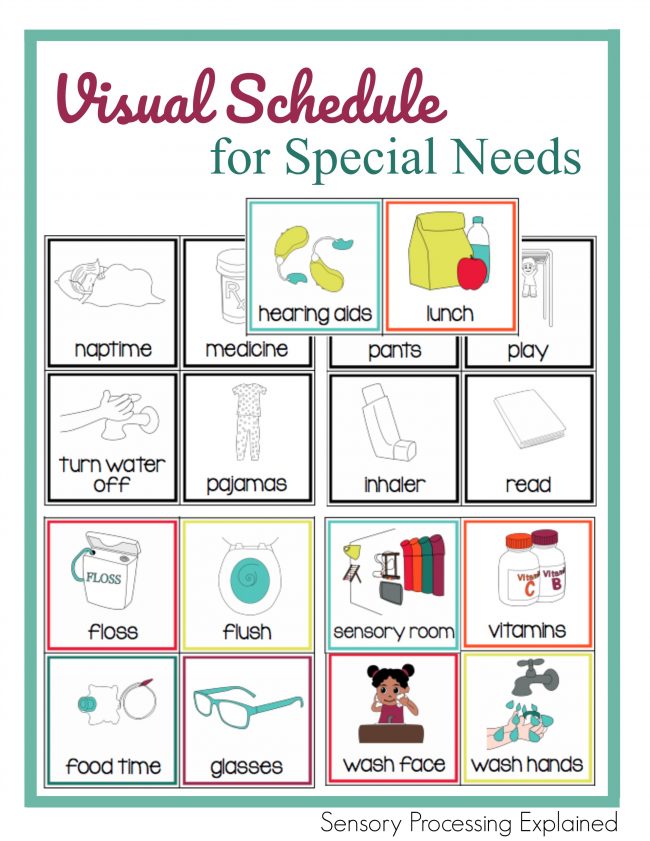
I created the Printable Visual Schedule for Special Needs because I couldn’t find a visual schedule that included what I was looking for to use with my own kids. I wanted something that parents could use with visual and written prompts that kids could easily understand. It is in both colour and black and white. The black and white cards are great for having kids colour themselves. This gives them another reenforcement and reminder.

How to use visual schedules:

The best way to use visual schedules to benefit your child depends on your child and on what you are hoping to accomplish.

If your child is experiencing a lot of meltdowns during transition times, you will want to start with cards that help them predict upcoming changes throughout their day to help them predict what’s coming next.

If your child is struggling to get out the door in the morning, you’ll want to start with cementing a morning routine that works for them.

Or if your child is struggling most with breaking things down into smaller tasks, that will be where you want to start.

Create a morning routine chart.

You can do this in many ways. Choose which of the methods below you feel would work best for your child. You can always try multiple methods to find the best fit.

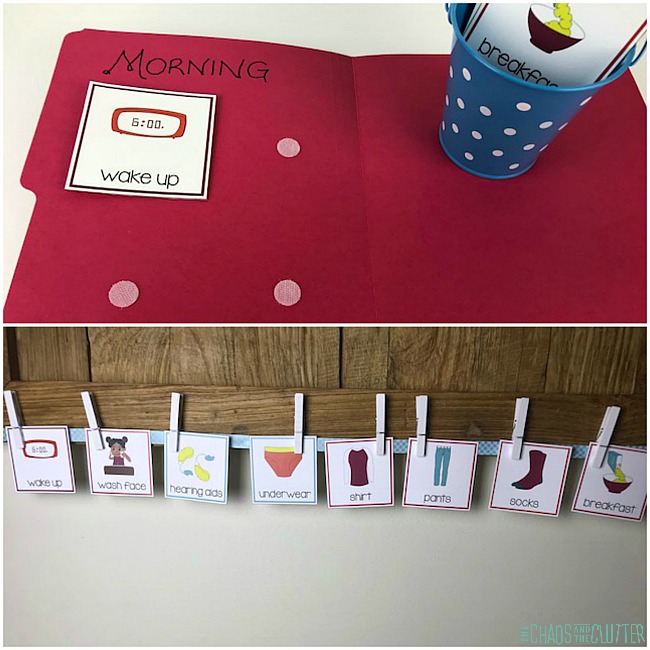
  1. Place velcro dots on a poster board and hang the poster in their bedroom. Attach an open envelope to the bottom of the poster. Place velcro dots on the back of the visual schedule cards and place them on the poster in the order your child should complete their morning routine. As they complete the tasks, they can add the card into the envelope.
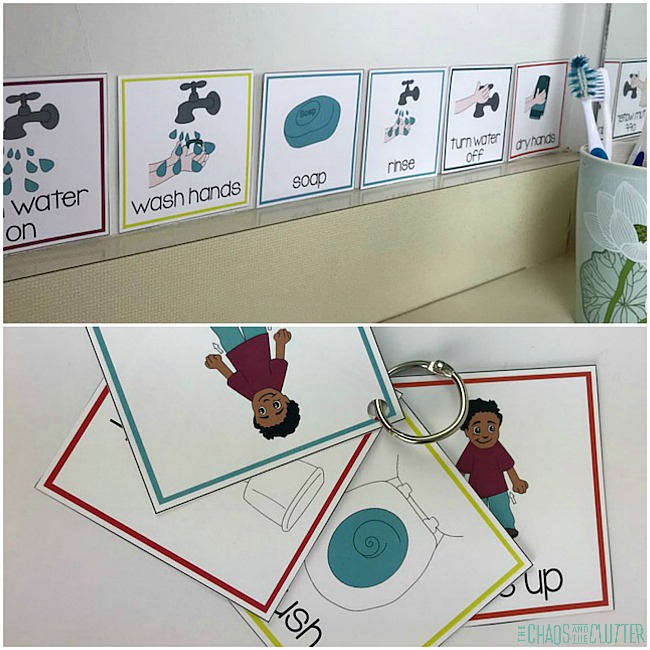
  2. Hole punch the cards that your child needs to complete each morning. Place them on a binder ring and give it to your child as a visual reminder they can carry with them as they complete each step.
  3. Affix magnets to the back of the cards. This works best if the cards are laminated. Set up an area on the side of the fridge or on a magnetic white board in the kitchen where your child can see their cues and move them down as they complete each one.
  4. Give your child a folder or binder that contains the cards needed for their morning routine. These can be glued down on a page in the binder with the heading “Morning” or you can add velcro dots to the page and to the backs of the cards and glue an envelope to the inside of the binder for easy storage of the cards.
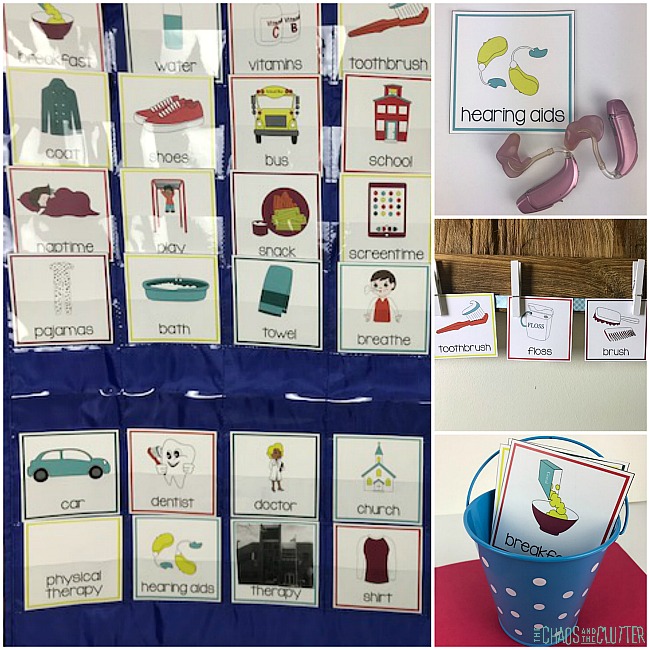
  5. Hang a ribbon or string in your child’s room. Use clothespins to attach their visual prompts in the order they need to be completed. Provide a small bucket or envelope that your child can put the cards into once they’ve finished each one. 

Create a daily schedule.

  1. Make a poster for your child that displays their daily schedule. See the method for making the poster above.
  2. Create a visual representation of your child’s day on the side of the fridge using magnets on the back of the cards.
  3. Make your child a binder separated into Morning, Afternoon and Evening to further simplify things.
  4. Another way of creating a daily schedule is by using a pocket chart. You can add the cards needed for that day at the top of the chart in the order they will happen and store the rest of the cards either at the bottom or in a separate envelope that you can staple near the bottom of the pocket chart.

For some children, the chart can be very general, including only the highlights of the day, whereas for others, you will need to break down each thing into smaller tasks.

I don’t recommend using binder rings for an entire daily schedule as it can be too overwhelming for a child.

Break down tasks.

Some of the cards break tasks down for kids to enable them to complete them step by step. These cards work well in these ways:

  1. Hole punch the cards and attach them to a binder ring. This way, the child can carry it with them. This is particularly good for the bathroom prompts. They can flip through the cards as they complete each step.
  2. Use poster putty or teacher’s tape to attach cards to the bathroom wall or mirror for the bathroom cards and the step by step instructions for hand washing.
  3. Attach the cards to the back of your child’s bedroom door or the wall in the entryway for reminders such as putting on their shoes and coat or taking their lunch. 

For school and appointments:

  1. When I created this visual schedule, I purposely left some of the cards such as those for Speech, Occupational Therapist, Therapist, etc. without an image. This was so that the child or parents could add a picture of the building or actual therapist to the card. For some children, especially those with autism, it helps to have things as concrete and specific as possible. Seeing the actual building or person they have an appointment with helps create security and aids in the transition.
  2. Children can use the pocket chart, binder, or binder ring method to use their visual schedule as their prompts while at school.

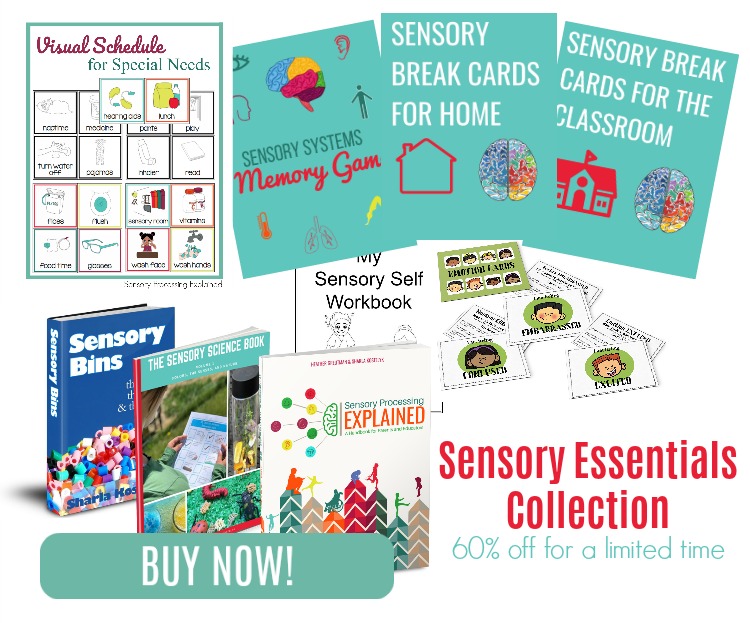
For a short time only, the Visual Schedule for Special Needs is included in the Sensory Essentials Collection which included many other resources for helping kids thrive.

Filed Under: Sensory, Special Needs Parenting

How To Make Kinetic Sand At Home

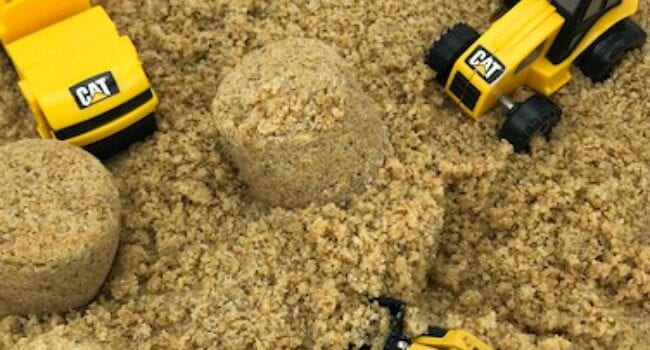
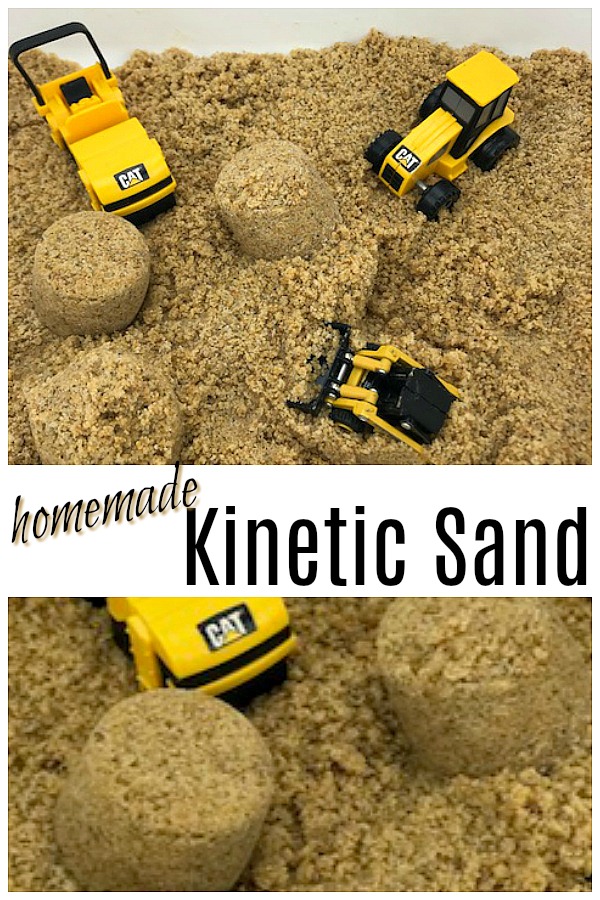
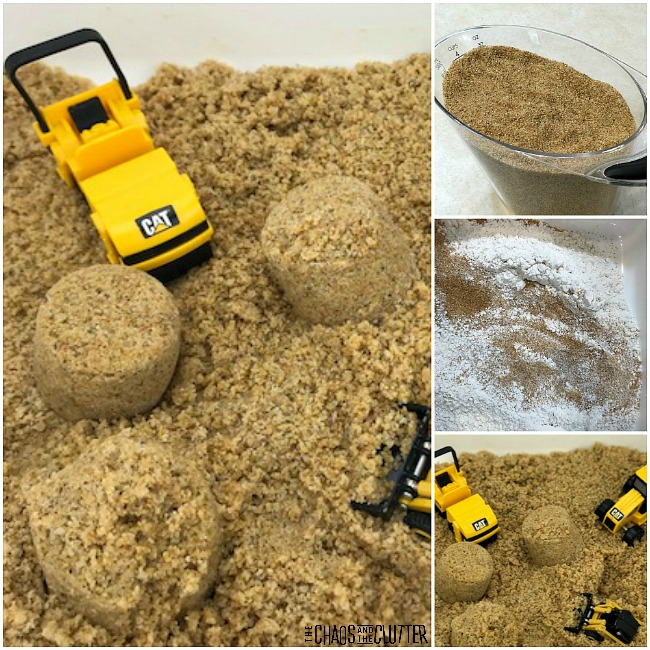
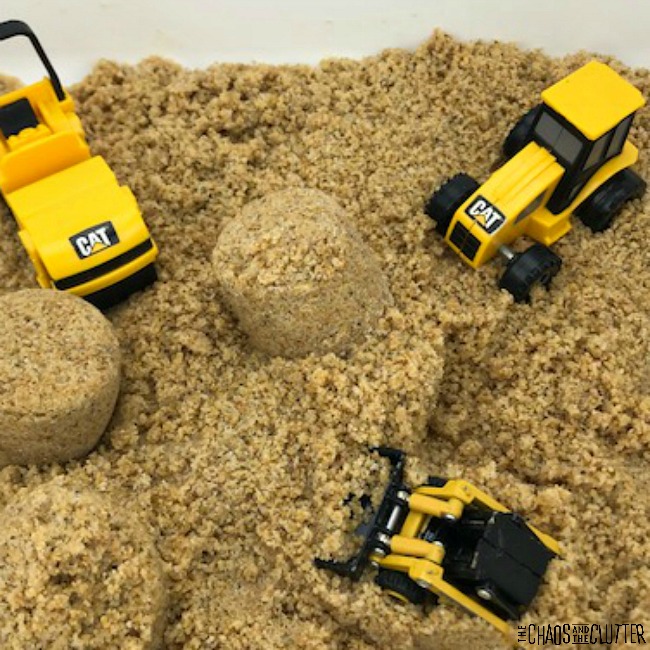
a white bin filled with kinetic sand also contains 3 small construction vehicle toys that are yellow and black in colour.

By Sharla Kostelyk

Kinetic sand is such a neat sensory experience for kids. It is fun to play with, sparks creativity, and offers great sensory input. I don’t know if you’ve noticed or not, but the kinetic sand in stores is expensive.

Once your kids play with the kinetic sand for a while (particularly if it’s in a classroom or day care and multiple children have their hands in it), it can get dirty. That means it needs to be thrown out. Which means you need to buy more. That’s why homemade kinetic sand is such a great option. You won’t believe how easy this recipe is to make!

Homemade Kinetic Sand #sensoryplay #sensoryplayrecipes #kineticsand

What is Kinetic Sand?

Kinetic sand is sand that has had ingredients added to it so that it becomes mouldable like clay. It continues to have the grainy properties of sand, creating an interesting texture experience.

Yet it sticks to itself, much like wet sand at the beach. When you are on the shore making sand castles or sand sculptures, you need to add water to keep the structures from becoming too dry and crumbling. This is essentially the idea behind kinetic sand.

DIY Kinetic Sand Recipe

Ingredients:

  • 4 cups sand
  • 2 1/2 cups flour
  • 3/4 cup vegetable oil

How To Make Kinetic Sand:

  1. Measure out the sand and flour and add to a large bowl.
  2. Mix the sand and flour together.
  3. Stir in the oil. Combine well.

Now you have your own homemade kinetic sand to play with!

This recipe is included in our Sensory Play Recipes eBook. It includes more than 25 easy to make recipes for awesome sensory activity options. If you’d like a sample that includes 5 recipes from the book, just pop your email into the box below.

Does Kinetic Sand Dry Out?

If the sand begins to dry out after a few weeks, you can mix in a few drops more of vegetable oil and give it a good stir.   

Homemade kinetic sand is wonderful for playing with and such an easy recipe to make. You can buy enough sand to make large quantities of your own kinetic sand for the same cost as one pack of store bought variety.

You can also purchase sand in cool colours. This allows you to make coloured kinetic sand.

I put the kinetic sand in a sensory bin and added some small construction vehicles and a scoop. This created a sensory bin that encouraged imaginative play. Even my teens enjoyed playing with this one. They especially liked packing it into small cups and creating mounds and then pushing them over with the toy steamroller.

One of my sons couldn’t seem to get enough of squishing this in his fists and then releasing it to feel it fall through his fingers.

how to make your own kinetic sand

Other Play Ideas

You could also use this play material to create a beach sensory bin with seashells, small sand toys, glass beads, and rocks.

Or you could simply dump it in a kinetic sand tray and let your child’s imagination lead the way. They can stamp in this sensory play material with cookie cutters or stamps. Kids can experiment with creating shapes. They can add small toys to create a small world. There are so many options.

For therapists, this is an interesting material to use in sand trays. The proprioceptive sensory feedback kids receive from squishing and squeezing the sand can create a calming effect. You can still have the child add toys and play out scenes.

Once you know how to make kinetic sand at home and realize how easy it is, you’ll never need to buy it again!

Click here for more easy sensory play ideas:

Snow Playdough

Milky Slime Recipe

Unique Types of Slime

The Mega List of Sensory Bottles 

Filed Under: Sensory Tagged With: sensory bin, sensory play

Pumpkin Pie Scented Moon Dough

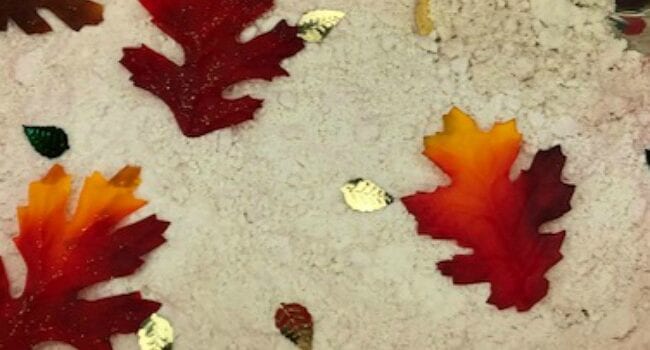
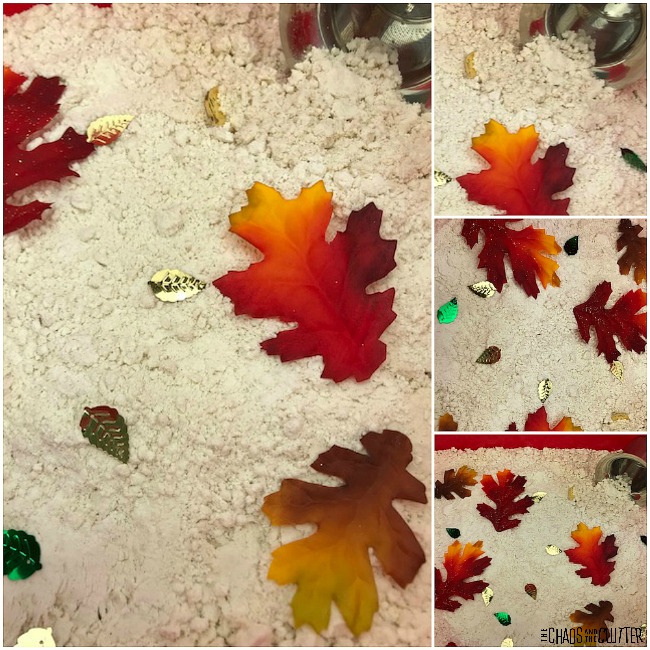
in a red plastic bin, light almost white cloud dough is sprinkled with fall coloured plastic leaves and small metallic leaf shaped confetti. There is also a metal scoop in the corner.

By Sharla Kostelyk

This pumpkin pie scented moon dough is the perfect Fall sensory bin filler. Create a sensory experience that involves both the olfactory and tactile sensory systems.

To me, the smell of Fall is encapsulated in pumpkin pie spice. The scent reminds me of my grandma’s pumpkin muffins and takes me back to my childhood. Pumpkin Pie Scented Cloud Dough #olfactory #sensoryplay #clouddough

Pumpkin Pie Scented Moon Dough Recipe:

Supplies:

  • 4 cups flour
  • 2 tsp. pumpkin pie spice
  • 1/2 cup vegetable oil

Directions:

  1. In a bowl, mix the flour together with the pumpkin pie spice.
  2. Pour in the vegetable oil.
  3. Stir well and then knead by hand.

Since everything in this play recipe is edible, this moon dough is taste safe. This makes it a good sensory play option to use with babies and toddlers. Of course, adult supervision should always be used.
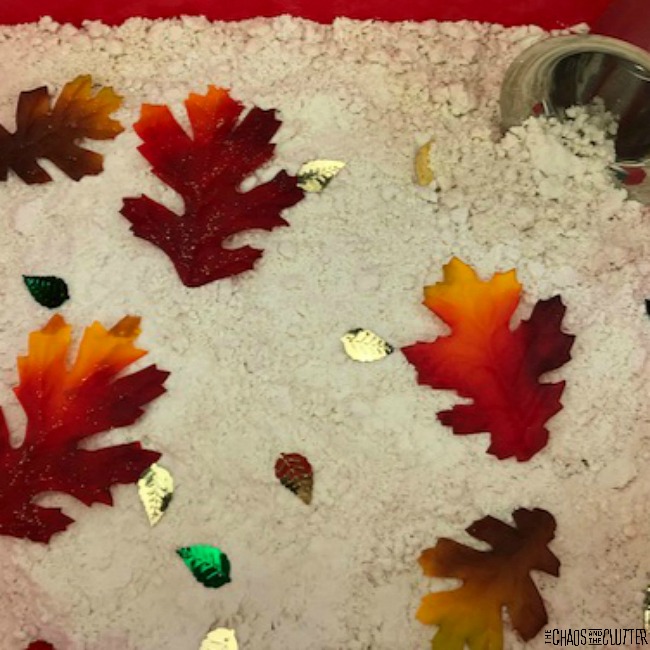
Dump the scented moon dough in a plastic bin. If you want, you can add some Fall themed items. I added silk fall leaves, leaf confetti, and a small scoop in our bin. If using this bin with babies, skip the addition of the leaves and confetti.

This recipe is included in our Sensory Play Recipes eBook. It includes more than 25 easy to make recipes for awesome sensory activity options. You can get a sample of 5 of the recipes in the book by filling in your email below:

This dough is soft and mouldable. It forms shapes in your hand but can still revert to its powered state. The addition of the pumpkin pie spice provides the scent and also a slight hint of brown in the dough, adding to the Fall feel of the experience.Moon dough can be messy. Messy play is great for kids, but not always as fun for parents!
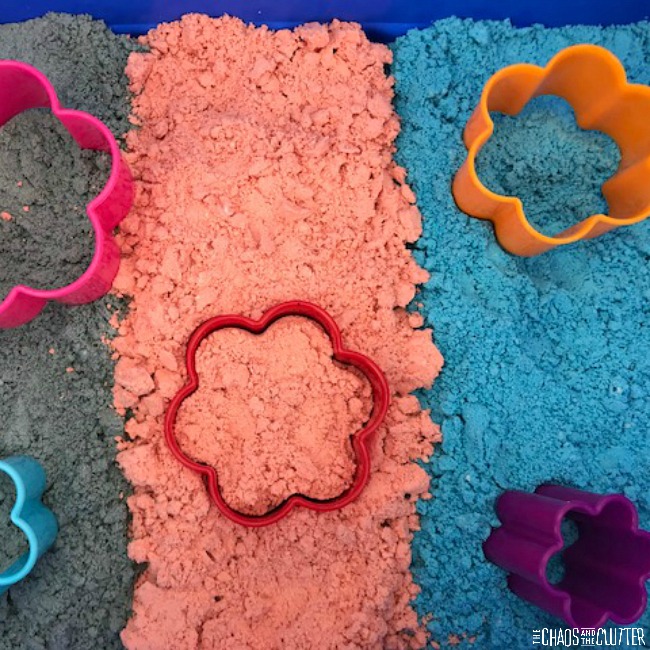
It works well to put an old sheet or tablecloth underneath the area you are playing in. You can also use a shower curtain purchased from the dollar store. This contains the mess. When the kids are done playing, you can gather up the corners and shake it outside.

You may be interested in some of our other sensory experiences:

Pumpkin Scented Puffy Paint

How to Colour Moon Dough

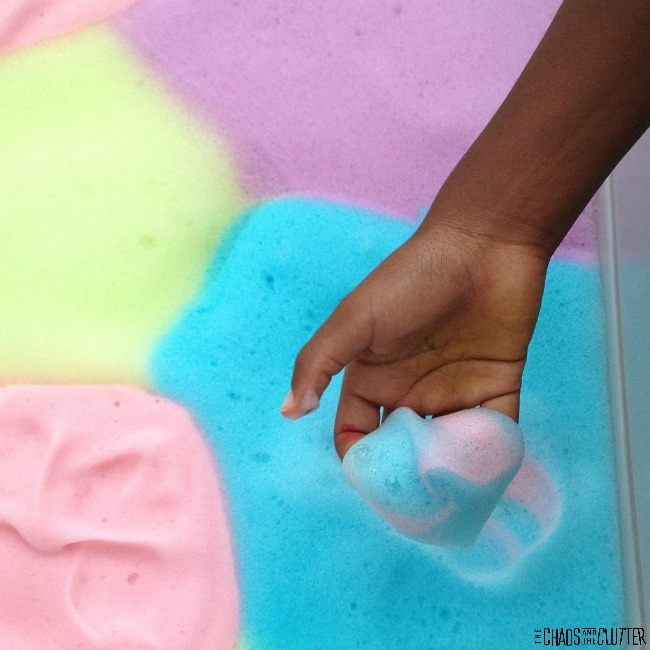
Rainbow Soap Foam

Filed Under: Sensory Tagged With: sensory bin, sensory play

Halloween Slime Recipes for Spooky Sensory Fun

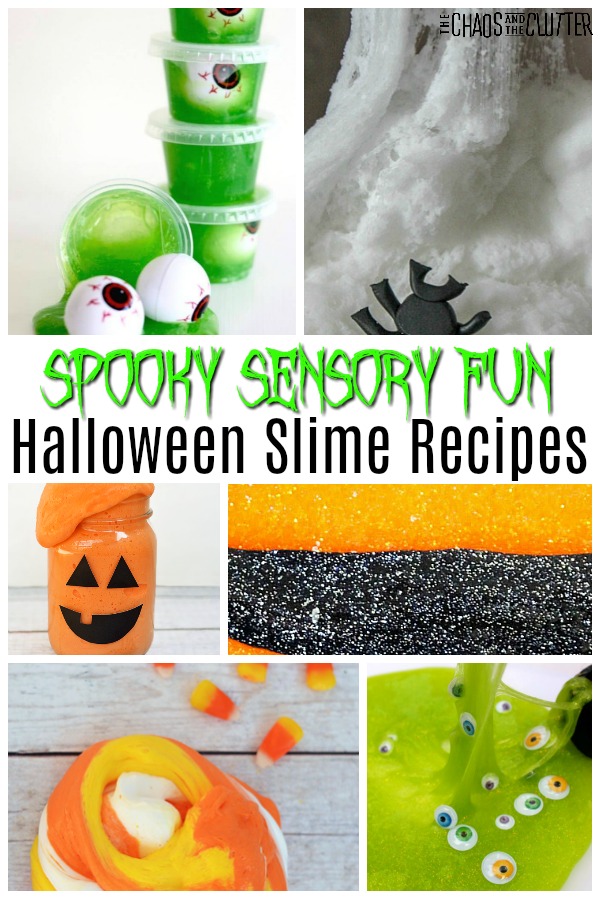
The image contains a collage of 6 different types of Halloween themed slime including orange and black glitter striped slime, pumpkin slime in a jar, candy cane slime, green slime with eyeballs, and spider web slime. The words "Spooky Sensory Fun Halloween Slime Recipes" are near the middle of the image.

By Sharla Kostelyk

These Halloween slime recipes for spooky sensory fun are sure to provide hours of squishy, stretchy awesomeness. I’ve purposely chosen some that are scarier than others. Spooky Sensory Fun Halloween Slime Recipes #sensoryplay #halloweenI know that big kids generally like to go with the spooky or gross out factor, so I’ve found some great ideas for that. For younger kids, I wanted to be sure to offer some Halloween slime recipes that were less scary.
Halloween Slime Recipes:

Spooky Spider Web Slime – The addition of an unexpected ingredient makes this slime look like a spider web.

Glow in the Dark Slime – This glows without a black light. Great for creepy Halloween fun!

Simple Halloween Slime with Glitter – This is a great beginner slime recipe.

DIY Halloween Slime Kit from Fun with Mama – Isn’t this the cutest idea ever?!

Halloween Slime Recipe from Frogs and Snails and Puppy Dog Tail – This one has some good ideas for mix-ins.

Edible Halloween Candy Slime at The Soccer Mom Blog – Now you know what to do with all that leftover Halloween candy!

Eyeball Slime Party Favors from Little Bins with Little Hands – These are great for handing out at the door or giving as a party gift.

Harry Potter Inspired Slime from STEAM Powered Family – Perfect for your Harry Potter fans!

Fluffy Pumpkin Slime from I Heart Arts and Crafts – This is such a cute one.

Purple Monster Floam from Childhood 101

Jack o Lantern Slime from Left Brain Craft Brain – This encourages creative play.

Zombie Slime over at Mom Dot

Witches’ Brew Slime from Midget Momma

Halloween Slime with Water Beads from Craftulate

Fluffy Candy Corn Slime from I Heart Arts and Crafts – I’ve always liked candy corn. It makes me think of my childhood.

Frankenslime on Parenting Chaos

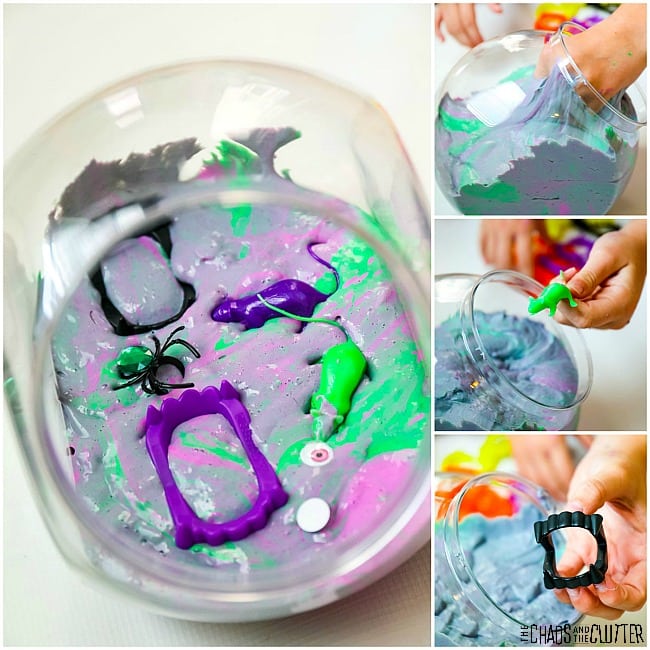
Here’s a Halloween sensory activity that you can do with any slime. It is a wonderful game for a Halloween class or home party. 

Filed Under: Sensory

  • « Go to Previous Page
  • Page 1
  • Interim pages omitted …
  • Page 20
  • Page 21
  • Page 22
  • Page 23
  • Page 24
  • Interim pages omitted …
  • Page 50
  • Go to Next Page »

Primary Sidebar

Categories

We are a participant in the Amazon Services LLC Associates Program, an affiliate advertising program designed to provide a means for us to earn fees by linking to Amazon.com and affiliated sites.

Copyright © 2026 • The Chaos and the Clutter • Site Design by Jeni @ The Blog Maven

Return to top of page

Copyright © 2026 · Chaos and the Clutter 2.0 on Genesis Framework · WordPress · Log in