Learning about colours doesn’t have to be boring. Our colour mixing sensory science made for a very fun few days! 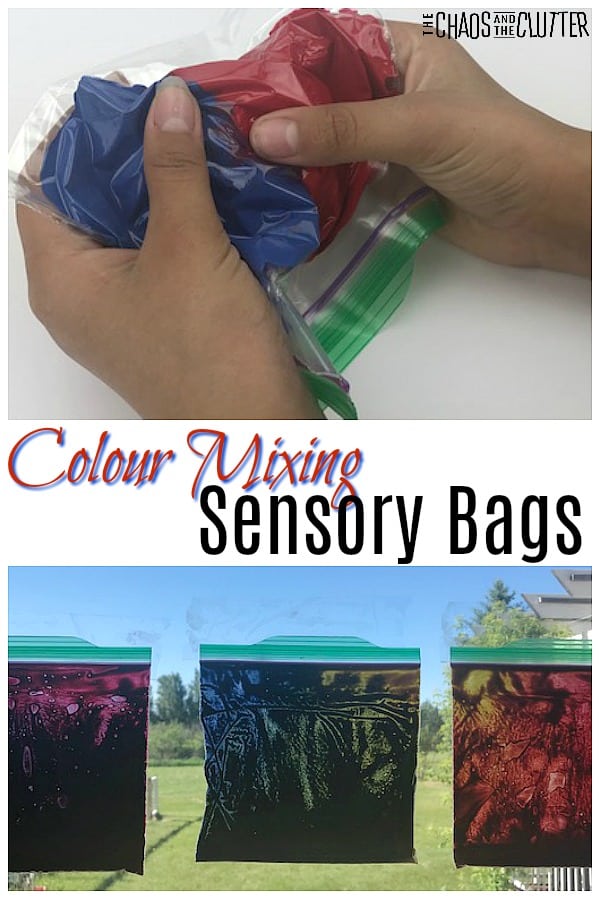 We were inspired by our Rainbow theme last week and decided to extent our learning about colors into this week. There is a song that we sang (to the tune of “If You’re Happy and You Know It”):
“When you hug blue and yellow, it makes green; when you hug blue and yellow, it makes green; when you hug these two you’ll see a new color magically; when you hug blue and yellow, it makes green.”
Of course, for the next two versus, you make orange by “hugging” red and yellow and make purple by “hugging” red and blue.
We did a few easy color mixing experiments.
Colour Mixing Sensory Bags:
Supplies needed:
- resealable plastic sandwich bags
- red paint
- blue paint
- yellow paint
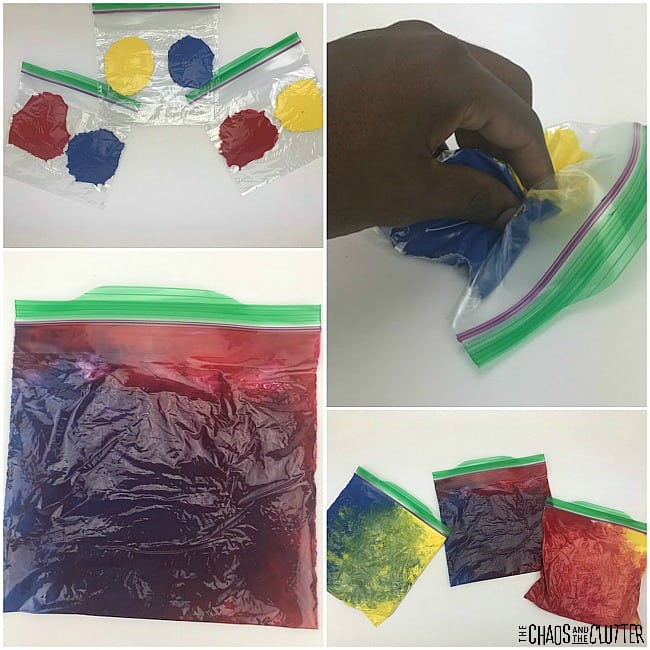 Instructions:
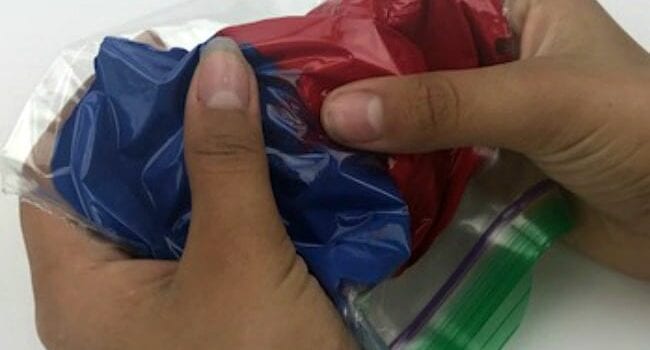
Squirt some blue paint and red paint into one bag, ensuring that the paints are on opposite sides of the bag. Do the same in other bags with blue paint and yellow paint in one and red paint and yellow paint in another.
Seal the bags, removing as much of the excess air as you can.
Discuss primary and secondary colors.
Have the child hypothesize what colours will be created when the paint is mixed.
Have the child mix the paints together with their fingers by moving the paint around through the bag. This is a great sensory activity too. 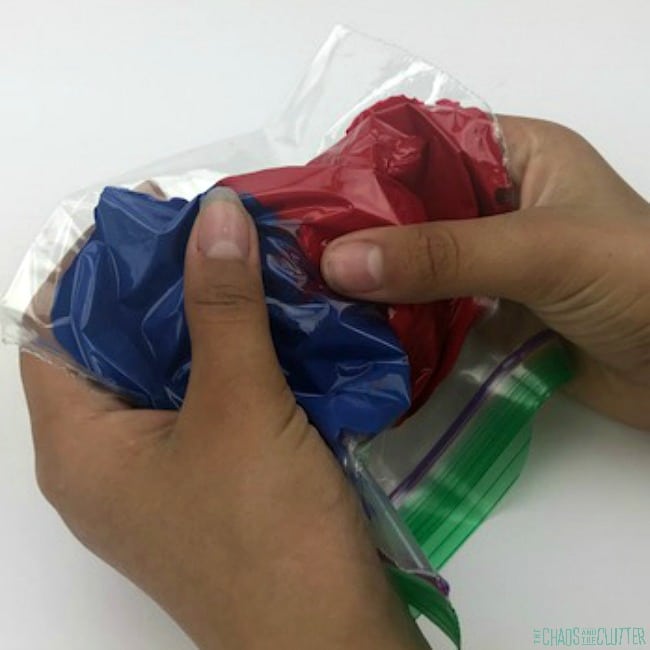 The kids are able to create other colours by squishing the primary colours into each other.
You can hang the bags on the window using clear packing tape and have the child observe how the sun shining through affects the appearance of the colours.
This experiment is one of many included in the first volume of our Sensory Science Book. It is full of engaging hands-on learning designed to help kids retain what they learn because of using their senses in the process. 
Colour Mixing Mini Volcanos:
 Supplies needed:
- baking soda
- cake pan
- vinegar
- food colouring
- droppers
Instructions:
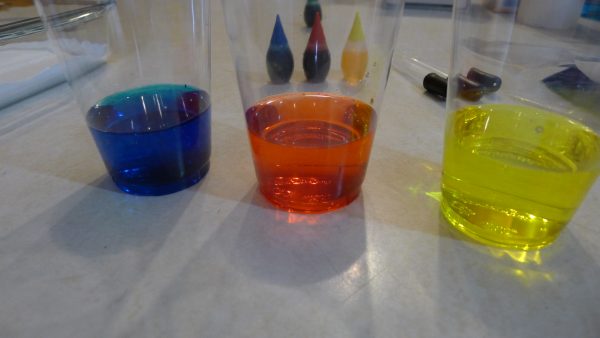
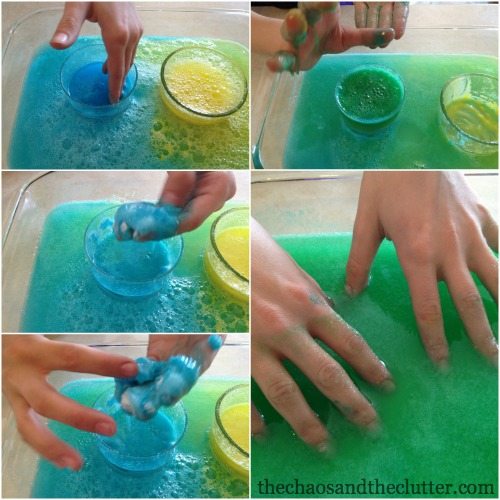
Place a layer of baking soda in a cake pan. Fill three cups a third of the way with vinegar and add about five drops of food colouring to each cup.
Fill the droppers with the coloured vinegar and squeeze it out onto the baking soda. By adding another colour on top, you can create little volcanos of new colour in mixing them. 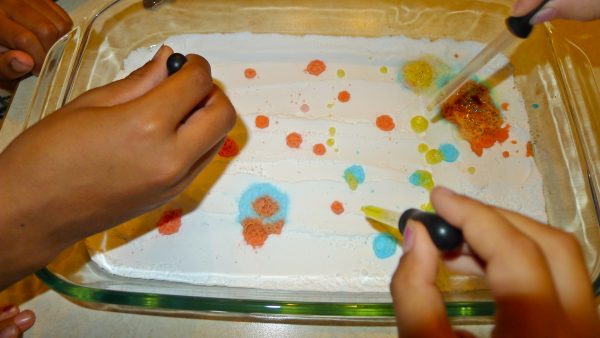
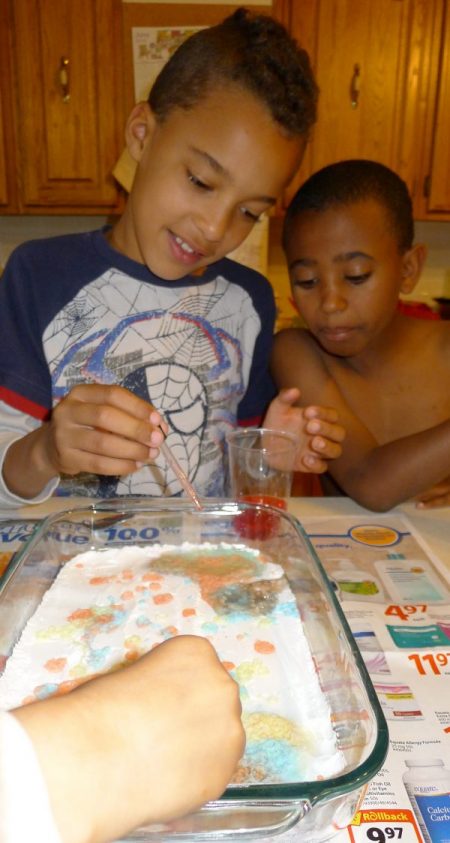 They loved this activity!
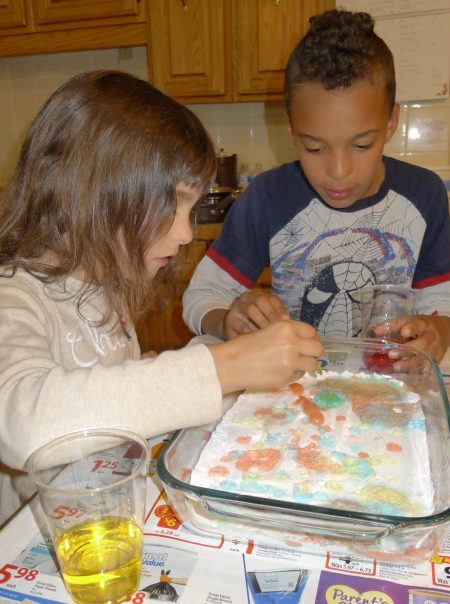 The kids learned:
-that the best way to form a new colour was to have a person with one dropper of one colour and another person with another colour squeeze at the same time in the same area. Once left on the baking soda, the colours did not mix as easily.
-that mini volcanos are fun.
-that when you pour the three glasses of color into each other, you end up with almost black.
Mommy learned that when you do this activity, you should put newsprint down to protect your counters!!! (note that in the early picture, there was none underneath!)
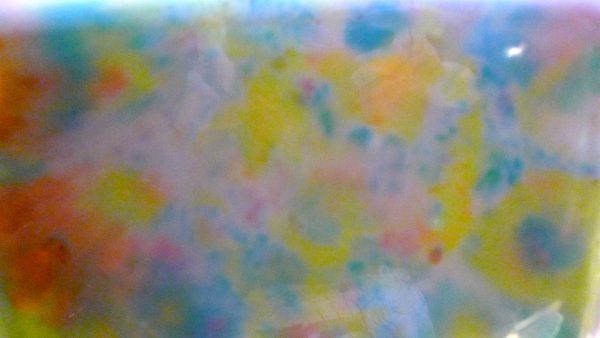
The kids especially liked the look of the bottom of the cake plate after we were done and wished we could hang it like artwork. Unfortunately, a picture of it will have to do!
 Some of the books that we read that were related to colour:


The kids also completed a great colour mixing worksheet (find it here) and had fun with some Mandala coloring pages that I printed for free from here.
They also had plenty of opportunity for hands-on learning on colour mixing with paint.
Check out these other great sensory science activities:
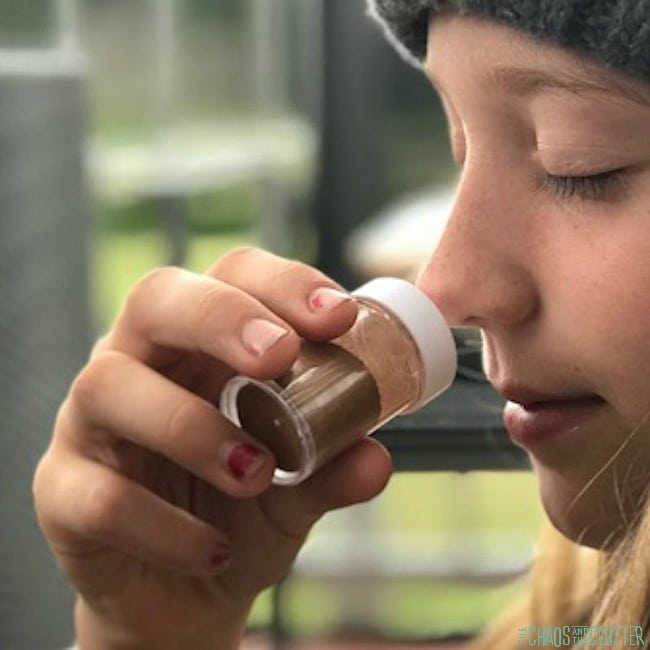
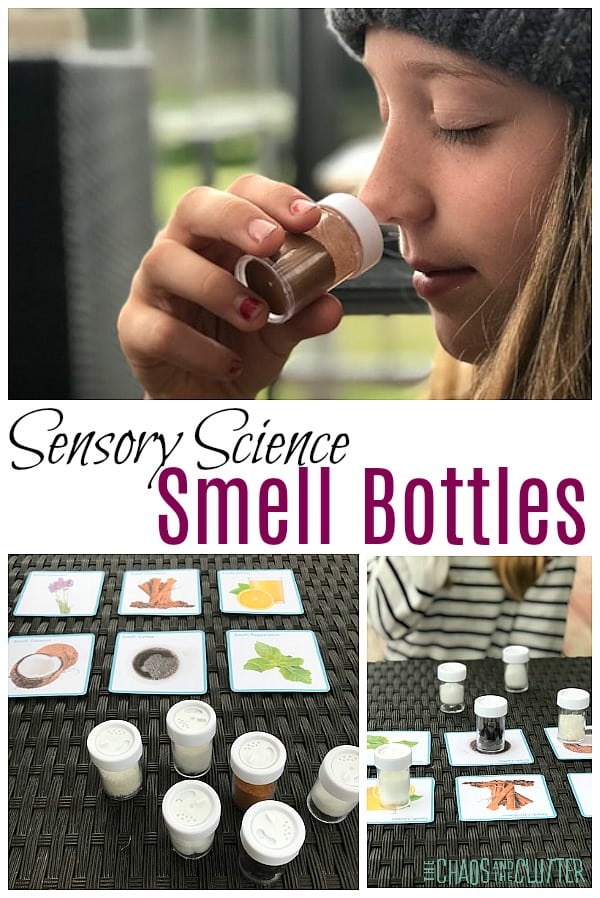 My kids really enjoyed this activity. Of course, boys being boys, I got to hear what other smells we could have bottled!!! How is it that boys can always find a way to find the gross factor?!
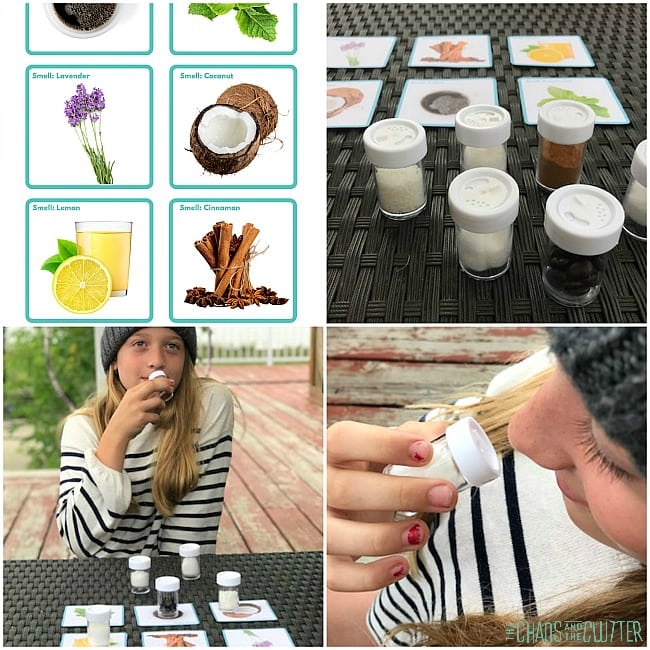 With younger kids, allow them to use their visual sense as well. They can look for clues such as colour and pair that with the smell to help them figure out what it is.
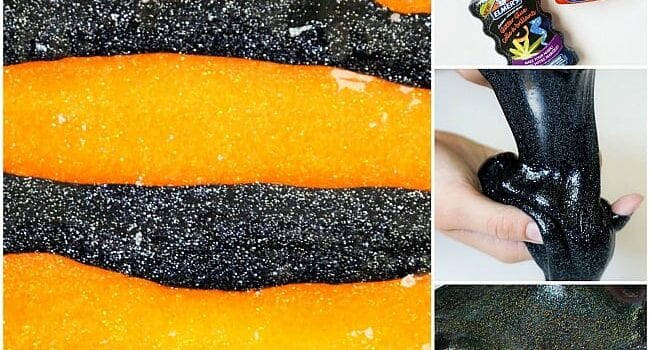
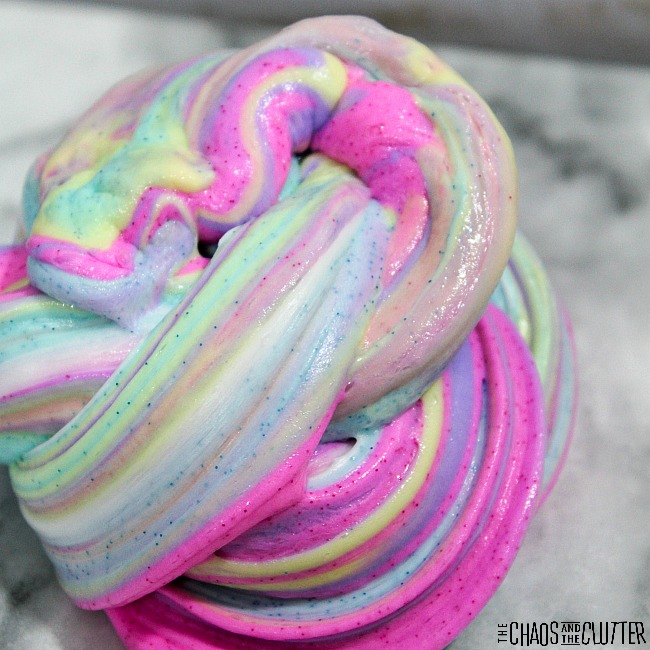
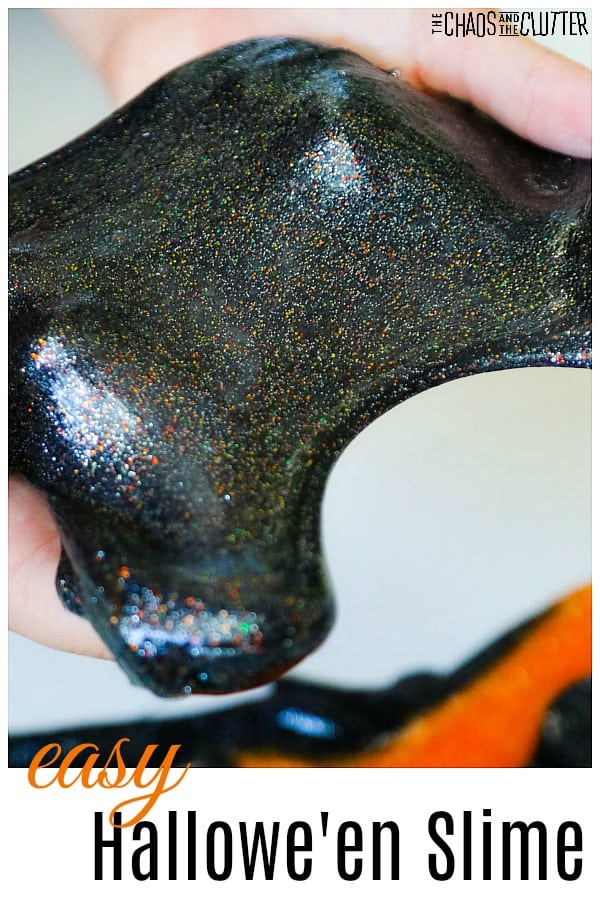 The thing that makes this particular slime so simple is the glitter glue. You don’t have to mess with food colouring or paint or glitter because the glitter and colours are already in the glue. Super easy!
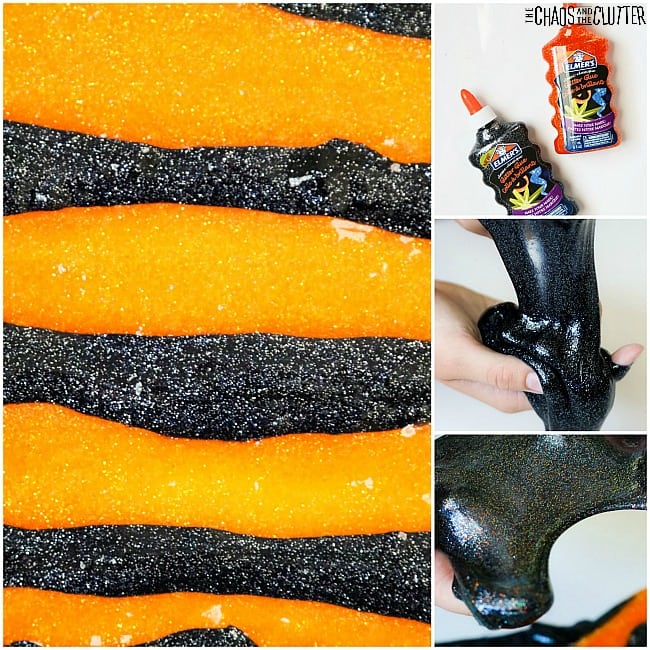 Take out the mixture and knead by hand about five minutes, pulling, stretching, and pushing it until slime consistency is formed and it’s no longer sticking to your hands.
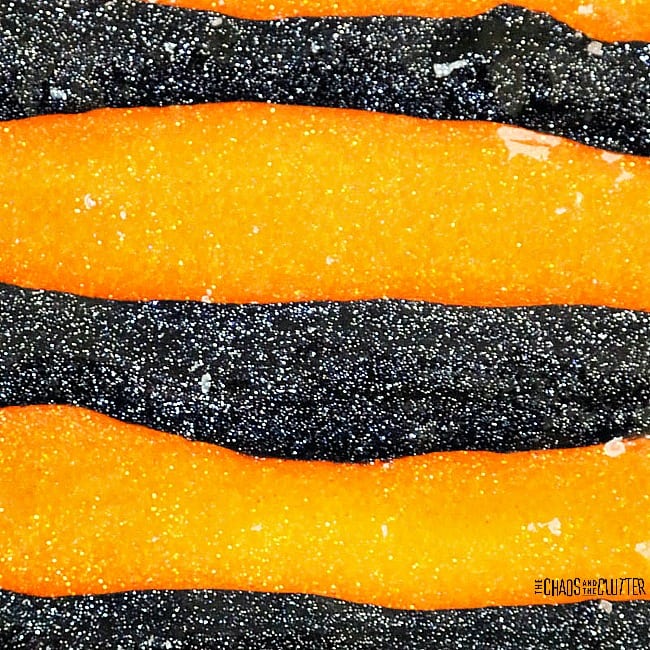 Please be aware that once you start to play with the colours together, they will mix and a black slime with orange and black glitter will form.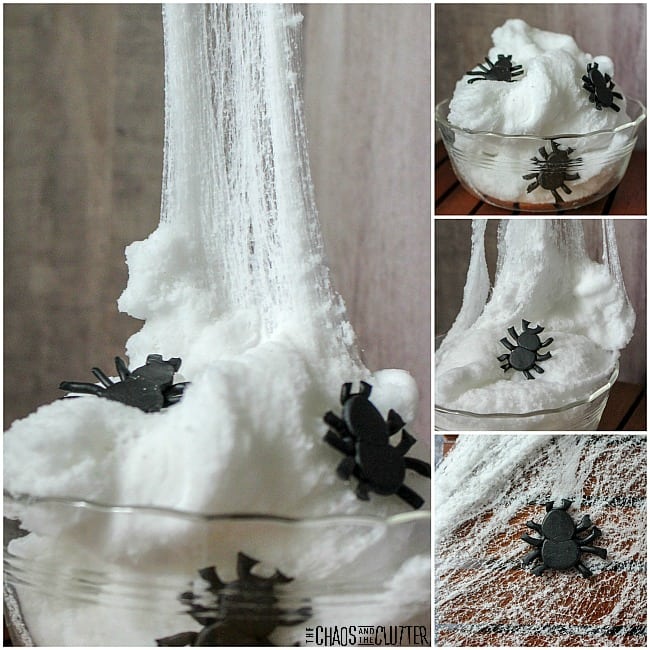
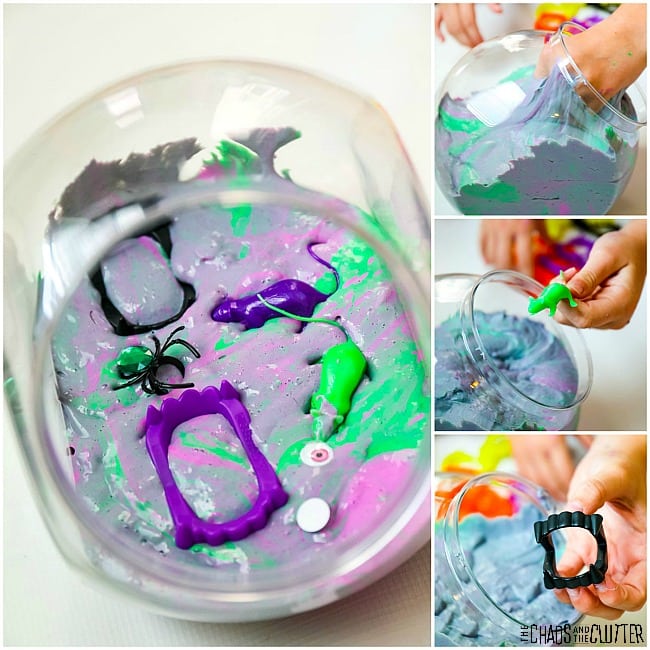
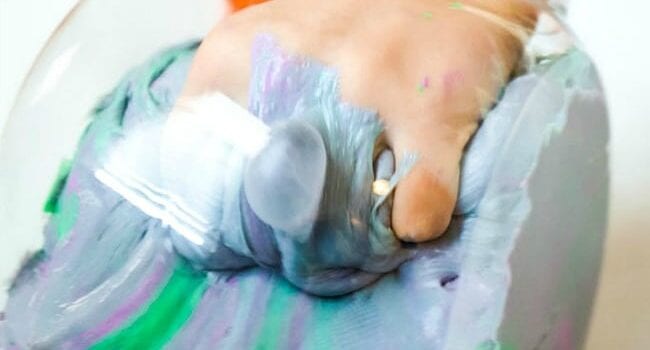
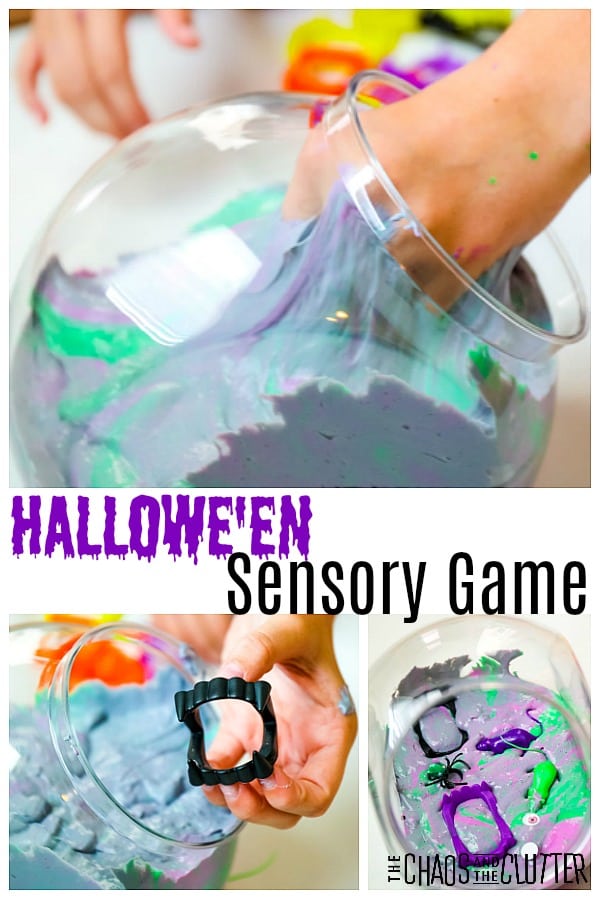
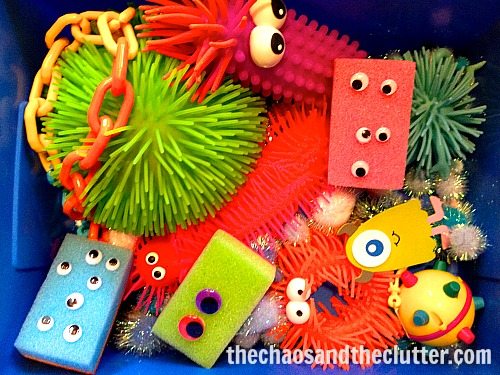
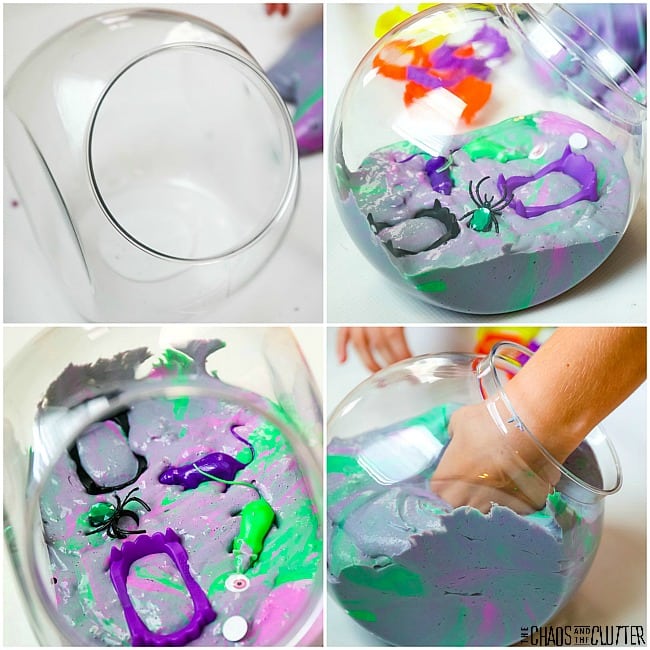 Ideas of toys to use:
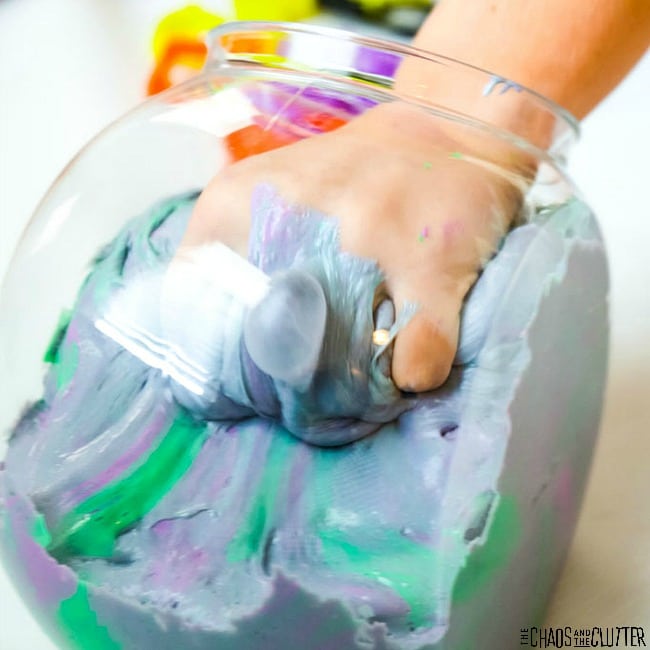 I hope you enjoy our little Hallowe’en sensory game. It would be fun for the classroom, home, or for a Hallowe’en party.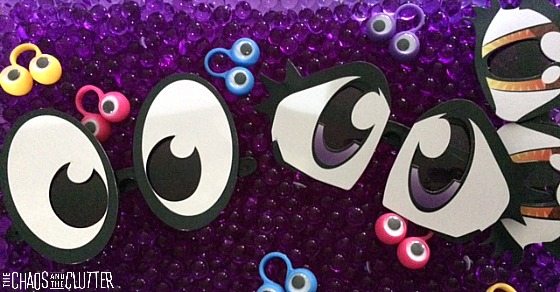
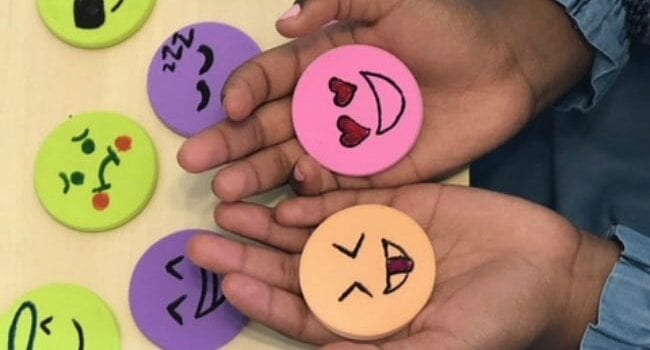
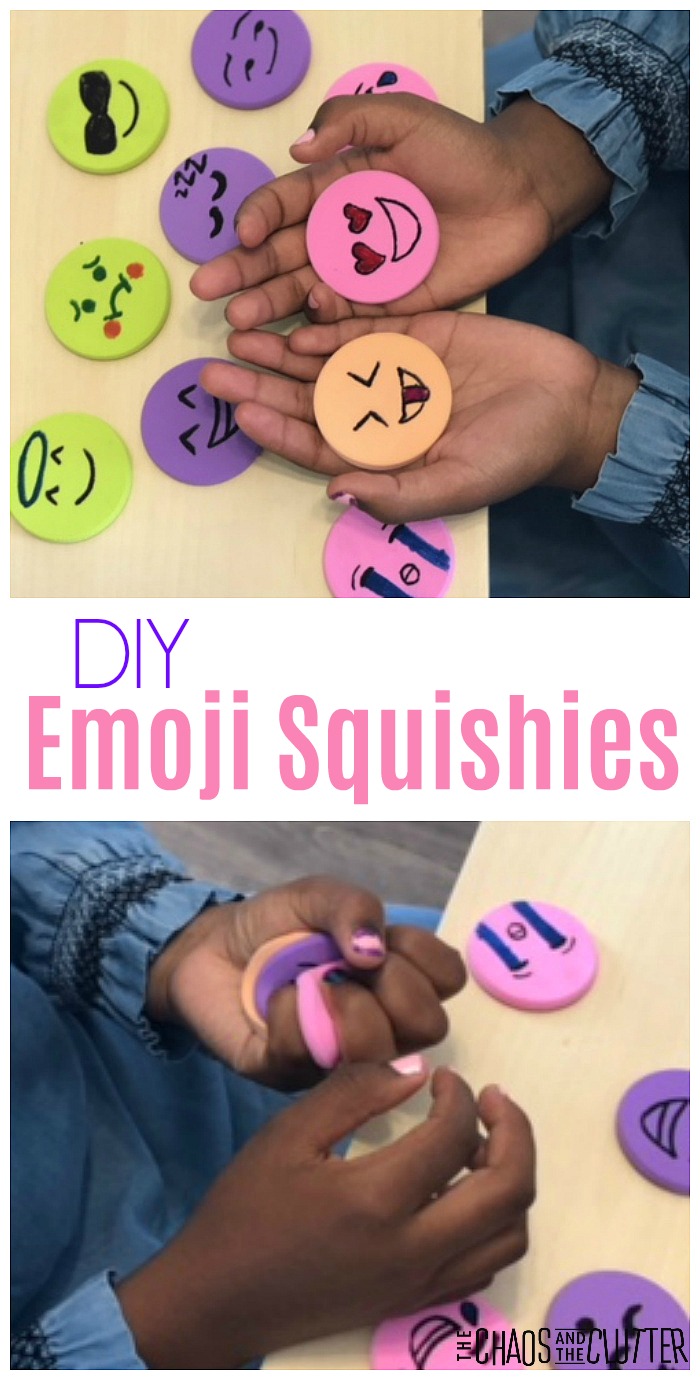 I found that the size of these was perfect for my kids to squeeze. They fit easily into their hands. So satisfying to squish!
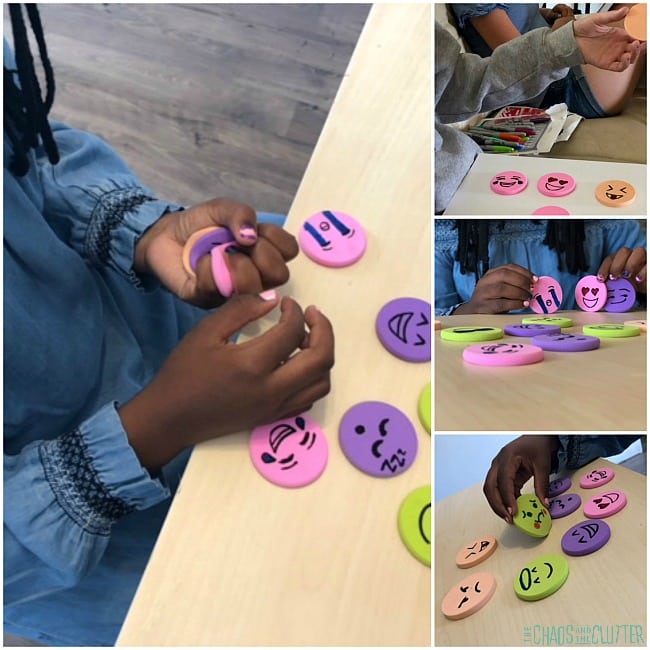 Once they have sat overnight, squish them, play with them, share them.
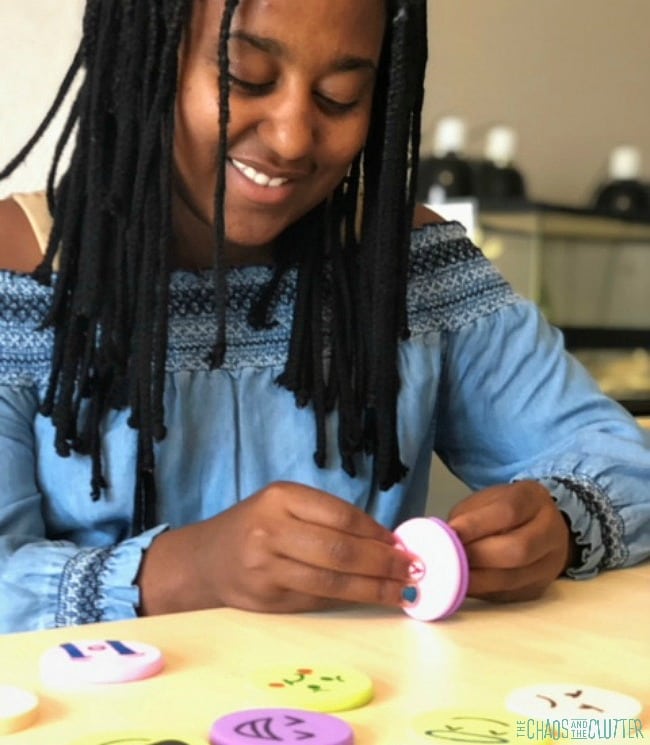
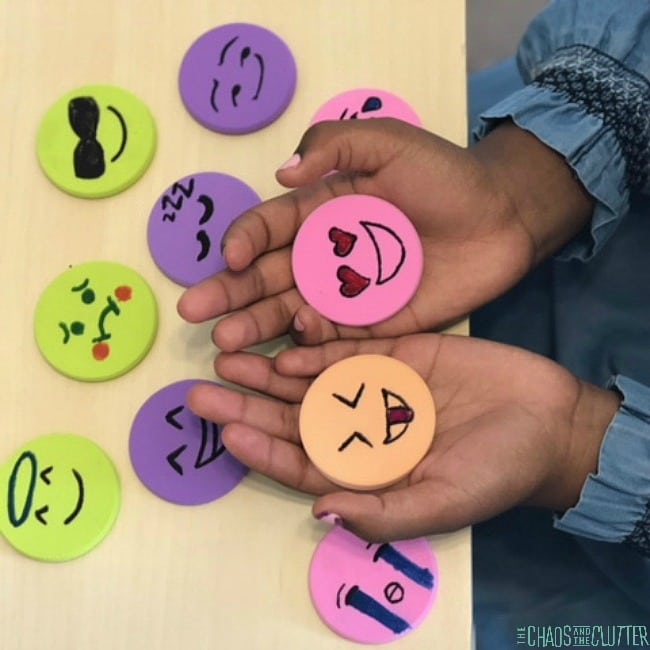 I encouraged the kids to tell stories using the emoji faces. I thought this would be a great way for them to practise their emotional vocabulary.
 If you’re able to find your makeup sponges at the dollar store, then these are so inexpensive to make. Ours came in a pack of 6, making these less than 25 cents each to make! They would be cute to give as party favours or to make with a group.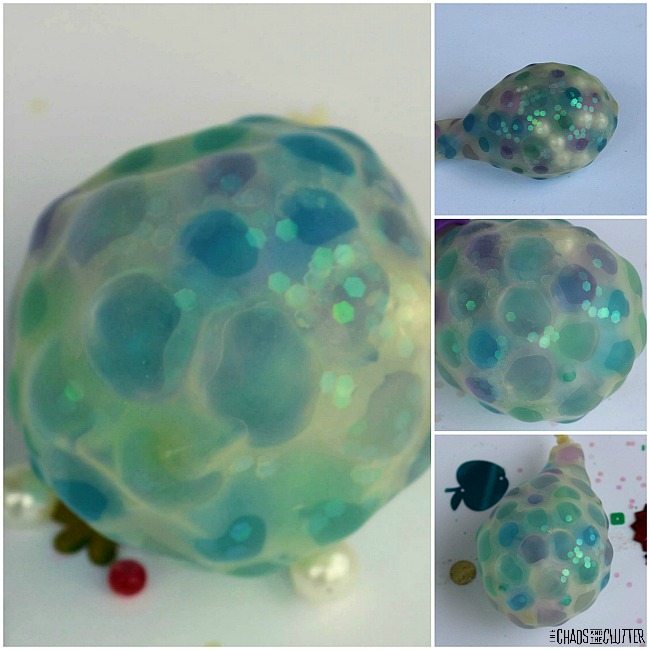

 For some kids, such as children with autism, ADHD, Sensory Processing Disorder, PTSD, or other special needs, transitions are even more difficult. This can lead to challenging behaviours.