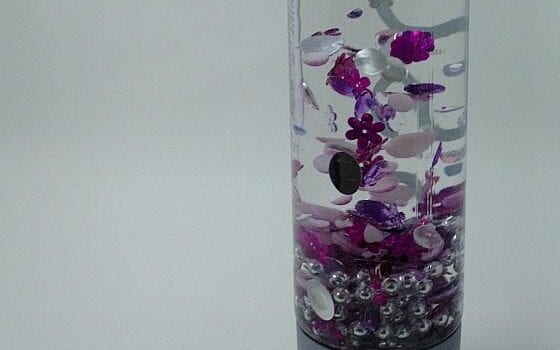
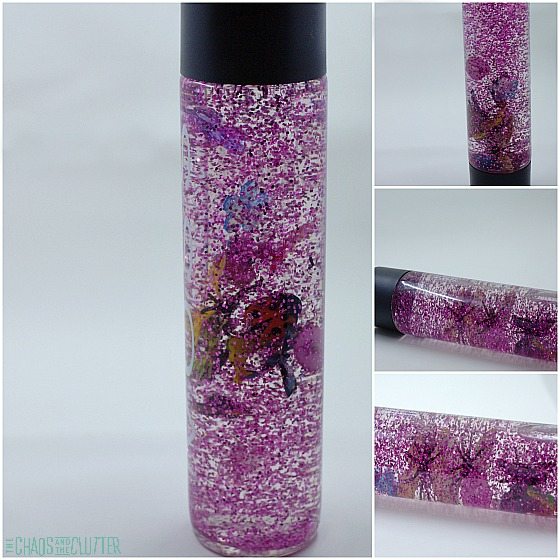
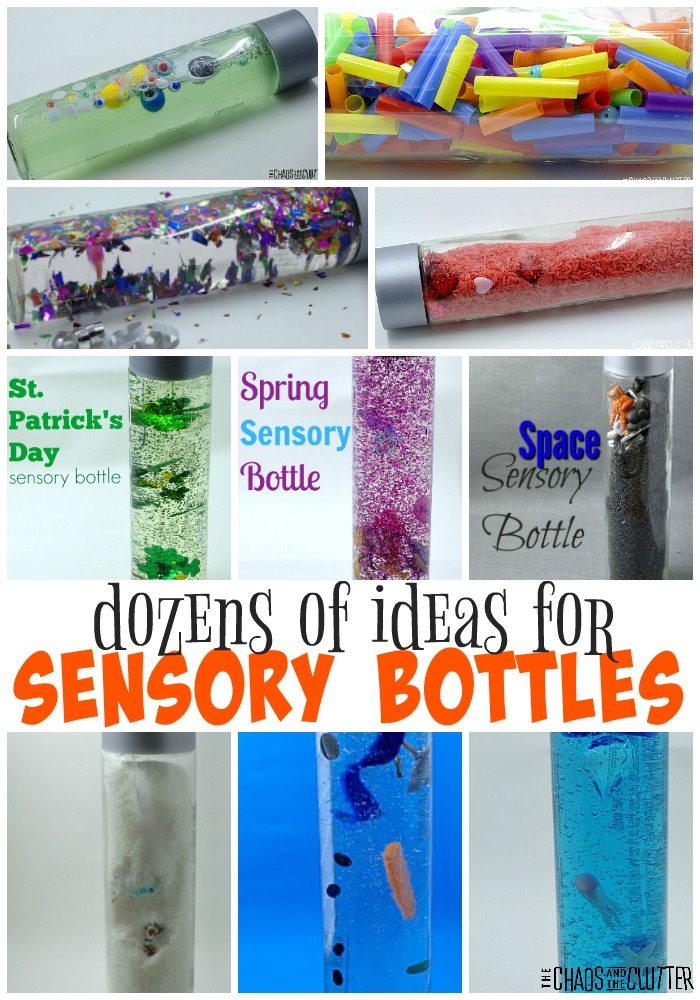
This pretty princess sensory bottle was a big hit with my two youngest daughters. They loved the beautiful colours and shapes of course, but they also liked the sound. The beads from the plastic mardi gras necklace make a tinkling sound on their way down.
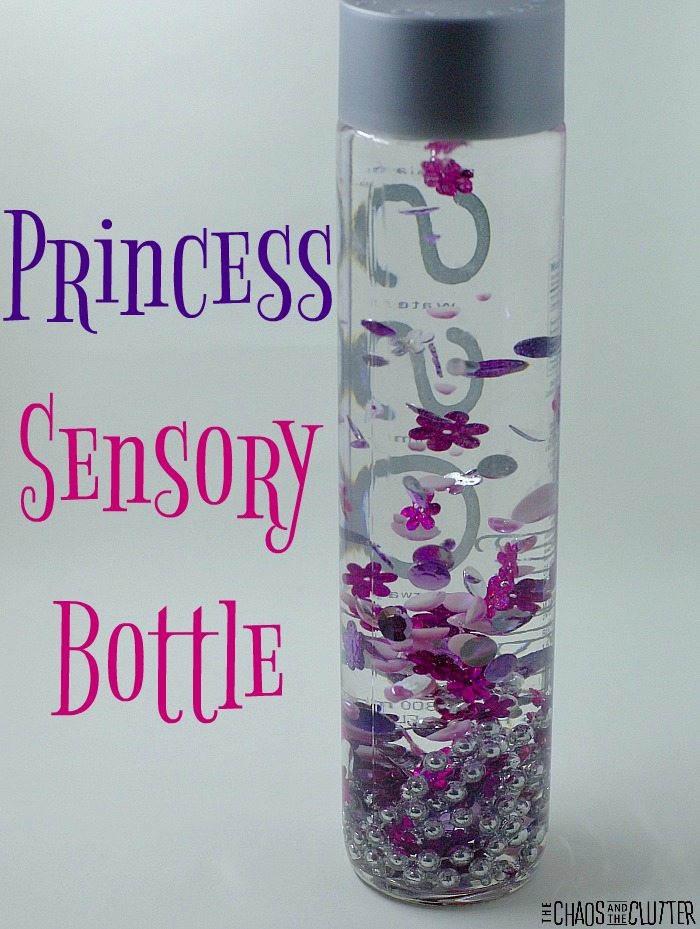 My girls liked listening to the beads and watching the gems and confetti sink down. They also liked how pretty this sensory bottle was.
Materials needed:
- empty water bottle (I always use Voss water bottles because I like the size and shape of them)
- gems
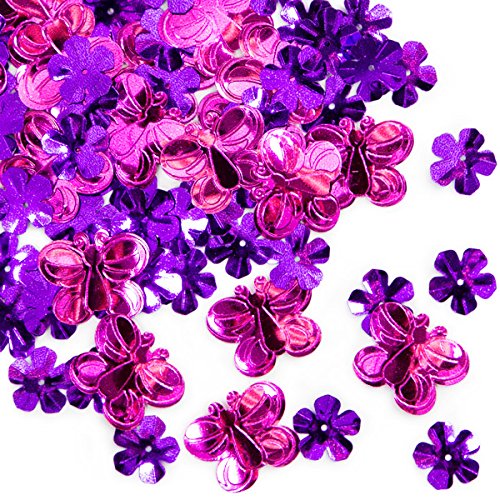
- butterfly and flower shaped confetti
- pink plastic hearts
- plastic silver mardi gras necklace
- water
- optional: pink or purple glitter
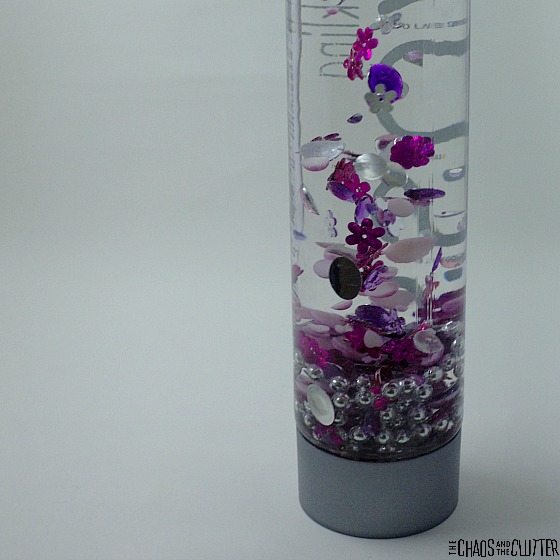 Pour out about a quarter of the water in a water bottle. Place the mardi gras beads, pink hearts, gems, and flower and butterfly shaped confetti inside. You may need to add a bit more water to fill it up to nearly the top. If you choose to add glitter, you can add it at this point.
Butterfly Confetti by Creative Converting VOSS Water Plastic BottlesLiquid Hand Soap
Replace the lid and give it a good shake. You can secure the lid with a hot glue gun if you are going to be using this princess sensory bottle with little ones. Adult supervision should of course be used as with any sensory activity.
Join me for a free 5 part email series Sensory Solutions and Activities (just pop your email into the box below) and get a printable list of 175 Great Sensory Ideas.
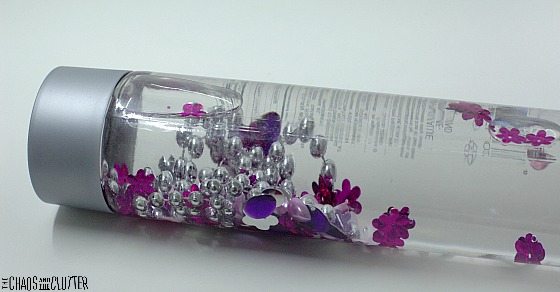 If you want to, you can add some pink or purple glitter before you add the water and give the sensory bottle a good shake.
 Sensory play is important for all children at many of their developmental stages. It is even more critical for children who have sensory processing disorder (SPD). Sensory play is any activity that stimulates the sense.

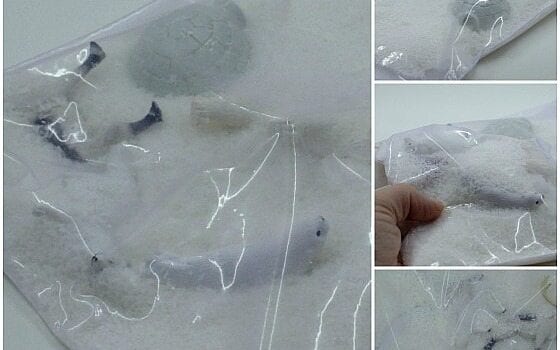
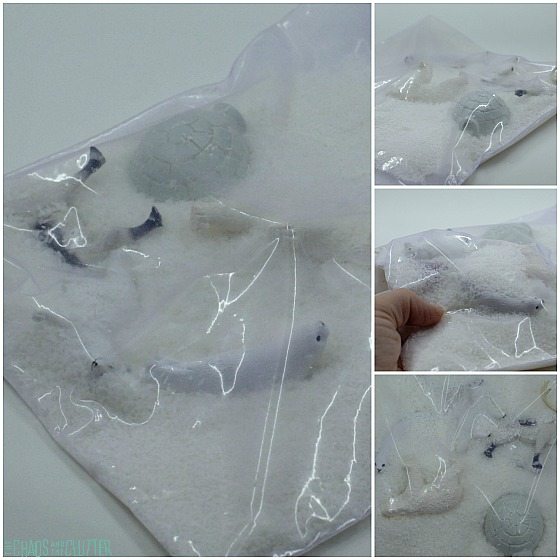
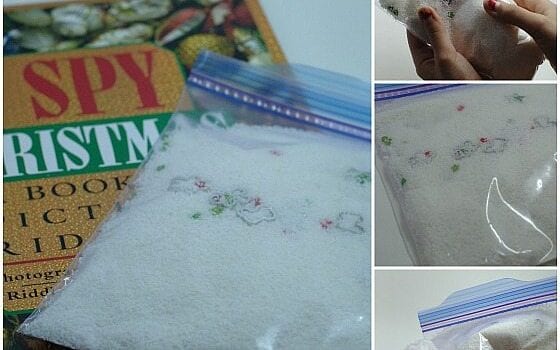
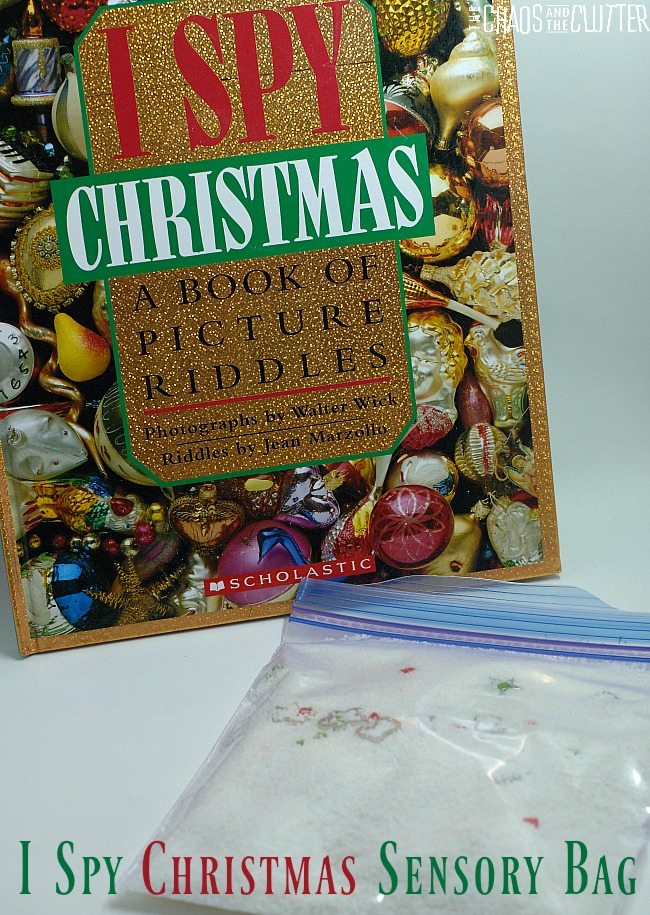
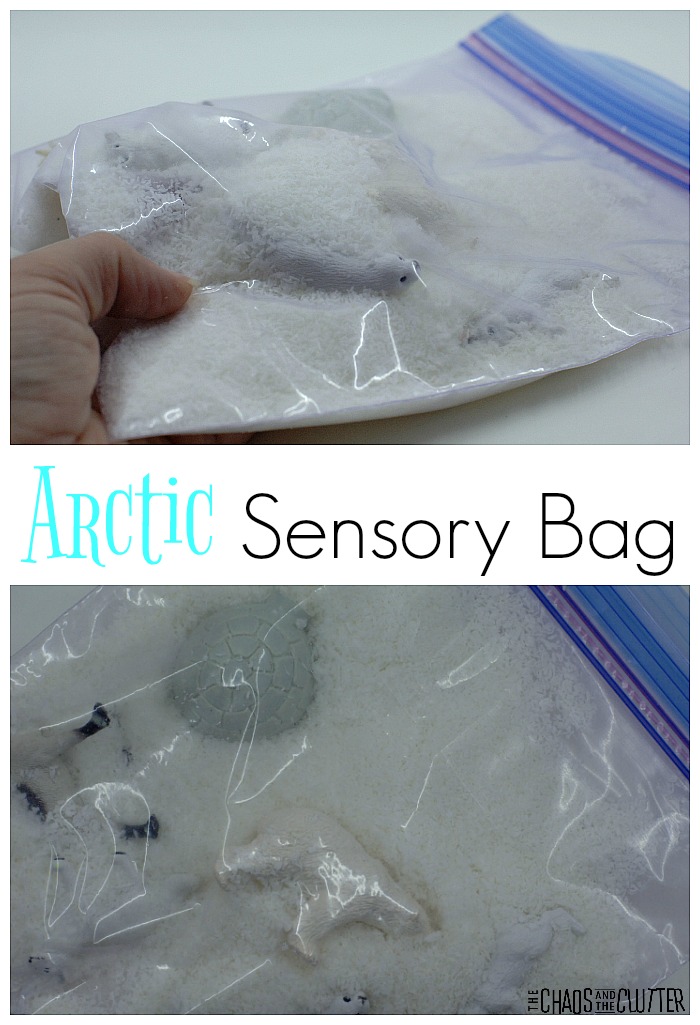 This sensory bag is particularly easy to make because it requires very few materials.
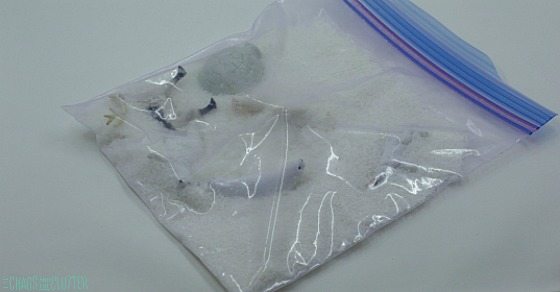
 If you are creating this sensory bag for younger children, you will want to seal the bag with duct tape or heavy, clear packing tape after closing it so that they aren’t able to open it. You may also want to fold the tape over the other sides of the bag as well to reinforce it. I choose to use good quality freezer bags for
  This arctic sensory bag and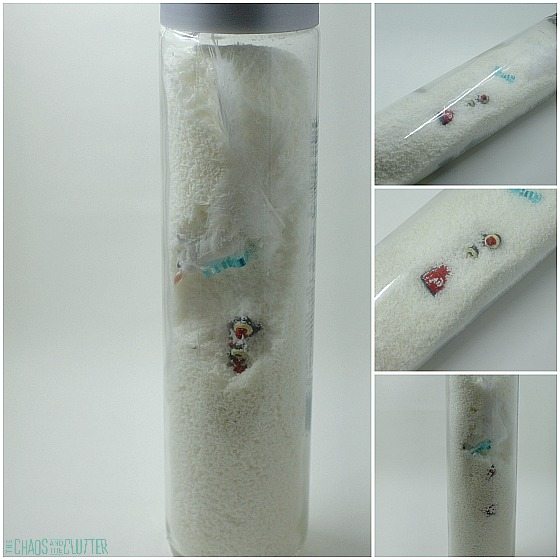
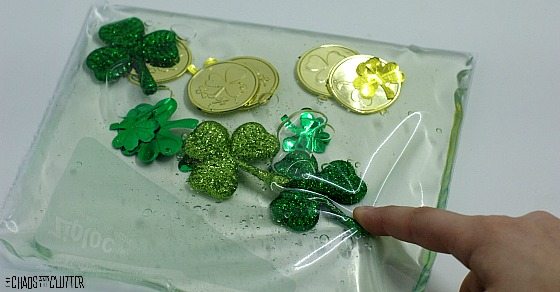
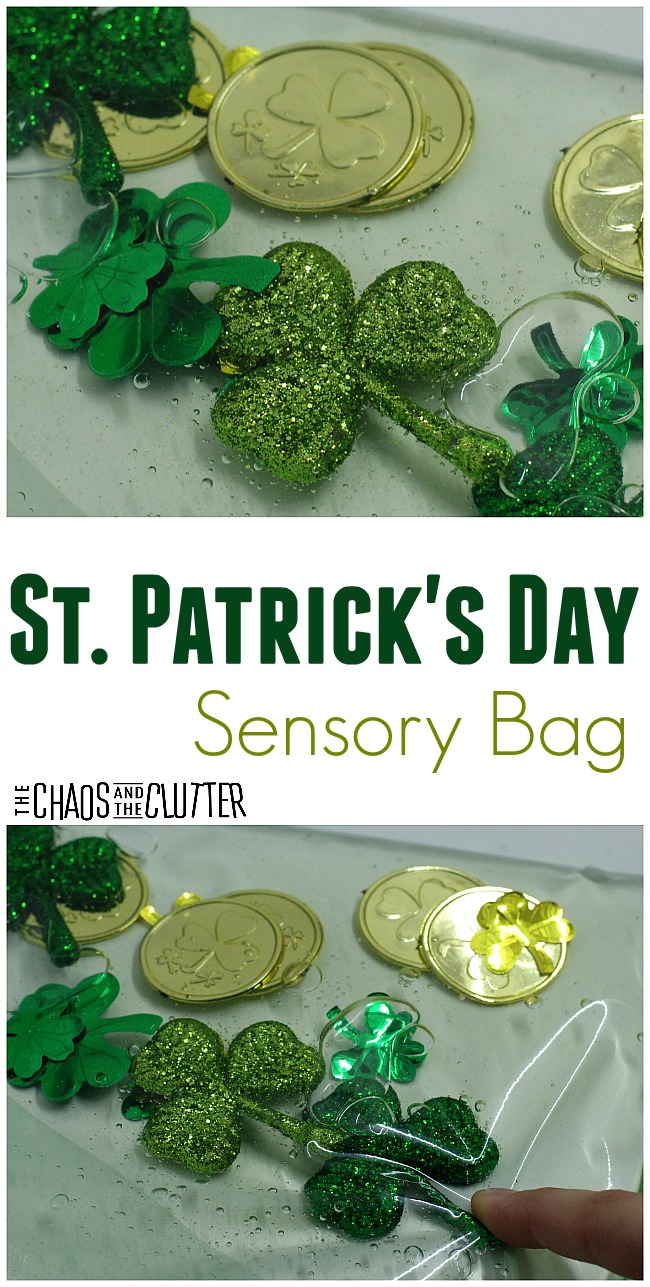 For my sensory bags, I use the medium size freezer bags because they are slightly larger and much more durable than sandwich baggies.
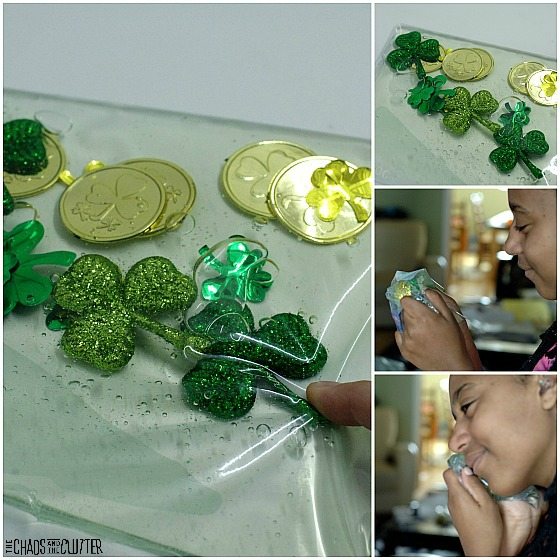 One of my daughters loved the squishy feeling of this sensory bag (as you can see from the pictures above!)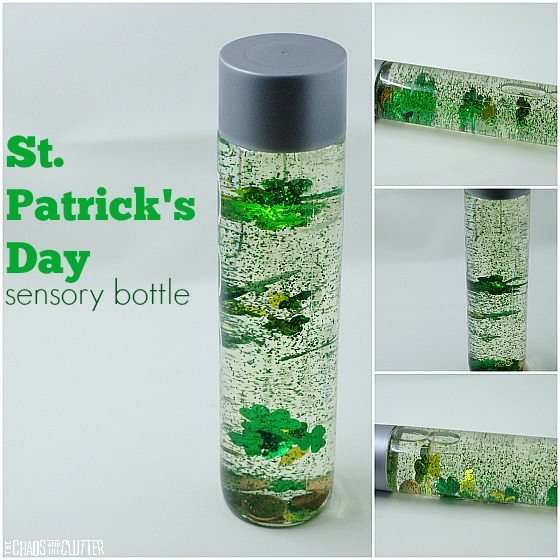
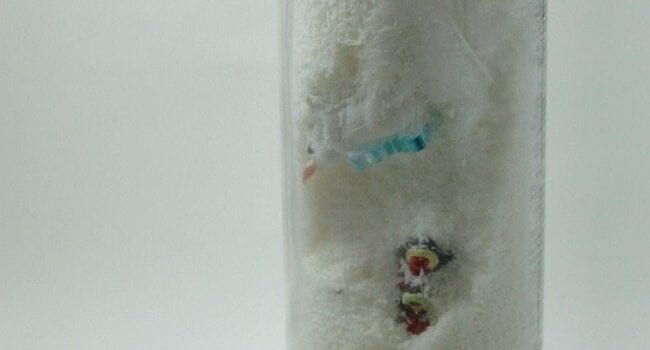
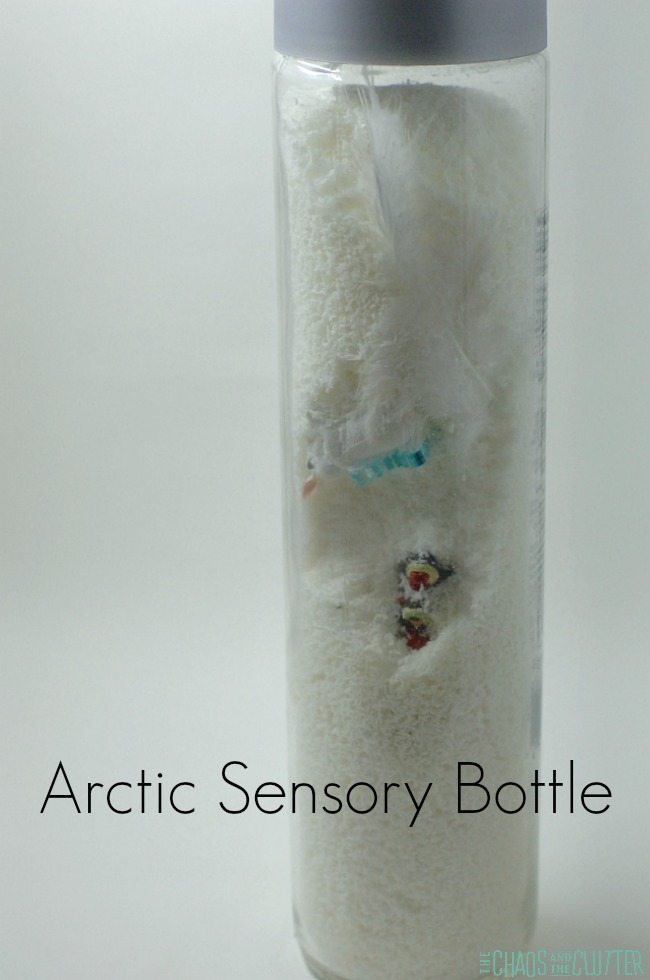
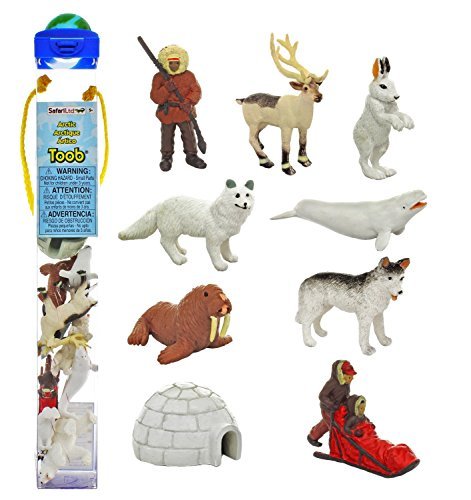
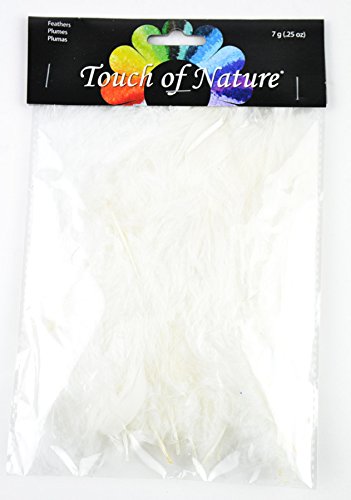
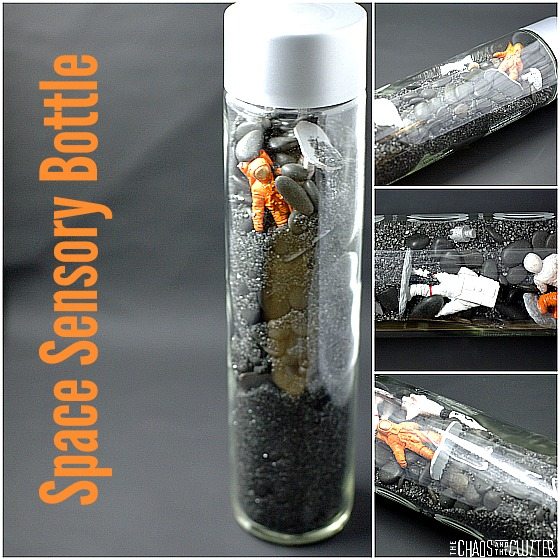
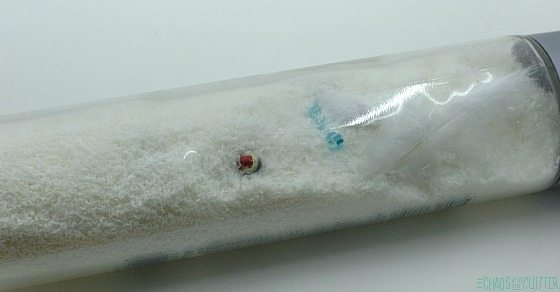 Once all the items are in, add the lid back onto the bottle and your arctic sensory bottle is ready to use for play. If you have younger children, you may want to hot glue the lid in place so that they can’t open it. As with all sensory and exploration activities for kids, adult supervision is of course recommended.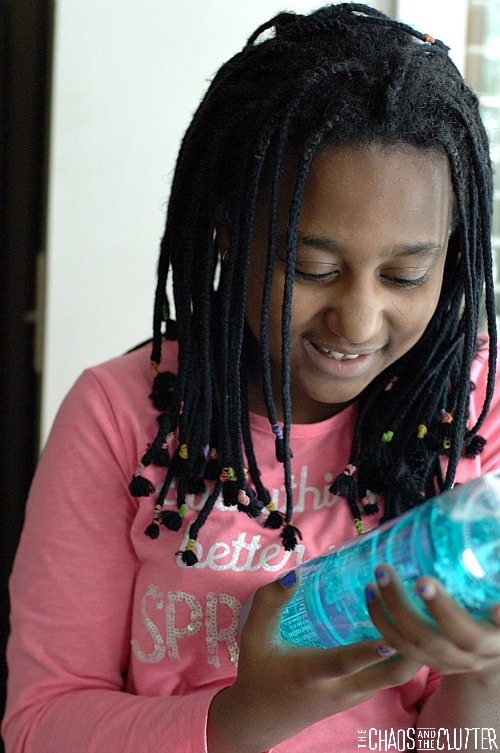
 Last year, we made a
  This activity is part of a series of activities with children’s Christmas books. Follow along this week to see the fabulous ideas! 10 bloggers, 10 books and 10 days of Christmas Activities inspired by children books that are faith based. Make sure to follow along, you can take a look at the schedule over at