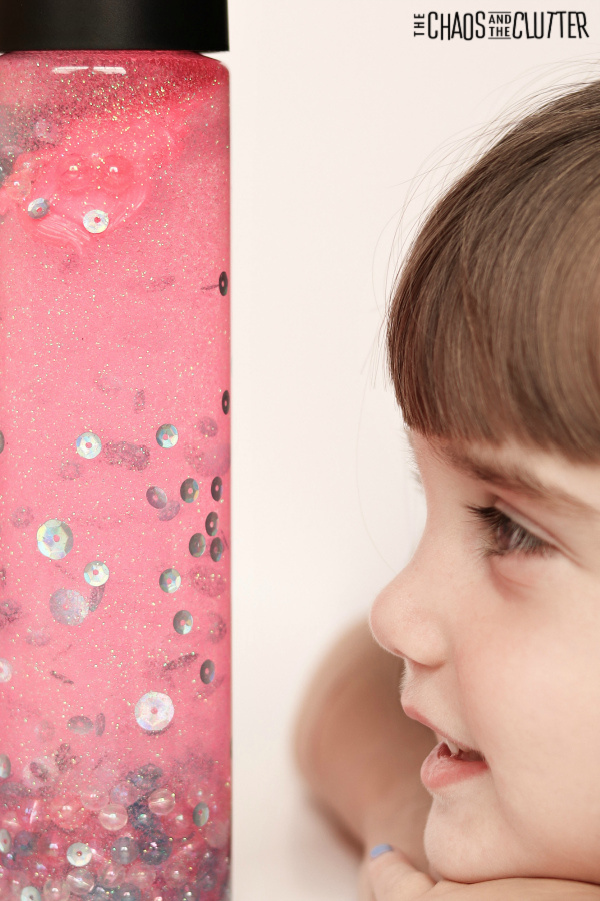
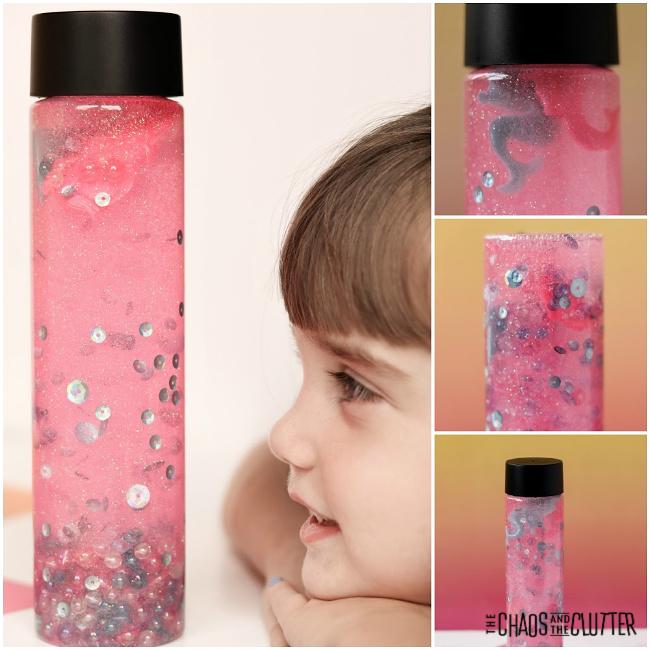
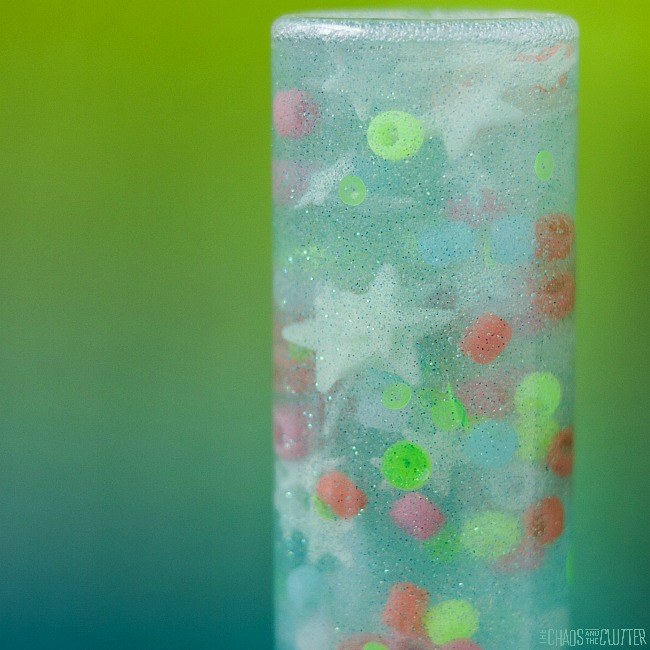
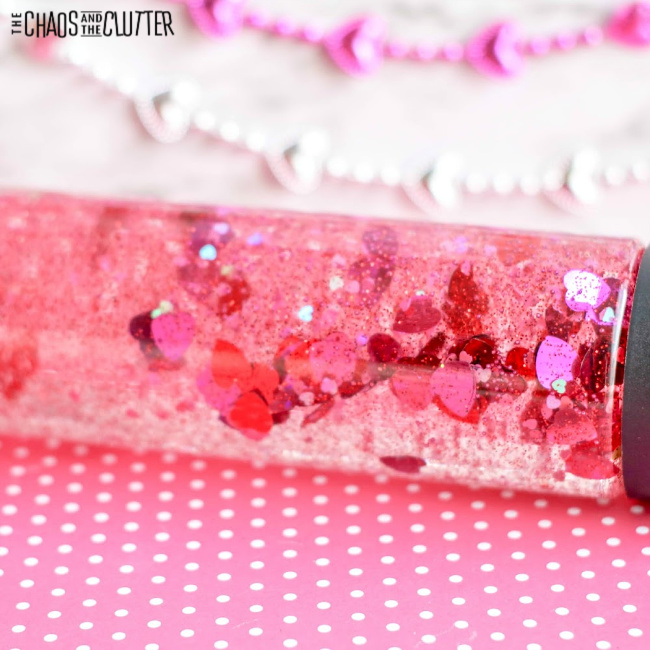
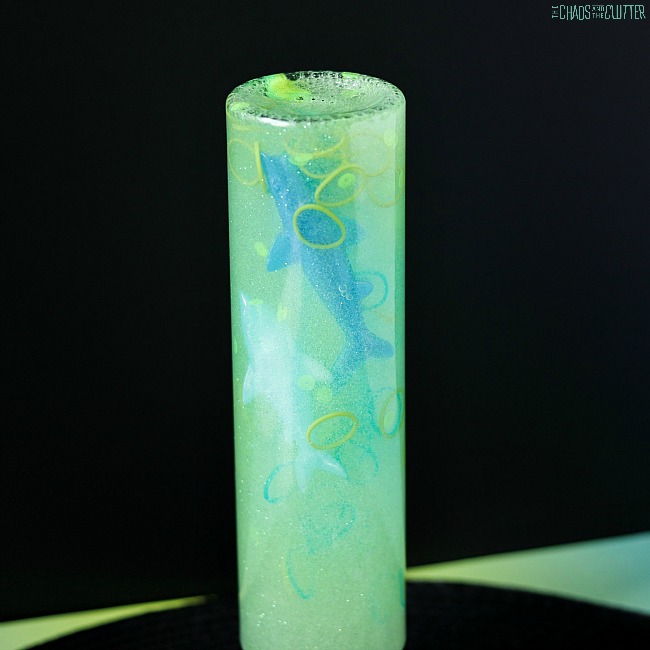
This Mermaid Calm Down Bottle is so pretty. Children are mesmerized as they watch items slowly drift down towards the bottom which helps them to regulate their breathing and regain focus when upset.
Mermaid Calm Down Bottle:
Supplies needed:
- empty water bottle (I prefer the look of Voss bottles or sensory bottles from the craft store)
- clear dish soap (Dawn or LemiShine are good because they are thicker)
- small mermaid figures (I used stretchy ones from the Dollar Store)
- white and pink glitter
- teal sequins
- pink, purple, teal, and white pony beads
- optional: Superglue to seal the bottle top
 Directions:
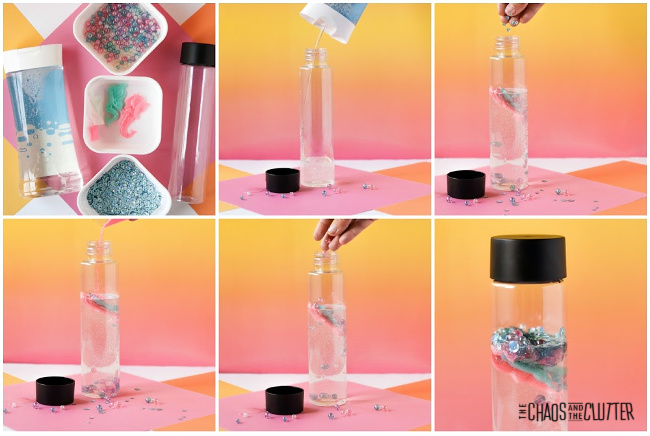
- Pour clear dish soap into the container until it’s 2/3 full.
- Add the glitter, beads, sequins, and mermaid toys.
- Fill the leftover space with water.
- Replace the lid. If younger kids will be playing with the bottle, then I recommend that you use Superglue or hot glue to secure the lid in place. Allow the glue to dry before giving it to your child to play with.
 As with all sensory activities for kids, adult supervision is required at all times. Even if you have glued the lid in place, it can come off and the bottle contains small parts which are choking hazards.
Sensory and Learning Opportunities:
This Mermaid Calm Down Bottle allows children to explore through the visual, tactile, and proprioceptive sensory systems.
While this bottle can be used as a tool for improving communication and discussing colours, it’s main purpose is to serve as sensory input and as a calming tool. The thick dish soap allows the glitter, sequins, beads, and mermaid toys to fall more slowly through the bottle than they would in water. It really is quite calming to watch (even for adults!).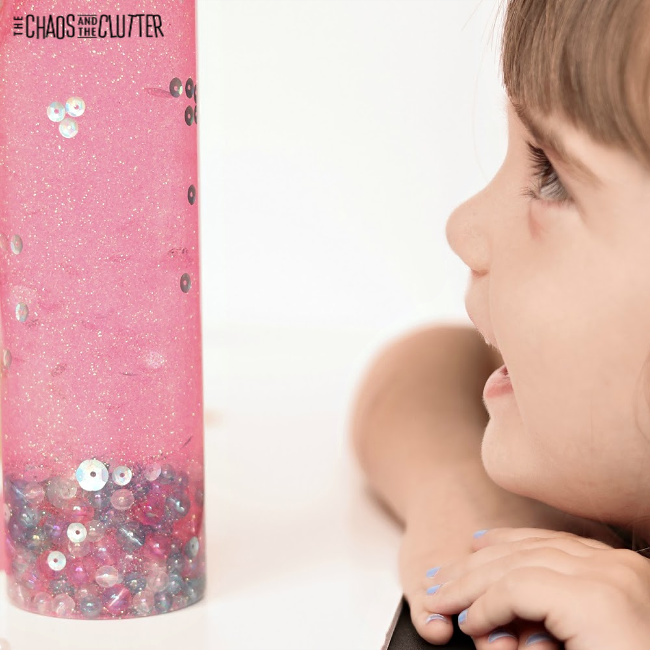
As your child watches the items travel through the bottle, encourage them to slow down their breathing. This often happens naturally. Give them simple verbal reminders such as “in through your nose, out through your mouth” or sit nearby and slow down your own breathing to model it for them.
I use this tool when I see one of my kids struggling to regulate their emotions or behaviour. I will often just wordlessly shake up the bottle and set it in front of my child. They begin watching it automatically and I can see their breathing begin to slow almost immediately. It’s a bit like magic actually!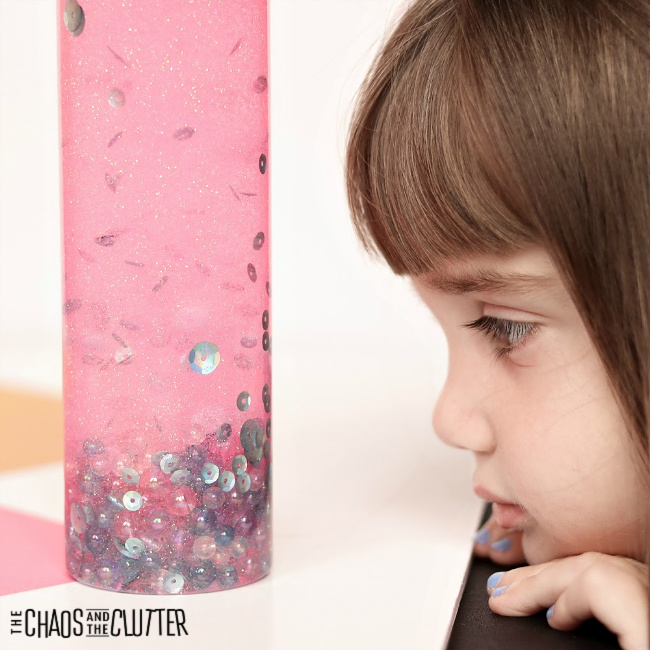 Looking for more sensory play ideas? Join us for a five day email series on Sensory Activities and Solutions and get a free sample of our Sensory Play Recipes eBook.
Find ideas for other calm down bottles:

 Directions:
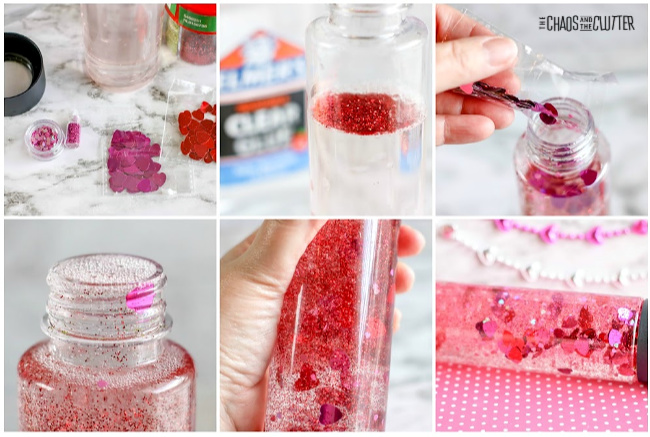 Even if you have secured the lid with glue, adult supervision should be used with this or any other sensory activities.
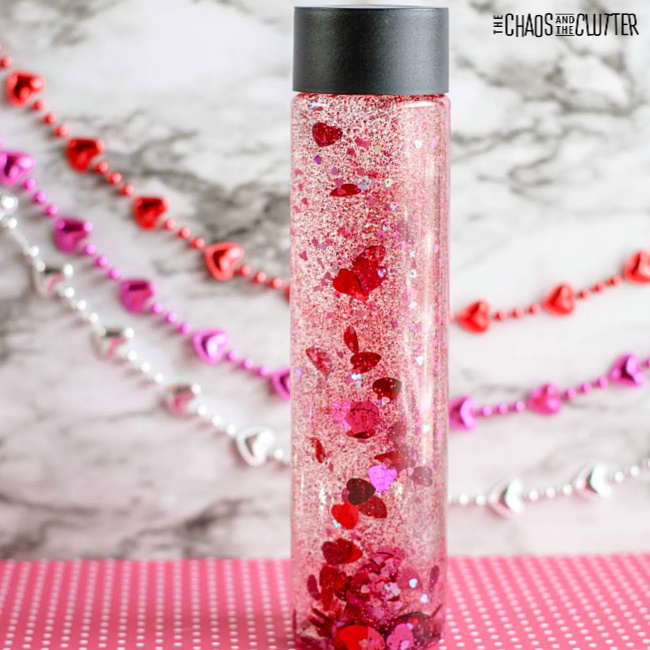
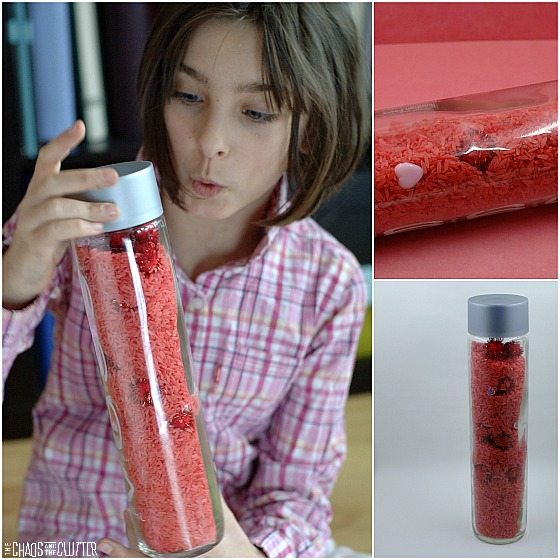

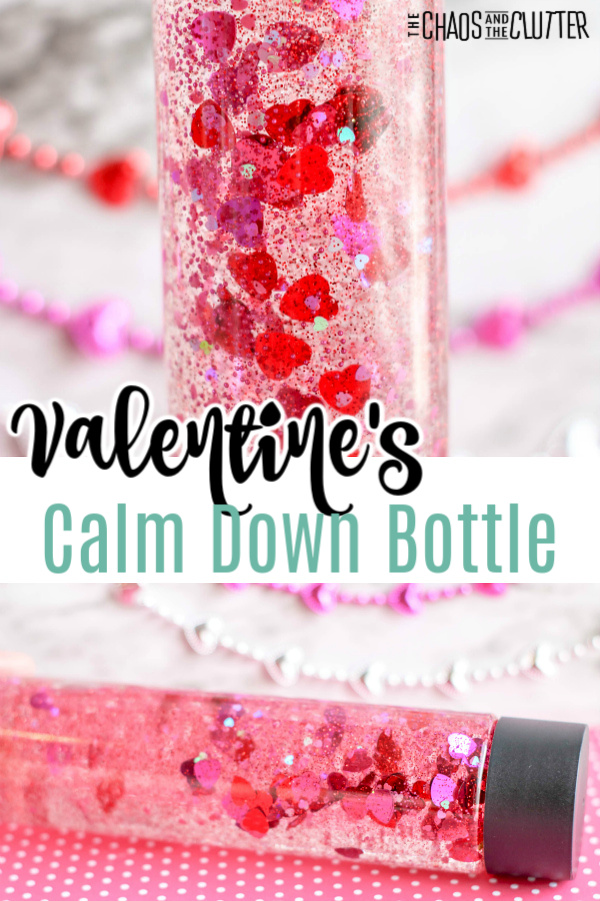
 Because of the scent, this activity is reminiscent of cinnamon hearts which are of course a Valentine’s Day staple.
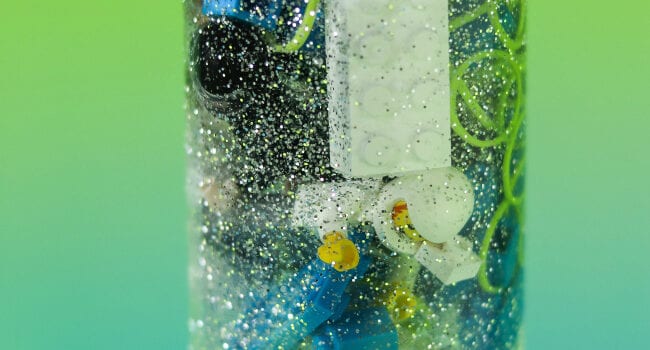
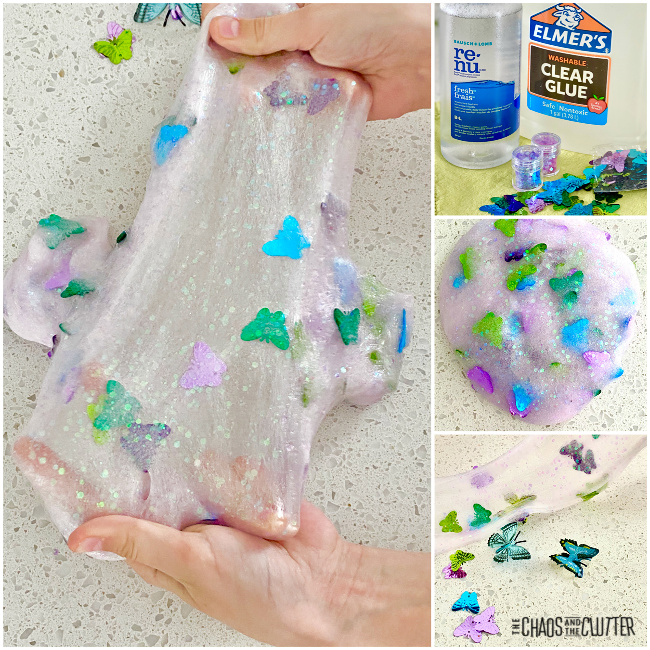
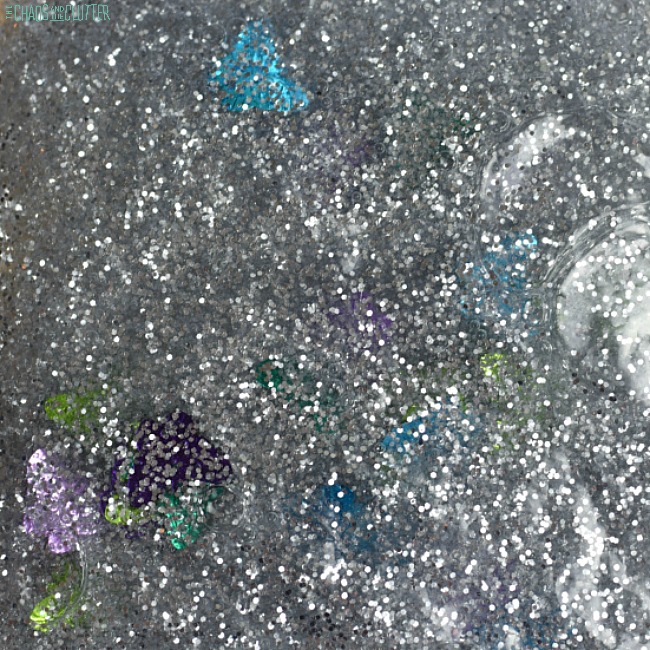
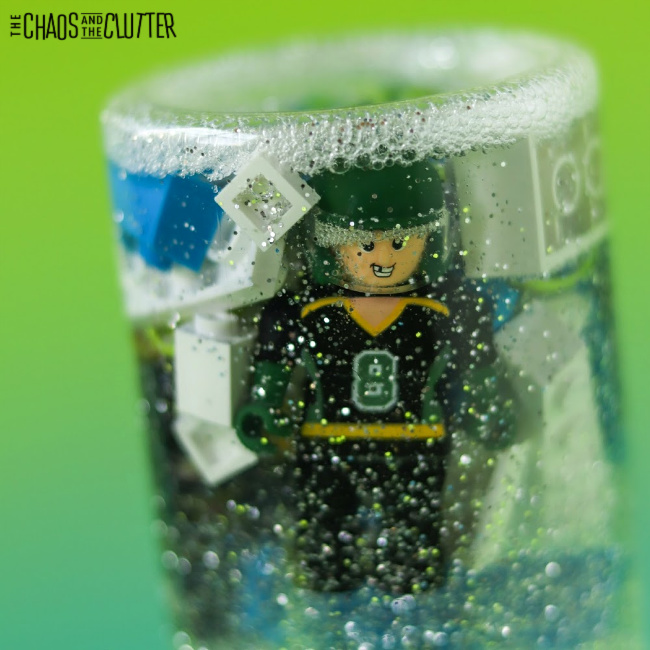
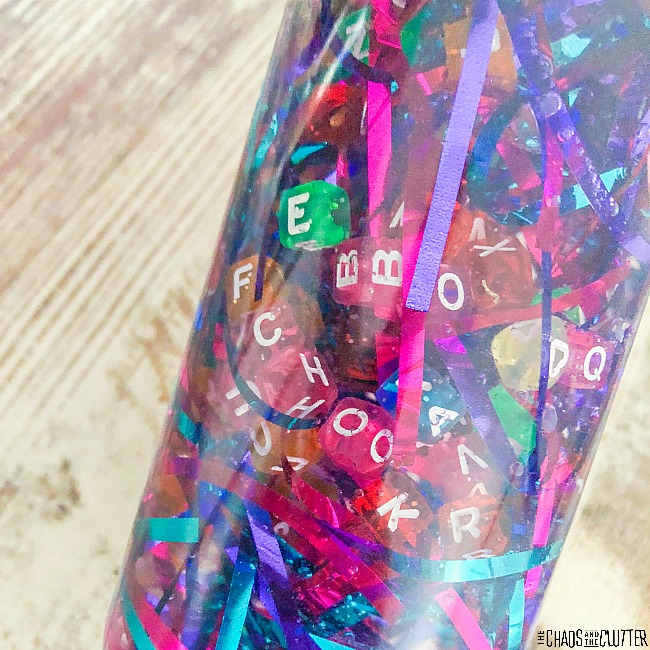
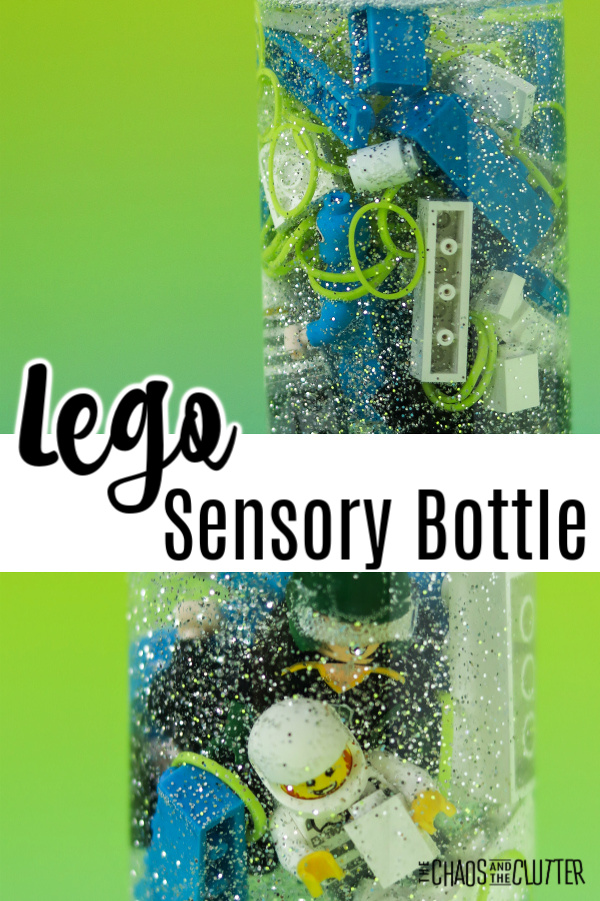 It can be a great calm down tool for kids as they sit and watch, mesmerized by the movement of the slow falling glitter, green bits, and Lego.
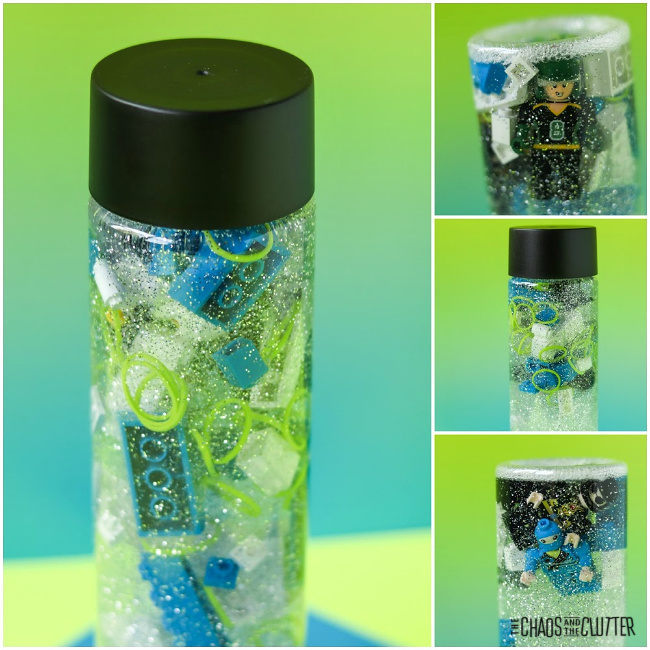 Directions:
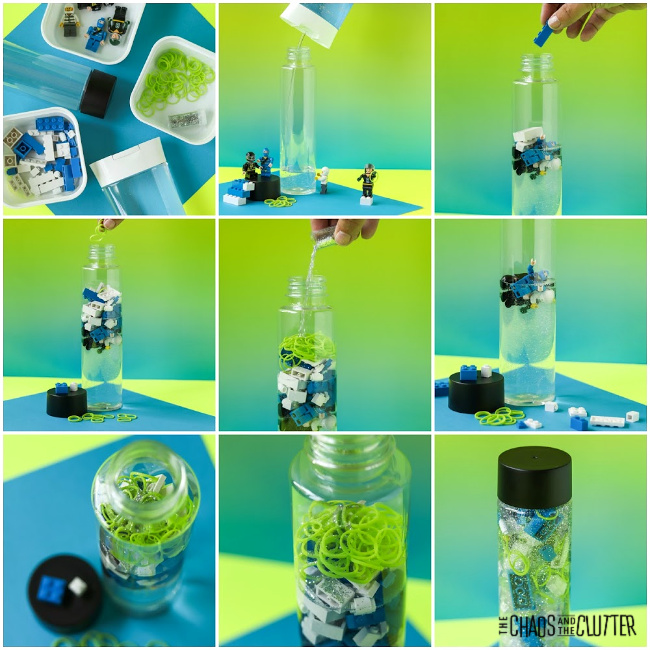 As with all sensory activities, adult supervision should be used at all times. Even if you have glued the lid in place, it can come off and the bottle contains small parts which are choking hazards.
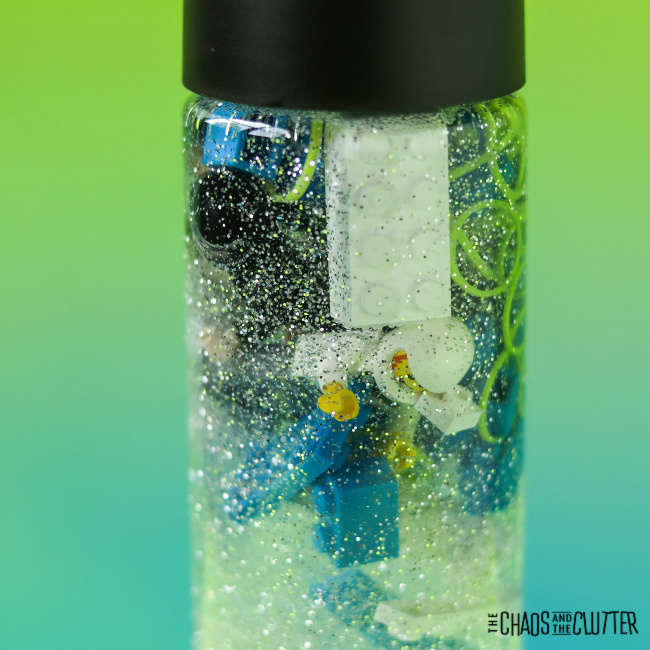 Are you looking for other easy sensory play ideas? Join us for a five day email series on Sensory Activities and Solutions and get a free sample of our Sensory Play Recipes eBook.
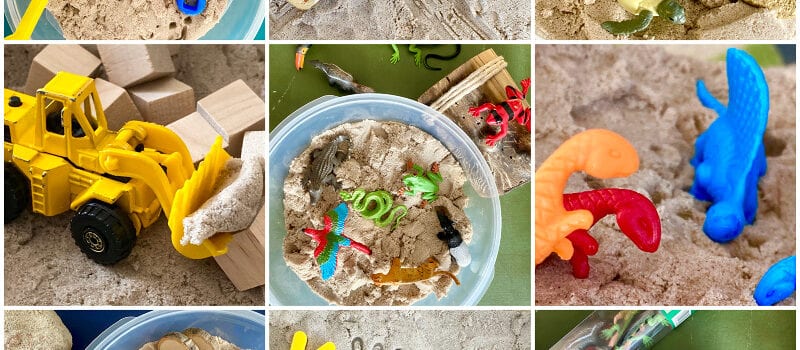
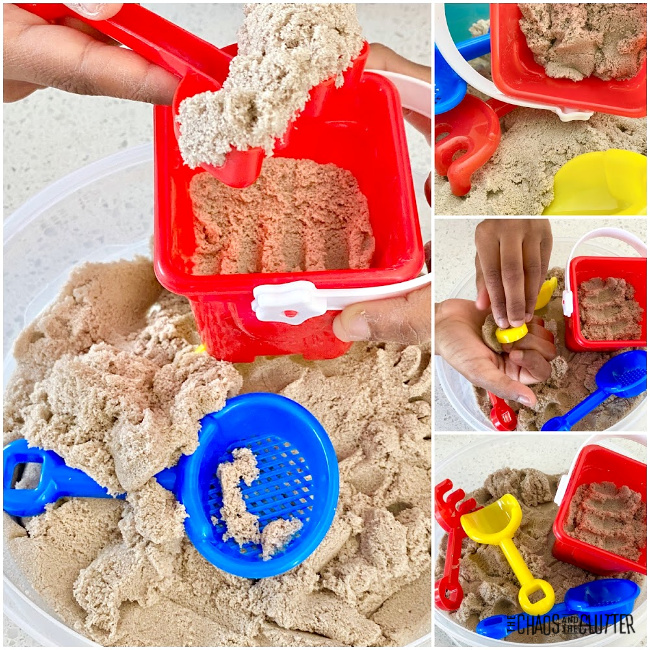
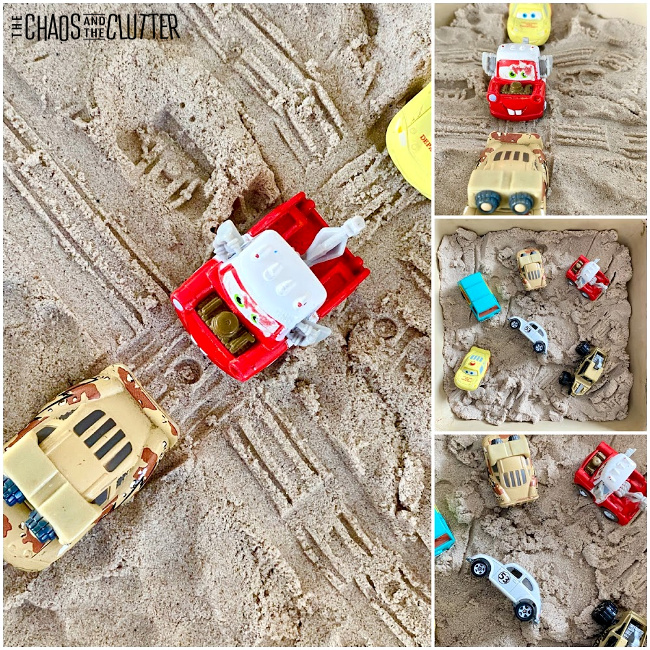
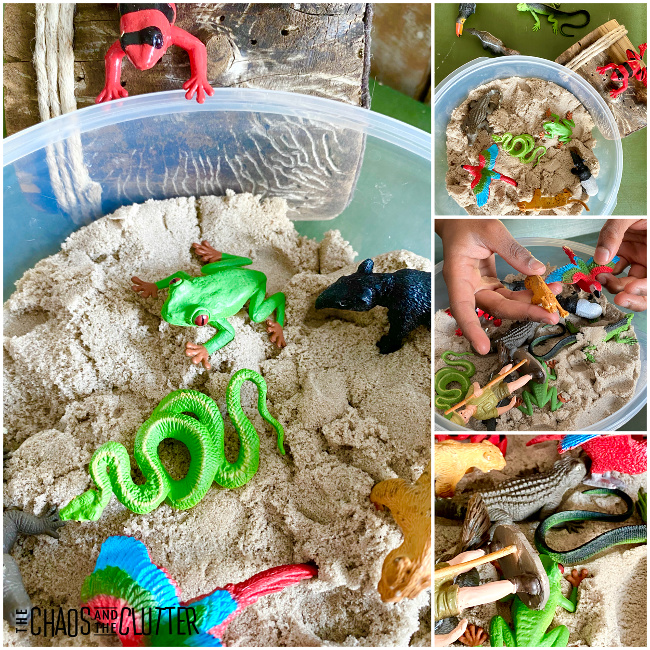
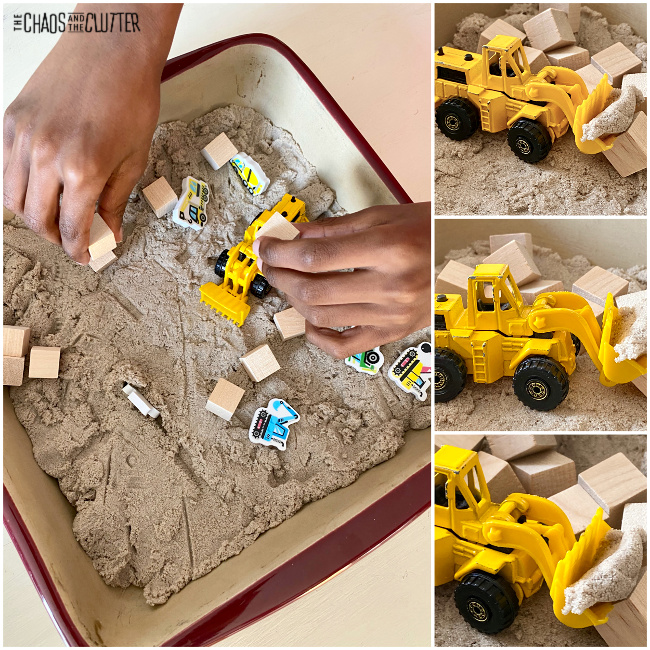
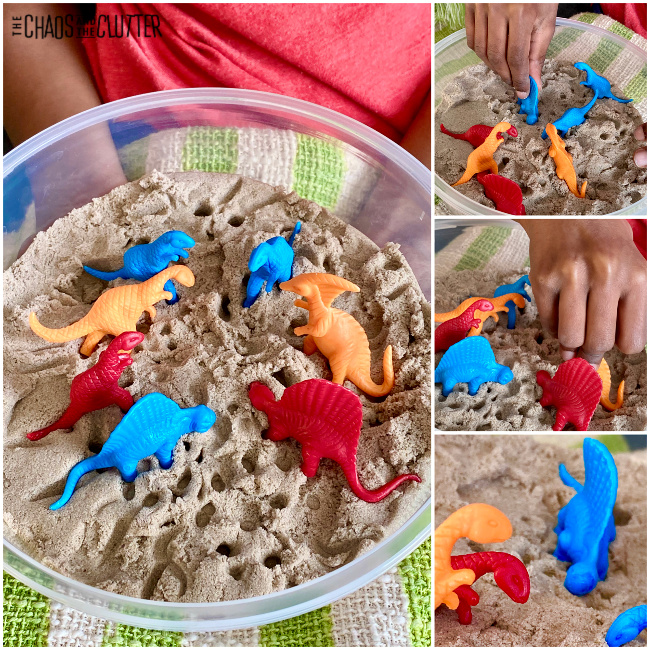
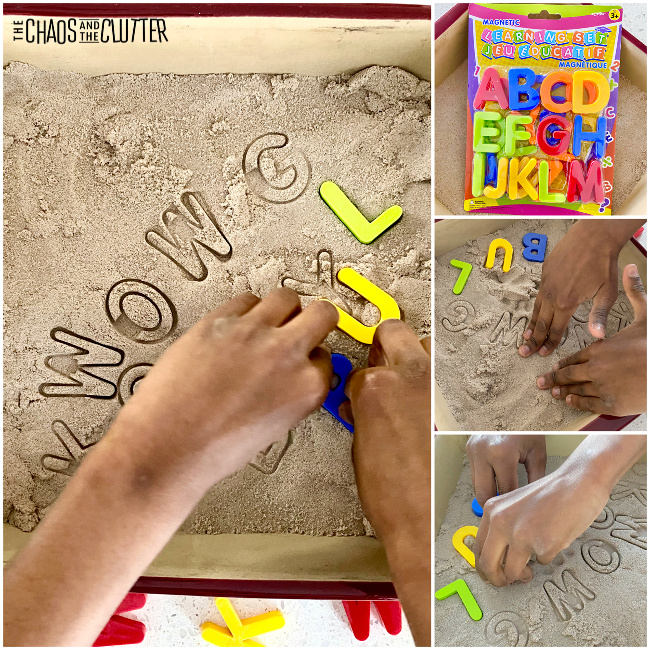
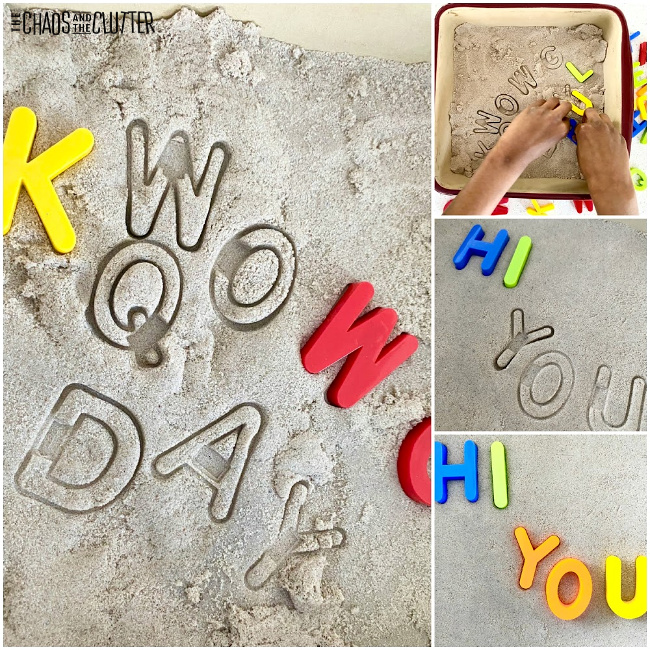
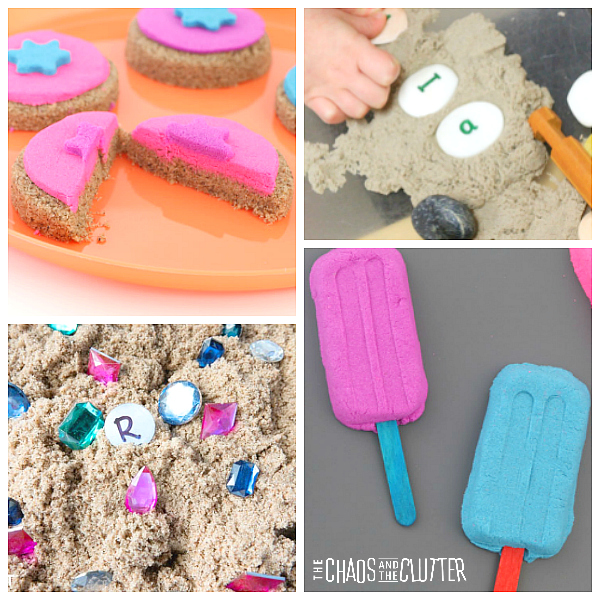
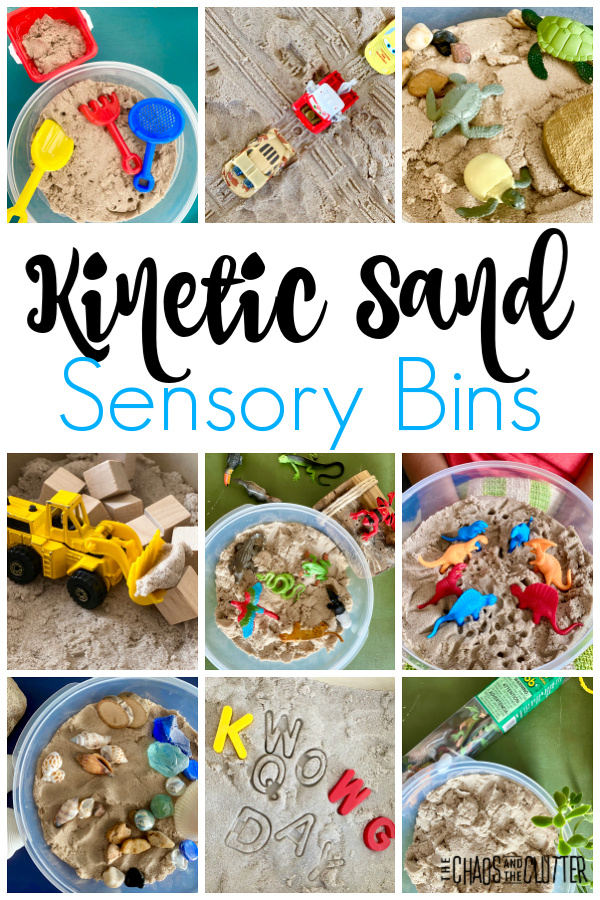 Store bought kinetic sand can be expensive, so I usually make my own using this
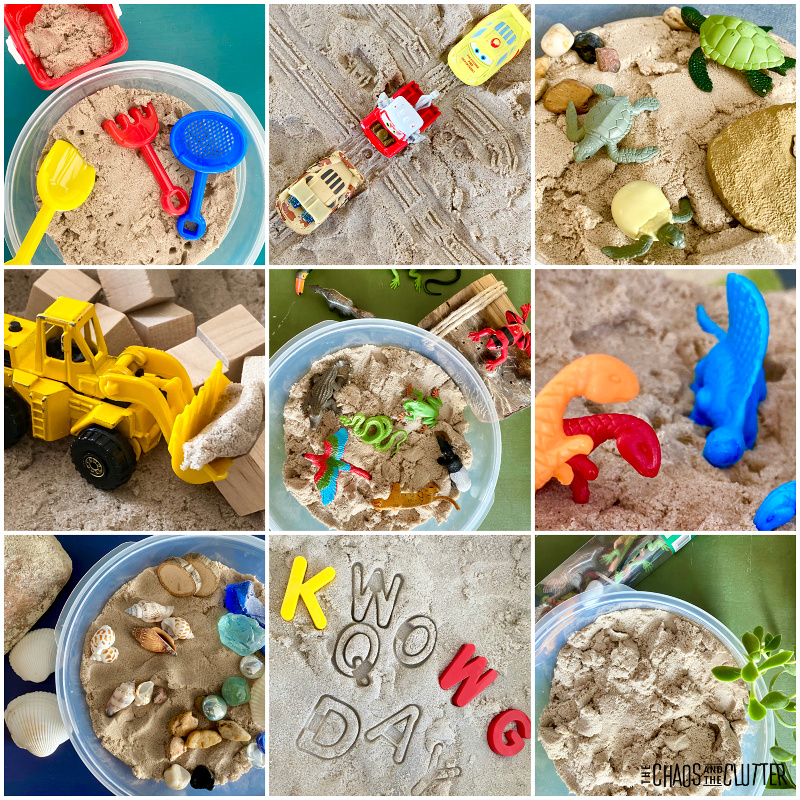
 Looking for more easy sensory play ideas? Join for a five day email series on Sensory Activities and Solutions and get a free sample of our Sensory Play Recipes eBook.
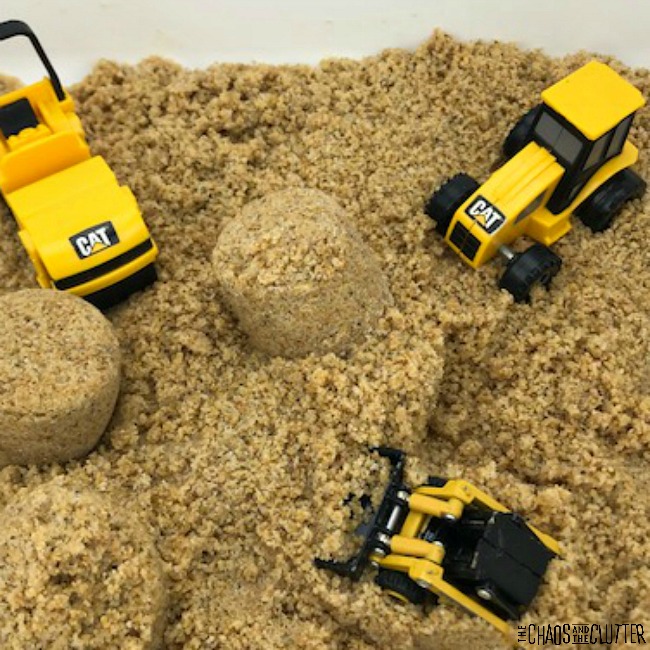
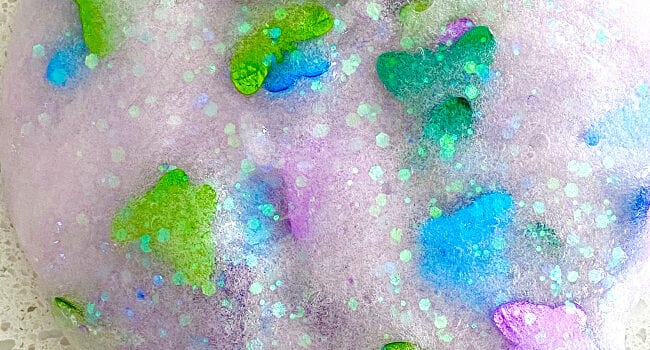
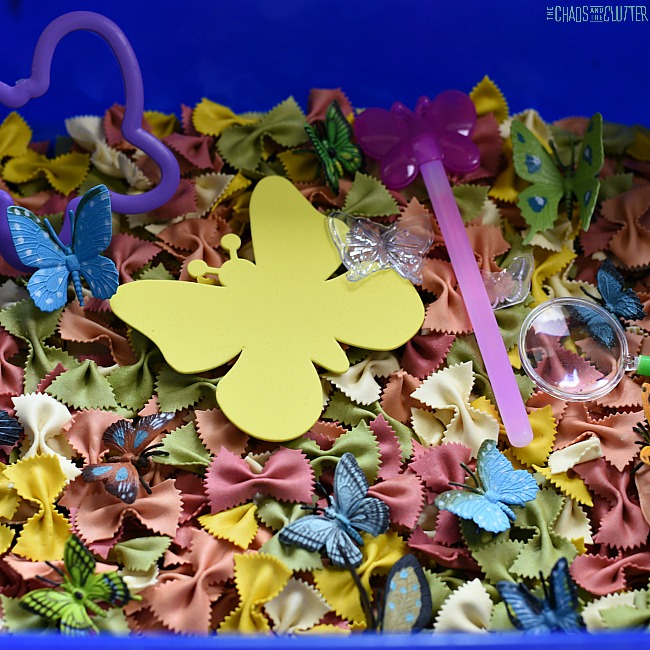
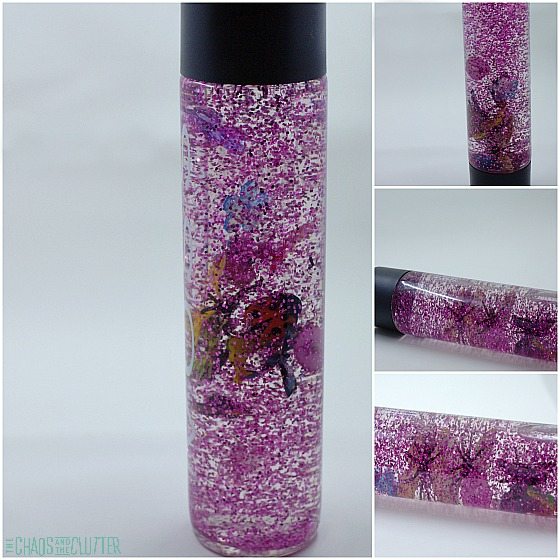
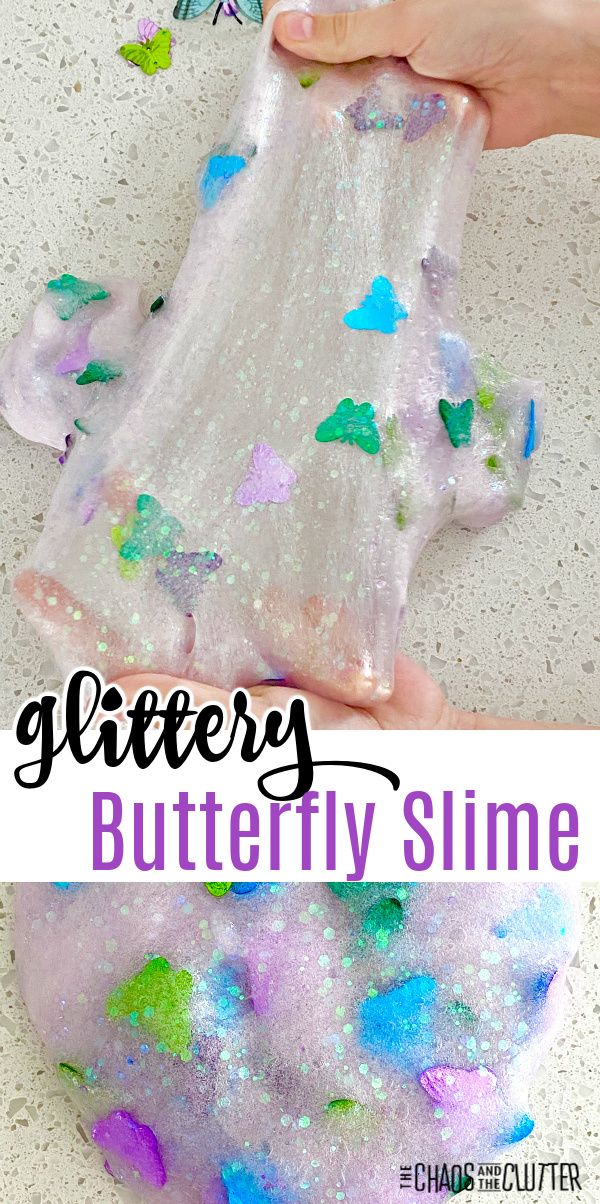 As I type this, it is -40° outside when I live up in Canada. Yes, that’s -40° in both Fahrenheit and Celsius! Now this temperature is cold even for us seasoned Canadians so this is exactly the kind of day that has me dreaming of Spring. I’ve been thinking about flowers and butterflies and green grass as I stay bundled inside and look out at the snow.
 Directions: