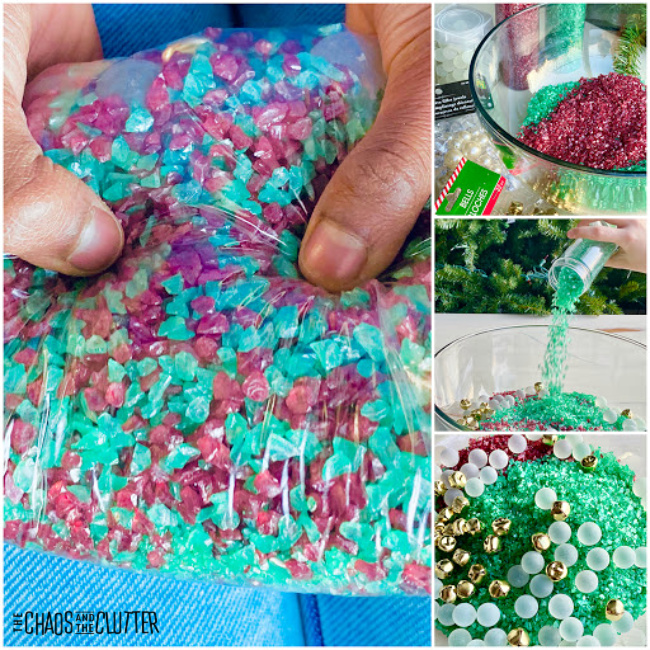
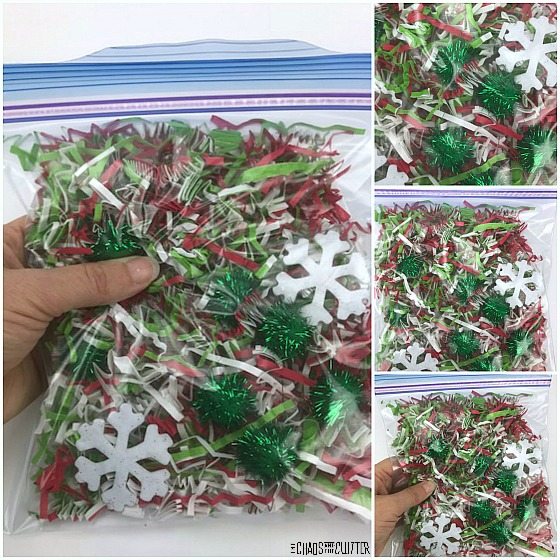
Looking for an easy holiday themed sensory activity for your kids? This Snowballs and Jingle Bells Sensory Bag is portable and simple to create. It uses items purchased from the Dollar Store, so it’s also inexpensive.
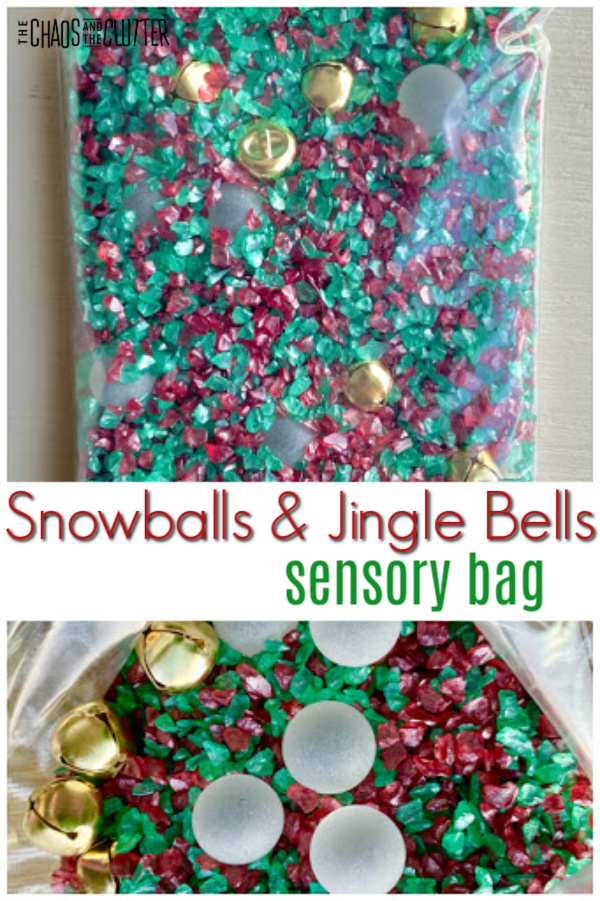 Snowballs & Jingle Bells Sensory Bag:
Supplies:
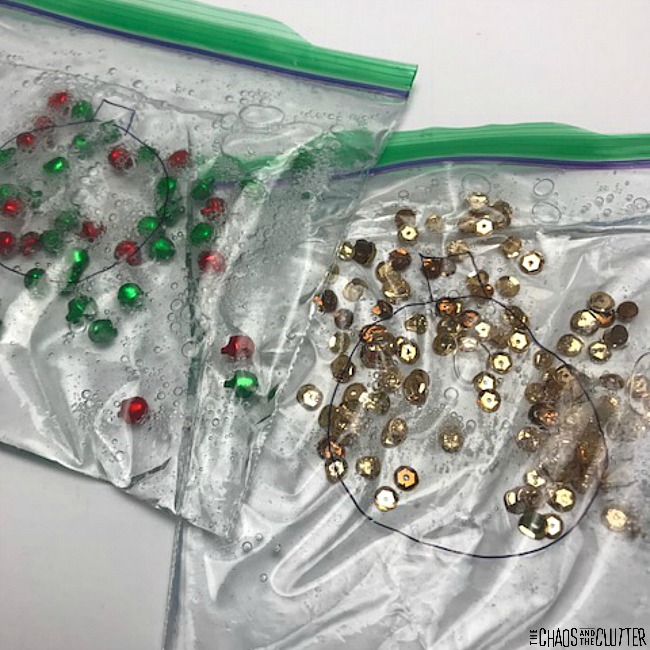
- clear plastic resealable bags
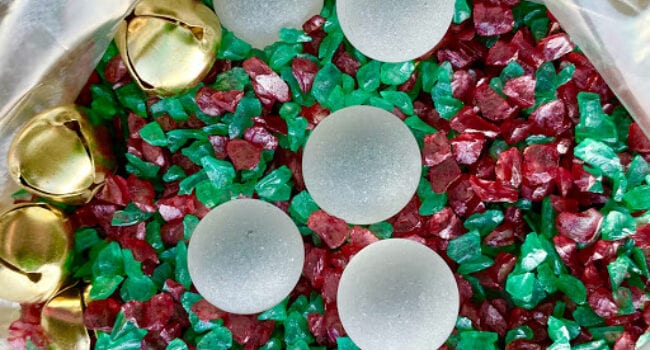
- red glitter gravel
- green glitter gravel
- gold jingle bells
- small frosted decorative balls
- optional: holiday duct tape
Directions:
-
- Mix together red and green glitter gravel.
- Drop in the frosted “snow”balls and jingle bells.
- Stir. Add into resealable bags and seal.
- If you’re going to use this with smaller children, you can seal the edges by folding over holiday themed duct tape.
Tip to expand the activity:
You can also make this into a sensory bin either before putting the items into bags or after by dumping the bag contents into a bowl or plastic tub. Toss in a scoop or a few spoons and you have a Christmas sensory bin!
This snowballs and jingle bells sensory bag offers visual, tactile, proprioceptive, and auditory sensory input. 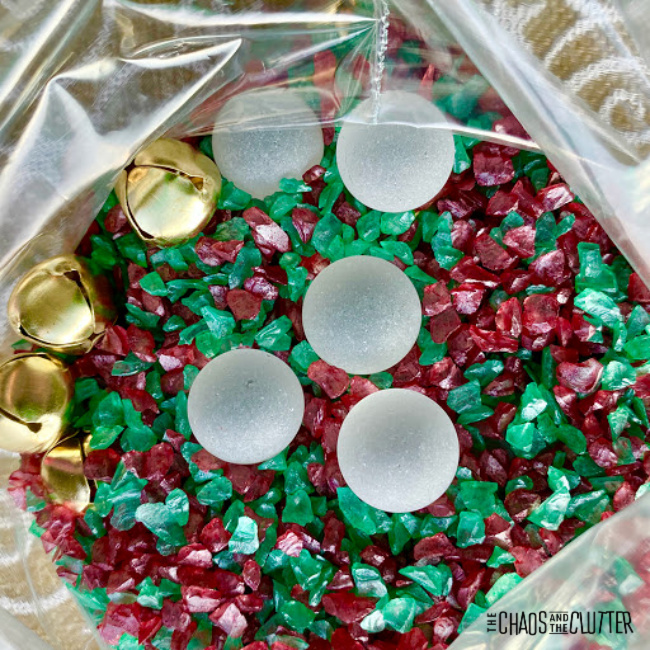 Important note: As with all sensory activities, adult supervision should be used at all times even if you’ve sealed the edges shut. Note that the glitter gravel can have sharp edges and can sometimes cut through the bag.
Check out these other Christmas themed sensory bags:
Fill an Ornament Christmas Sensory Bag
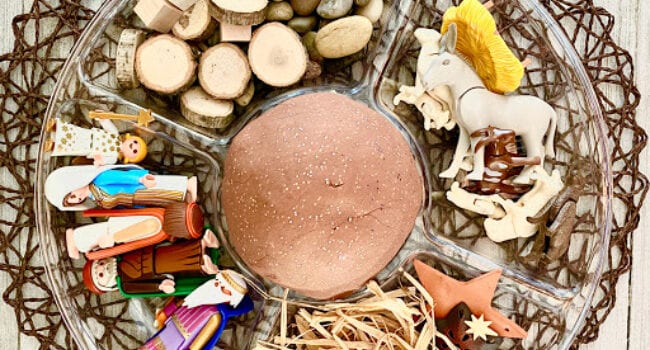

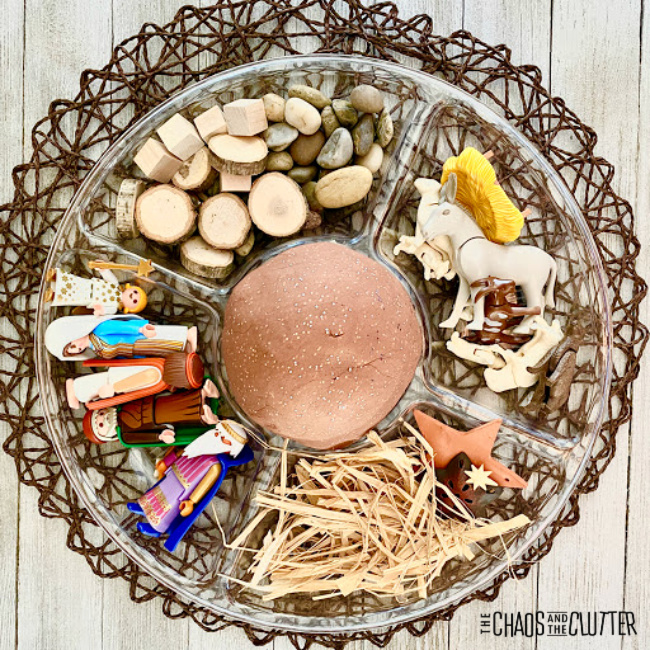

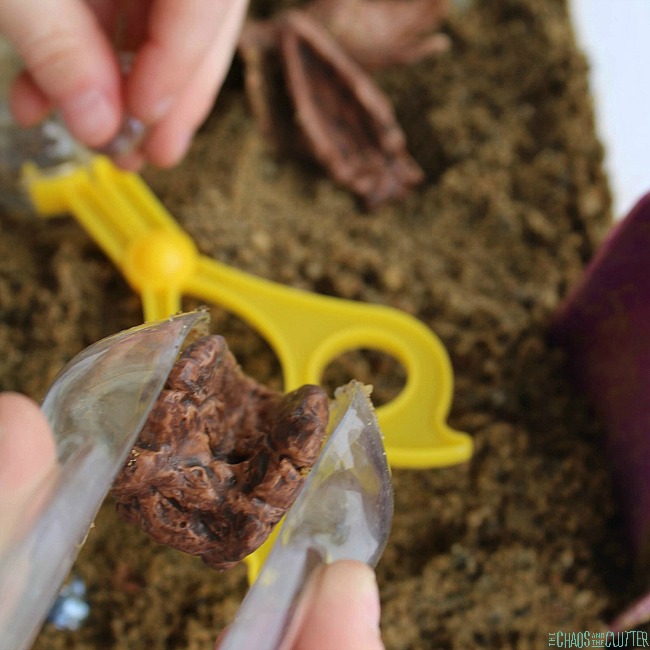
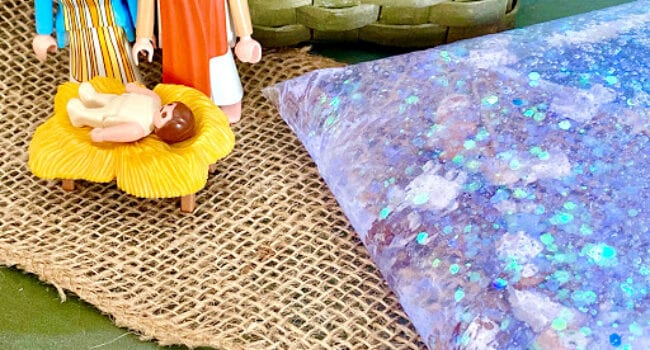
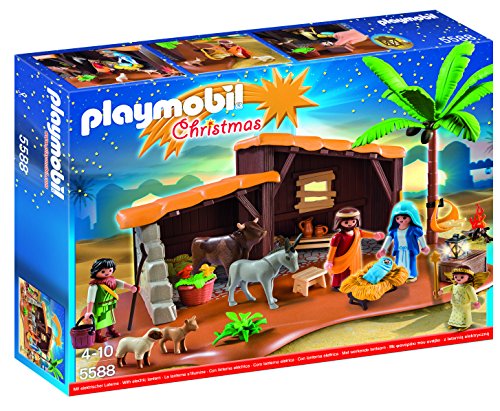
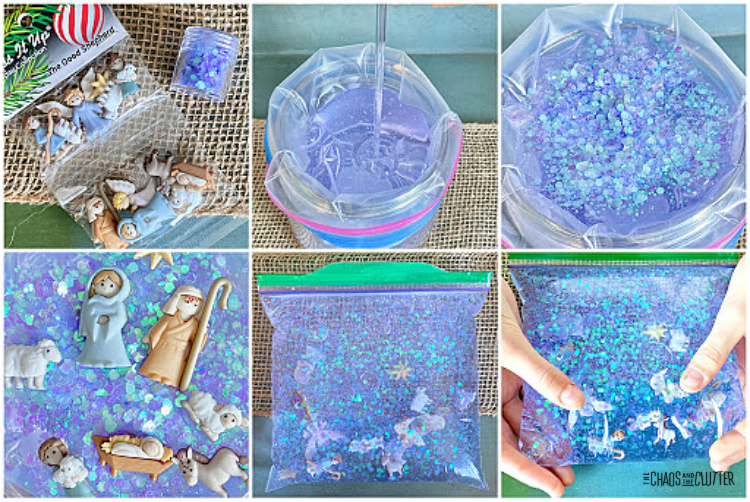
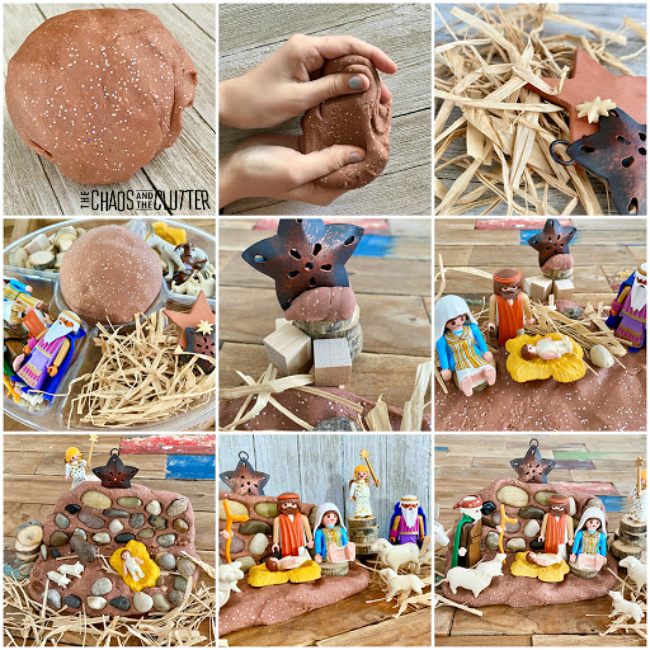 Sensory and Learning Opportunities:
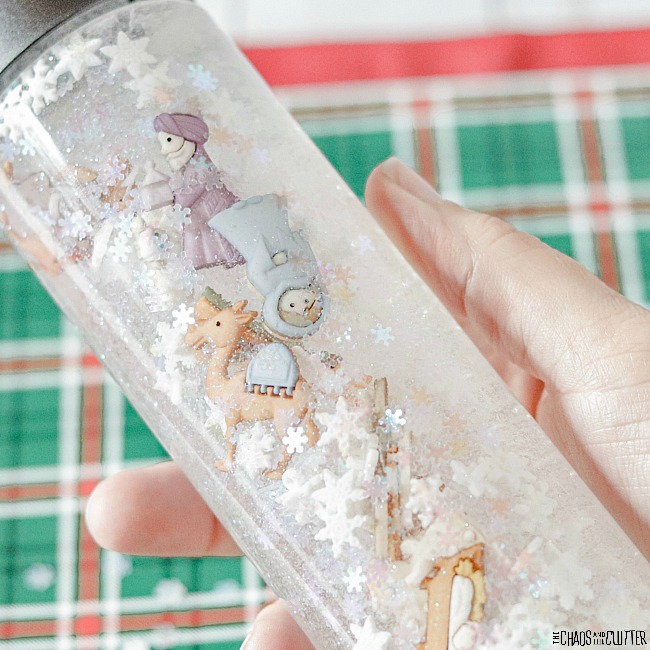
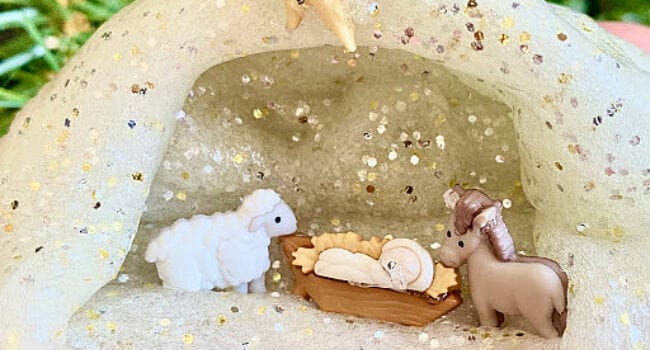
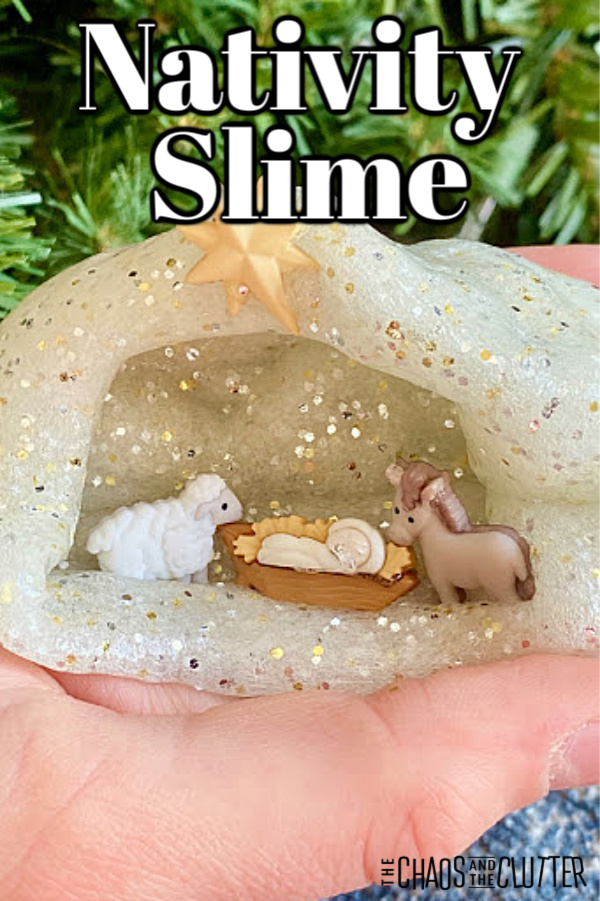
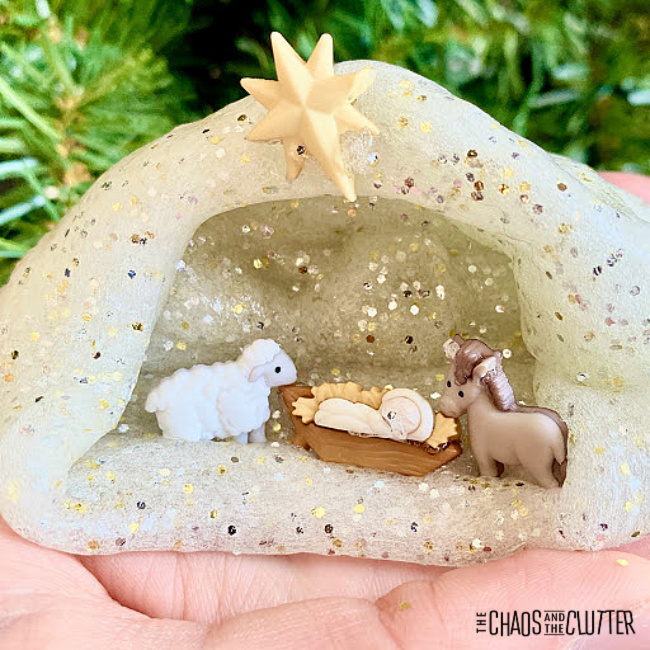
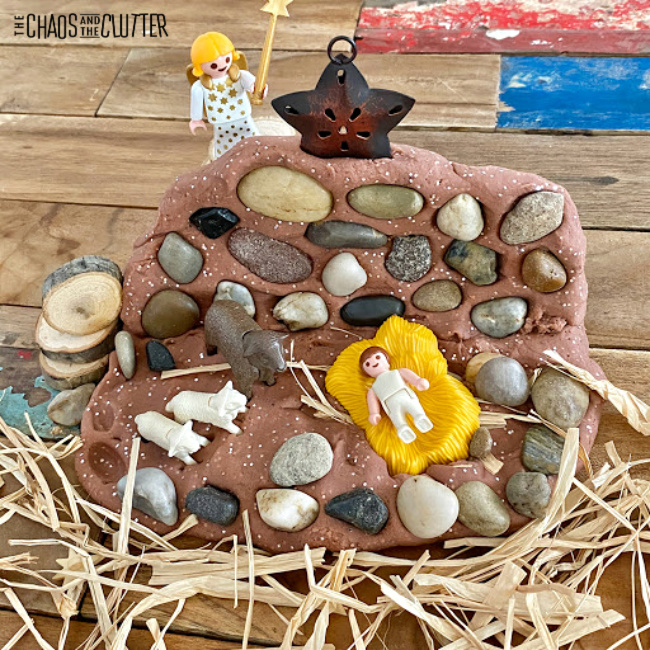 Playing with playdough also lays foundation for concepts of engineering by allowing children to build and design something that solves a problem. In this case, the problem is how to create a manger scene or tell a story using the materials in front of them.
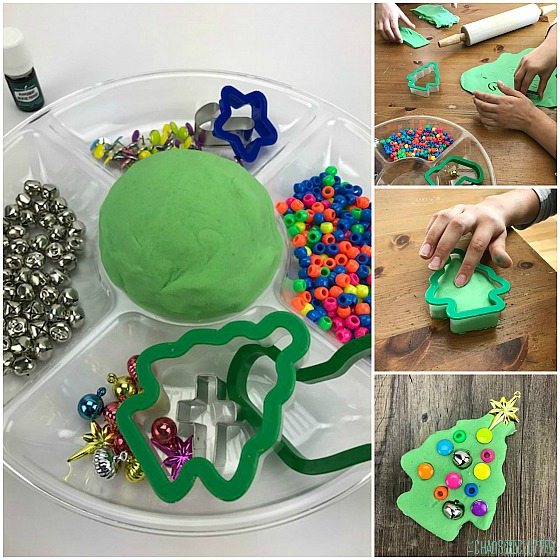
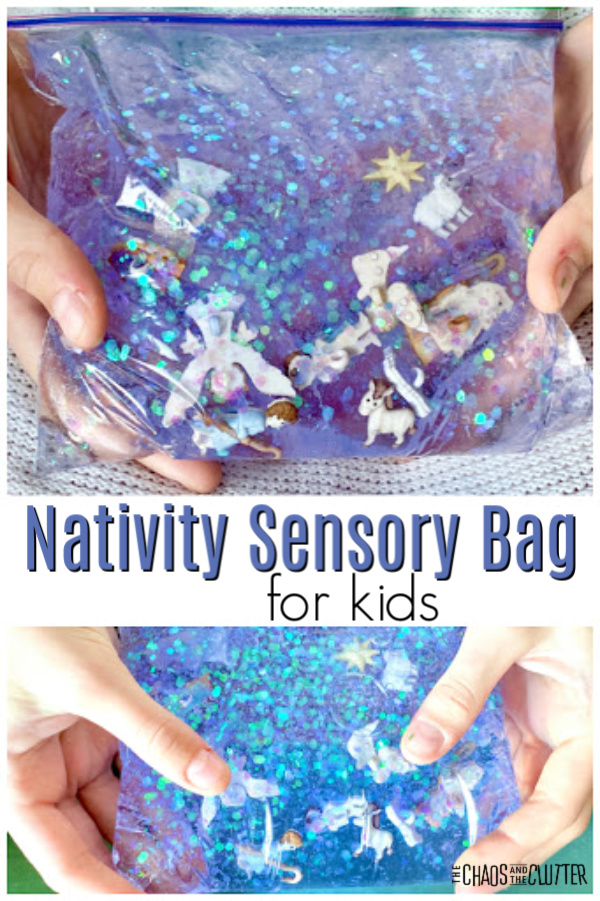


 Remember that as with all sensory activities, adult supervision and common sense should be used.


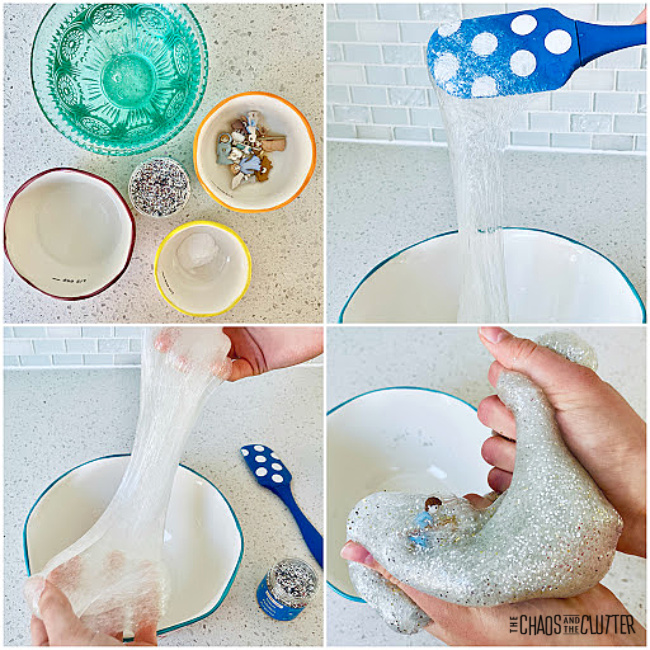

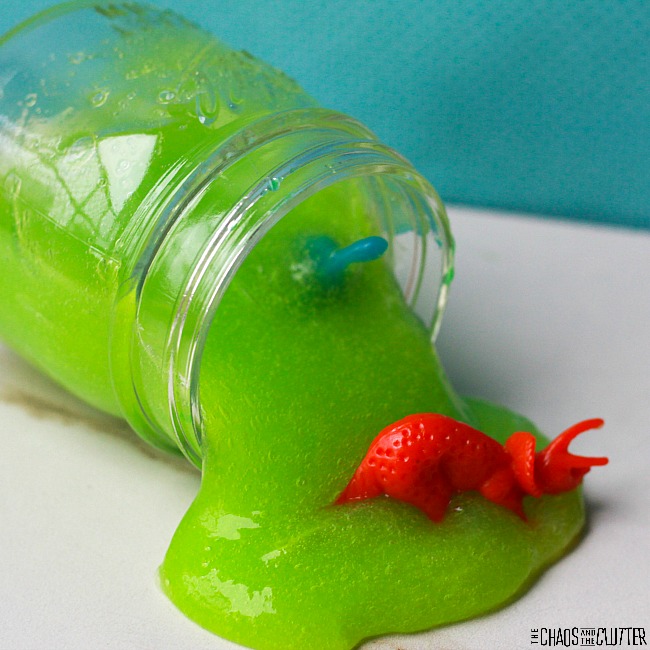
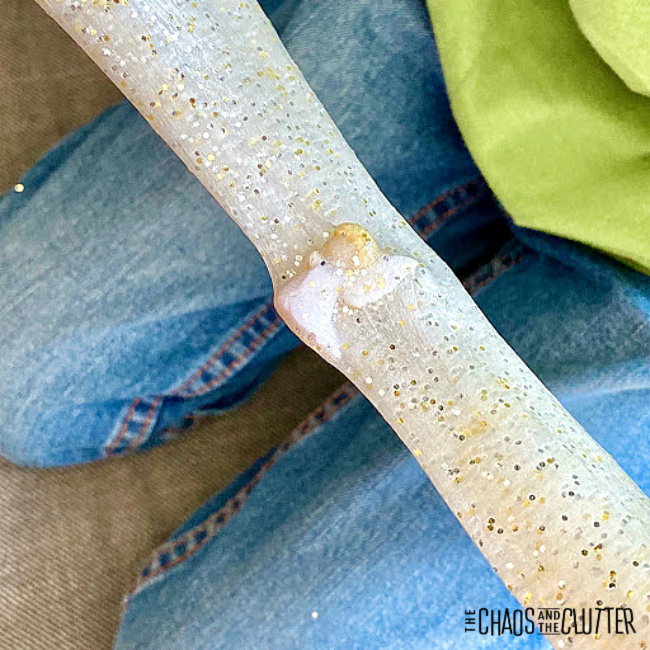 Slime Troubleshooting Tips:
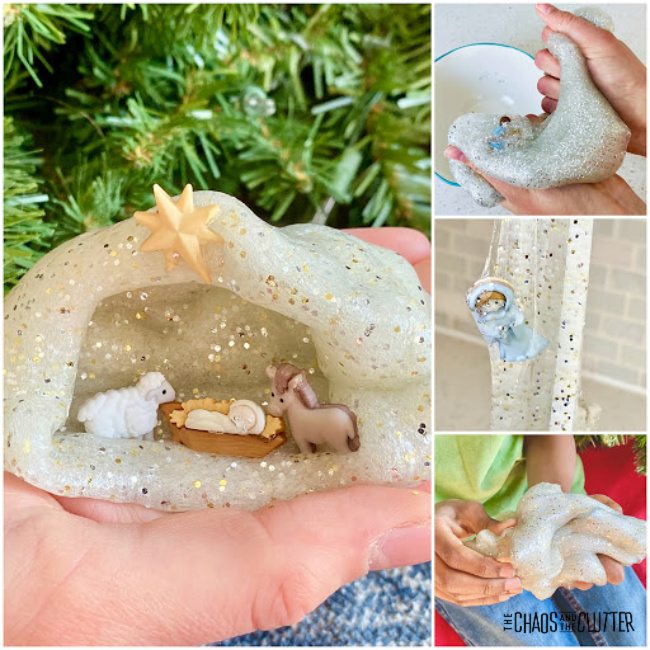
 Have your child hold and squish and pull their slime while you are reading them the
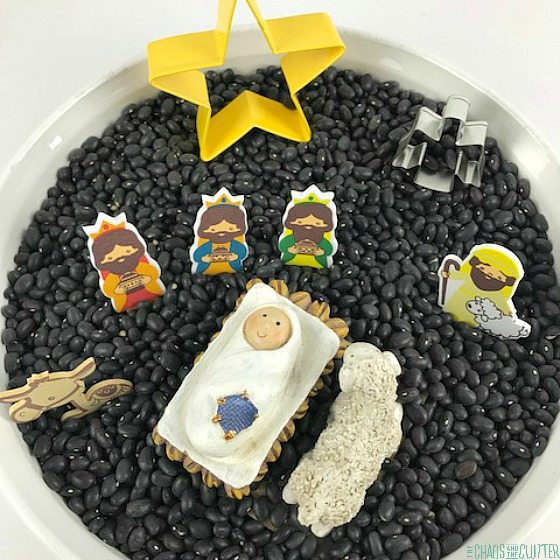
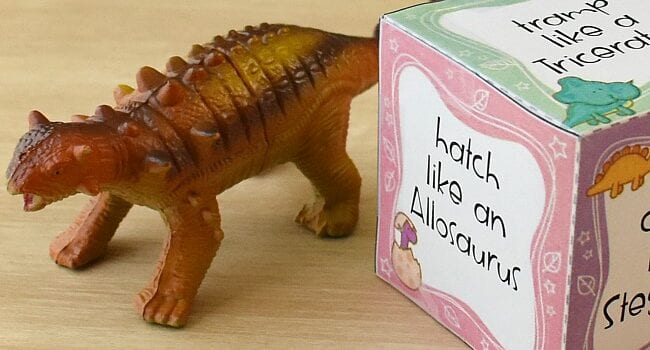
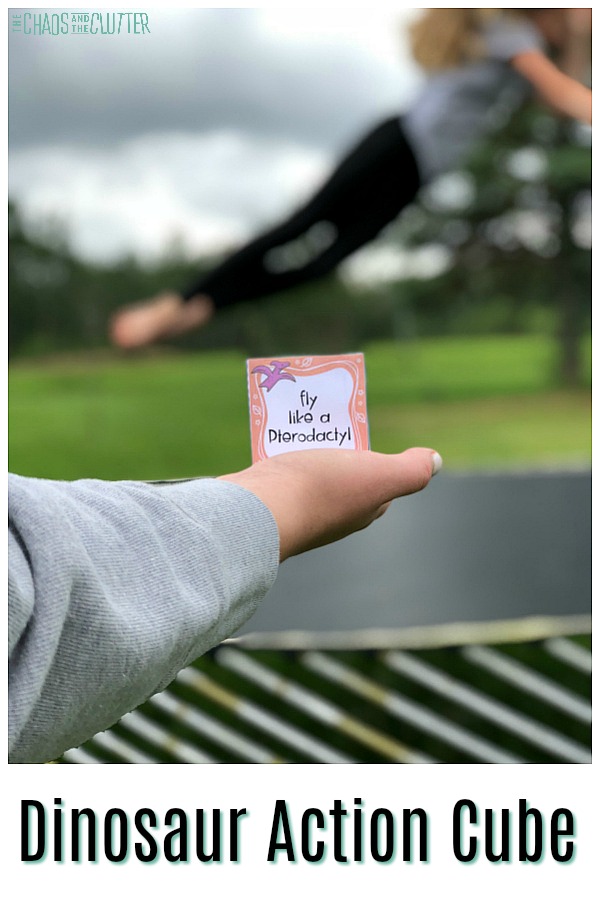 You can use the dinosaur action cube indoors or outdoors. Kids of many ages can participate. This is a fun rainy day or snow day activity because it gets the whole body engaged. Kids explore their movements and imaginations as they hatch, tromp, charge, fly, and munch like the dinosaurs of the past.
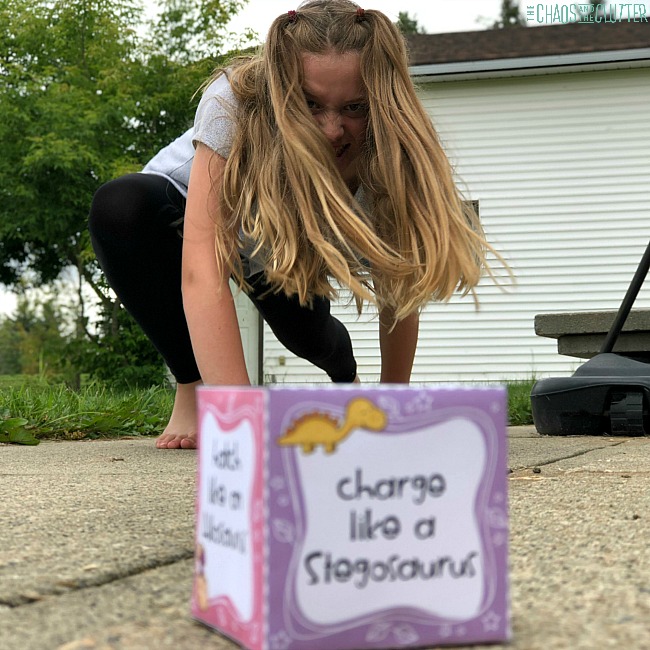
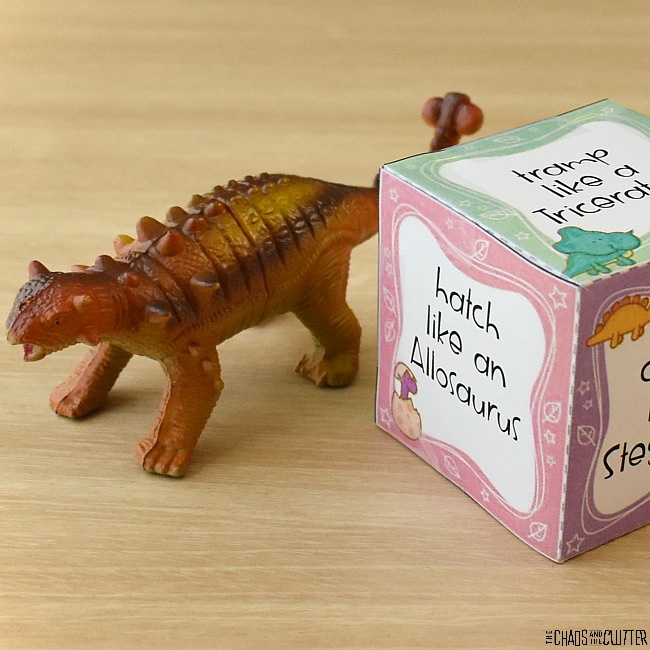 You can also take the activity one step further by having them read about each of the dinosaur types on the cube or having them draw that species. There are so many possibilities.
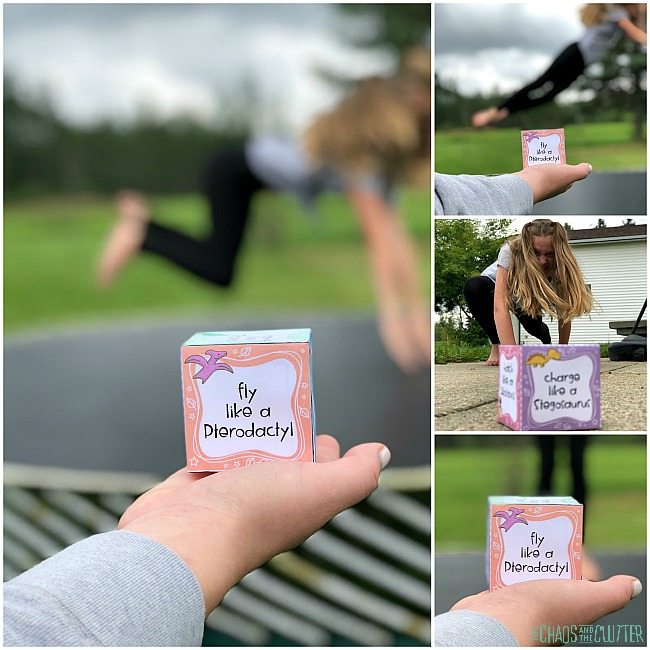 I enjoyed seeing my kids’ interpretations of the dinosaurs. Some kids also like to add their own sound effects. We may not know exactly what dinosaurs sounded like, but my kids did some pretty convincing impressions!