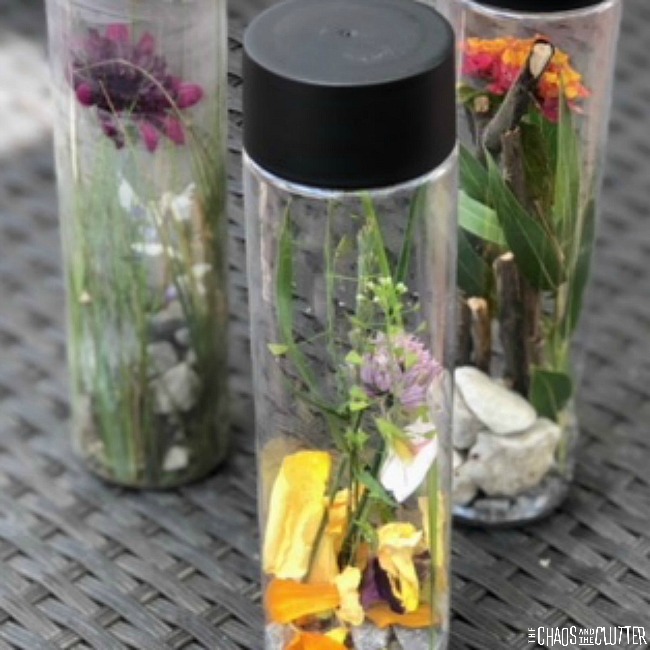
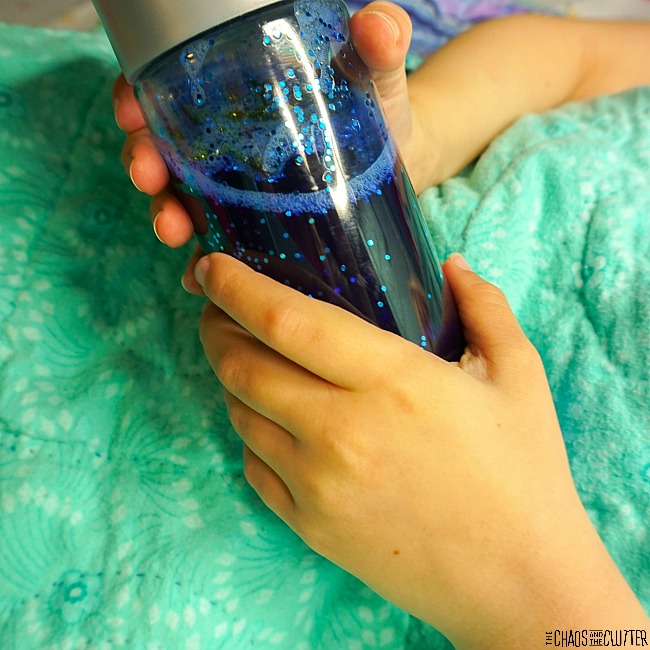
It’s so easy to create this At the Beach Nature Sensory Bottle. It makes a great memento of a tropical or beach vacation too. You can gather the items while on holiday and bring the bottle home with you to remember the trip by. 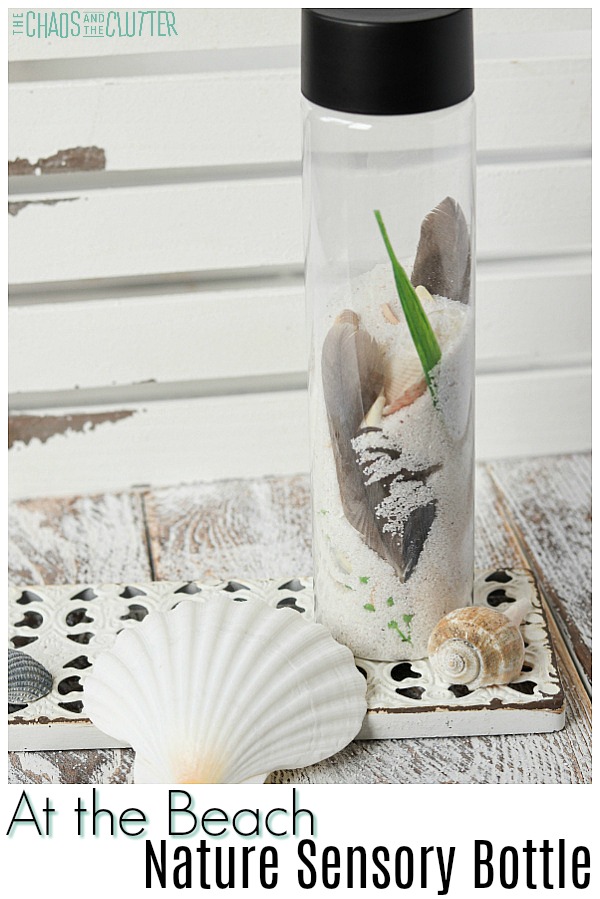
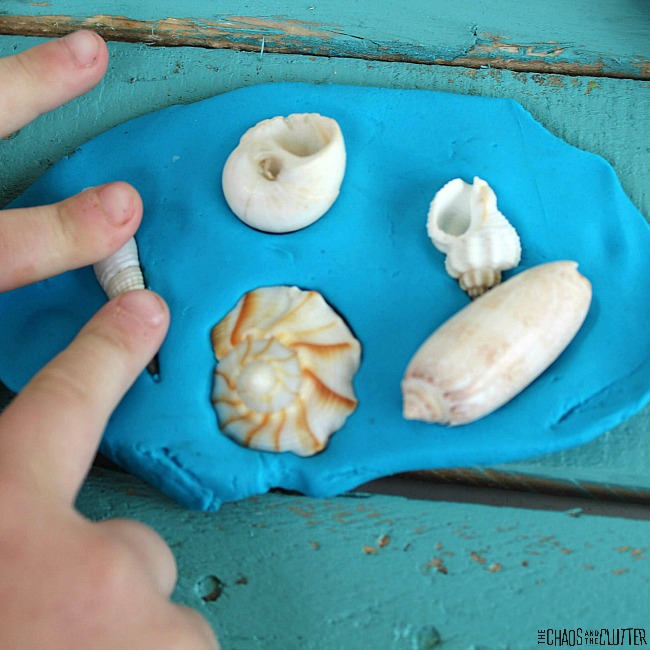
I love that this discovery bottle uses things found in nature. Just like our Seashell Fossils in Playdough activity, this allows kids to explore using their senses and items they found themselves.
At the Beach Nature Sensory Bottle:
Supplies:
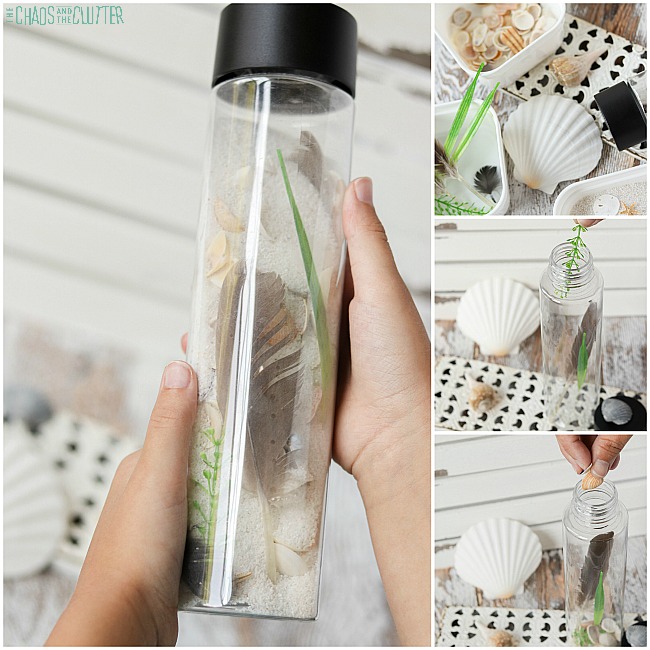
- empty water bottle (I like the look of Voss bottles, but you can also purchase these empty sensory bottles)
- seashells
- sand
- seagull feathers
- seaweed
- optional: super glue to seal the bottle cap
Directions:
- Take a walk on the beach to collect the items you want to include in the sensory bottle.
- Wash the items (other than the sand) and lay them out on paper towels to dry. Be sure they are fully dry before adding them.
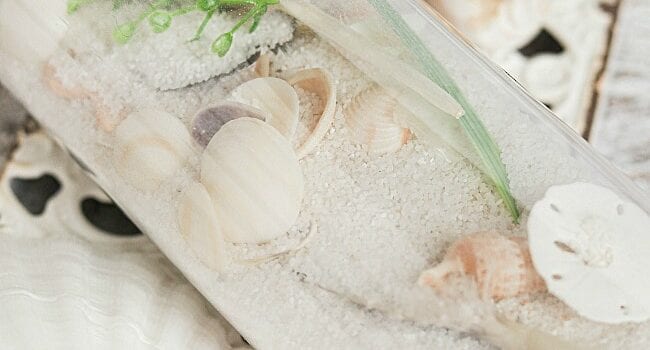
- Pour sand into the bottle until it is 1/4 to 1/3 of the way full. You can use a funnel to make this easier.*
- Drop in small seashells, small sand dollars, seaweed, and feathers. You could also add small driftwood or rocks found on your walk.
*If you are on vacation and don’t have a funnel with you (because who brings a funnel on vacation?!), you can roll up a piece of paper into a funnel and pour the sand through that. 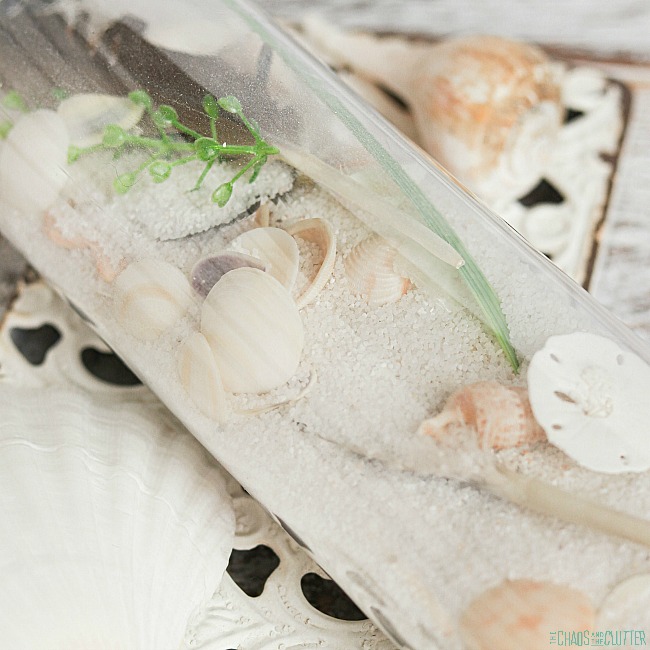
You can keep your creation as a keepsake from your vacation. You can use a permanent marker to write the location and year on the bottle and display it in your home. 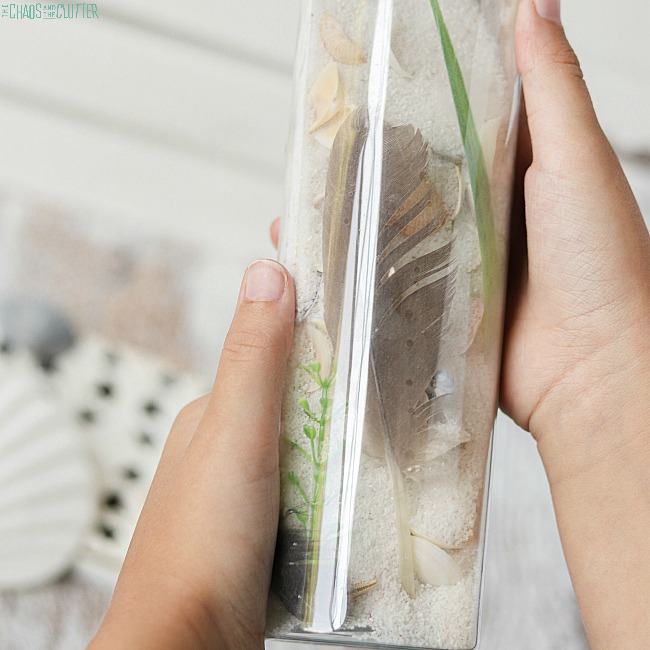
Sensory and Learning Opportunities:
Sensory: This sensory play activity begins with the walk along the beach. The feel of the sand under their feet, the wind on their skin, the sound of the waves, the smell of the sea all engage the senses.
The experience continues with adding the collected items to the bottle. This beach sensory bottle involves the visual and tactile sensory systems and during the walk, the olfactory and auditory systems. 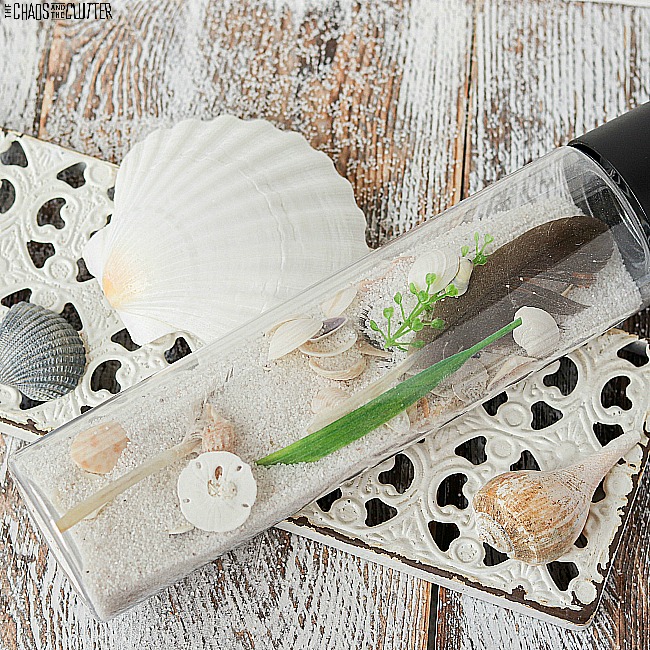 Science: This activity encourages children to explore the world as they get up close to the beach. You can expand on what they learn by providing books about sea life and seashells so that they can discover what animals lived in the shells at one time.
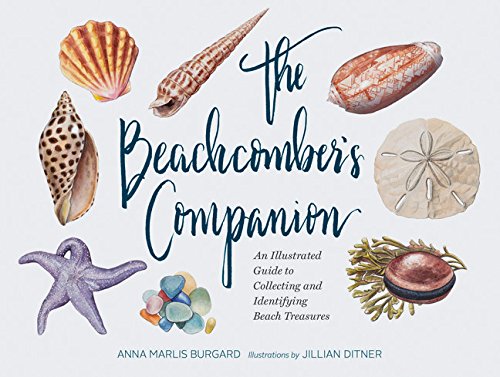
Children can use the books or the internet as a reference for reading about how sand is made, the benefits of eating seaweed, or any other questions they have about the beach or the ocean. Here are some books that would fit well:
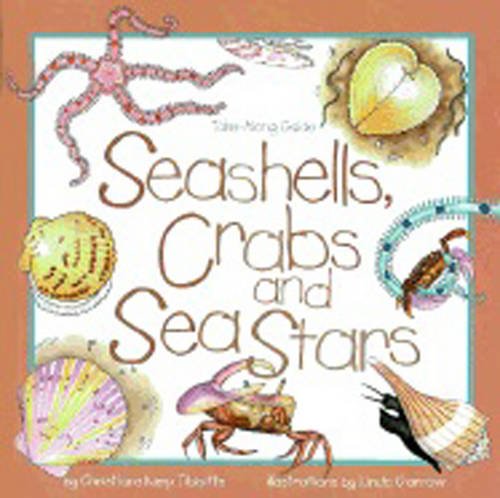
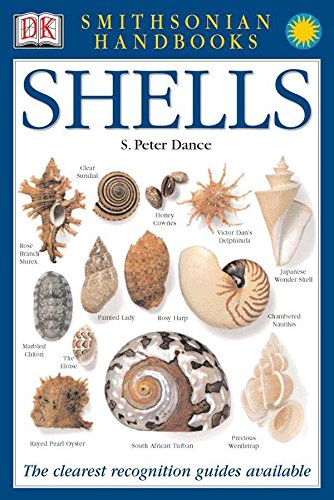
The Beachcomber’s Companion Seashells, Crabs and Sea StarsShells Handbook
Communication: Kids can expand their vocabulary as they learn about the ocean, sea life, and the beach on their walk. They can further that discussion when filling the bottle and exploring it afterwards. This gives them the opportunity to ask questions and to talk about their discoveries.
Other sensory play ideas using things found in nature:
Outdoor Sensory Scavenger Hunt
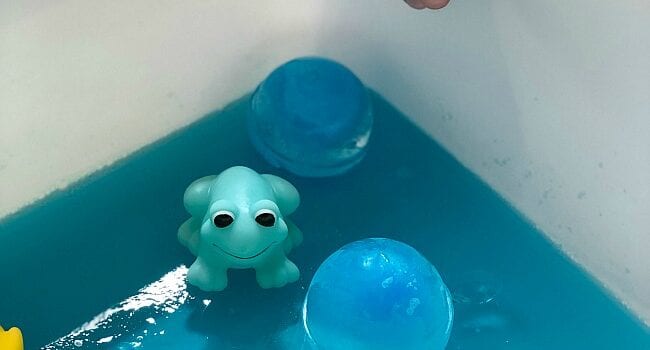
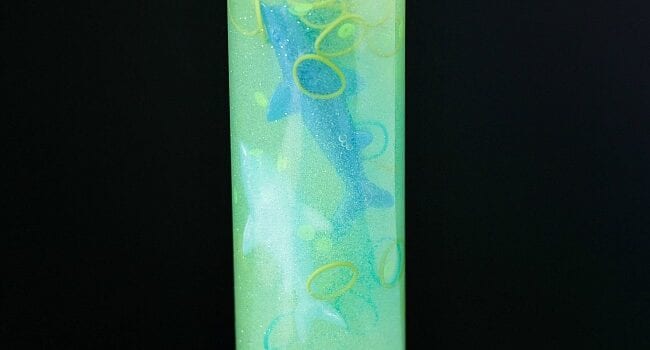
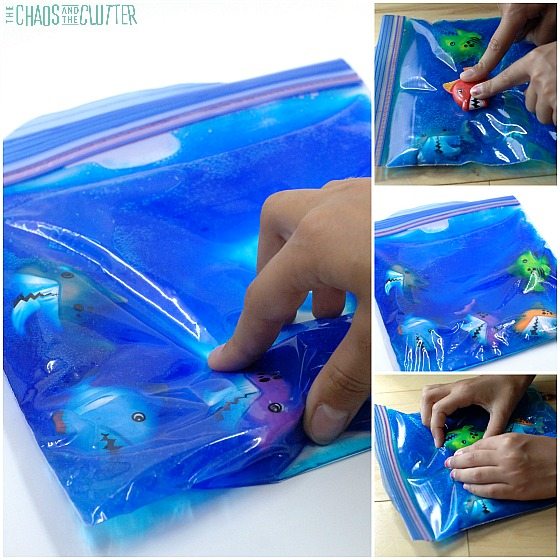
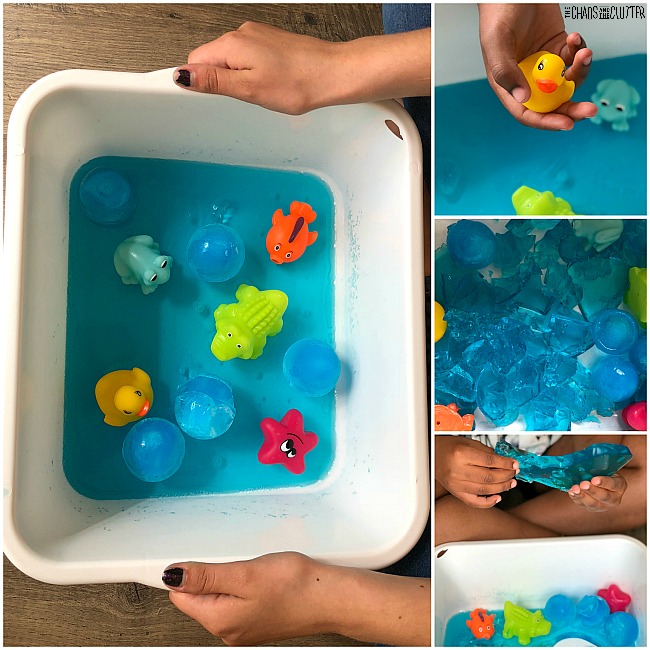
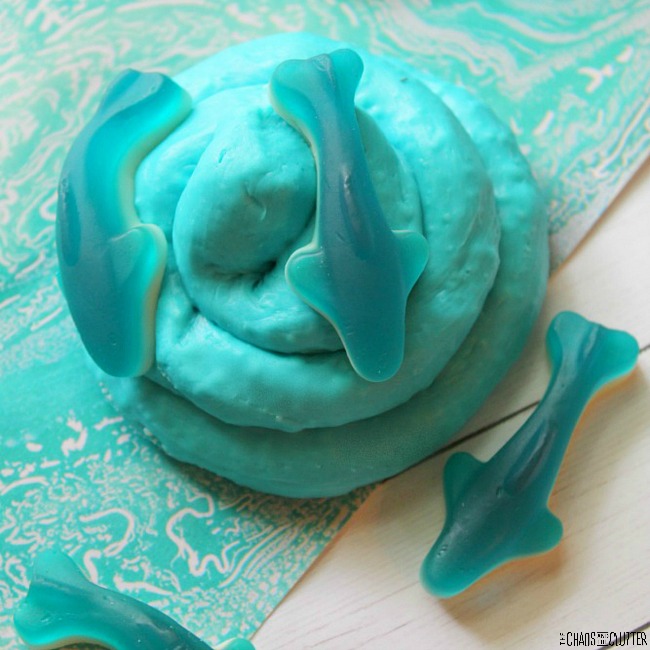
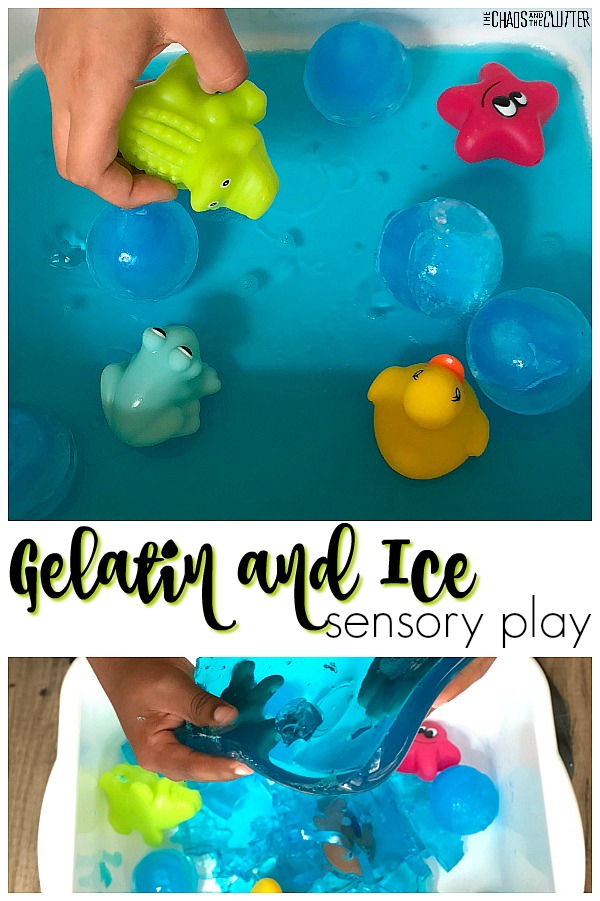 I made the “water” out of gelatin that I dyed blue. When I added the bath toys, it looked good, but I felt like it was missing something. I wanted to create the look of bubbles in the “water” and I also wanted to add in another sensory dimension.
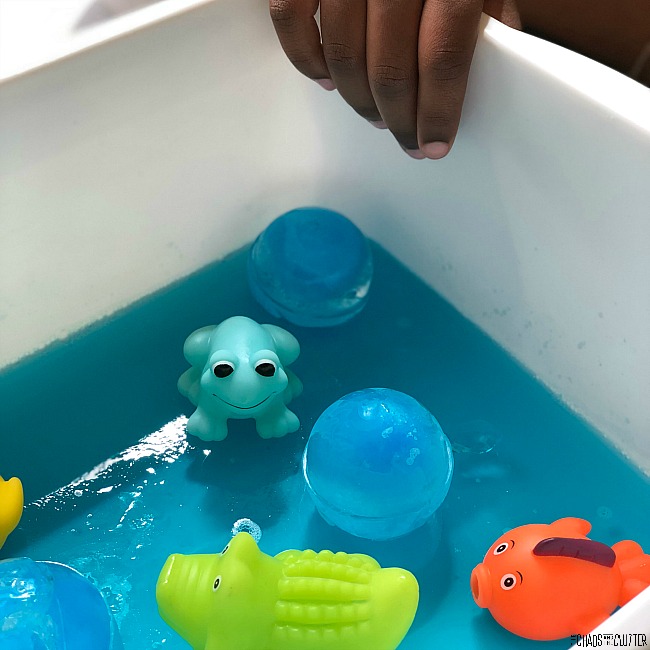
 Directions:
 She used a plastic knife and was easily able to cut out a jello fish.
 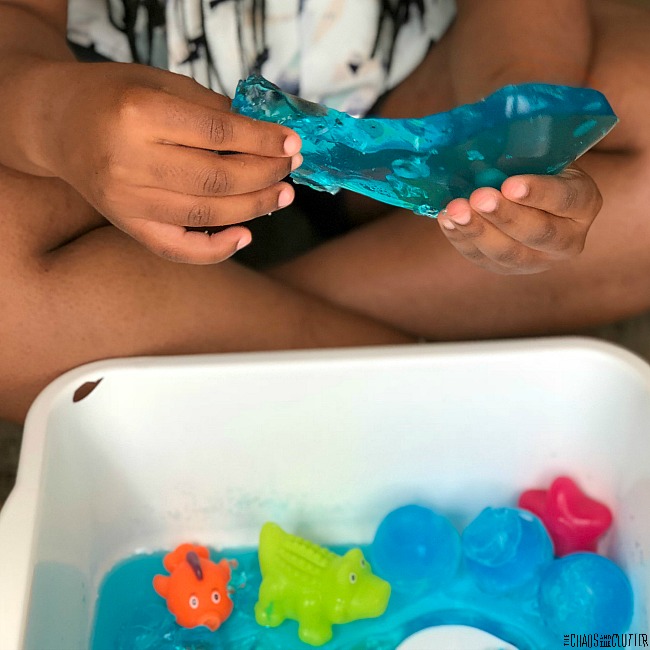 She later wanted to taste it. Since there’s no harm in that since it’s a taste safe sensory bin, she went ahead and took a bite. I hadn’t added any sugar to the gelatin, so she wasn’t a fan of the taste!


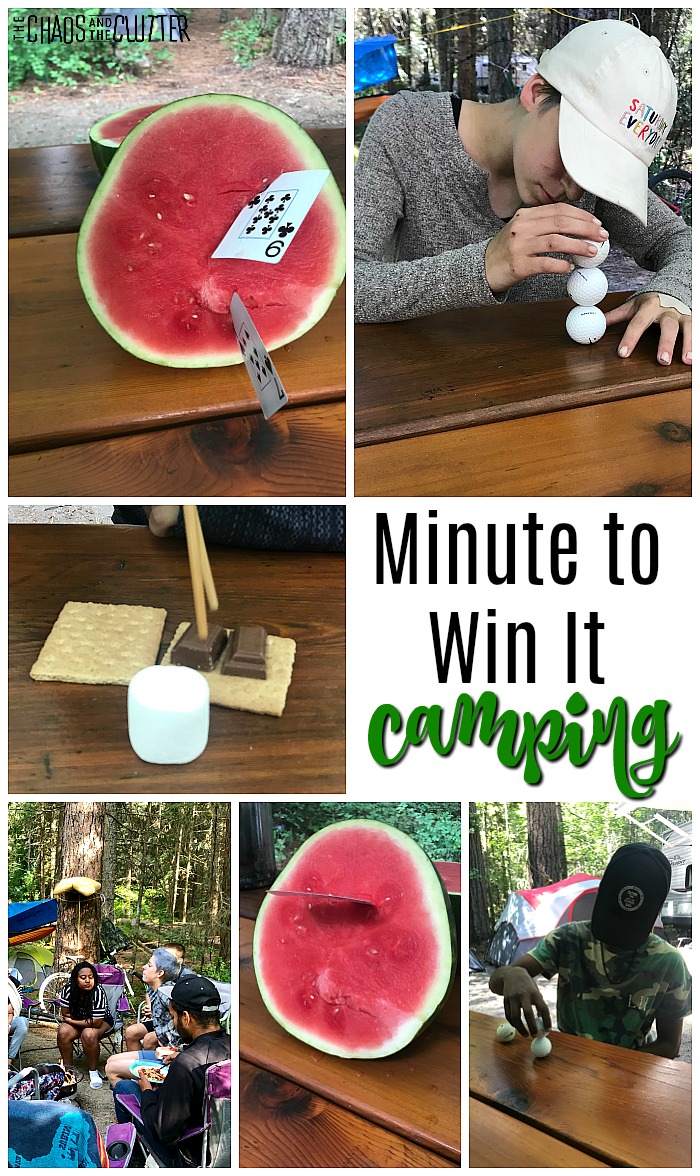
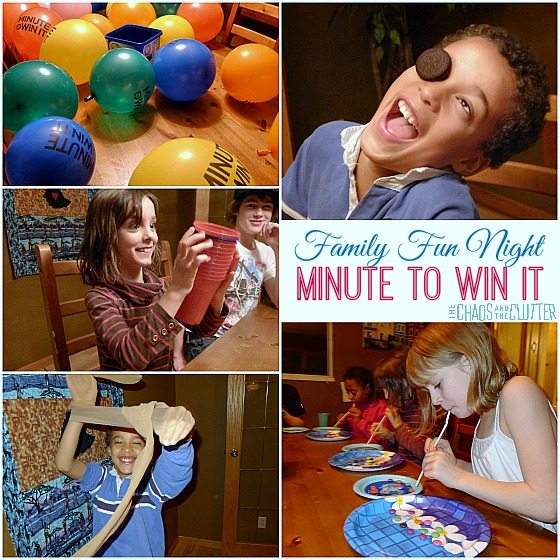
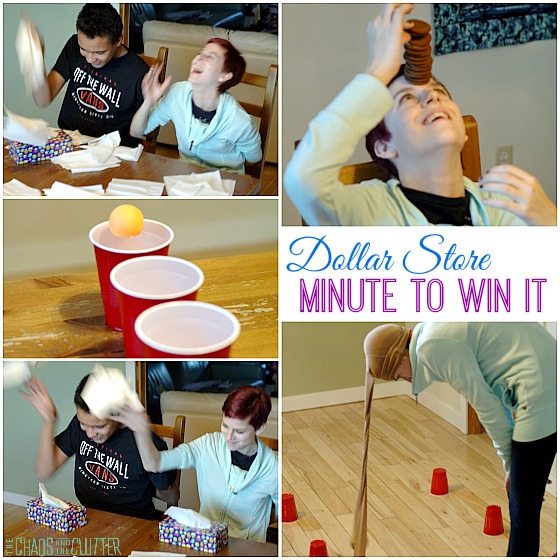
 The object of this game is to stack 3 golf balls on top of each other. The balls must remain stacked for 3 seconds to win. You can either play head to head or individually. If playing head to head, the first one to complete their stack and have it stay in place for 3 seconds is the winner.
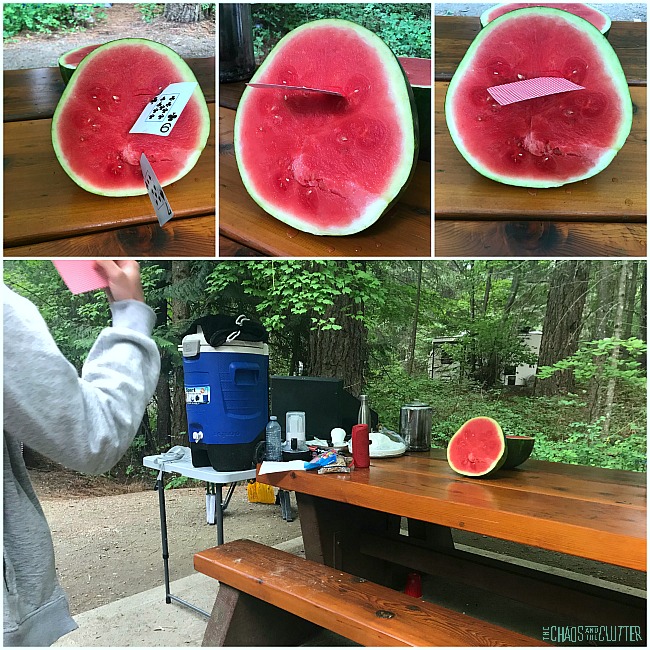 To set up this game, slice a watermelon in half and prop it up on a picnic table or other flat surface. Have each player stand at a distance from the watermelon and throw cards one at a time in an attempt to get a card in the watermelon. The object of the game is to get one of the cards to stick in the watermelon in under a minute.
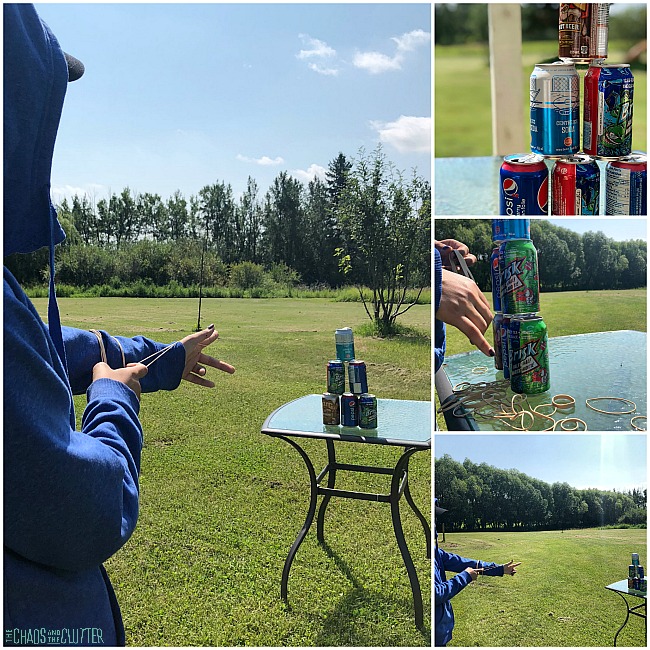 Set the cans up in a pyramid on a flat surface such as a folding table or picnic table. Give each player elastics. The object of this game is to knock over all 6 cans using elastics in under a minute. Again, you can determine how far away players must stand depending on age.
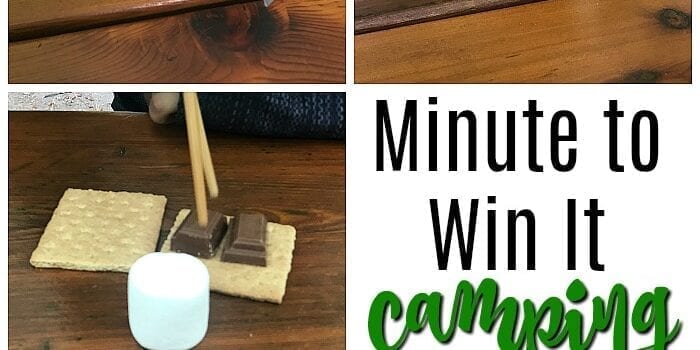
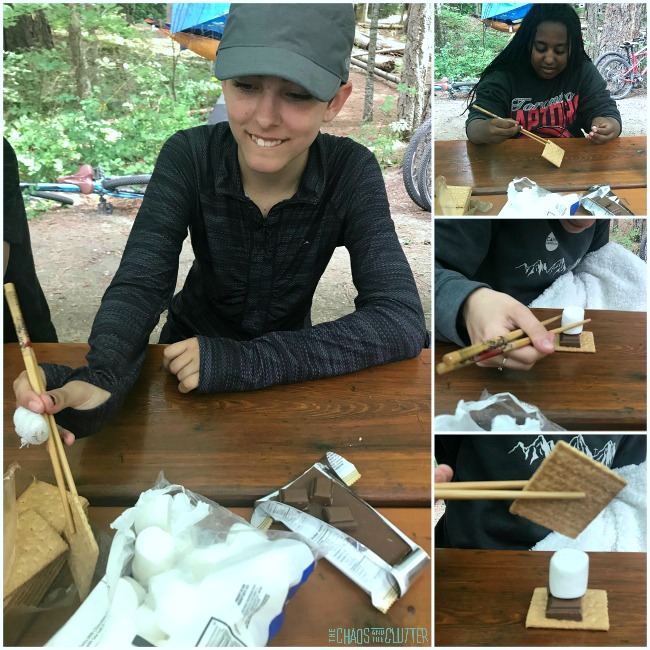 Give each player a set of chopsticks, 2 graham crackers, a marshmallow, and 1 or 2 pieces of chocolate. The object of this game is to assemble a s’more using only the chopsticks in less than a minute.
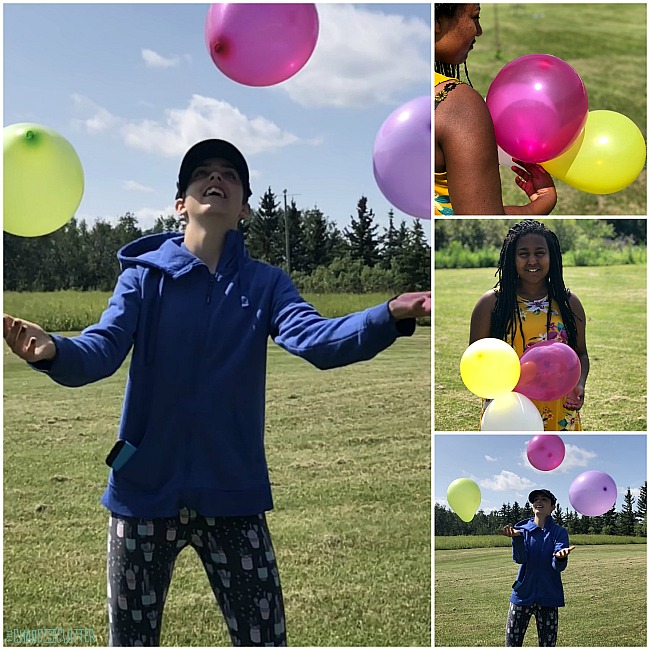 Blow up the balloons. You’ll need 3 if doing this individually or 6 if you’ll have people competing head to head. The goal of this one is to keep all 3 balloons in the air for 60 seconds without having any of them touch the ground.