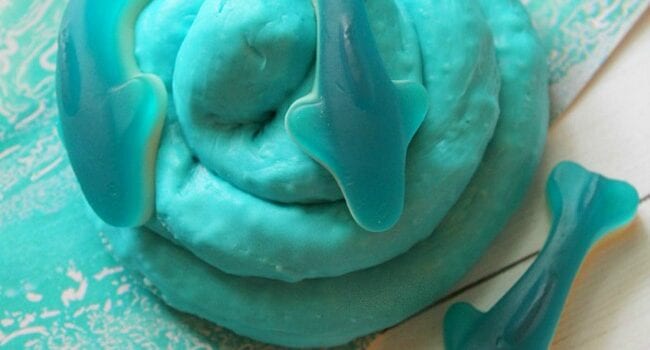
You’re going to love this shark themed edible fluffy slime. It’s fun to play with and taste safe, so it’s good for toddlers or preschoolers. It smells great too (like white chocolate)! 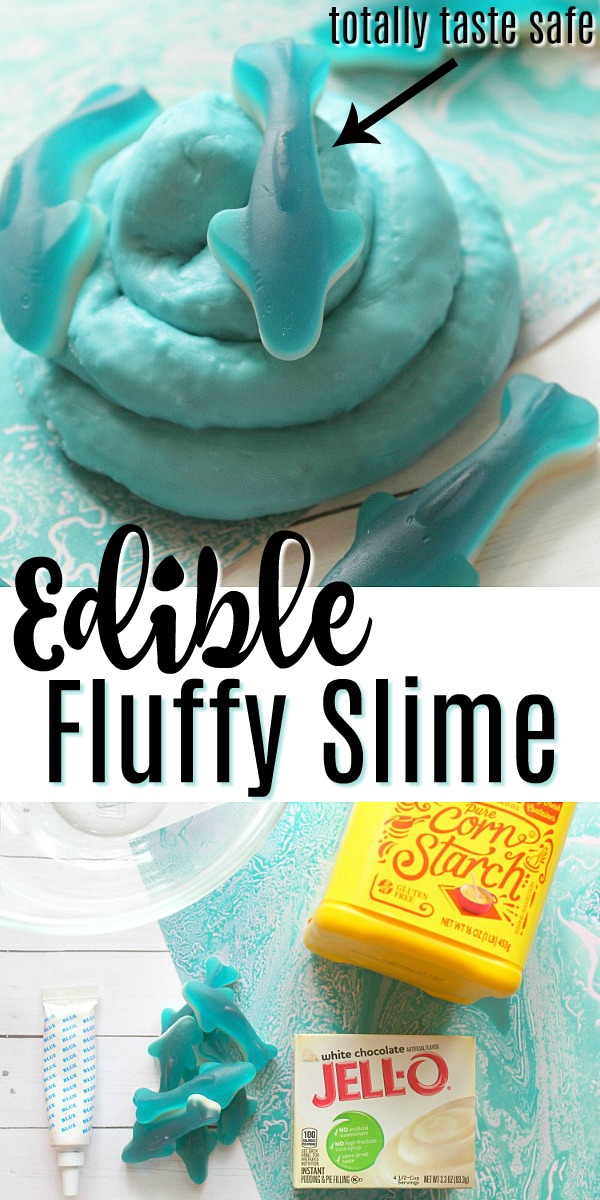 This fluffy slime recipe goes well with a unit study on the ocean or is the perfect pairing for Shark Week. You could also use it for an Ocean or Shark themed party.
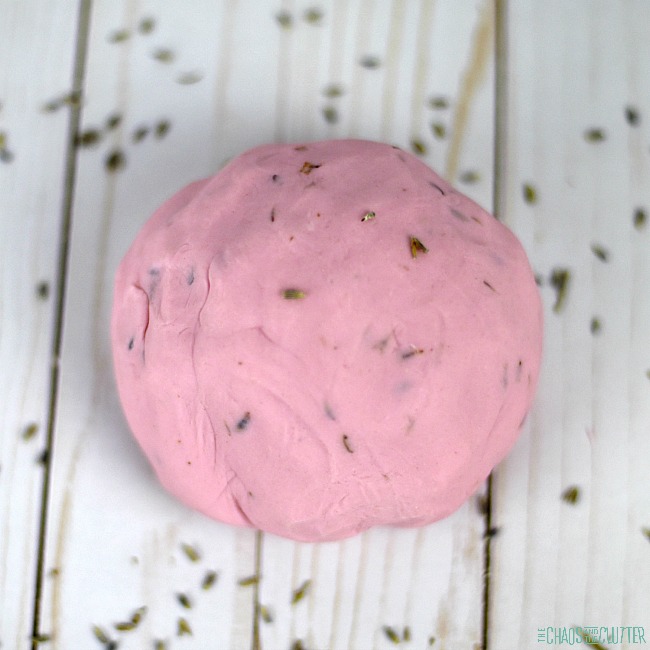
Edible Shark Fluffy Slime Recipe:
Slime ingredients:
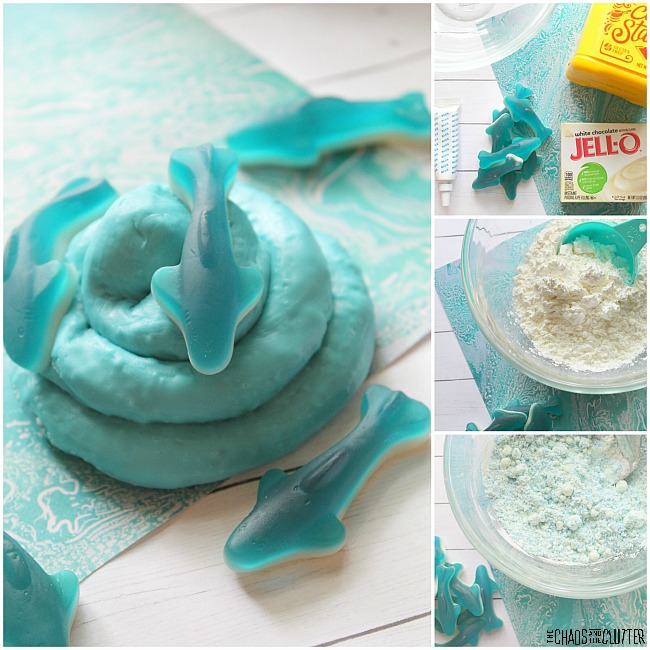
- 1/3 cup white chocolate instant pudding mix
- 1 cup of cornstarch
- blue food colouring
- gummy sharks candy
- 1/3 cup water
How to make edible fluffy slime:
- Empty the dry pudding mix pouch into a bowl. Add the cornstarch. Mix well.
- Pour in the water and begin to stir quickly. There will be some clumps, but you can break them apart with your spoon.
- Keep stirring and breaking the clumps. A crumbly dough will form. Add a few drops of blue food colouring so that you get just the shade you’re looking for.
- As soon as the crumbly dough forms, press it and knead it until the slime forms.
- If your mixture feels too dry and crumbly, continue to add a teaspoon of water at a time until you get the right consistency. If it feels too wet, sprinkle in equal parts of pudding mix and corn starch until it thickens up and becomes the desired consistency.
- The more you stir or knead it, the better the consistency gets.
- Finish this slime off with gummy sharks. You can mix them in or use them to top the slime. Of course, there may be a few of the candies that find their way into little mouths!
 One of the nice things about edible slimes is that they are borax free. This makes them safe for all ages (though of course adult supervision should be used with this and all sensory play activities).
Taste Safe Slime Sensory benefits:
Slime is always a great sensory activity, but a taste safe slime allows even more sensory systems to be involved.
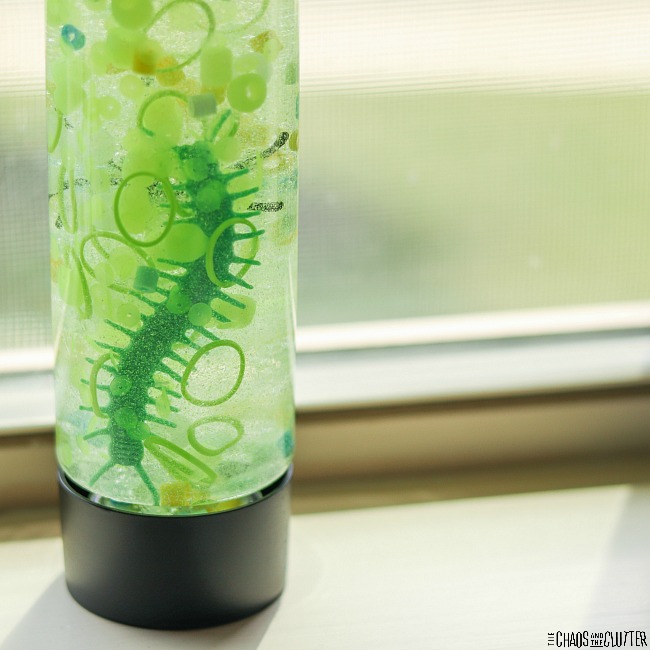
Visual – The soft blue of this slime is visually appealing.
Tactile – Little hands can touch this sensory play recipe. If you choose to add the shark gummy candies into it, it will add another texture element which is good for tactile input.
Gustatory (taste) – Since this is a taste safe slime recipe, it provides a great gustatory opportunities for licking and even biting and chewing. I wouldn’t recommend eating the whole thing though as it’s quite cornstarch-y. 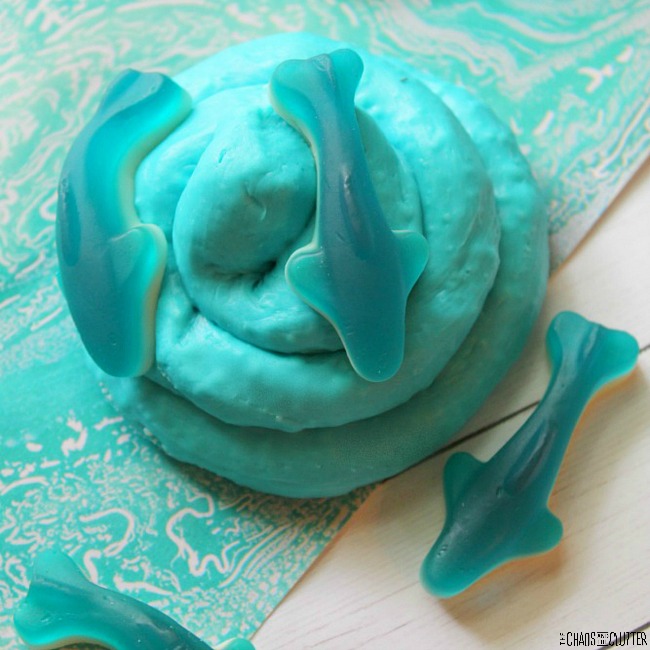 Olfactory (smell) – Sniffing fully allowed. This slime smells like white chocolate. Yum!
Proprioception – Involving the kids in the process of making the slime allows even more proprioceptive input as they knead, smash, and press. Pulling, scrunching, and stretching while playing with the slime also involves the proprioceptive system.
Looking for more awesome sensory play recipes for kids? You can grab a free sample chapter of our Sensory Play Recipes eBook here.
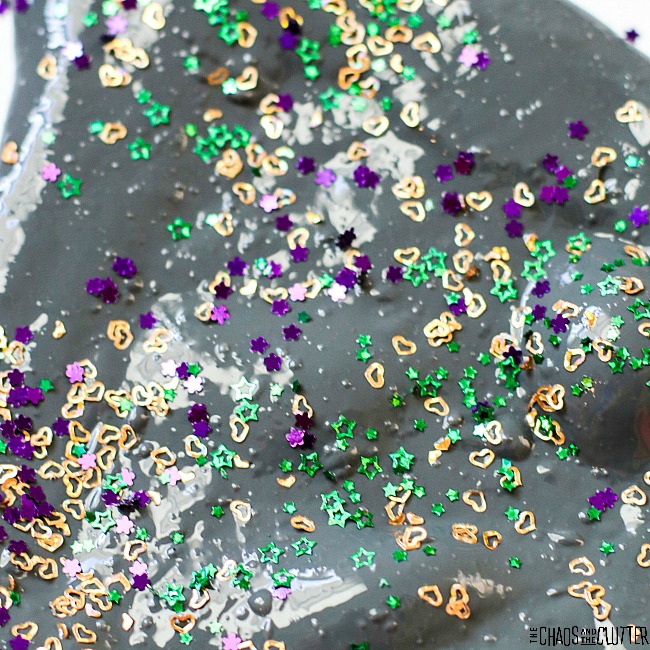
Check out some of our other slime recipes:


 Instructions:
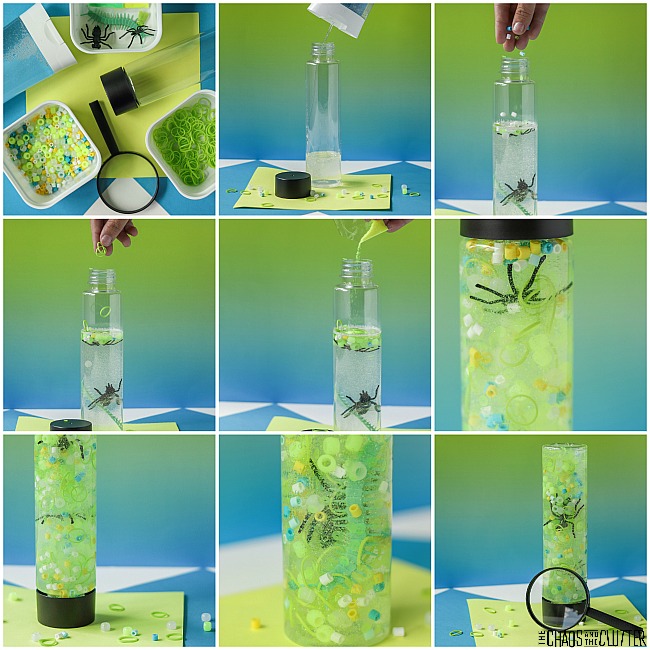
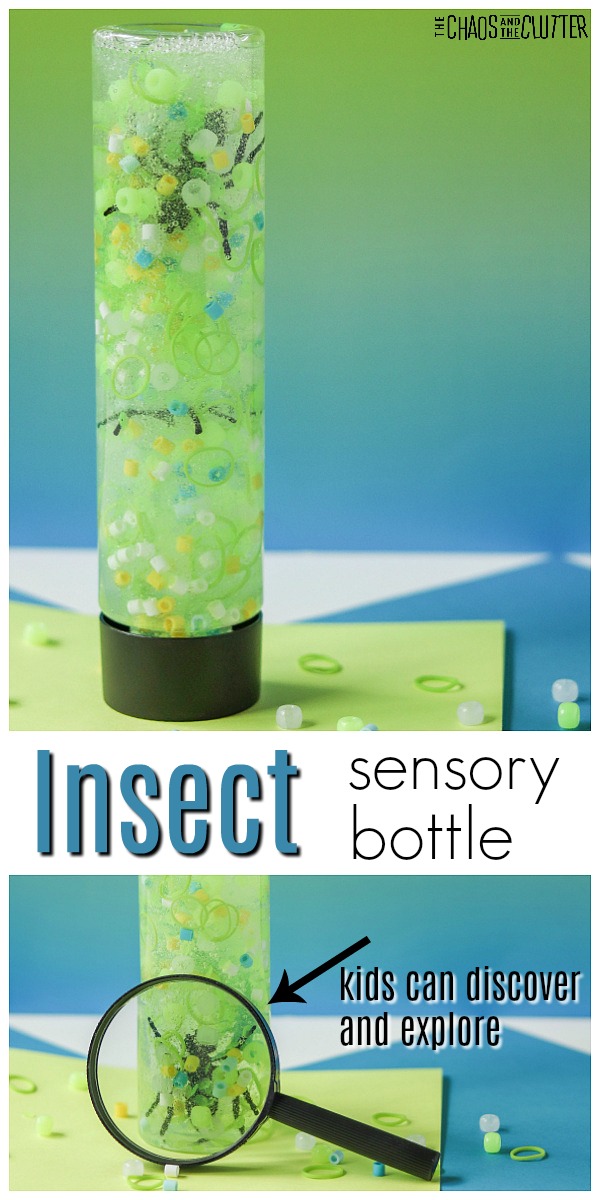
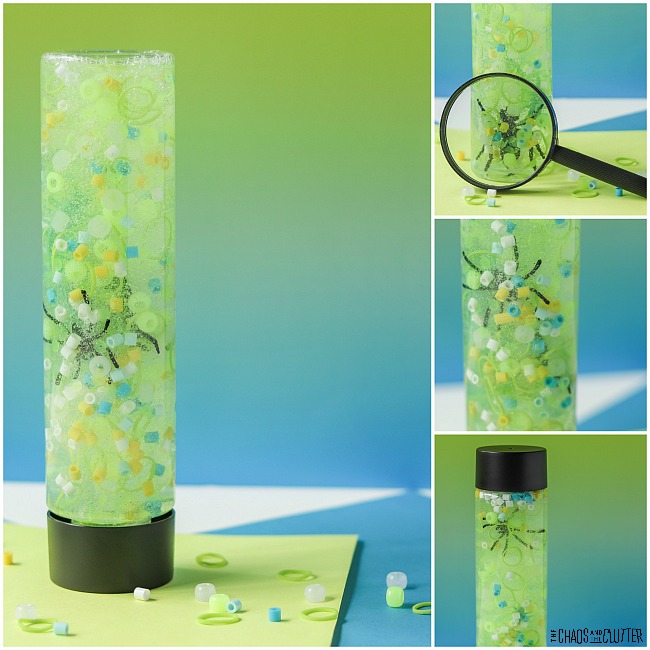
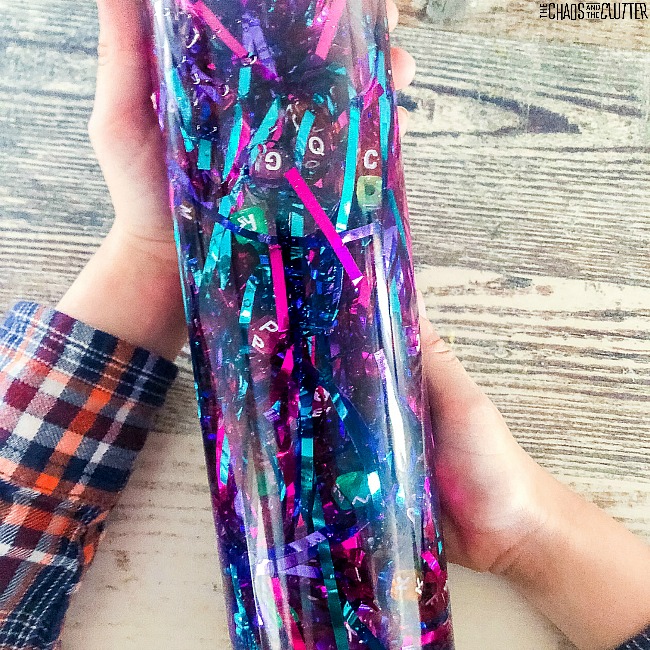
 Math – Your child can count how many of a certain coloured bead there are or how many bugs are in the bottle. They can also guess if there are more green beads or blue beads etc.

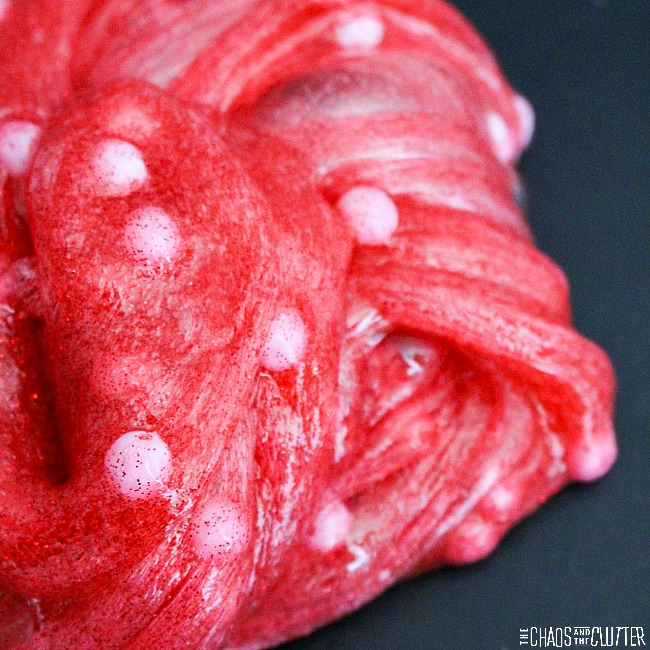
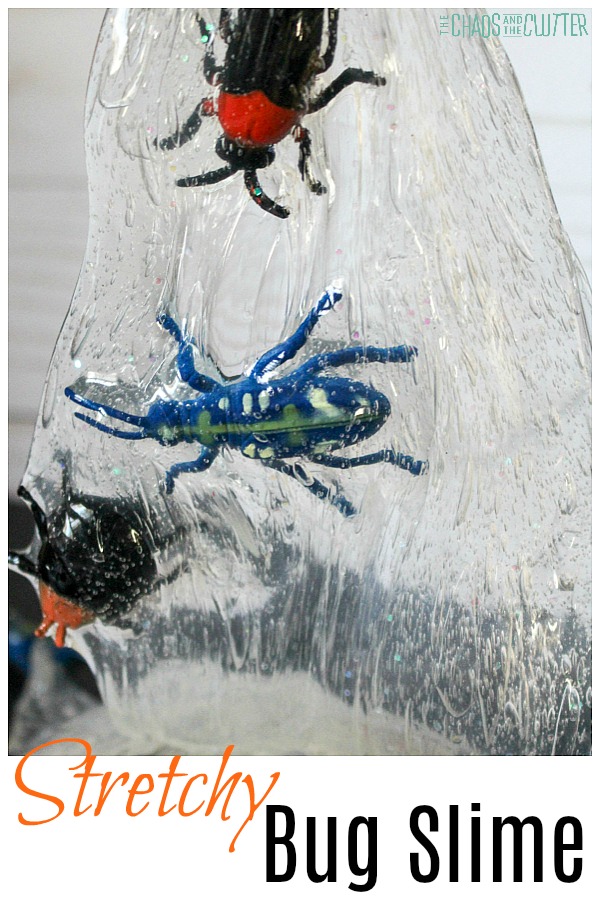
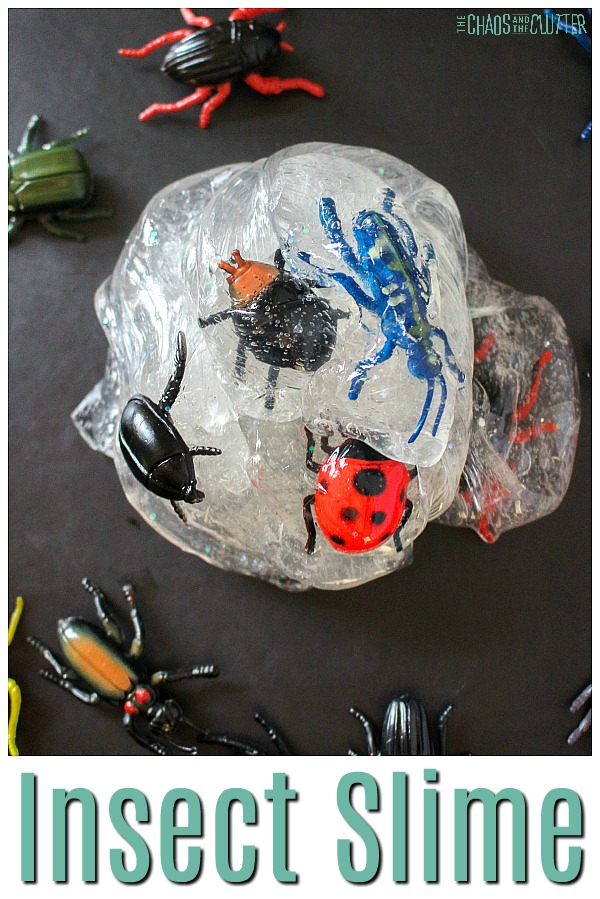 My kids love slime that is super stretchy. That is one of the things we really like about this particular recipe. It has a good amount of stretch to it.
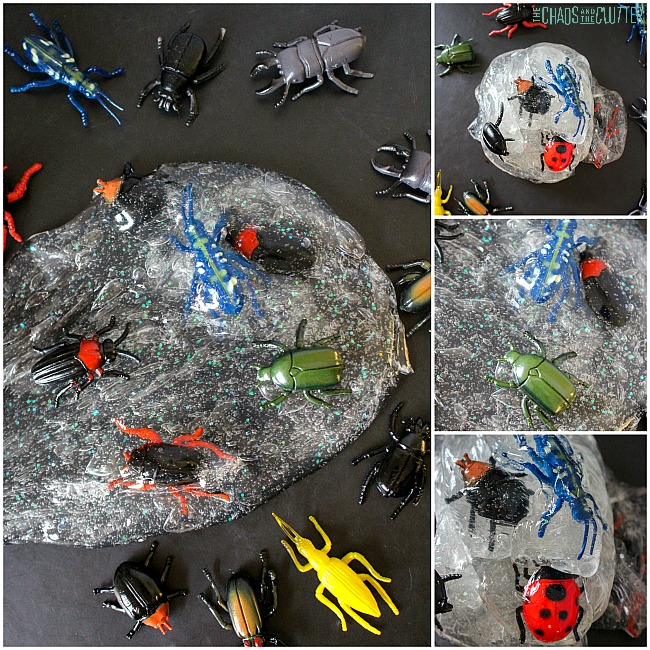
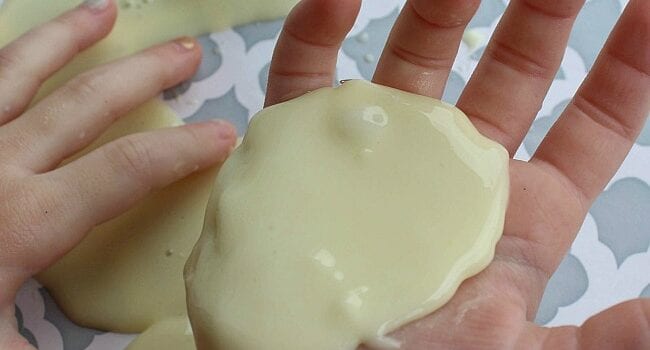
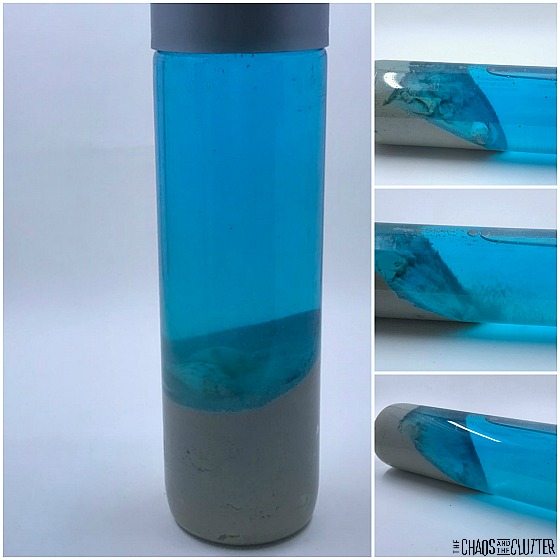
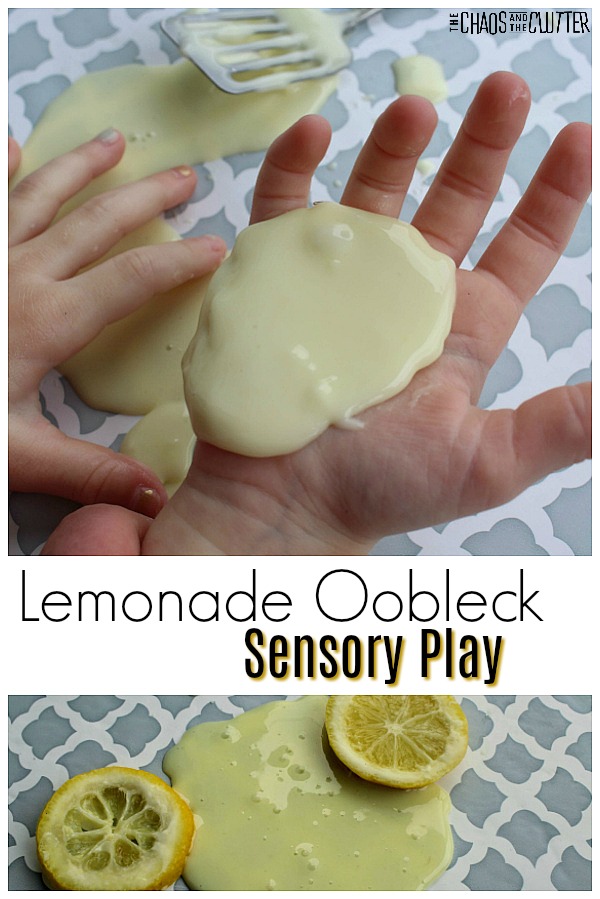 This scented sensory play recipe is so simple. Only 3 ingredients are needed. Kids can easily make this oobleck slime themselves. Younger ones that need mom or dad’s help can help to measure and pour by stirring.
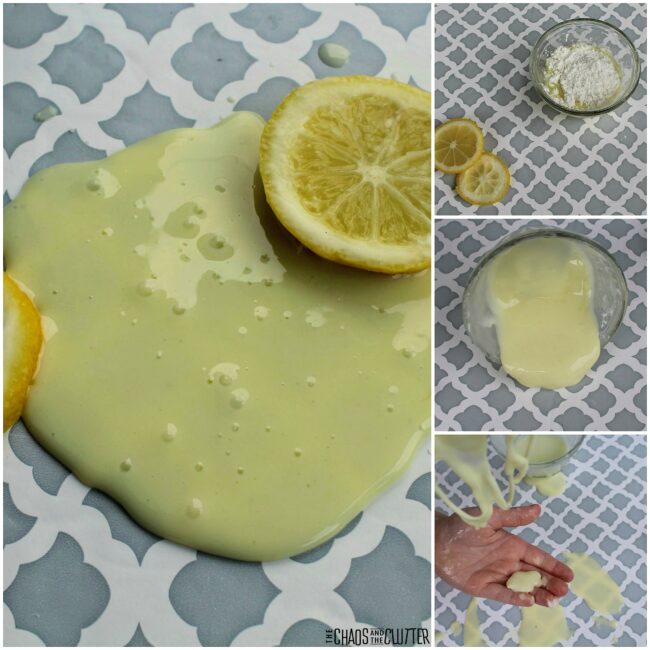
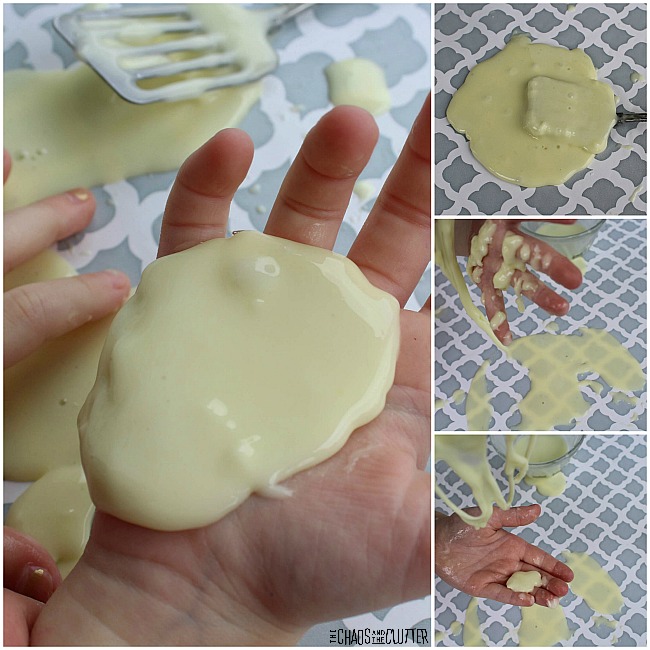 Sensory – Lemonade oobleck provides visual, tactile, proprioception, and olfactory sensory input. Children can see (visual) the colour and explore shape as it changes from liquid to solid. They can touch (tactile) and feel the texture of the state of matter change.
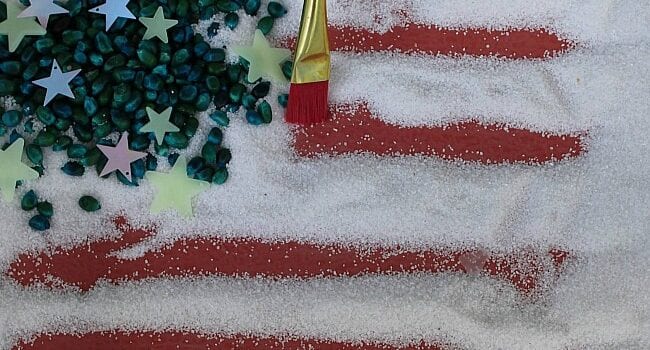
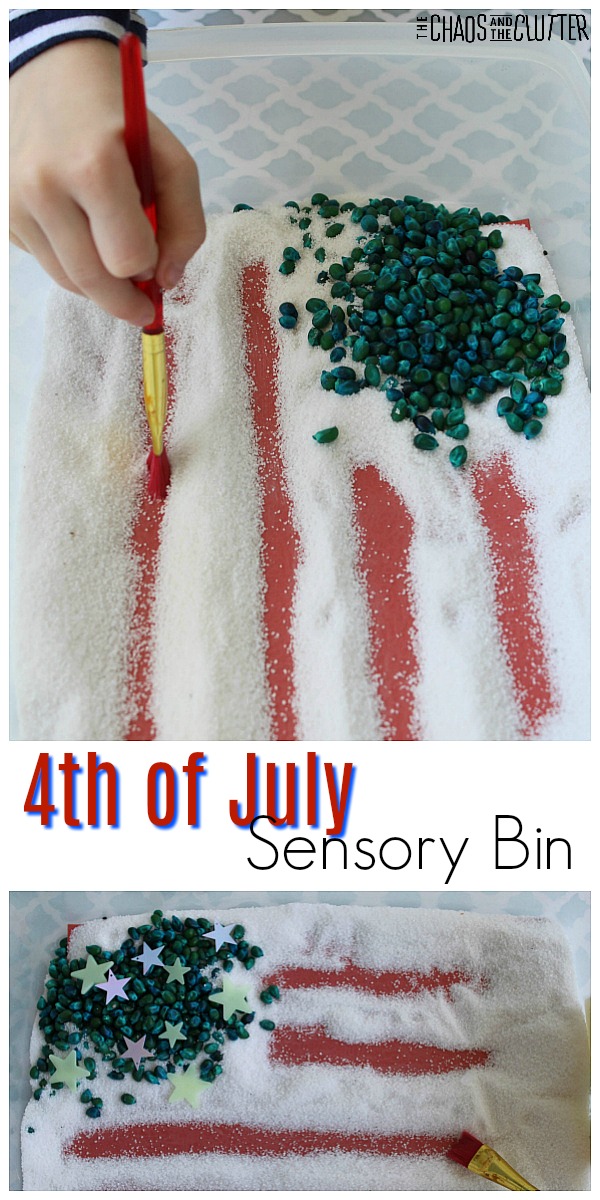
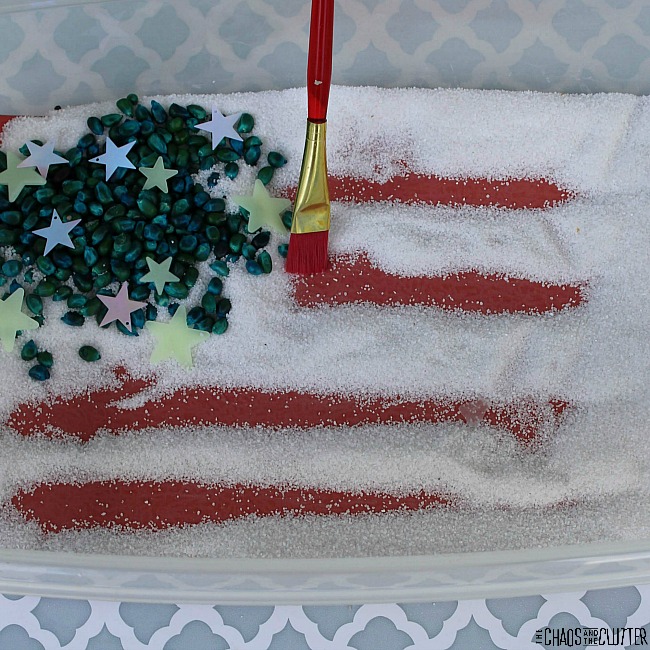
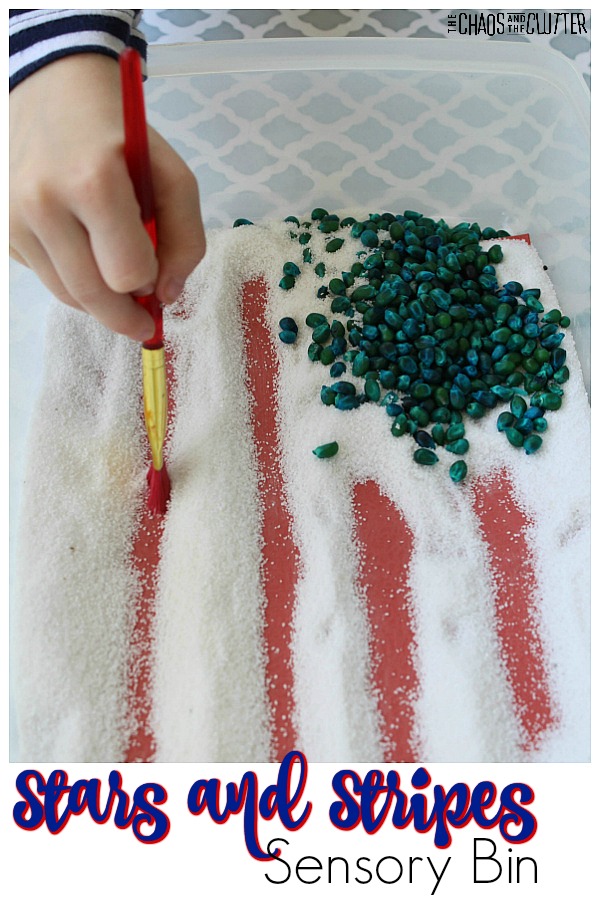
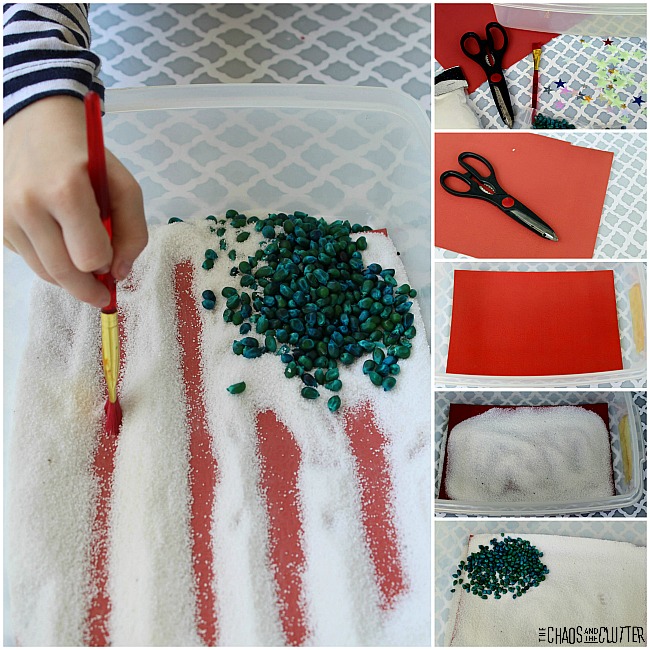 This patriotic sensory play activity is also a good way to talk to kids about the American flag and its history. You can read a book such as