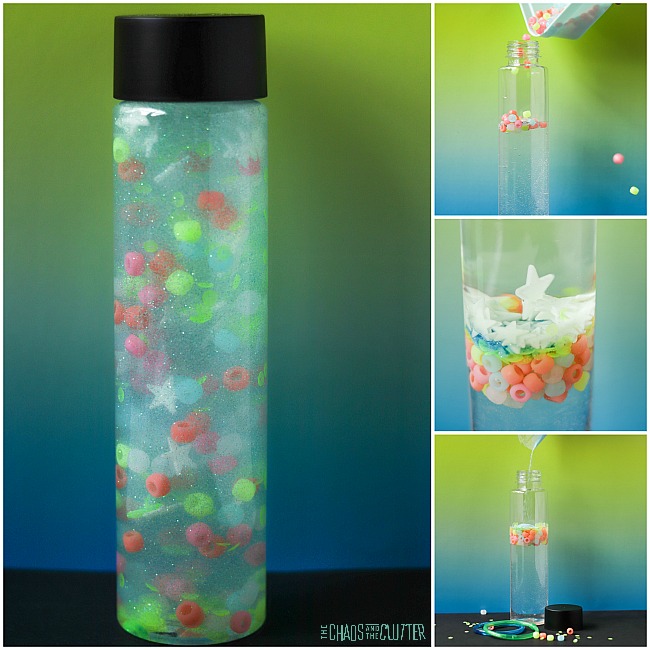
There are lots of ways to make a glow in the dark sensory bottle, but you know me; I like to keep things simple. Instead of making this glow through a complicated scientific process, this involves using glow in the dark items so that the hard part is done for you. 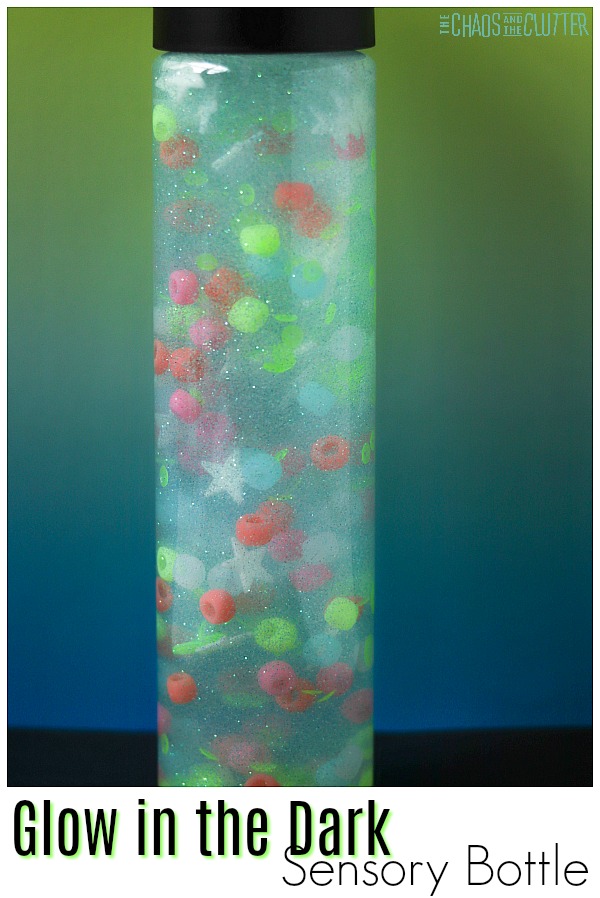
I don’t know about your kids, but mine have always loved anything glow in the dark. They like to take it into the one bathroom we have that doesn’t have a window and turn the lights off so that it’s as dark as possible. 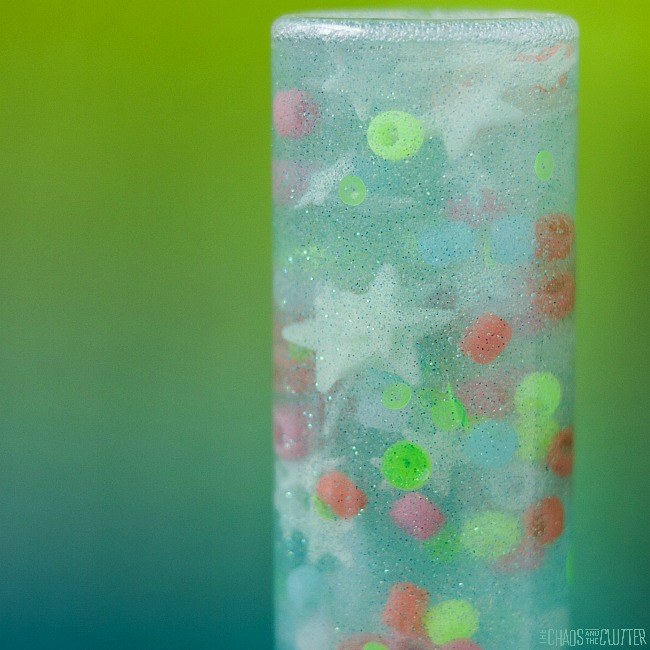
Glow in the Dark Sensory Bottle:
Supplies to make the sensory bottle:
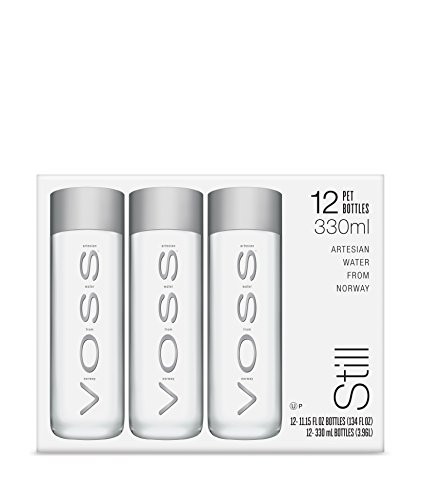
- Voss style plastic water bottle* (see note)
- clear dish soap
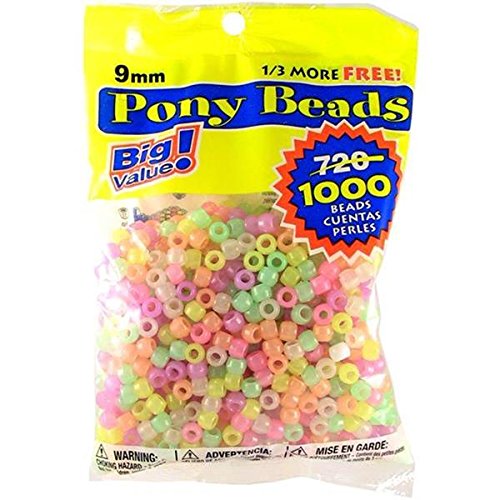
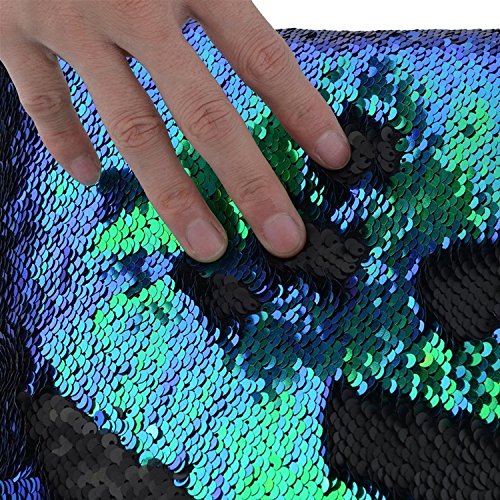
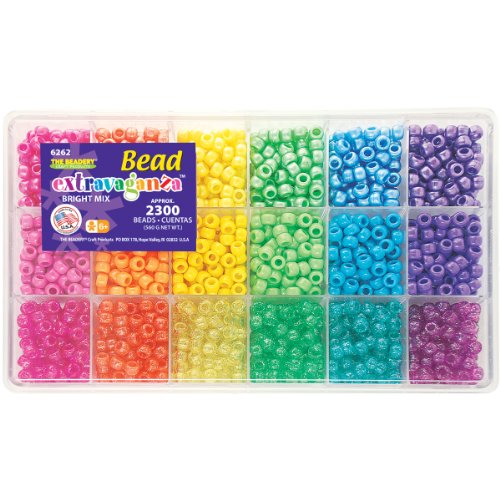
- glow beads
- bright sequins
- glitter
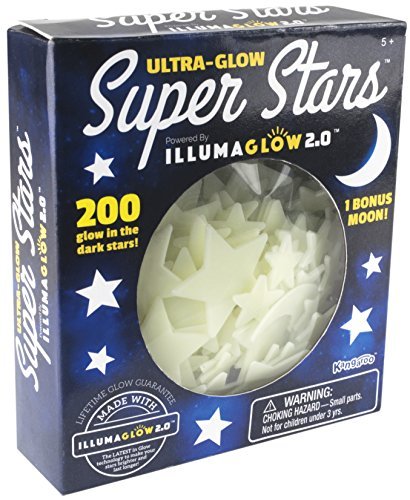
- glow ceiling stars
- super glue
*I like to look of Voss water bottles, but sometimes Michael’s carries empty bottles that look similar but are just slightly smaller. The Michael’s ones are a bit easier for little hands to grip. The problem is that they are not always easy to find. 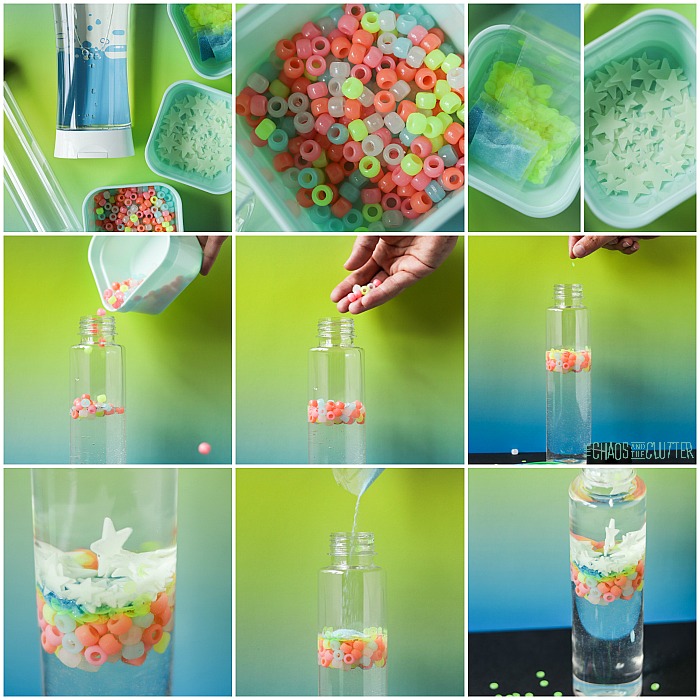
VOSS Plastic Water Bottles Glow in the Dark Pony BeadsGlow in the Dark Stars
Instructions:
- Pour dish soap into the empty bottle until it is 2/3 of the way full.
- Add glow beads, glitter, sequins, and stars.
- Fill the remaining space in the bottle with water. Super glue the lid in place, especially if young children will be using the bottle.
- When your child is not playing with this sensory bottle, keep it in the light so that the “glow” items can recharge.
 Parental supervision should be used for this or any other sensory play activity. Even if the lid is secure with glue, it is possible that your child could get it open and there are small objects inside that could be choking hazards.
Learning and Sensory Benefits:
This activity provides children the chance to improve their communication and vocabulary as they describe what they observe.
Kids can experience the change when taking the sensory bottle from the light into the dark. Older kids may want to research what it is that causes the glow in the dark items to glow and why they need to recharge. 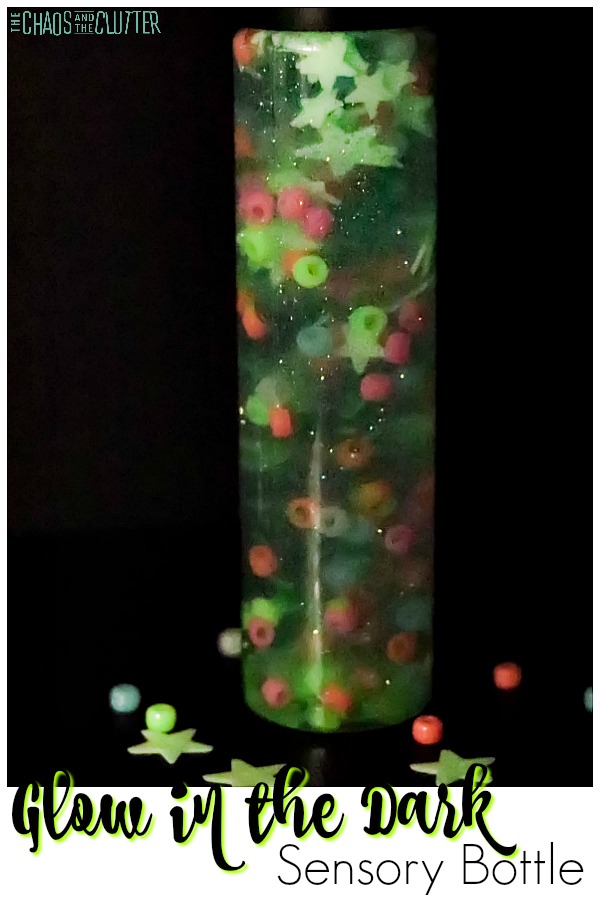 This sensory play activity offers visual sensory input as well as a bit of tactile (holding the bottle) and proprioceptive (carrying and flipping over the bottle) input.
You can also incorporate math concepts by having your child count the number of stars they see or the number of a certain colour of bead.
Join the thousands of others who have enjoyed the free 5 part email series Sensory Solutions and Activities (just pop your email into the box below) and get a printable list of 175 Great Sensory Ideas.
You might also enjoy these sensory bottles:
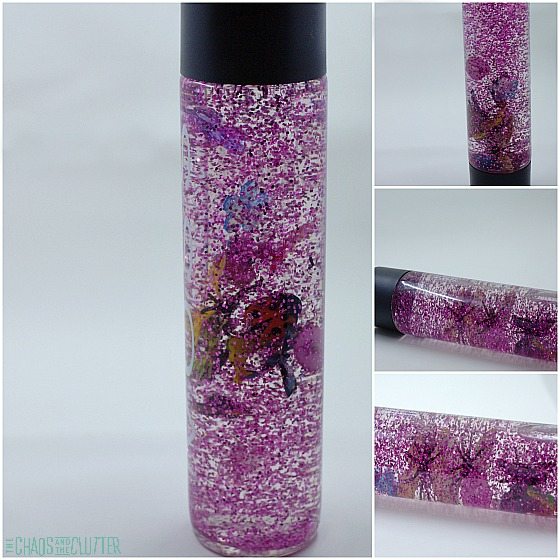
Ocean Sensory Bottle (one of our all-time favourites!) 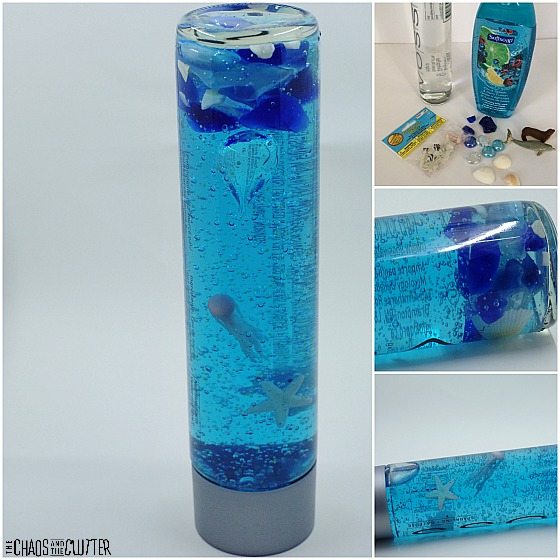 Space Sensory Bottle
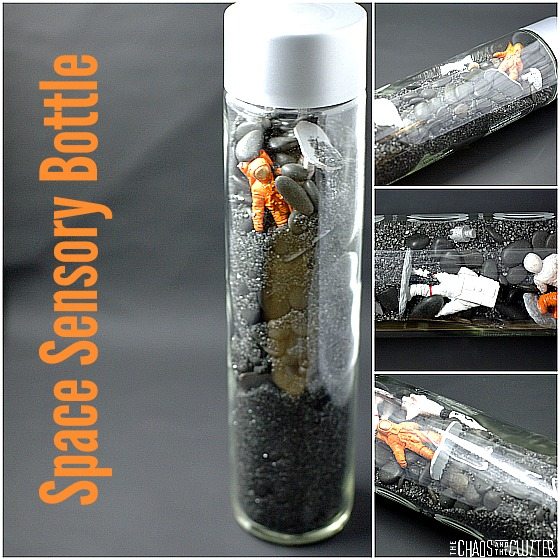

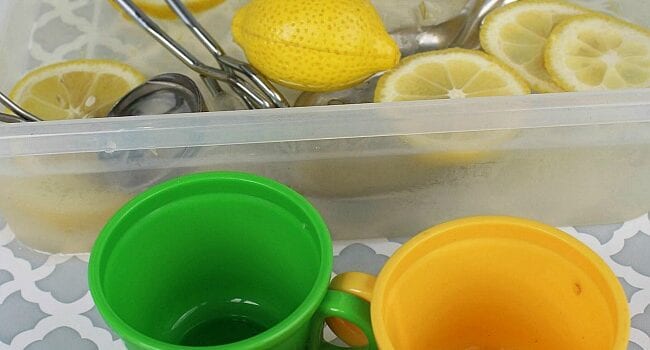
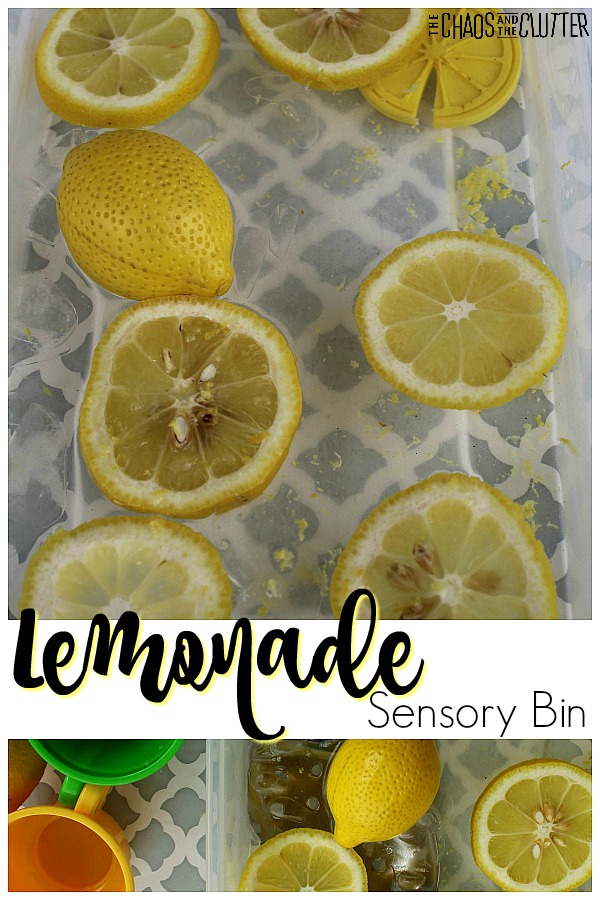 This lemonade sensory bin offers olfactory, tactile, gustatory, and visual sensory feedback.
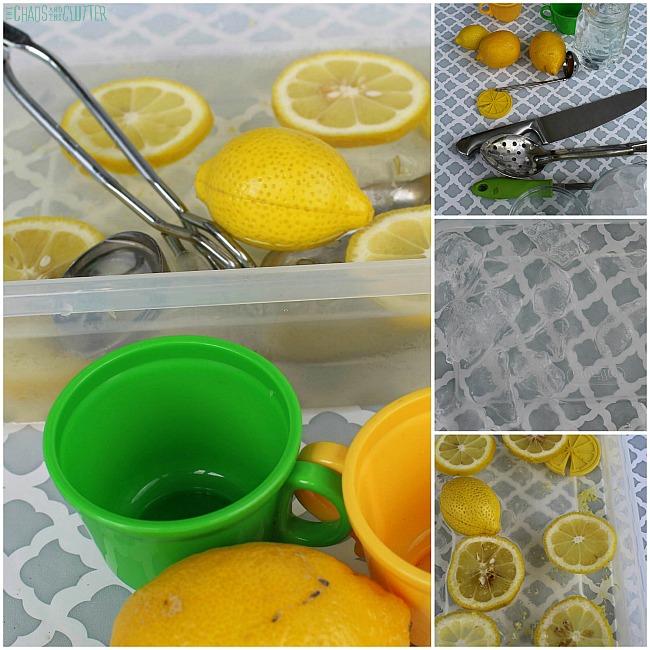 Directions:
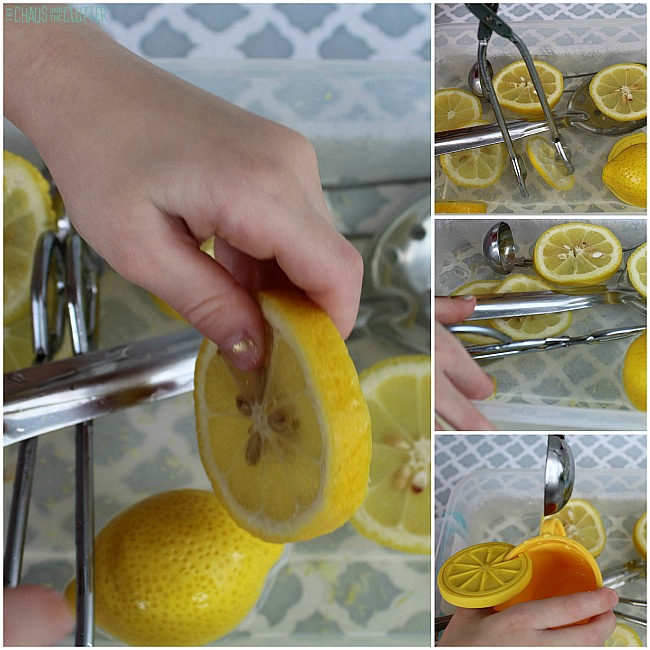


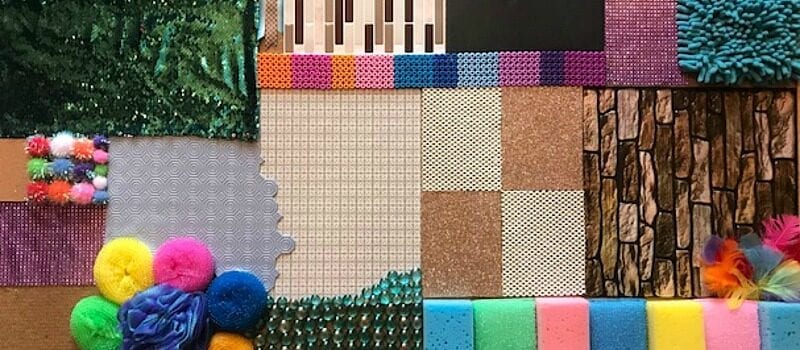
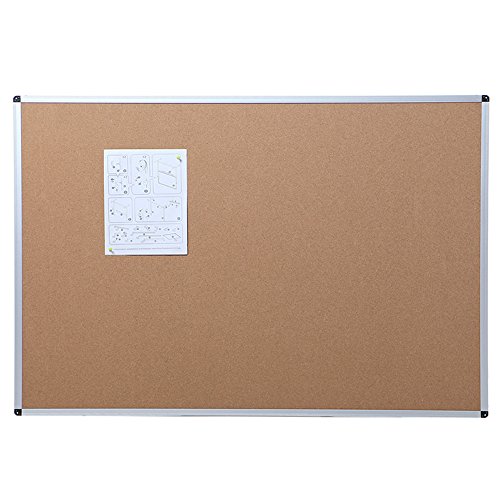
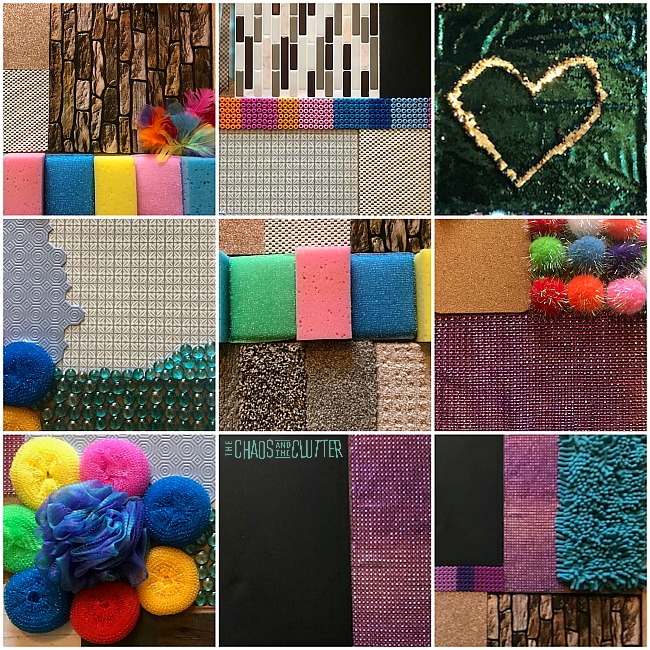
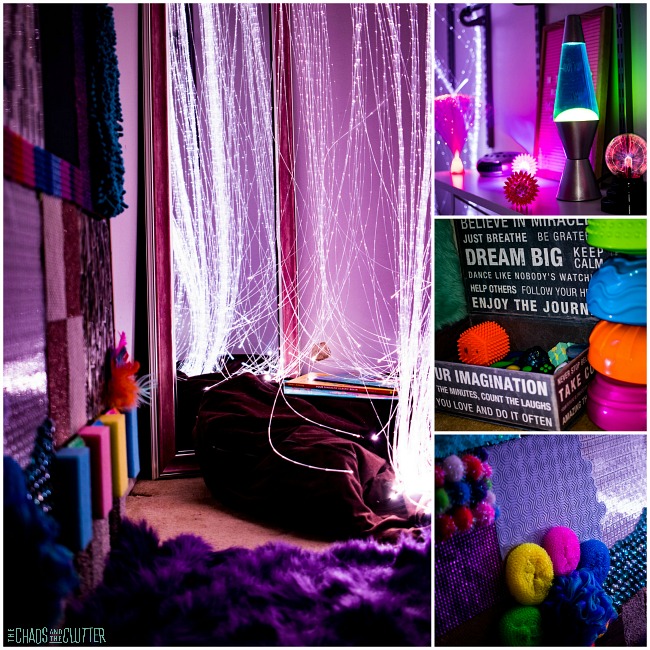
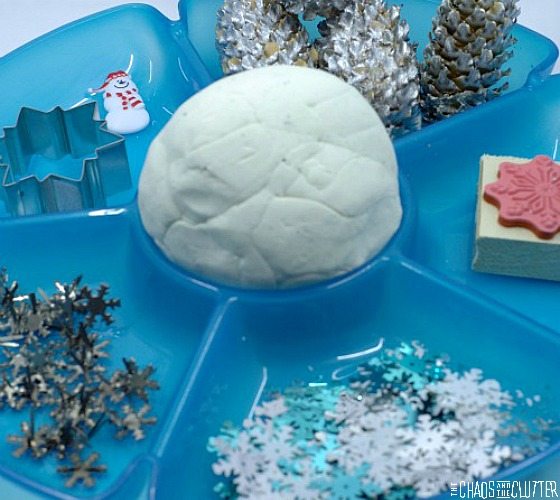
 The room that we are using for our sensory room isn’t ideal (it’s a converted closet area, so it’s smaller than I’d like), so I didn’t want to affix anything permanently to the wall in there which is what brought me to the decision to essentially create a large sensory board.
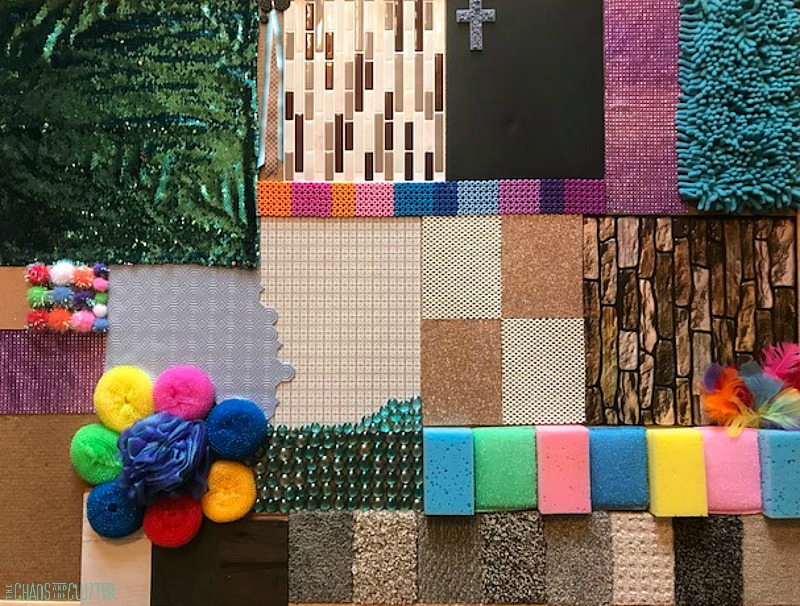


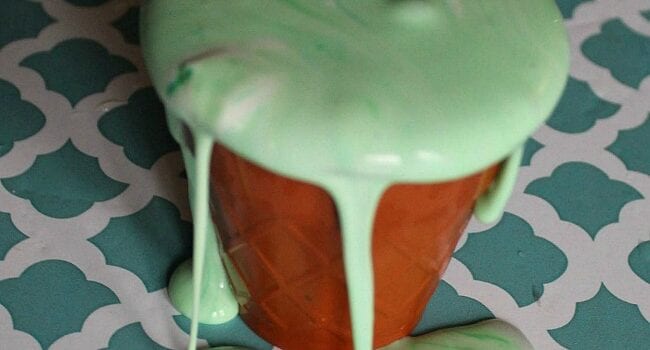
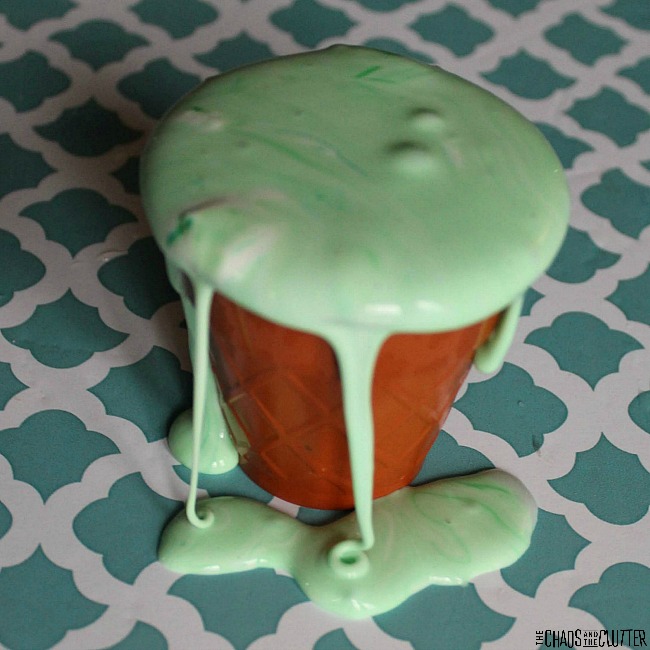
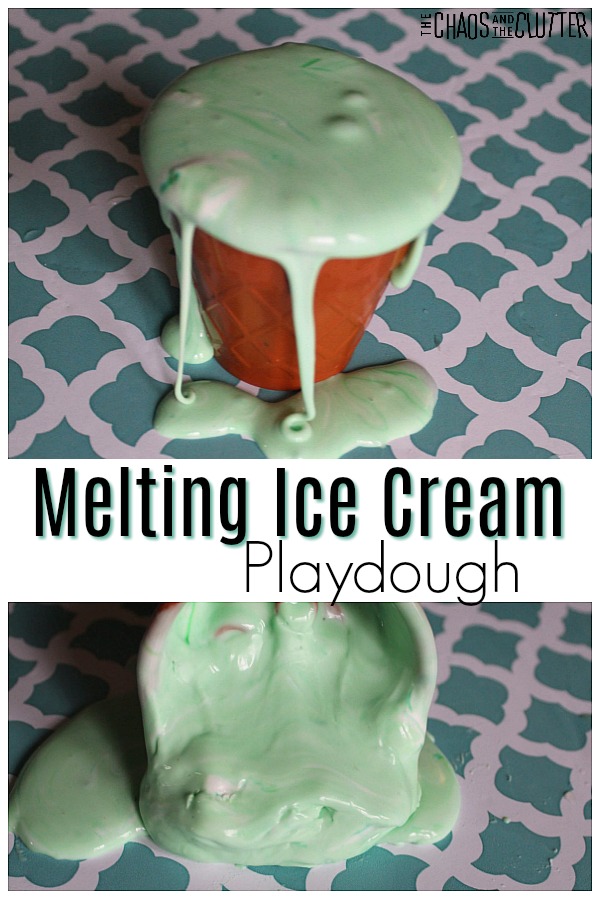 Kids can pretend that they are making ice cream or creating a play ice cream parlour. It’s fun to make this dough in several colours.
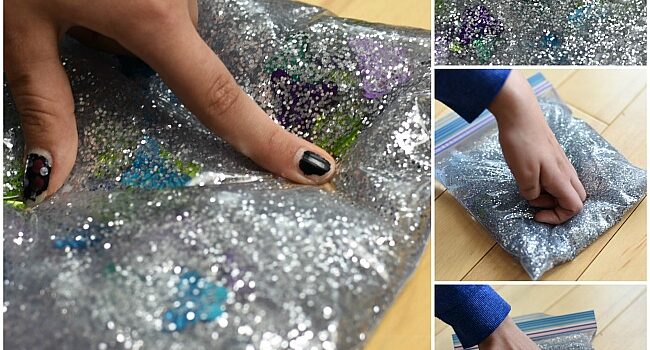
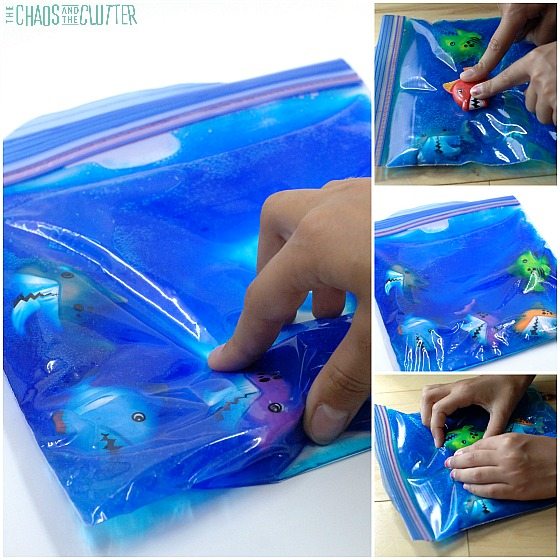
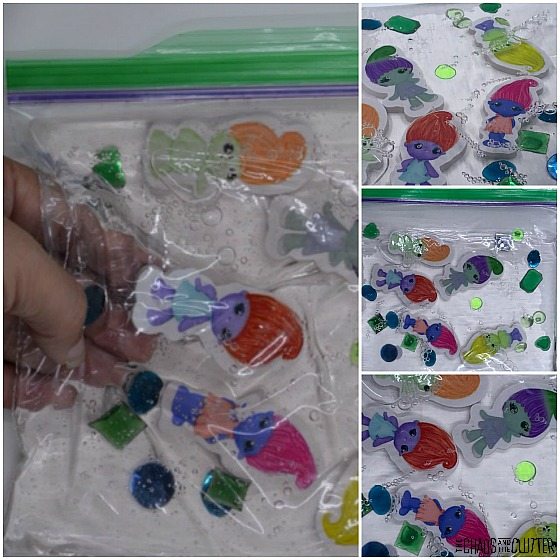
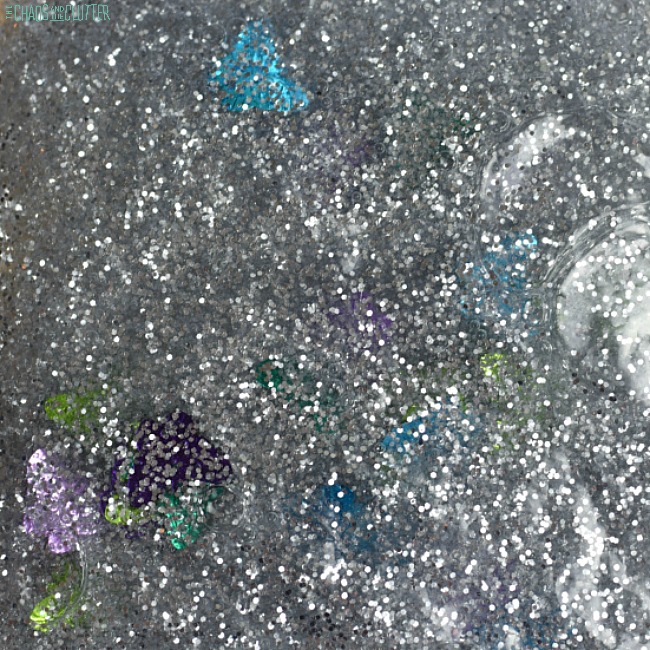
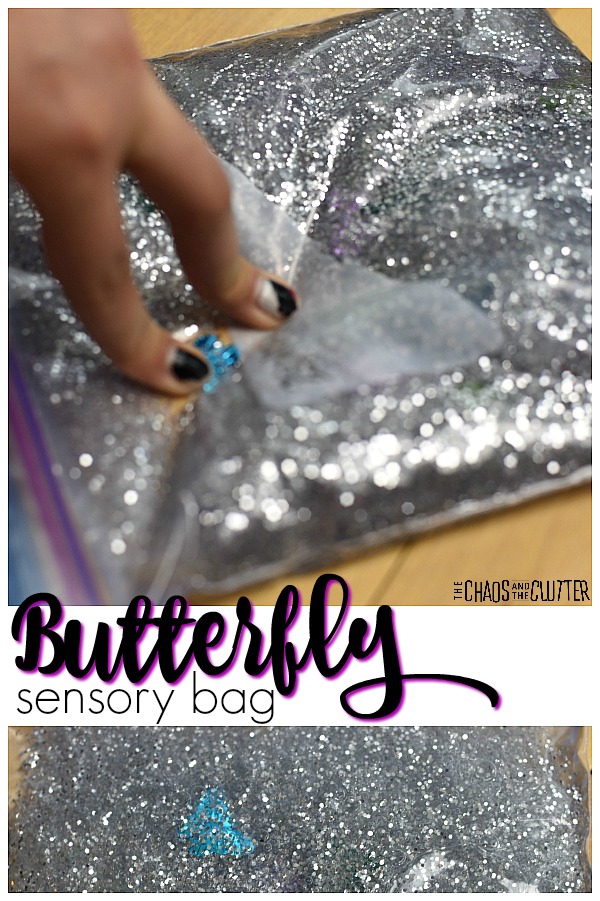 One of the things I like about sensory bags is how portable they are. While sensory bins provide more opportunity for a variety of textures and sensory experiences, sensory bags are smaller and can be taken anywhere. We have also made a
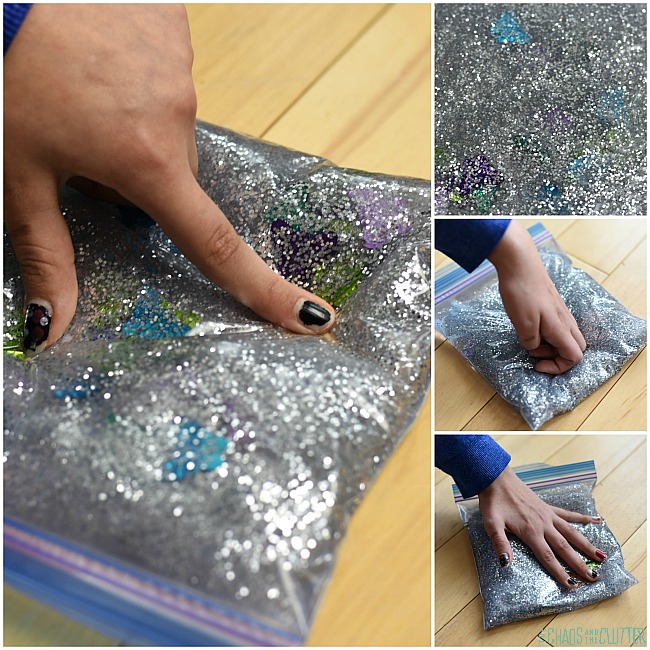
 Sensory benefits: