My girls’ love of all things mermaid borders on obsession. Last year, they all got those Fin Fun Mermaid Tails (which incidentally are pretty darn cool!) and they have spent many an hour swimming around, flipping those fins and pretending to be mermaids. As soon as I saw this glitter at the store, I knew that I could use it to make a mermaid sensory bag and a mermaid sensory bottle. It screamed mermaid fin to me.
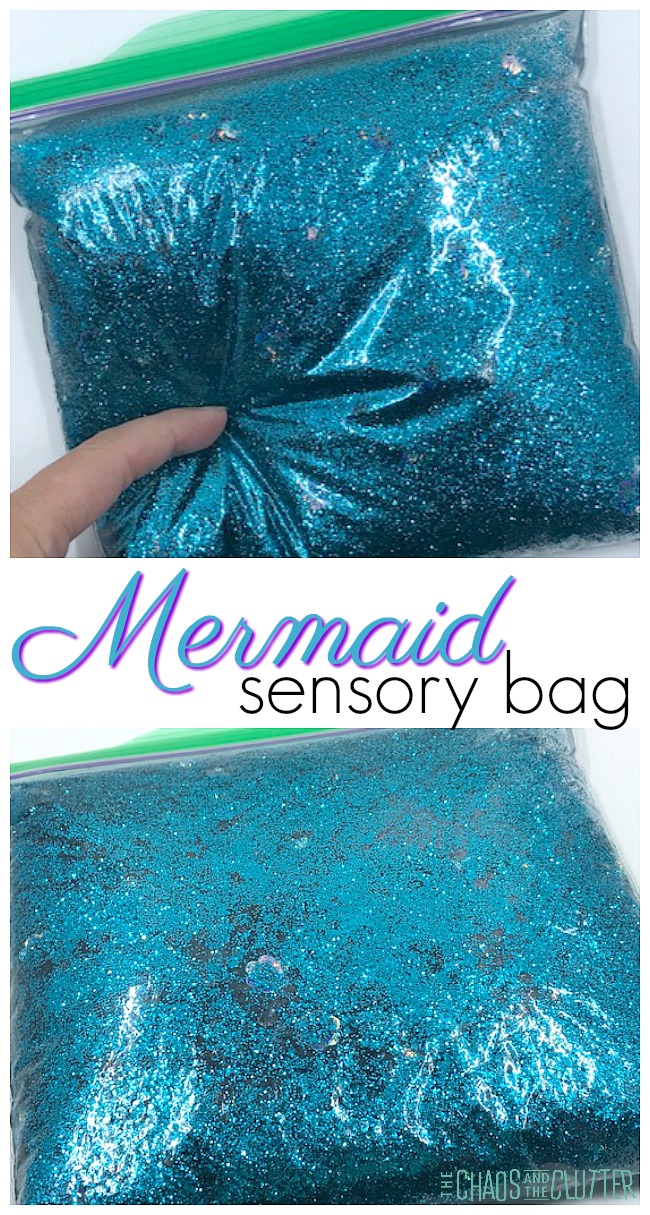 Making this mermaid sensory bag couldn’t be easier. With just a few items, you can create a sensory experience that your child can squish and poke and knead and press.
Materials needed:
- resealable plastic bag (I used a sandwich bag size)
- hand sanitizer
- glitter
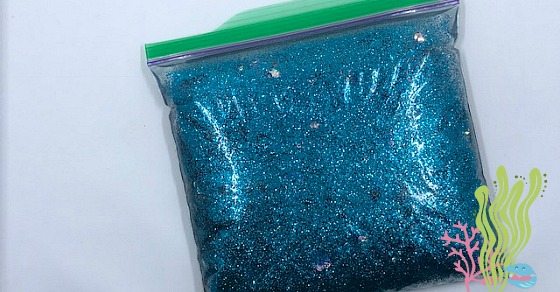
- blue flower sequins
- optional: duct tape (I think this turquoise glitter duct tape would be perfect)
For the glitter, you want to choose a mermaid-y colour. You could use this garnet colour or this aquamarine colour or this cool caribbean one or a pink or blue. You can also use a combination of a few colours of glitter. The key though is to use a lot of glitter. I used a quarter of a small bottle of glitter in each of my mermaid sensory bags. 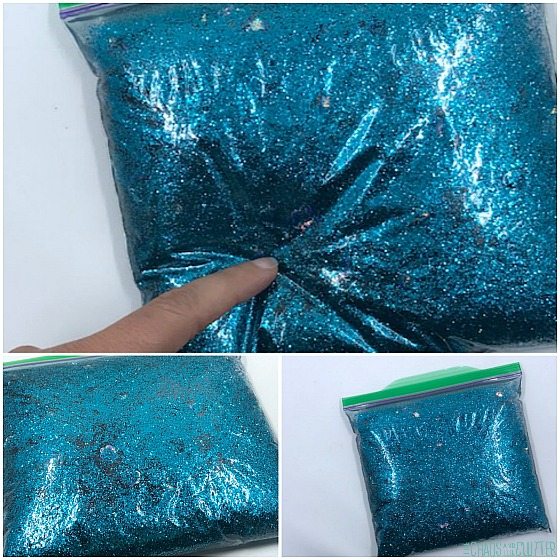
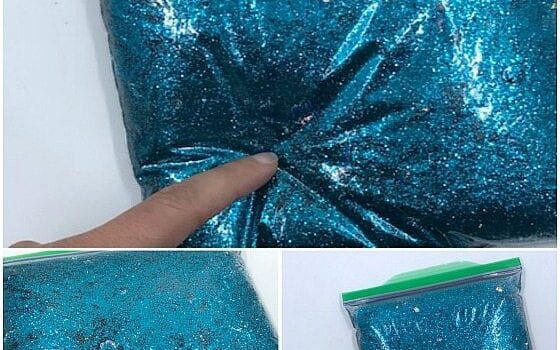
Fill the resealable bag about half full of hand sanitizer. Add the glitter and sequins. Remove the excess air from the bag and seal the bag. Squish it around really well to mix in the glitter and sequins.
If you’re going to be using this sensory bag with younger kids, you will want to use duct tape folded around all the edges to seal it well. As with all sensory activities, adult supervision is recommended for all children. 
 Looking for more awesome sensory activities that are easy to put together? Join me for a free 5 part email series Sensory Solutions and Activities and get your Sensory System Behaviours Easy Reference Cards.
 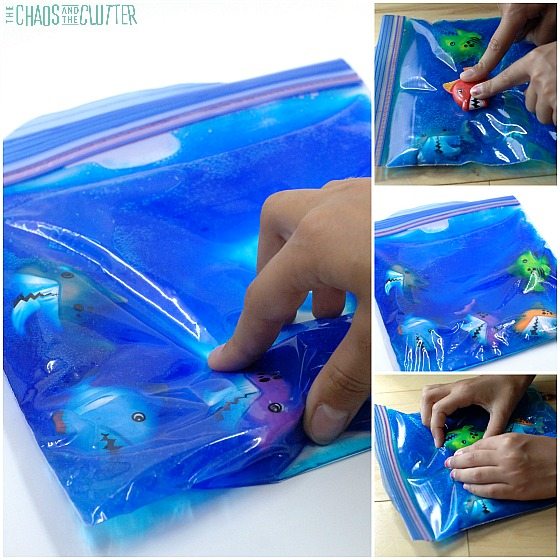 Shark Sensory Bag
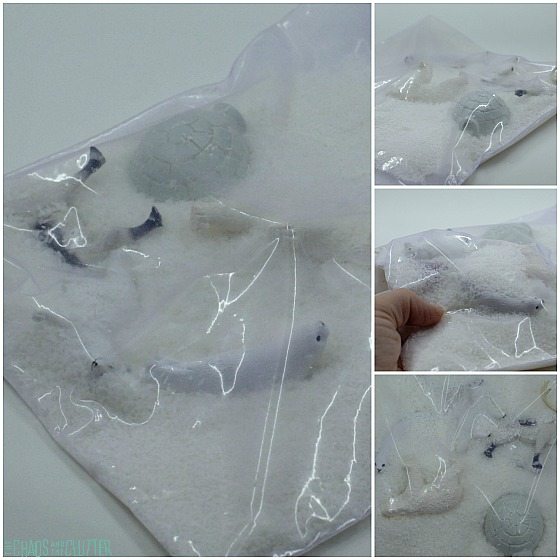 Arctic Sensory Bag
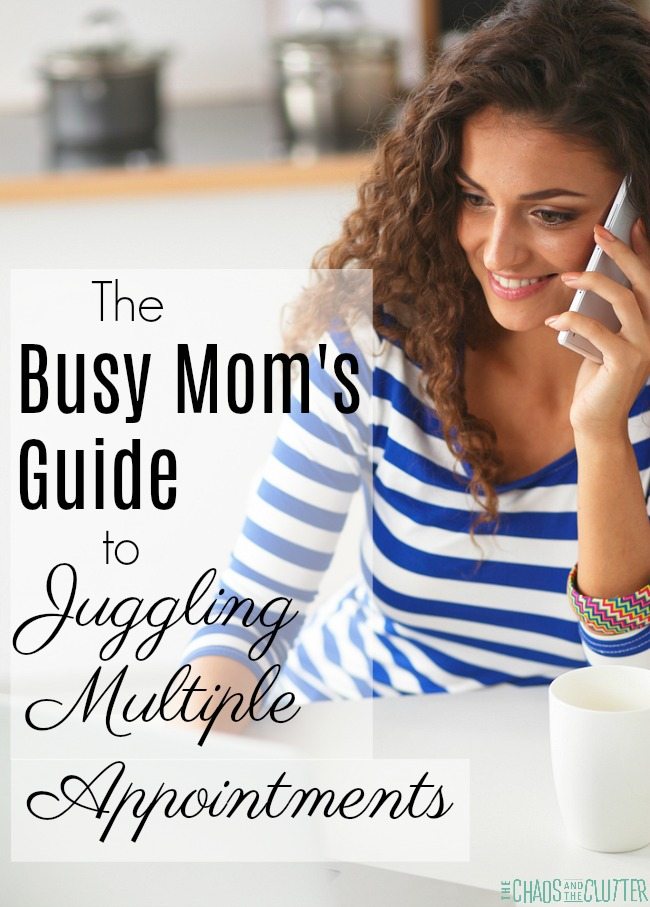 As the mom of seven kids and with five of them having special needs, I have learned a lot about juggling appointments with life. I have also found some secrets that have made my life so much easier. I hope in sharing them with you, I can help you save a bit of sanity and a lot of time!
 I hope this list of tips and tricks will help streamline your appointments and make your life as a busy mom just a little bit easier. You can also read
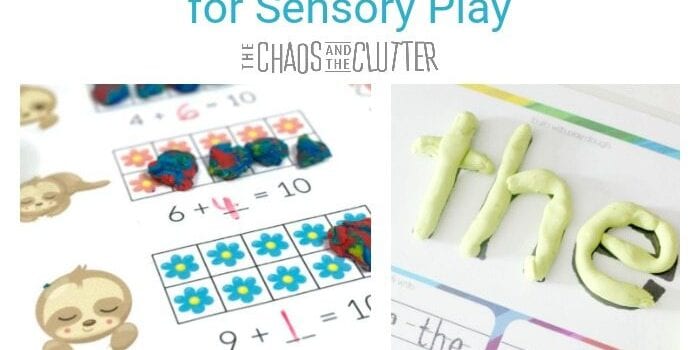
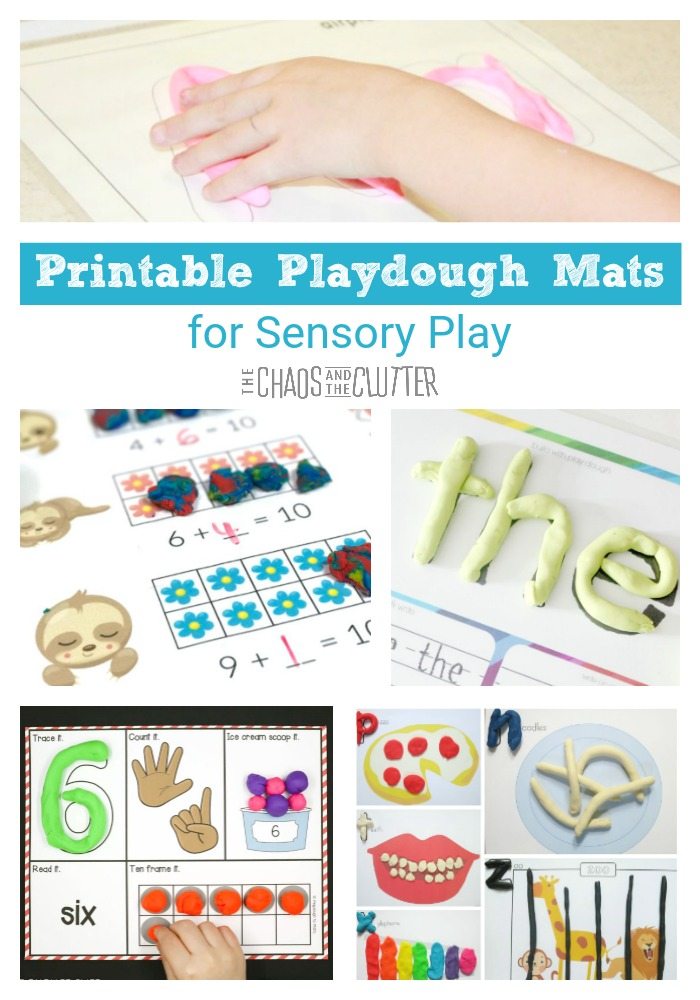 Below, you will find two lists to make it easier to find what you are looking for: regular playdough mats that include Math, Alphabet and other learning ideas and seasonal playdough mats that cover holidays and seasons like Christmas, Earth Day, Spring, and St. Patrick’s Day.
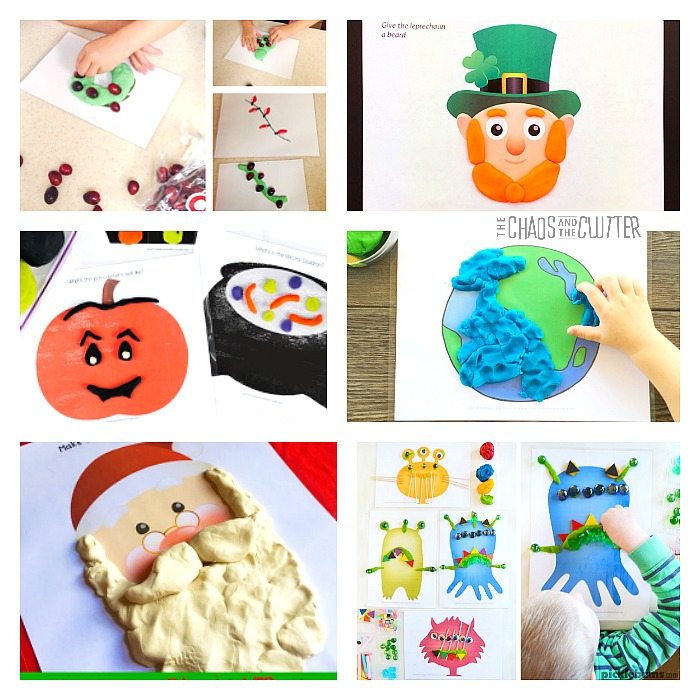
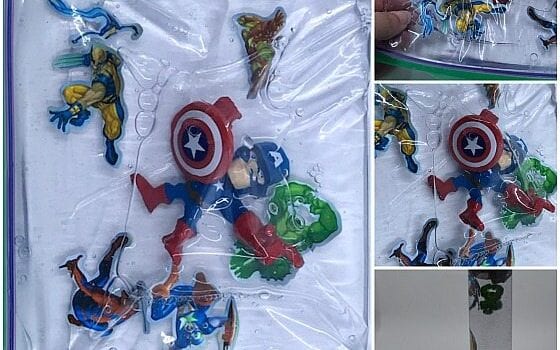
 I created this Superheroes Sensory Bag to encourage Superkids to celebrate the things that make them unique.
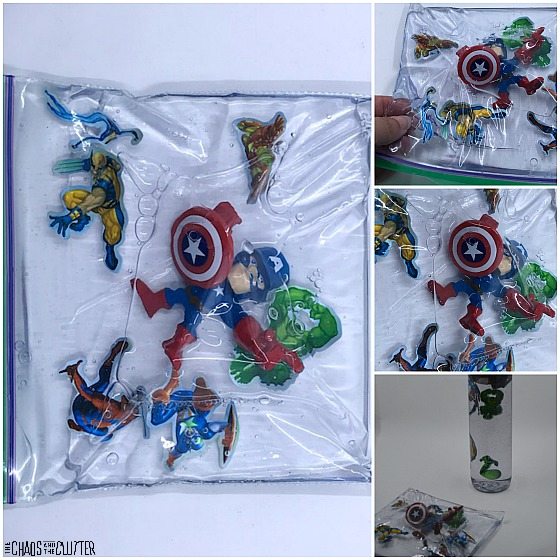 Open the resealable bag and fill about halfway with hand sanitizer. Drop in the stickers and mini action figure(s). Remove the excess air and seal the bag. If you’re going to be using this sensory activity with younger kids, you will want to use duct tape to fold over the edges of the bag to seal it completely. I would suggest using
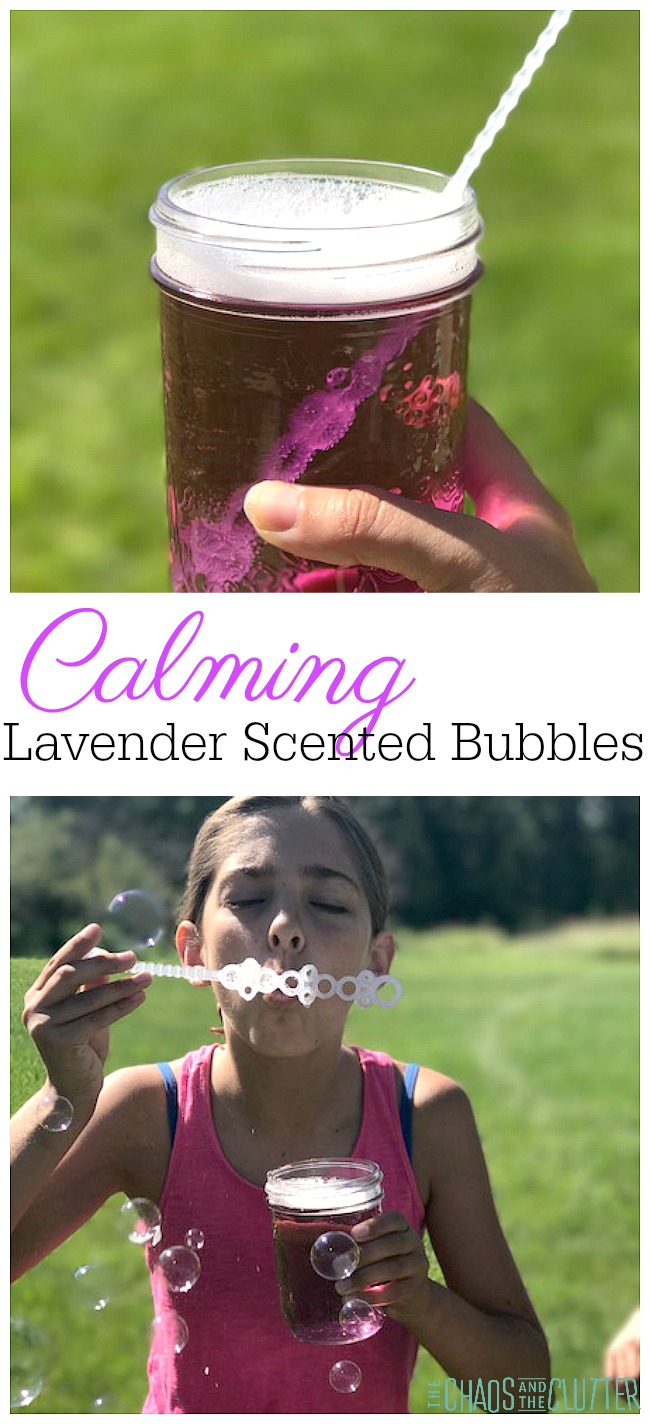 This lavender scented bubble recipe is so easy to make and the bubbles it creates are strong and plentiful. I used
 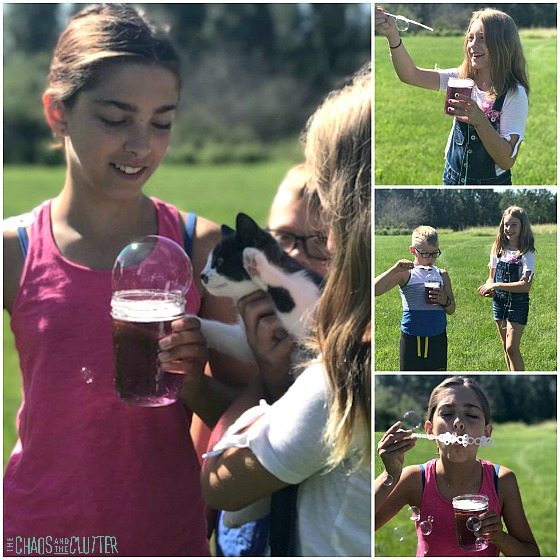 Lavender Scented Bubble Recipe:
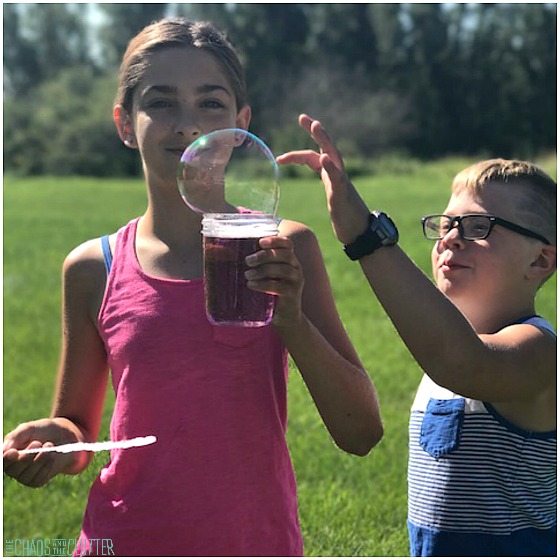 If you don’t have a bubble wand handy, you can create a loop at one end of a pipe cleaner and use that for a bubble wand. With this bubble solution, my daughter also was able to blow bubble using her hand held in a loose fist and by using mesh cording.
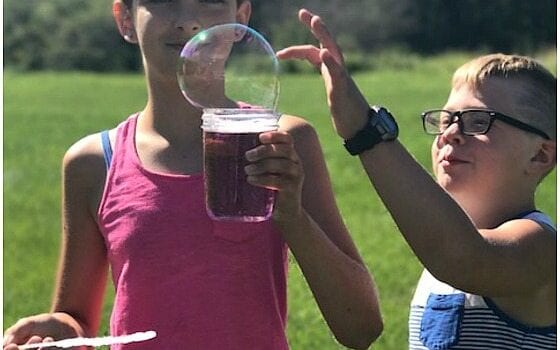
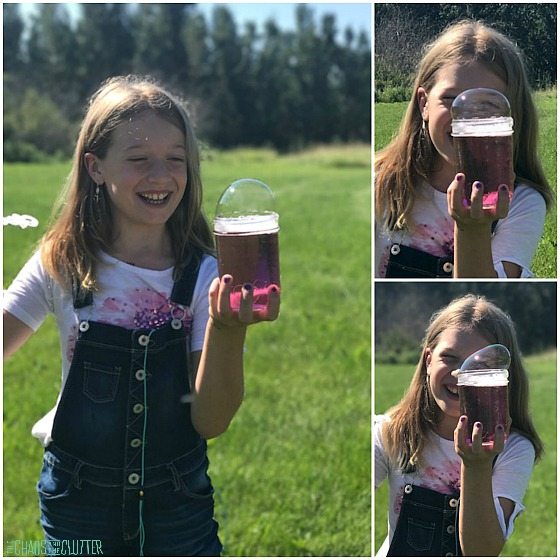 As you can see, these lavender scented bubbles are not only calming, they also make some pretty large bubbles that last and last! The kids had such a good time playing with them.
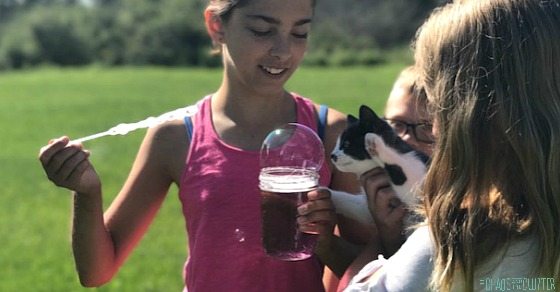 For answers to your sensory questions and great sensory activity ideas, check out