This Joy Sensory Bin is perfect for a bit of sensory play around the holidays. Even though we have been making sensory bins for a very long time now, it never ceases to amaze me how much enjoyment my kids still get out of them. I also am impressed at the different, out-of-the-box ways the kids think of playing when each bin.
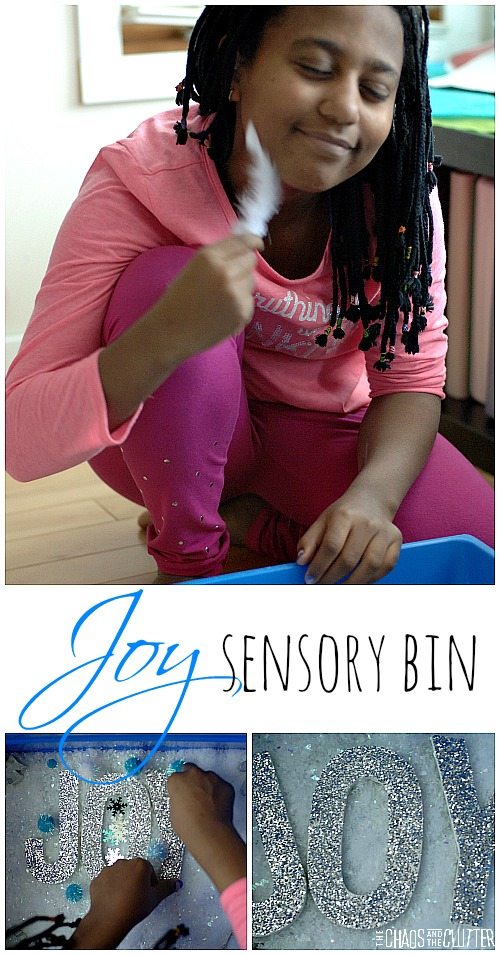 I am in love with that picture because Dancing Queen’s face looks so peaceful which shows the power of sensory play with kids who have sensory needs and anxiety.
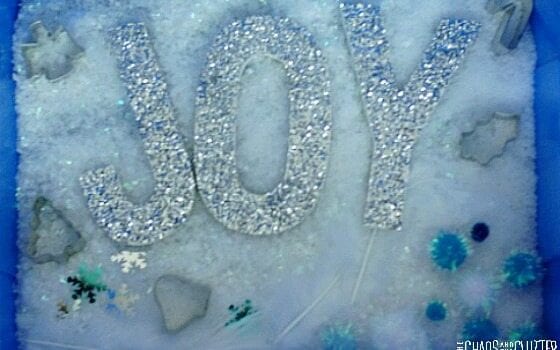
Making this sensory bin was a two part project. We made the letters for JOY by covering wooden letters with Modge Podge and sprinkling generously with silver glitter. When they were dry, I mixed Modge Podge with water and went over the sprinkles with it to seal them.
I used a blue bin and added fake snow (also called buffalo snow). I used a type that was iridescent because I liked the look of it but regular would work too.
I added white and blue pompoms, holiday shaped mini cookie cutters, white feathers, snowflake confetti in white, blue and silver, and the JOY letters.
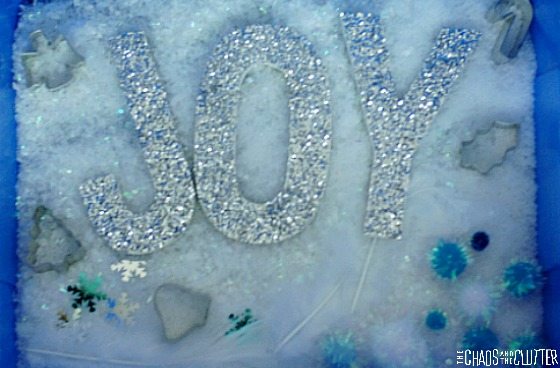 Last year for Christmas, I made a Winter Wonderland sensory bin and while the kids loved it and we decided to use the same snow for this one because it was such a hit, I wanted to do something this year to convey a bit more about the real reason for the holidays so that is where the idea for the Joy Sensory Bin came from.
For hundreds of other sensory bin ideas, you can also follow my Sensory Bins board on Pinterest.
Follow Sharla Kostelyk’s board Sensory Bins on Pinterest.
If you are looking for information on making sensory bins, you may be interested in my book. 
Join our free 5 part email series Sensory Solutions and Activities and get our Sensory System Behaviours Easy Reference Cards.
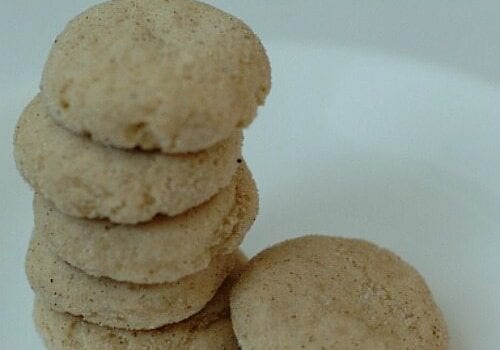
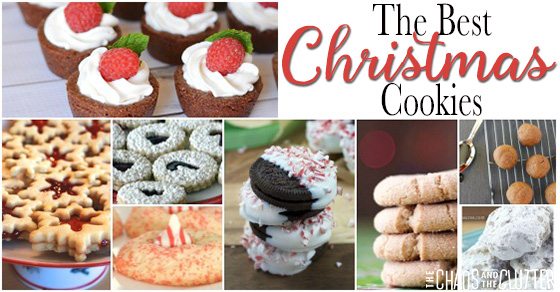
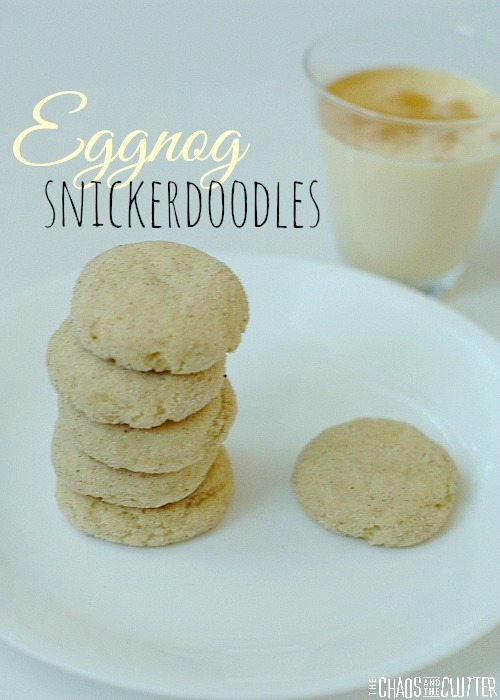 If you are a fan of eggnog, you are going to love these cookies! And the smell that fills the house as they are baking is as holiday as it gets.
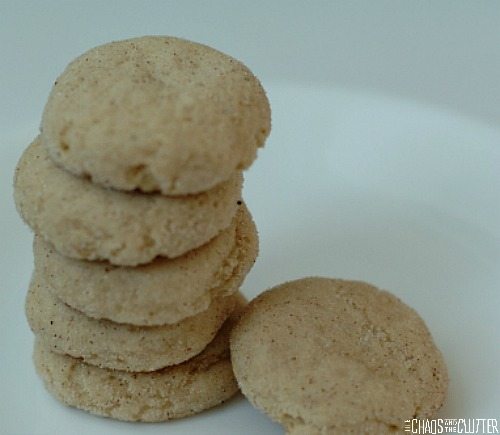 My husband loves eggnog, so he of course was happy to drink what was left after I bought some to make these cookies! I had to be careful to bake these directly after I bought the eggnog so that it wasn’t gone before I got the chance to use it.
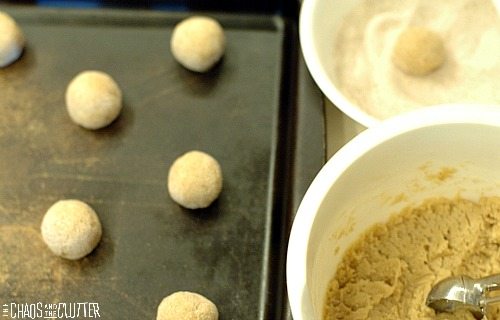 Make balls with the cookie dough (I used a
 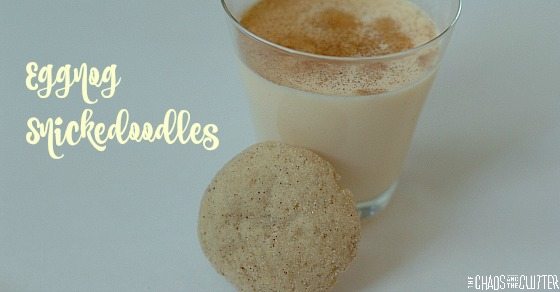 This recipe makes about 3 dozen eggnog snickerdoodles, depending on the size you make them.

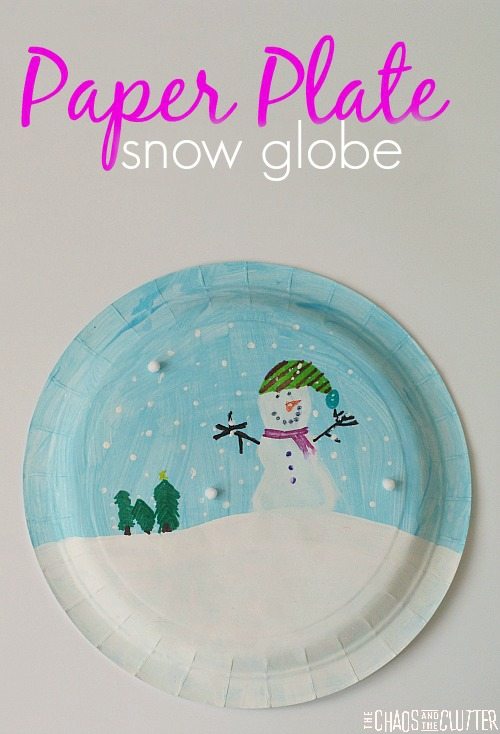 Paper Plate Snowglobe:
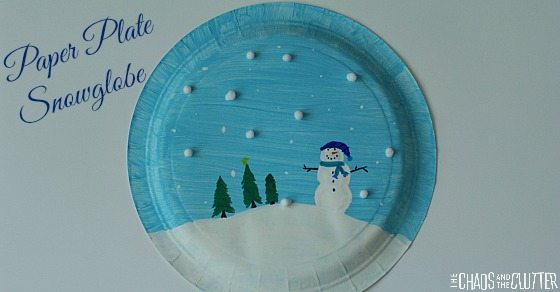 For this step, you can use either paint or permanent markers. We chose to use both. The kids used paint for the larger things such as the snowman shape and trees. They then added the finer details such as the snowman face, arms and buttons using the permanent markers.
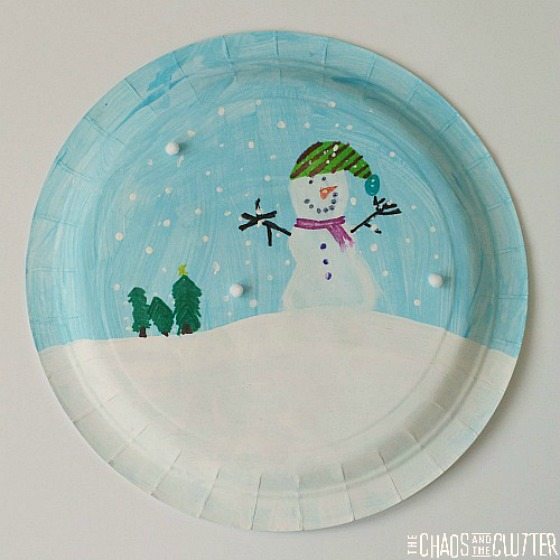 I just need to add a note here: I’m a bit of a spelling nerd and I do realize that snow globe is two words, but it turns out that most people spell it as one word when they are typing it into a search engine. For the purpose of people being able to find it, I am spelling it snowglobe!
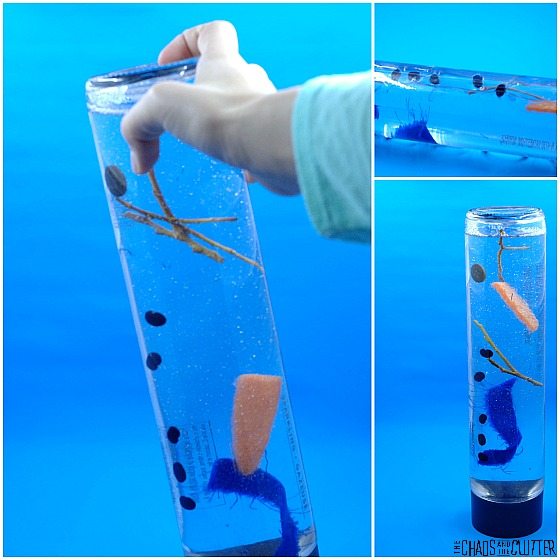
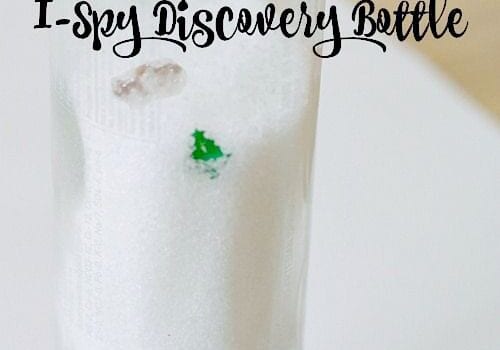
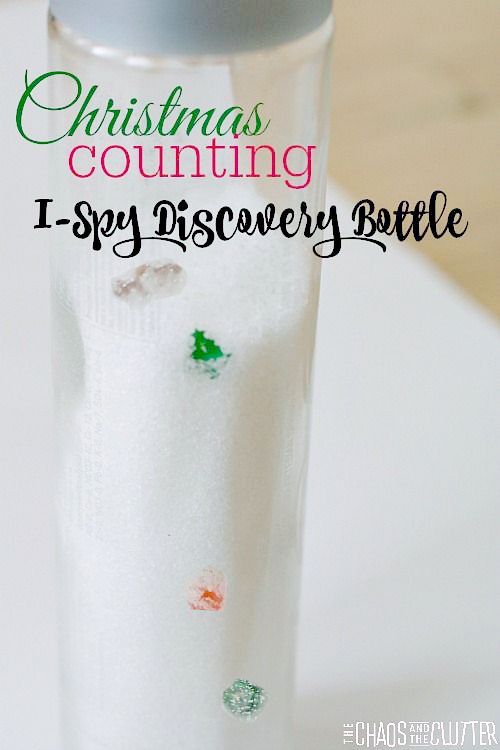 Materials needed:
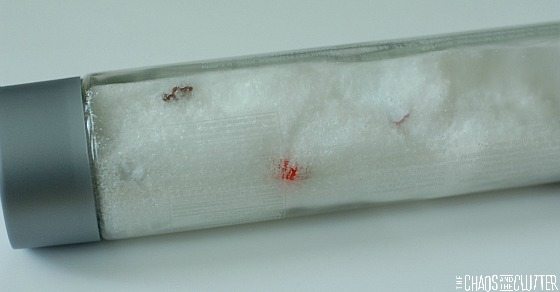 In my Christmas sensory bottle, I put:
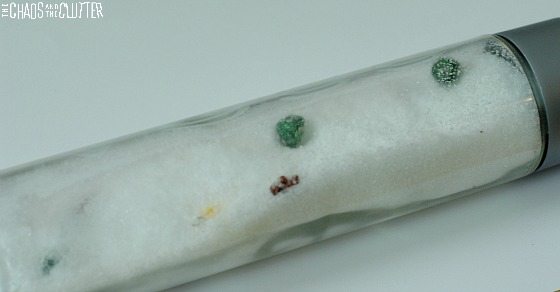 Next, write or type up a list of the items in the bottle so that the kids can reference it when they are seeking. The reason I chose to add groupings of items is so that kids could practise counting as they tried to find items.
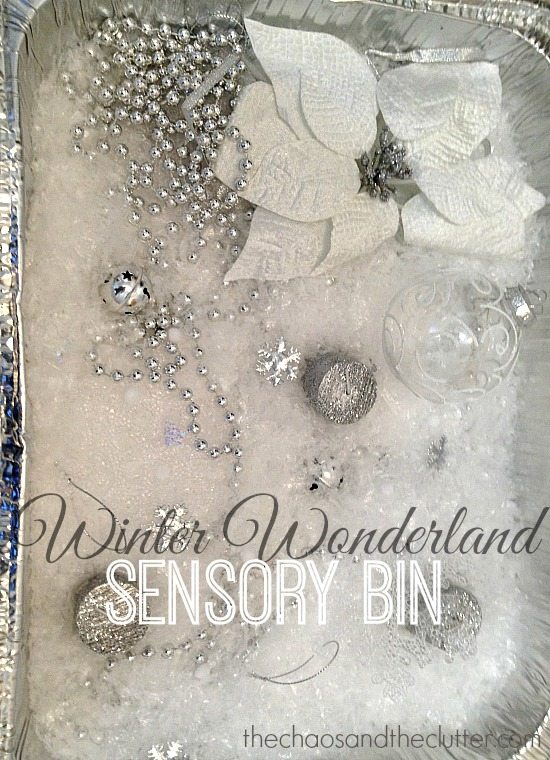
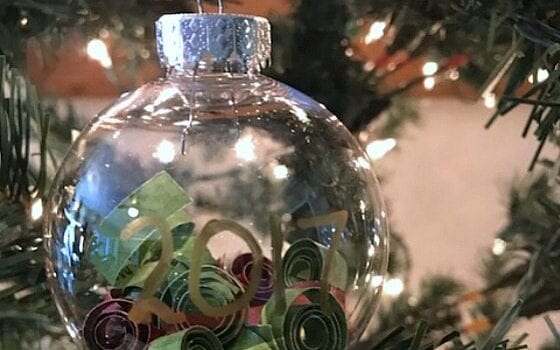
 These time capsule ornaments are really simple to make and could become an annual tradition at our house. They would also be cute to make to commemorate special milestones such as weddings, adoptions or births and can be made as a memorial ornament as well.
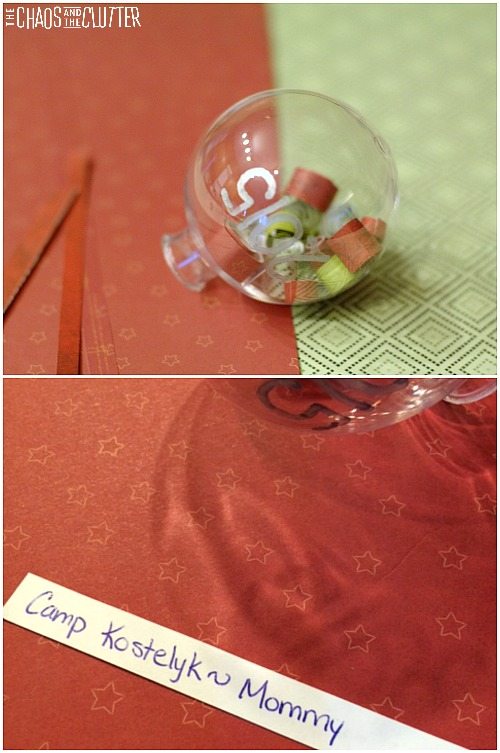 I asked my kids for their favourite memories from the year and they each gave several, but then Snuggle Puppy mentioned that he’d like to add his
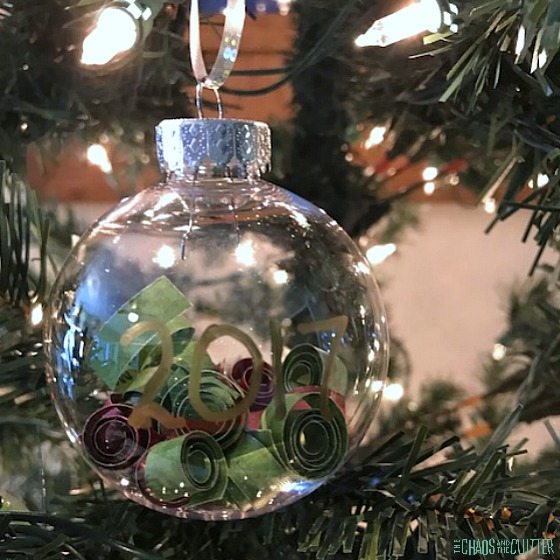
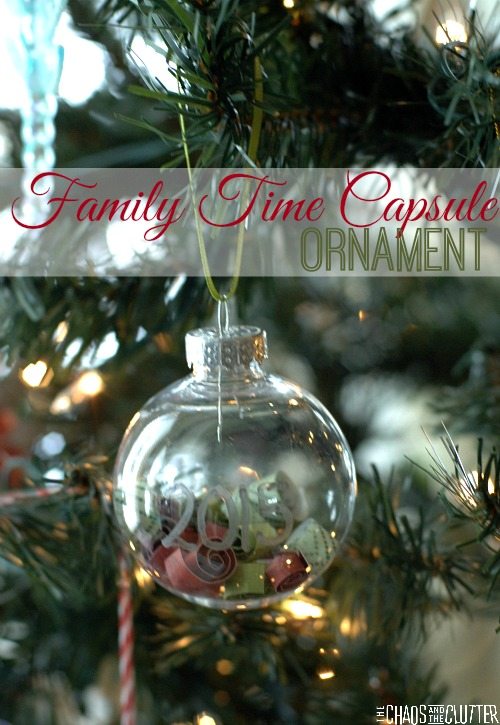
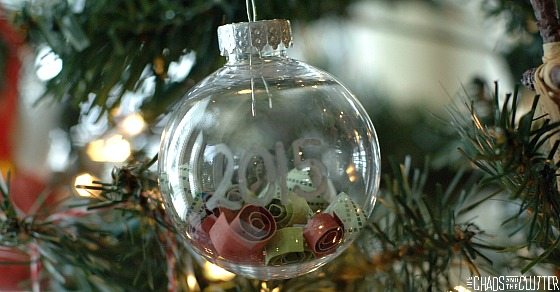 These family time capsule ornaments are so simple to create but carry such meaning. They make a lovely gift for grandparents as well.