There’s a Disney movie you may have heard of called Frozen. I am probably one of the few people in North America who has not seen it. I heard little snippets of it once when the kid had friends over who had brought the movie with them and they were all watching it in the other room while I made supper, but I have never sat down and watched it.
I can deduce though given the amount of references to the movie, the frequency of times I’ve been subjected to listen to “Let it Go” sung by my tone deaf daughter, and what I see in stores that this movie is a big deal, in particular to children of a certain age. In this case, given that I haven’t seen the movie, I guess you could say that I was inspired by the movie’s popularity to make a Frozen sensory bin.
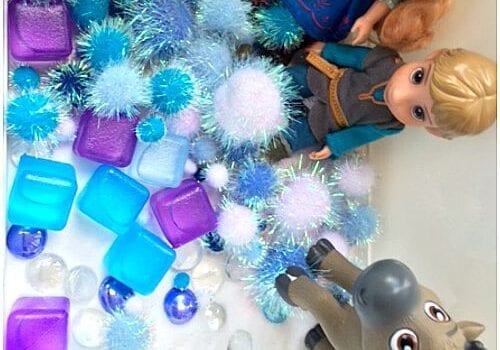
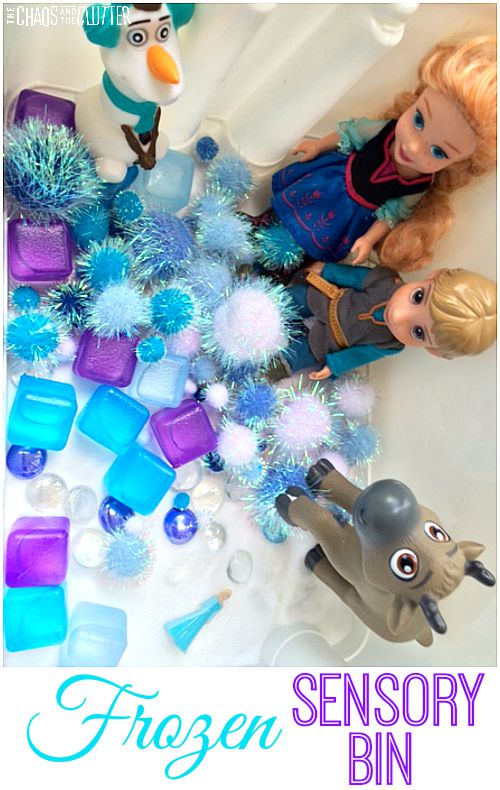 For the base, I used salt, but you could also use sugar (which I don’t recommend because it may be too tempting for kids to eat it!) or epsom salt. I added reusable plastic ice cubes in purple and various shades of blue. I froze these to begin with to add another sensory element to the bin of having something cold.
I added fuzzy pompoms in blue and white, glass beads in blue and clear, a tiny Elsa figurine, and some larger Frozen characters, Olaf, Kristof, Anna, and Hans or Sven ( I don’t know which is which!).
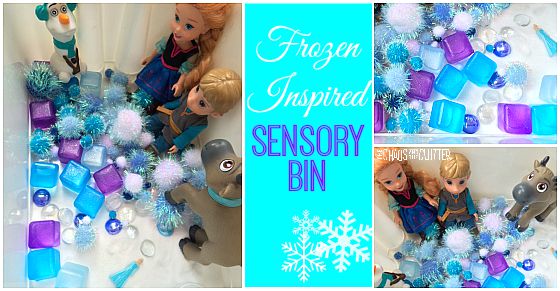 This Frozen sensory bin is a simple one but it combines several textures and opens itself up to imaginative play with the addition of the characters.
For hundreds of other sensory bin ideas, you can also follow my Sensory Bins board on Pinterest.
Follow Sharla Kostelyk’s board Sensory Bins on Pinterest.
If you are looking for information on making sensory bins, you may be interested in my book. 
Join our free 5 part email series Sensory Solutions and Activities and get our Sensory System Behaviours Easy Reference Cards.
 Materials needed:
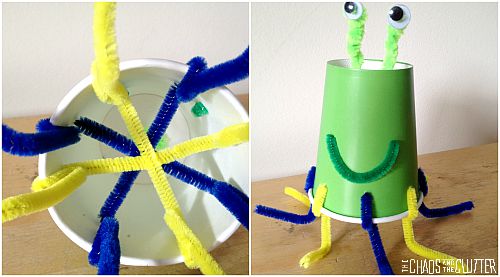
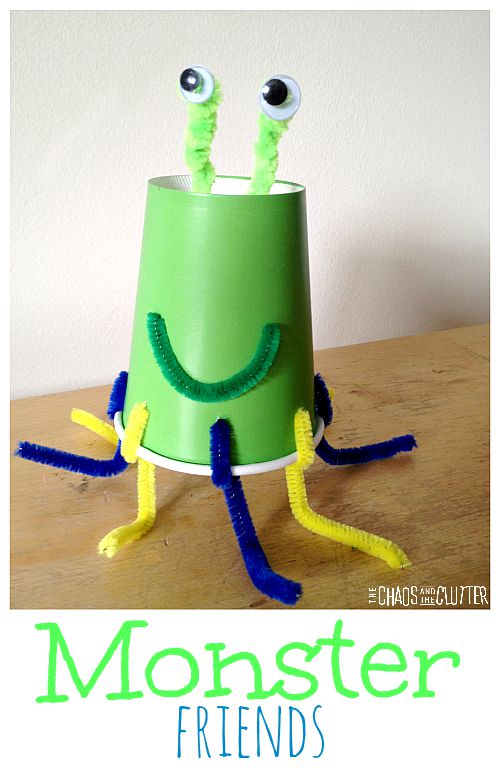
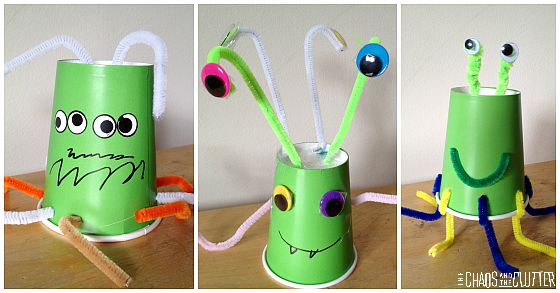 You can set out other monster craft materials such as sequins, glitter, gems, and feathers to further decorate these little guys. You can attach these with clear tape or glue.
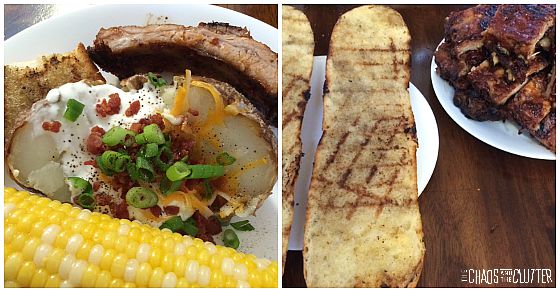
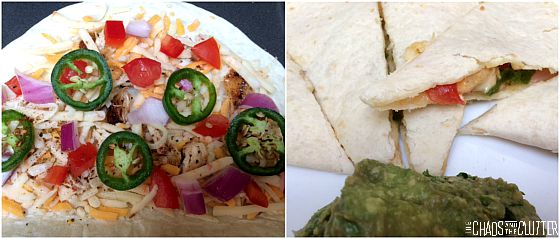
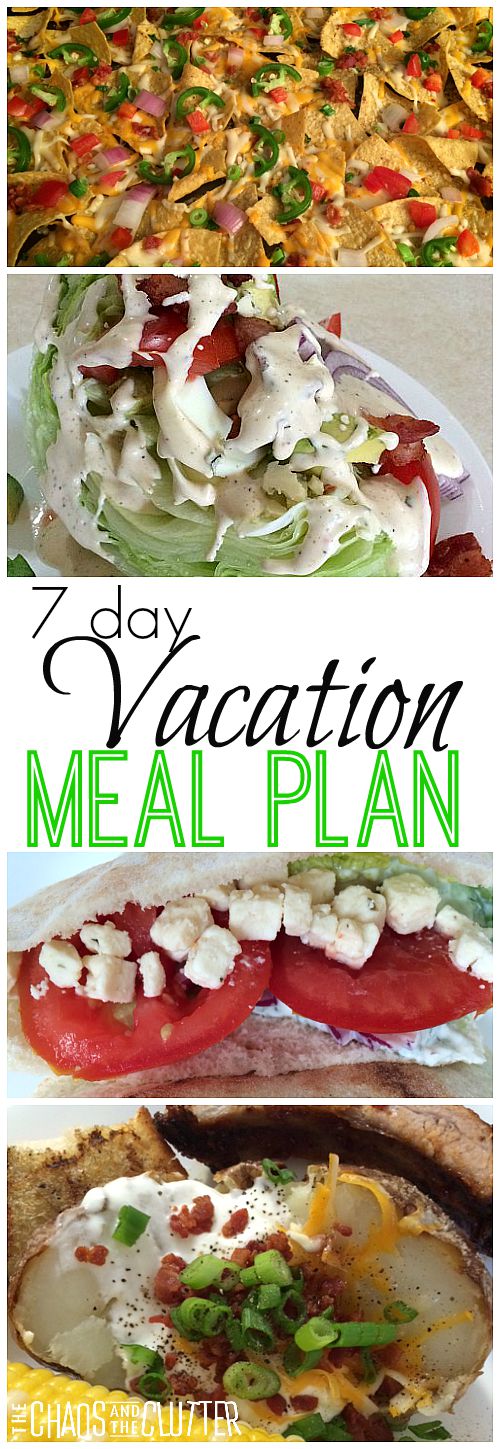 There are certain meals that make it into every one of our vacation meal plans because they are easy to make and sure to be a hit with my family.
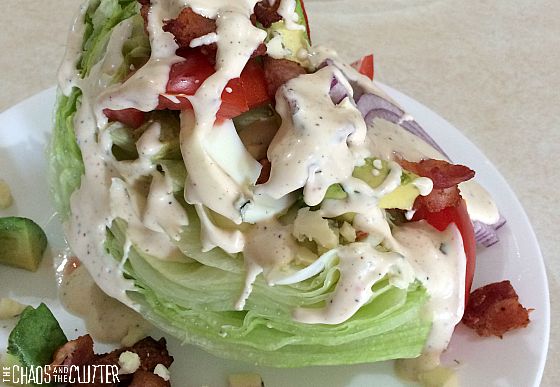
 Supper
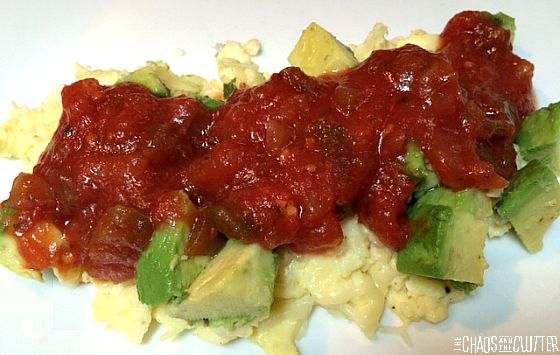 Lunch
Lunch Vacation Snacks
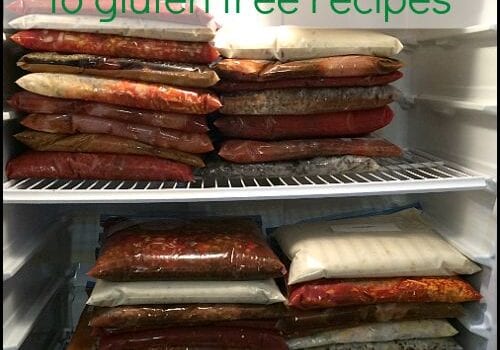
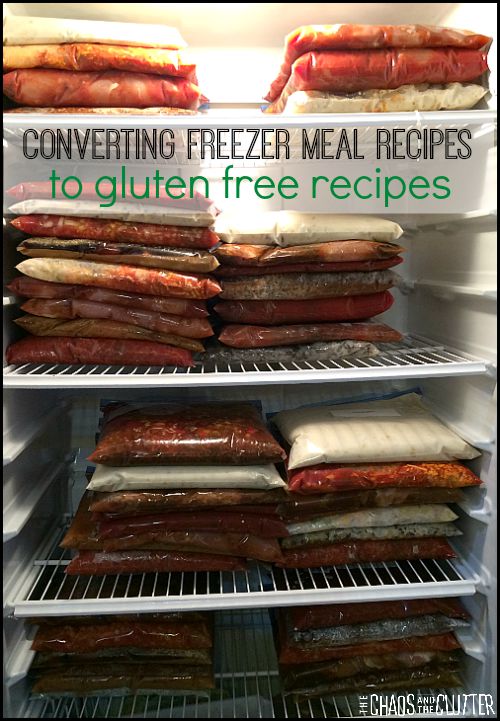 The most critical thing to know to be able to convert regular recipes into gluten-free recipes is how to read labels to find hidden gluten. Gluten can be called many things and it’s important to be able to identify it. Here is a

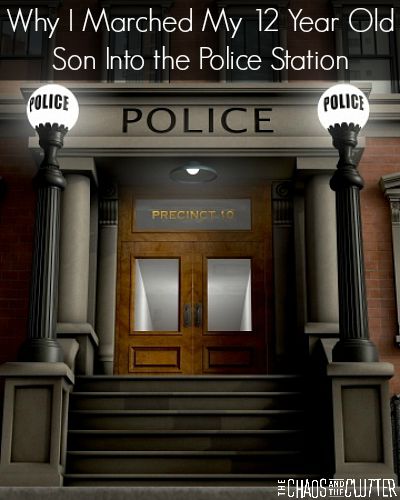
 It’s very simple. A seatbelt can make the difference between living and dying and if my son isn’t going to listen to me on a life and death issue, I’m going to make darn sure that he understands that there are consequences to that.