If your kids are like mine, they prefer hands-on science experiments over staring at a textbook. I used to be leery of messy experiments because of all the cleanup we had to do afterward, but after giving some a try, we all fell in love with this way of learning. I wish we had tried them sooner! You’ll be amazed at how fun at home science for kids can be.  I’ve compiled an amazing list of science experiments that you can make in your own home. They are fun, hands on, safe for kids and many of them use materials you probably already have!
I think that you’re going to really enjoy setting up a schedule for science experiments with your children. They all focus on different topics in science and you will be amazed at how much they are going to learn. Chances are, you’ll learn a thing or two along the way too.
And both you and your kids will have fun along the way. That is learning at its best!
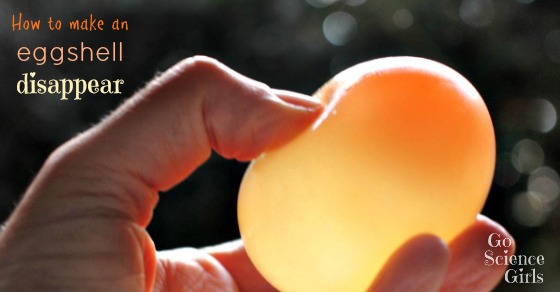
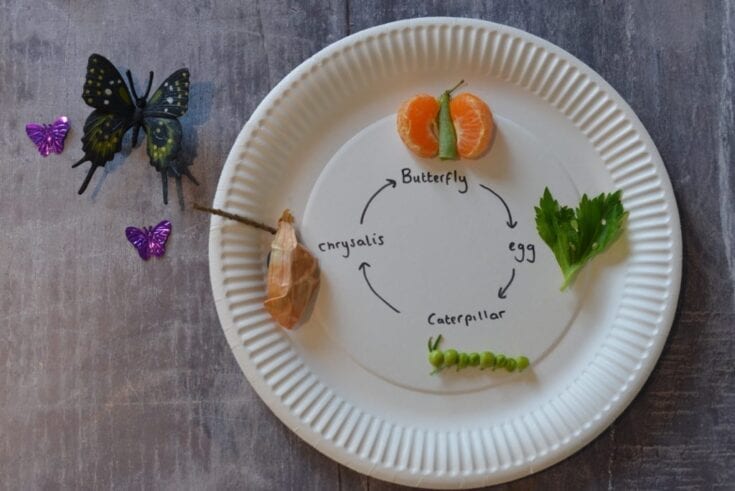
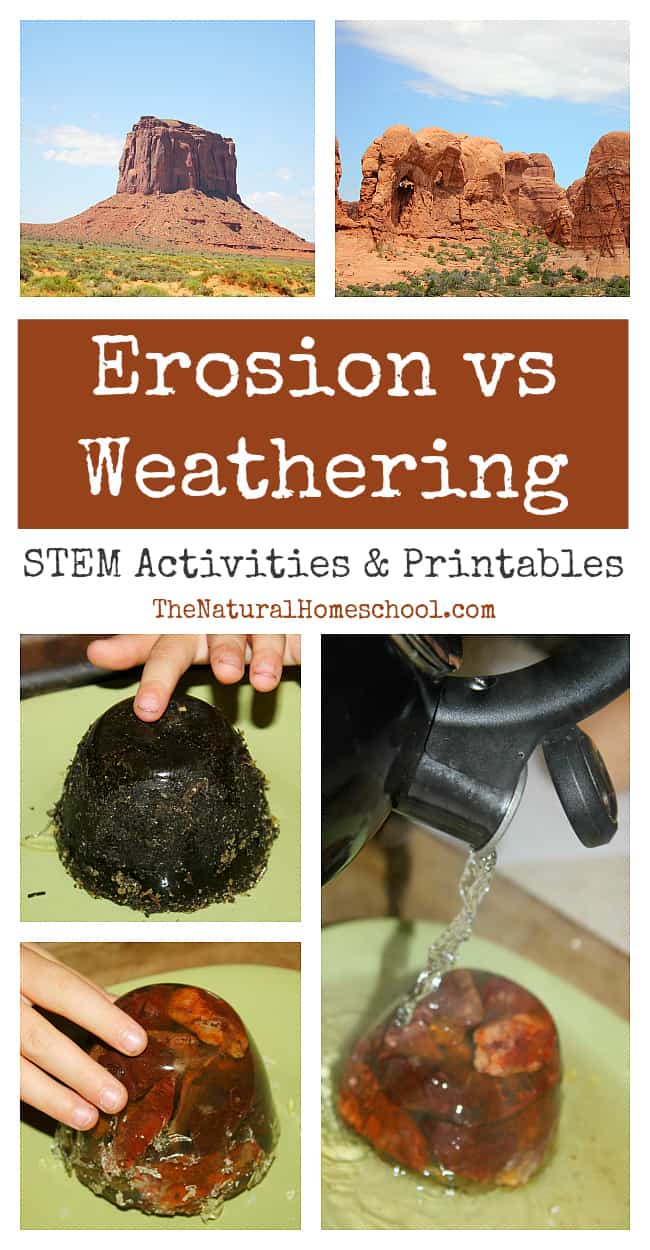
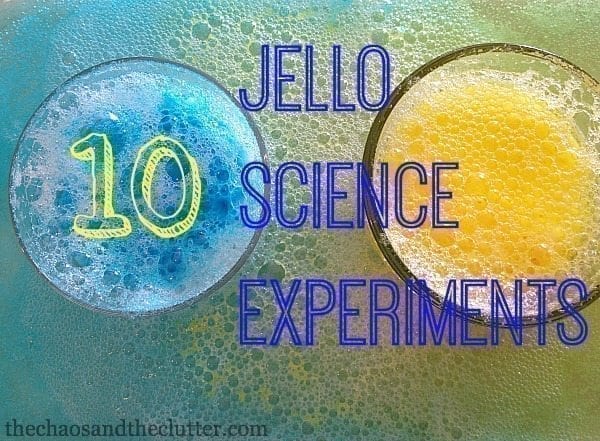
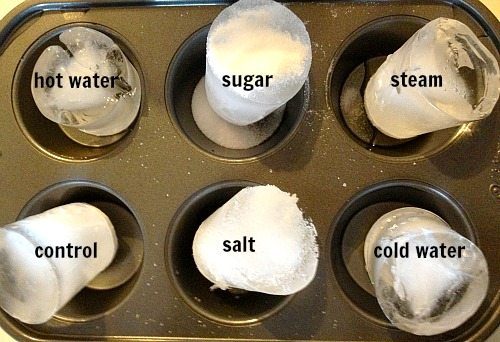
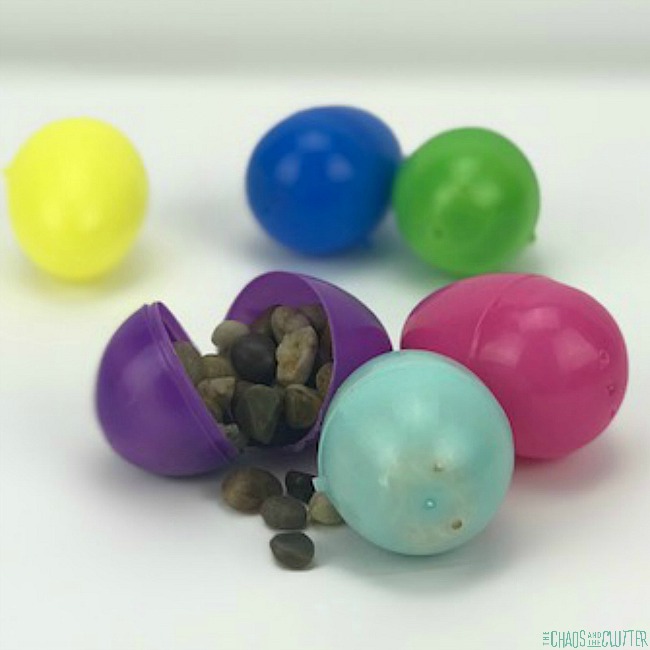
These Jello experiments are so fun. Make science discoveries using just kitchen supplies. Kids are fascinated with this classic experiment. It makes a great science fair project too. Use up those plastic Easter eggs and discern different sounds with this easy activity. It only takes a few minutes to set up. Find the difference between weathering and erosion and use the scientific method worksheets. Easy At Home Science for Kids


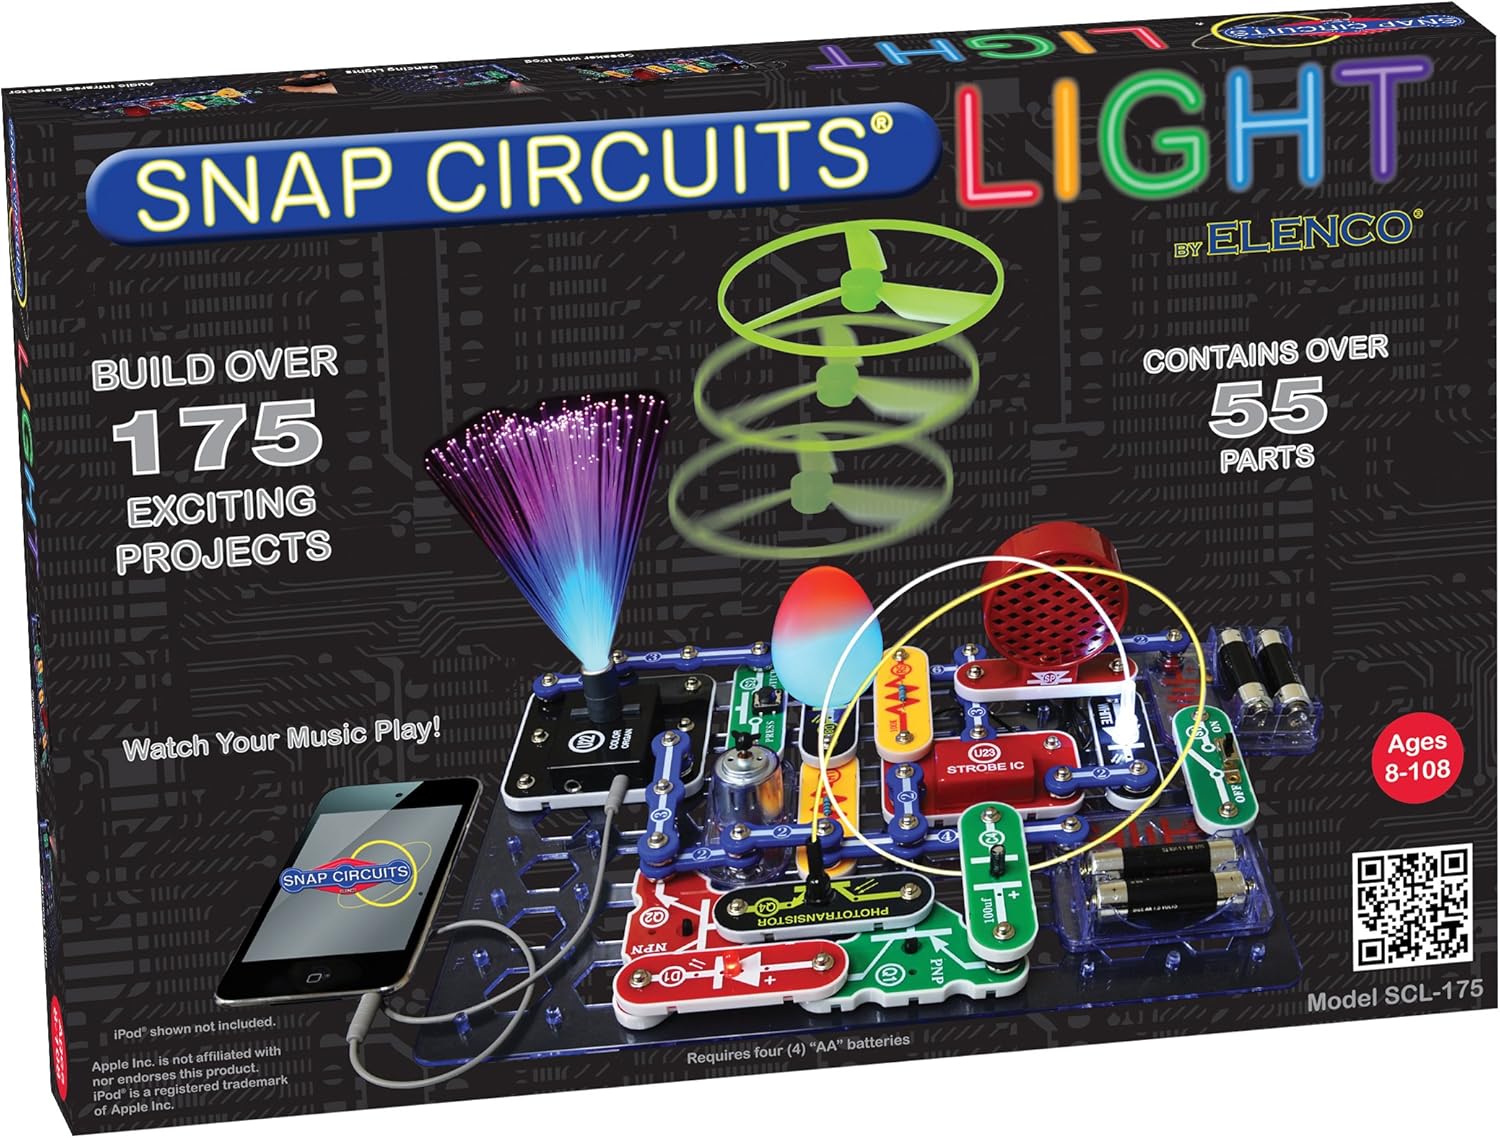
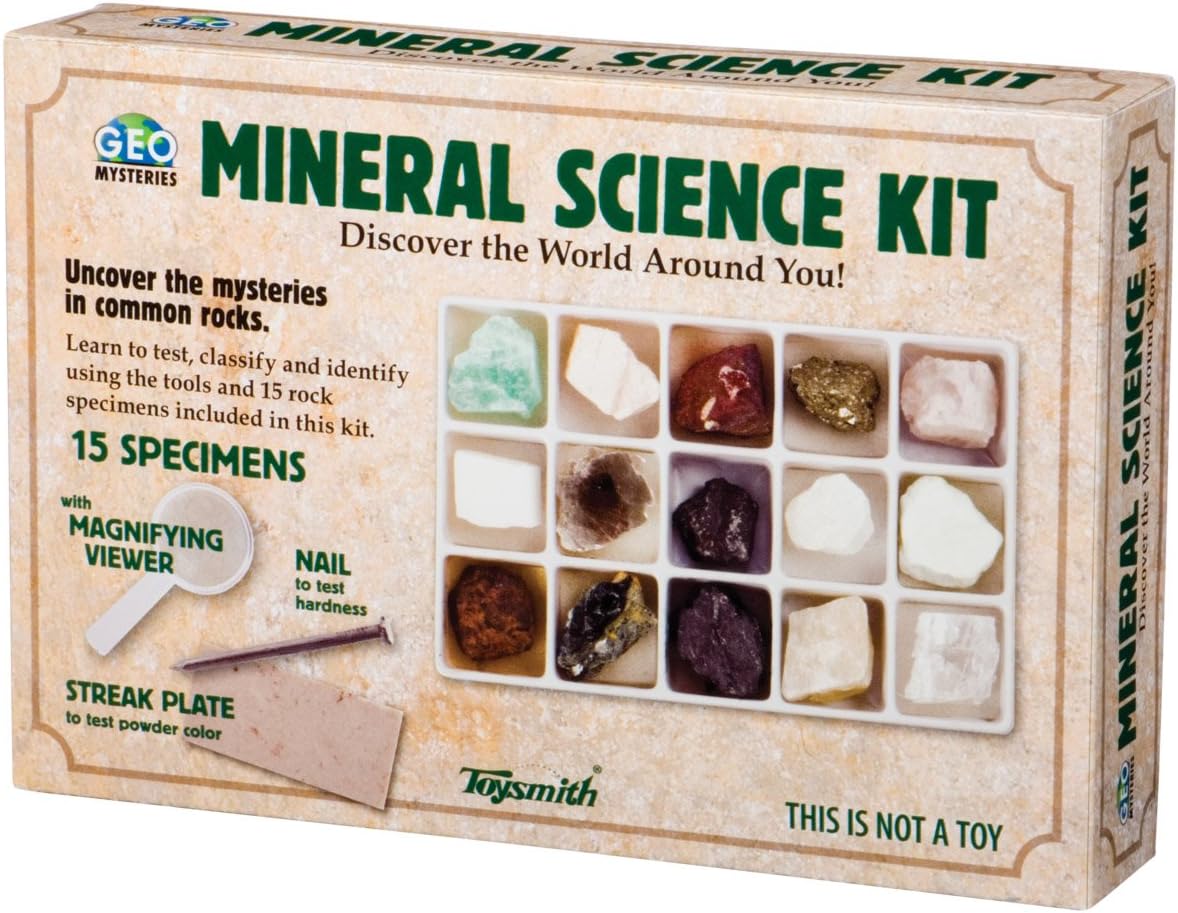
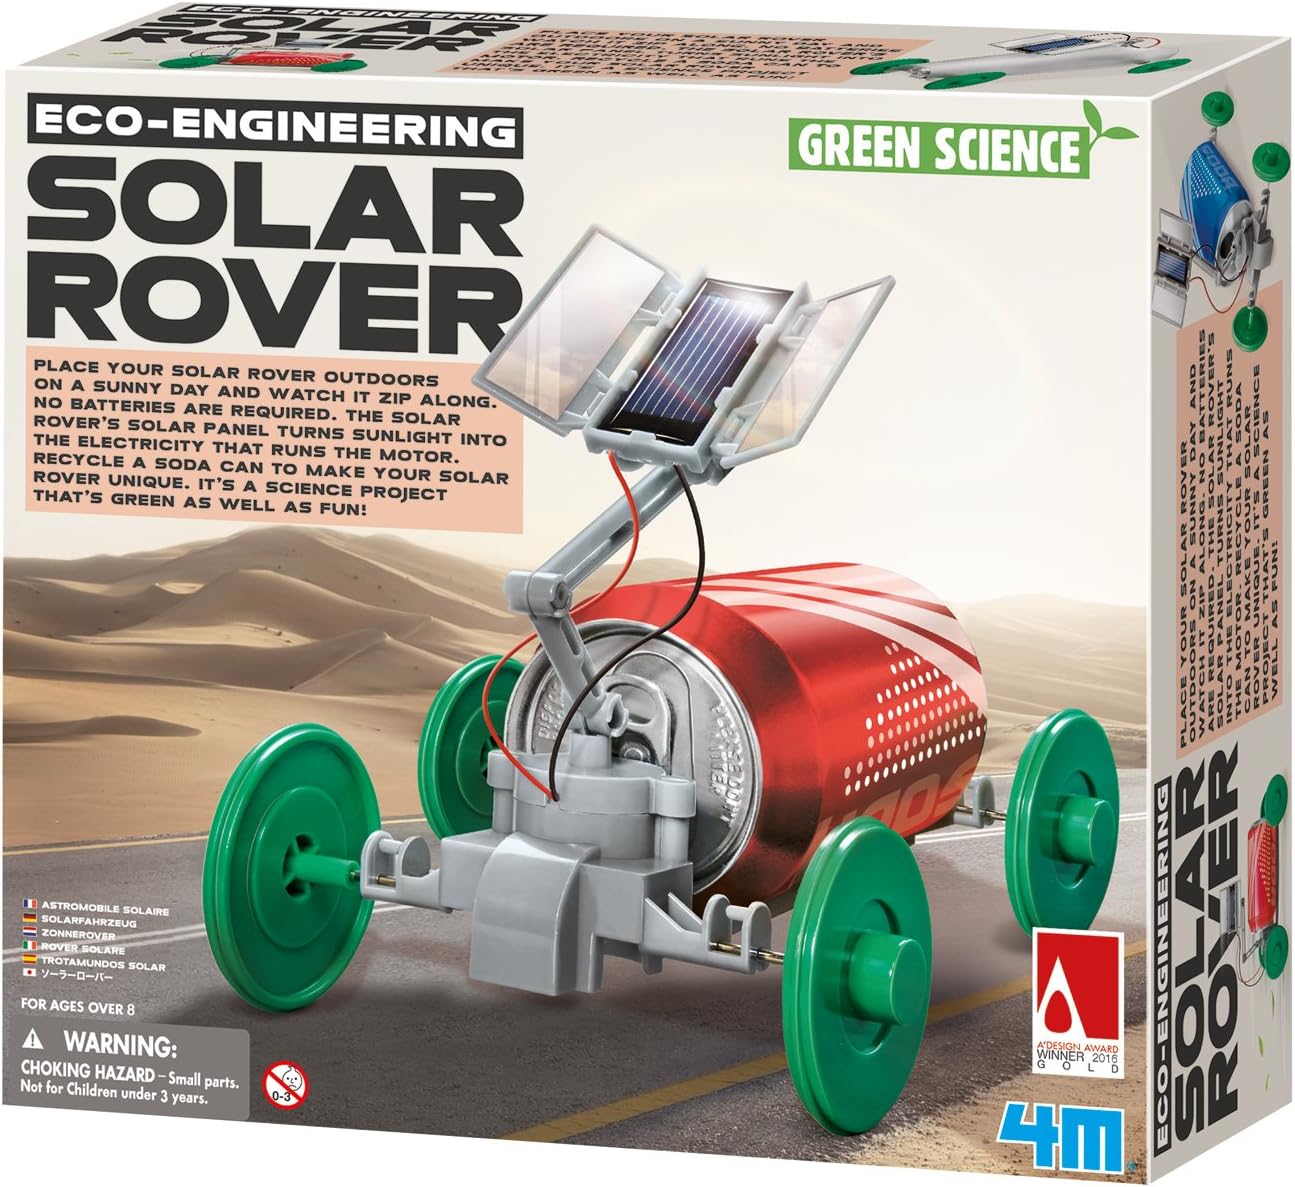
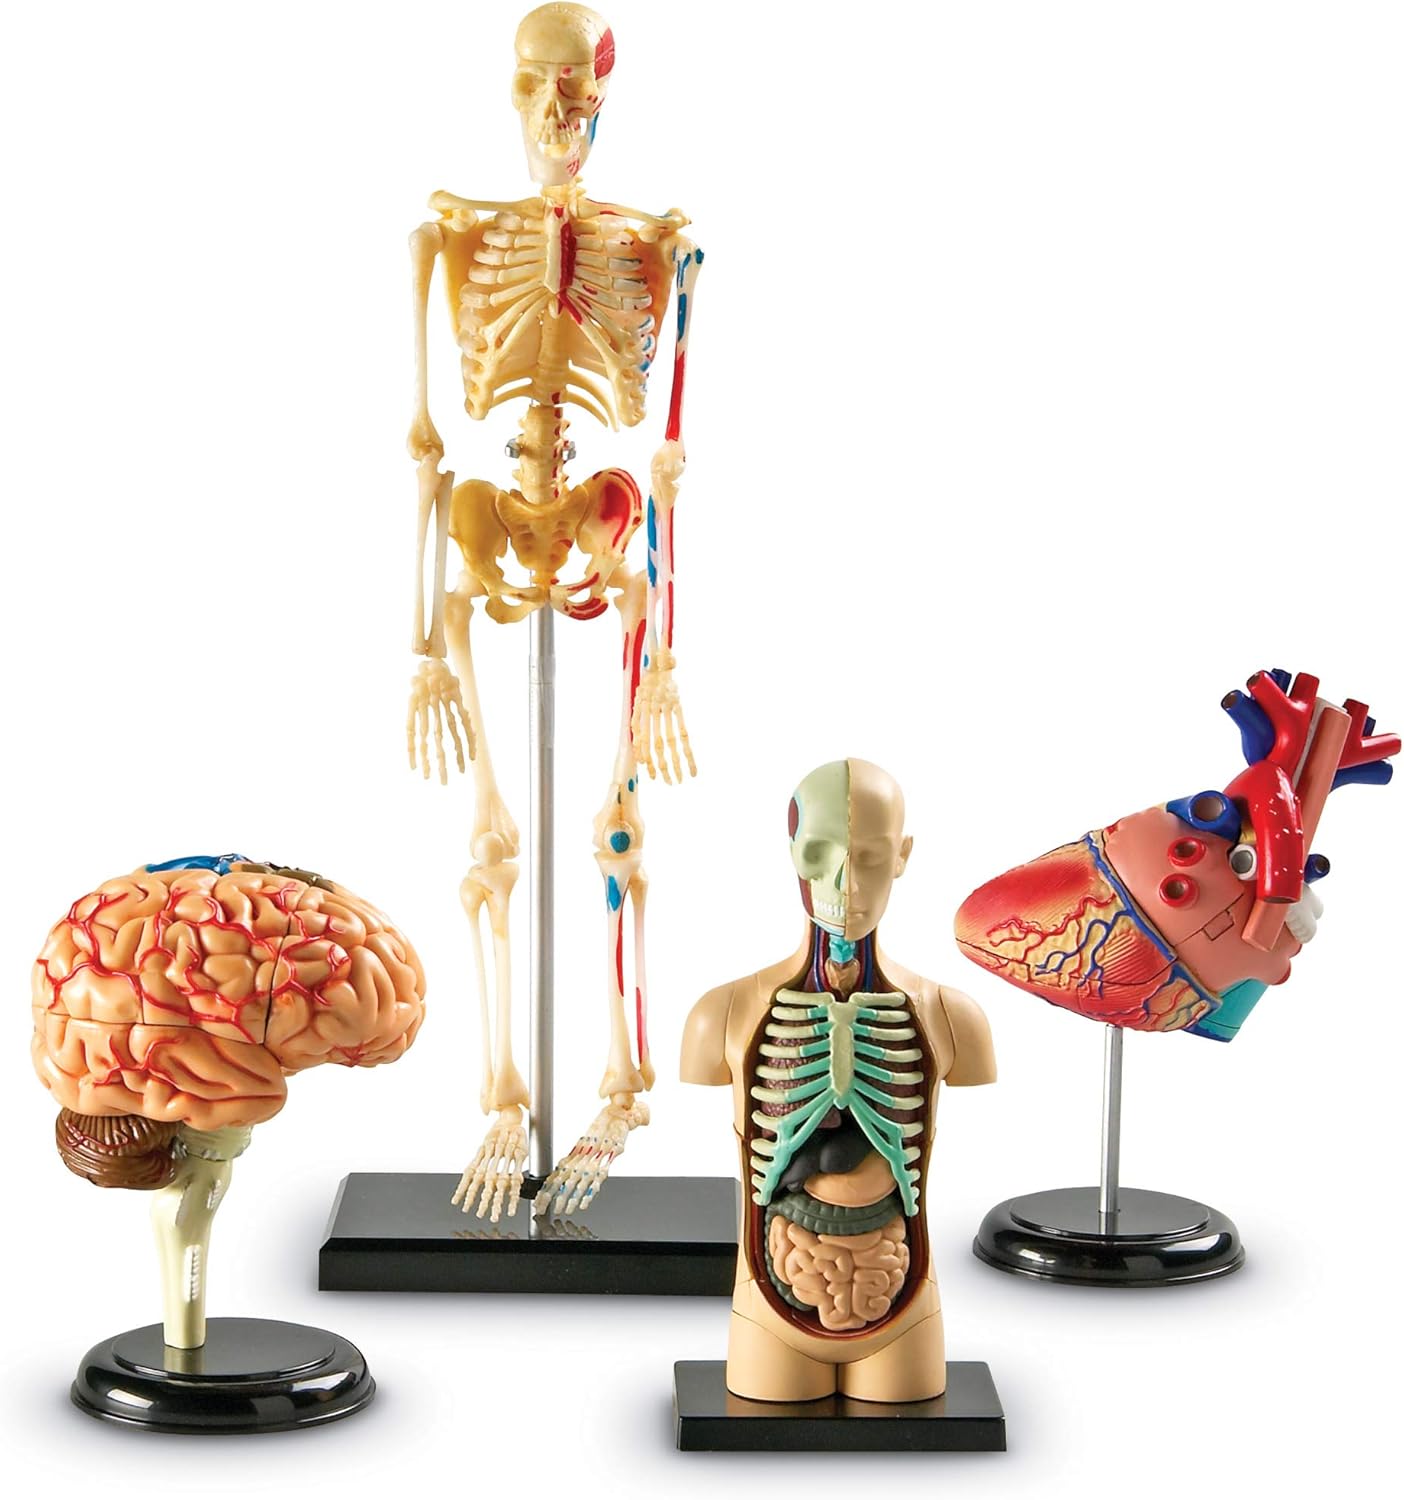
Science Kits for Learning at Home:
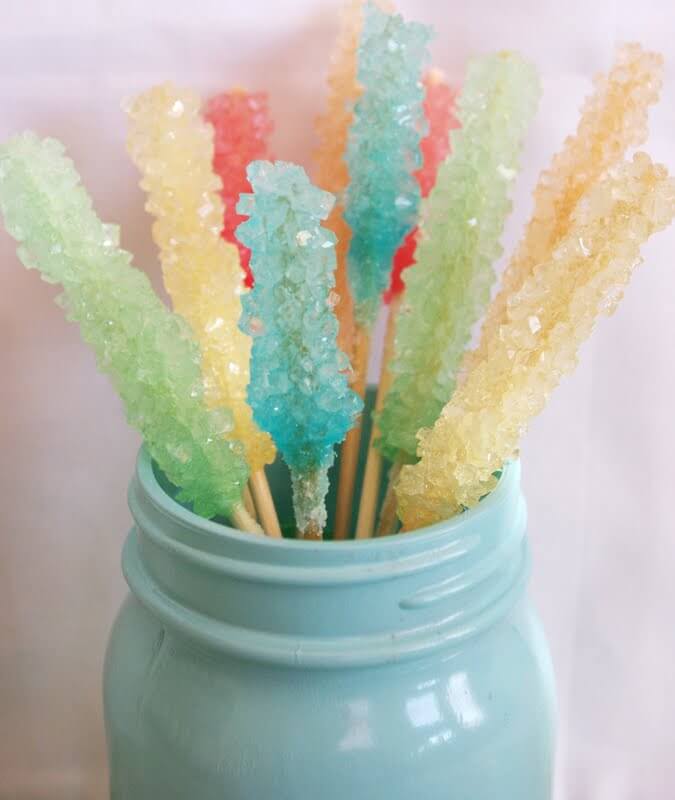
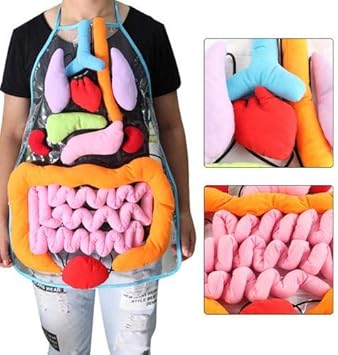
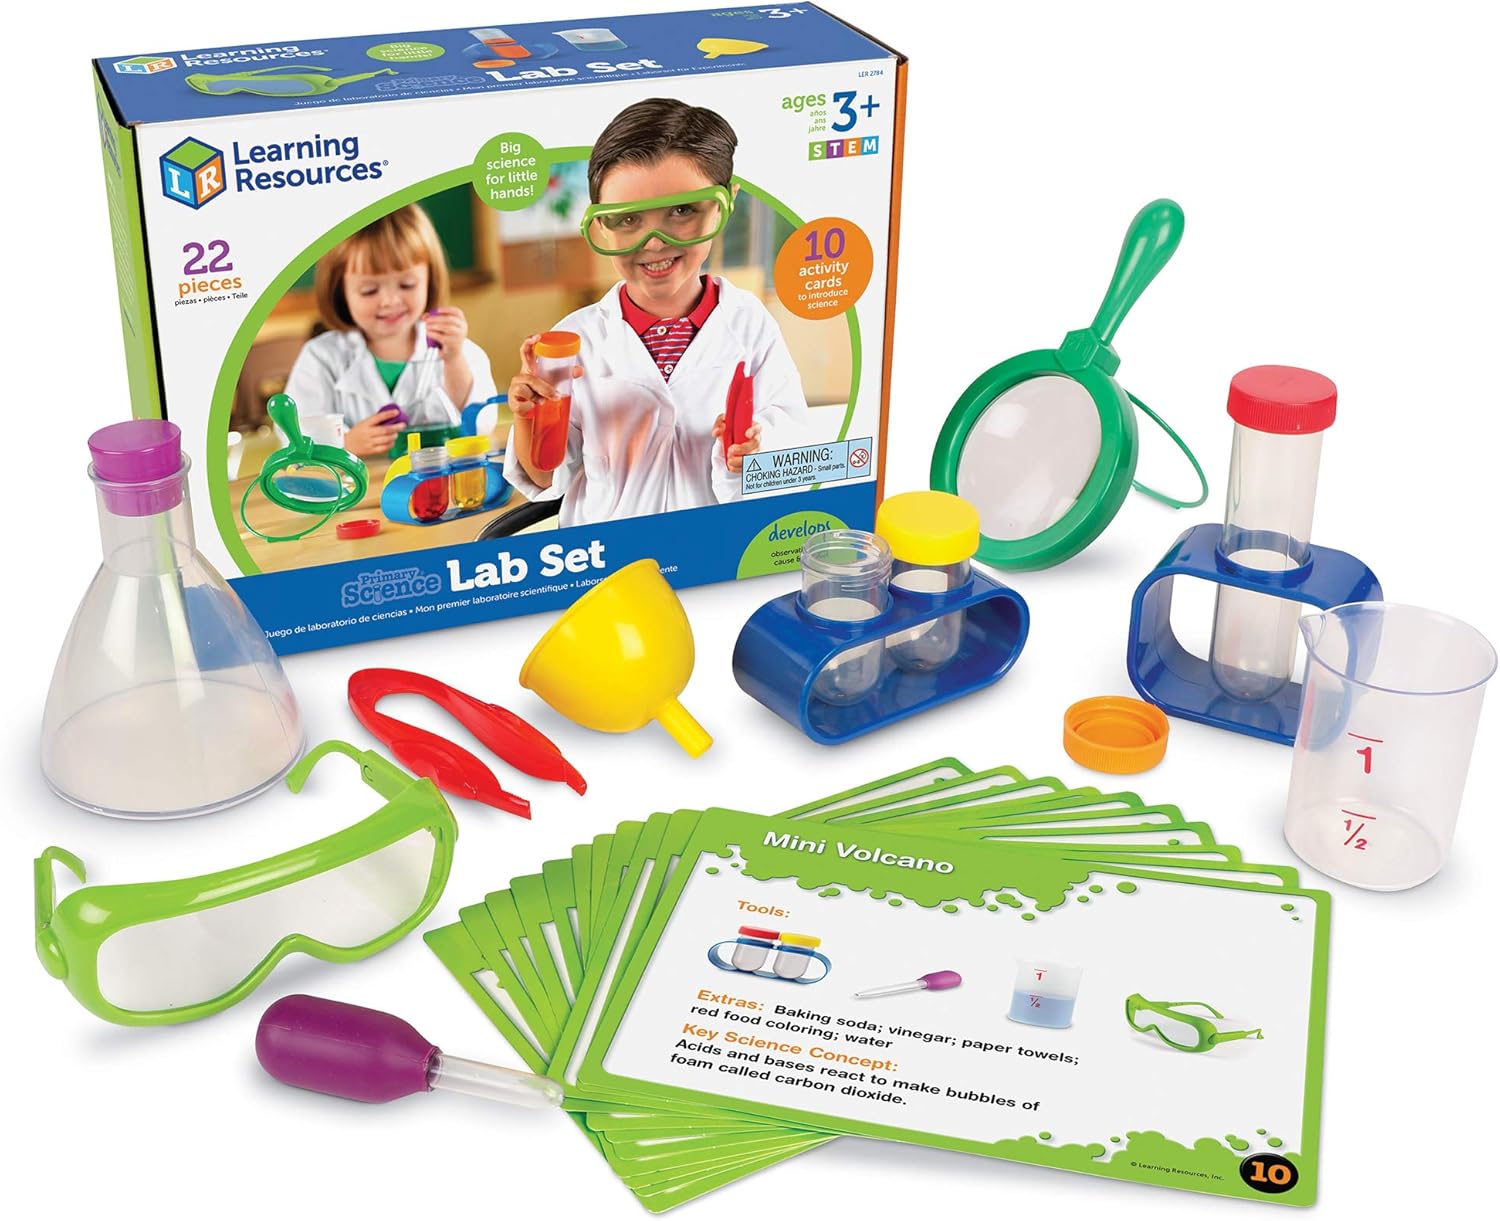
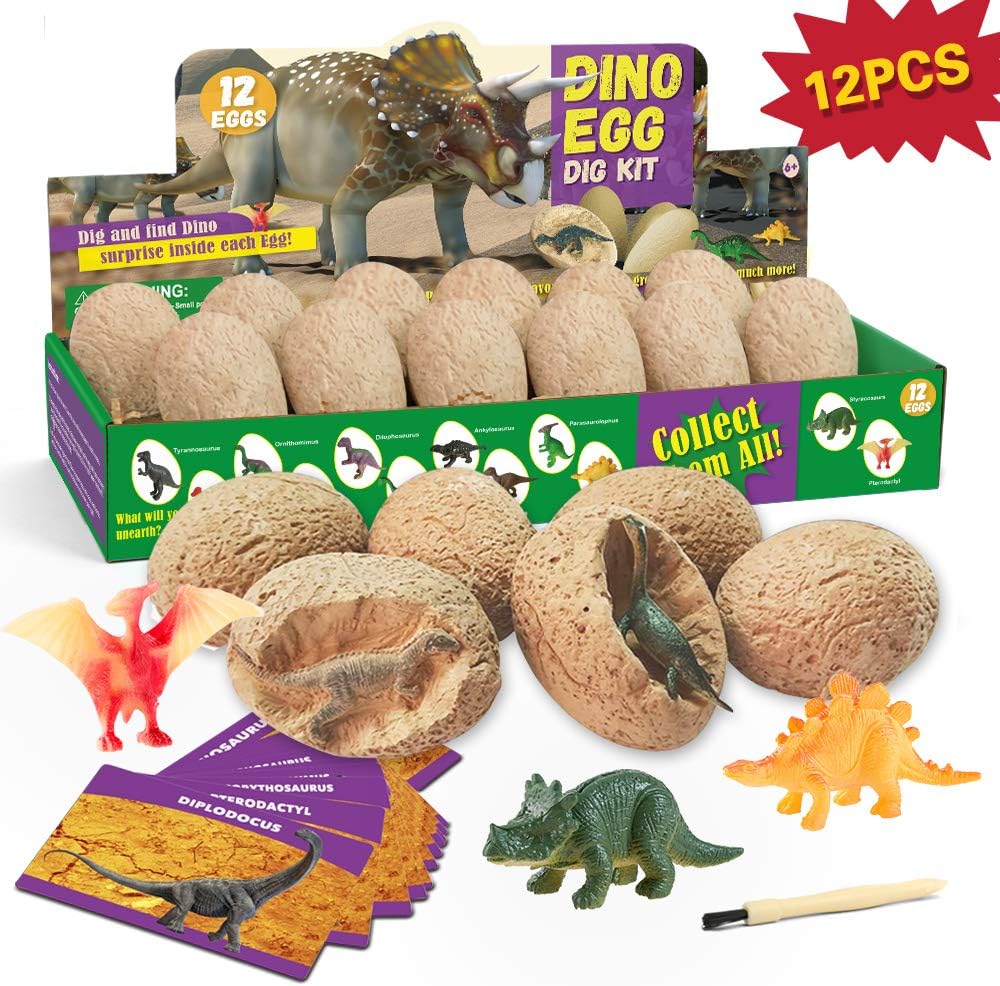
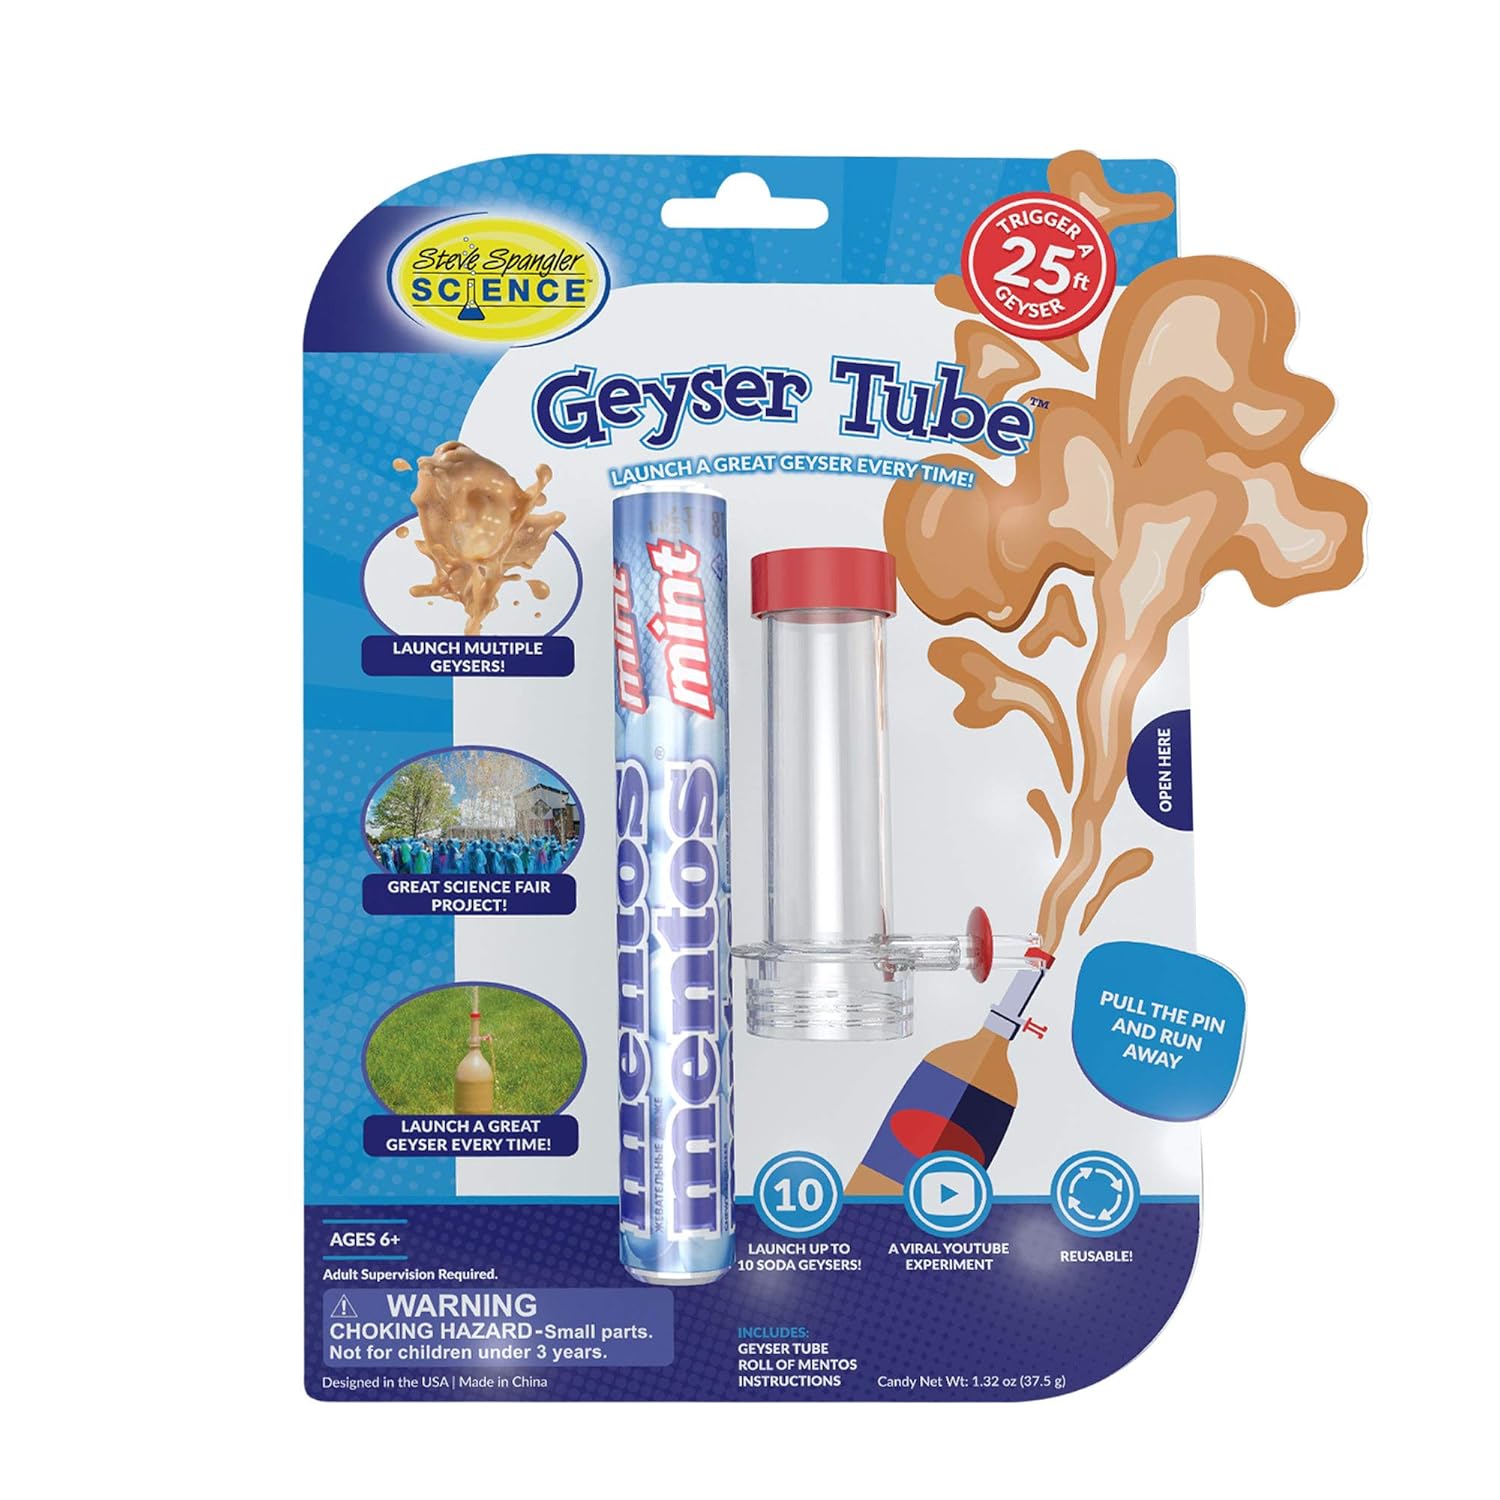
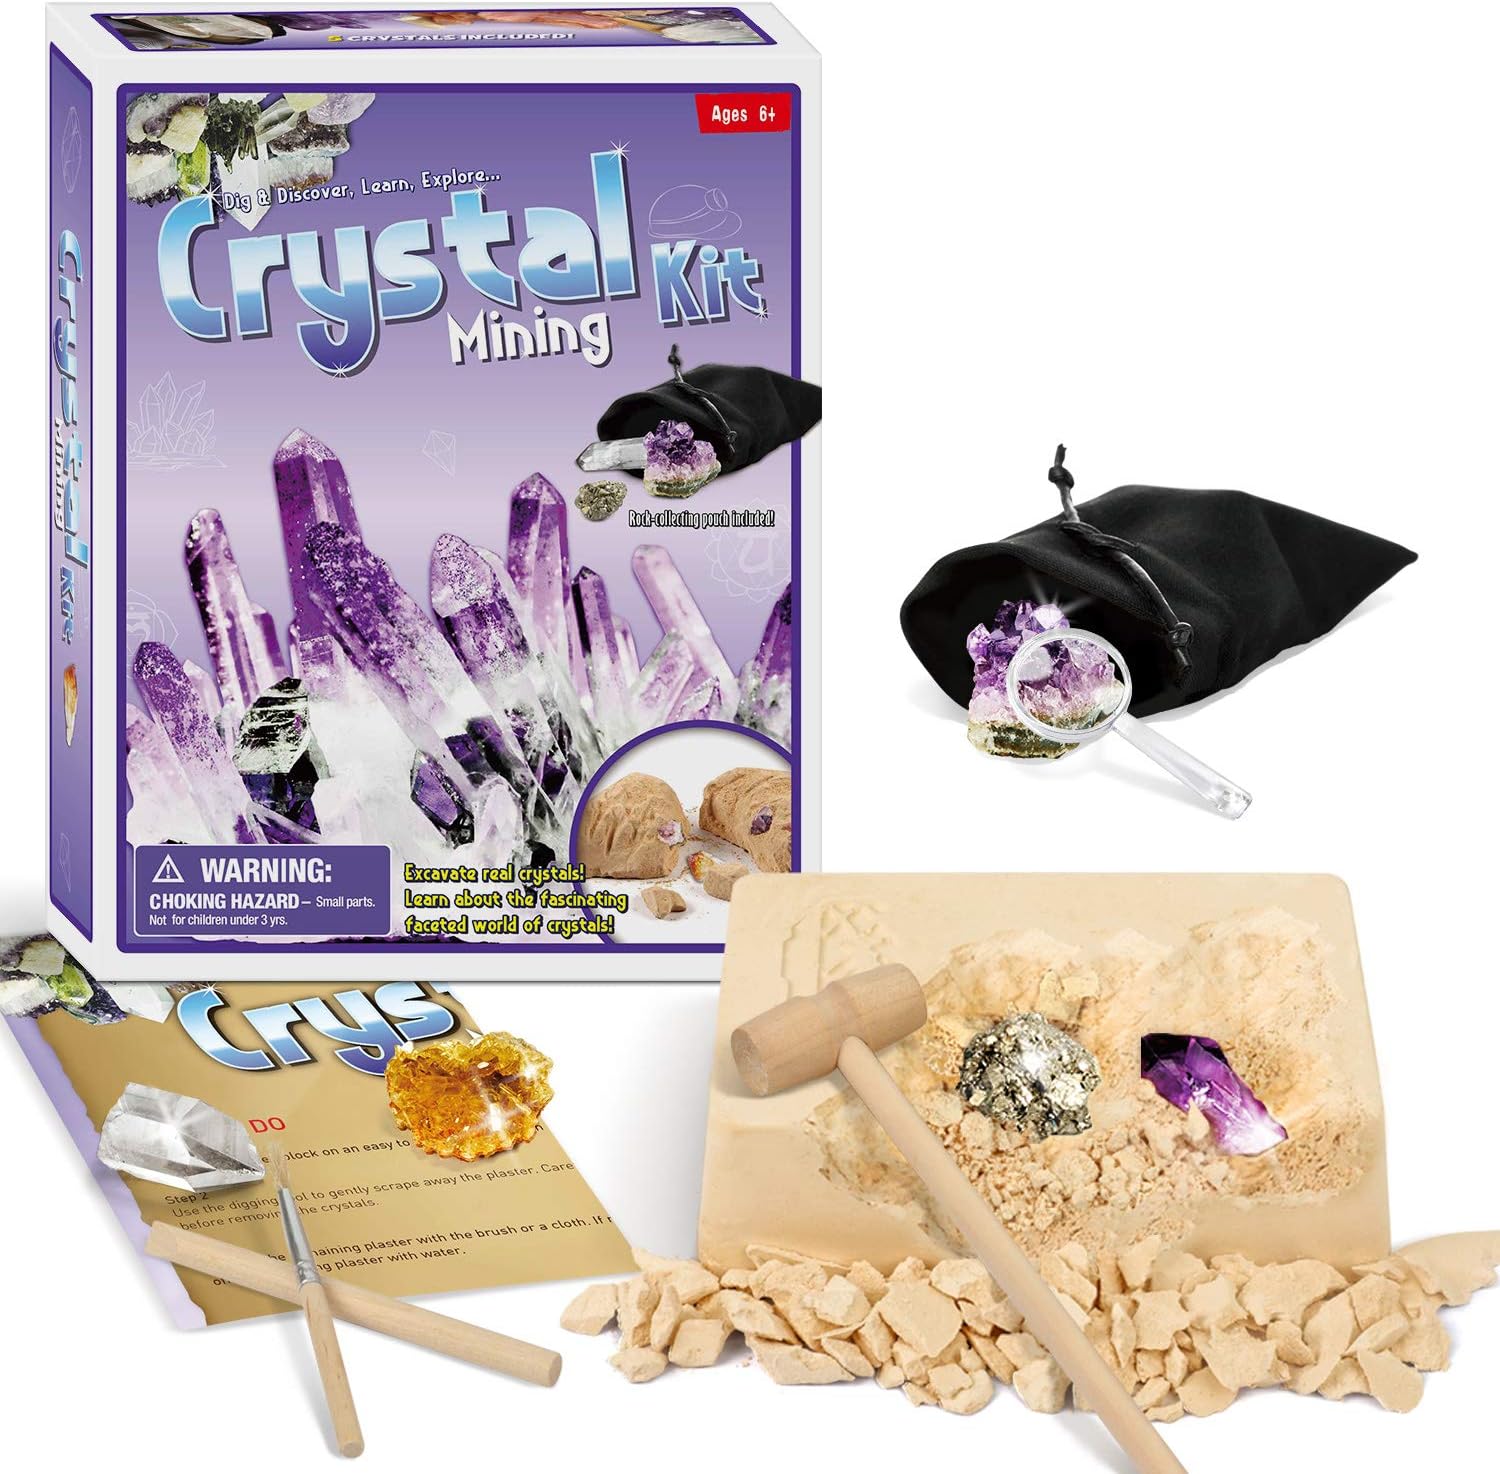
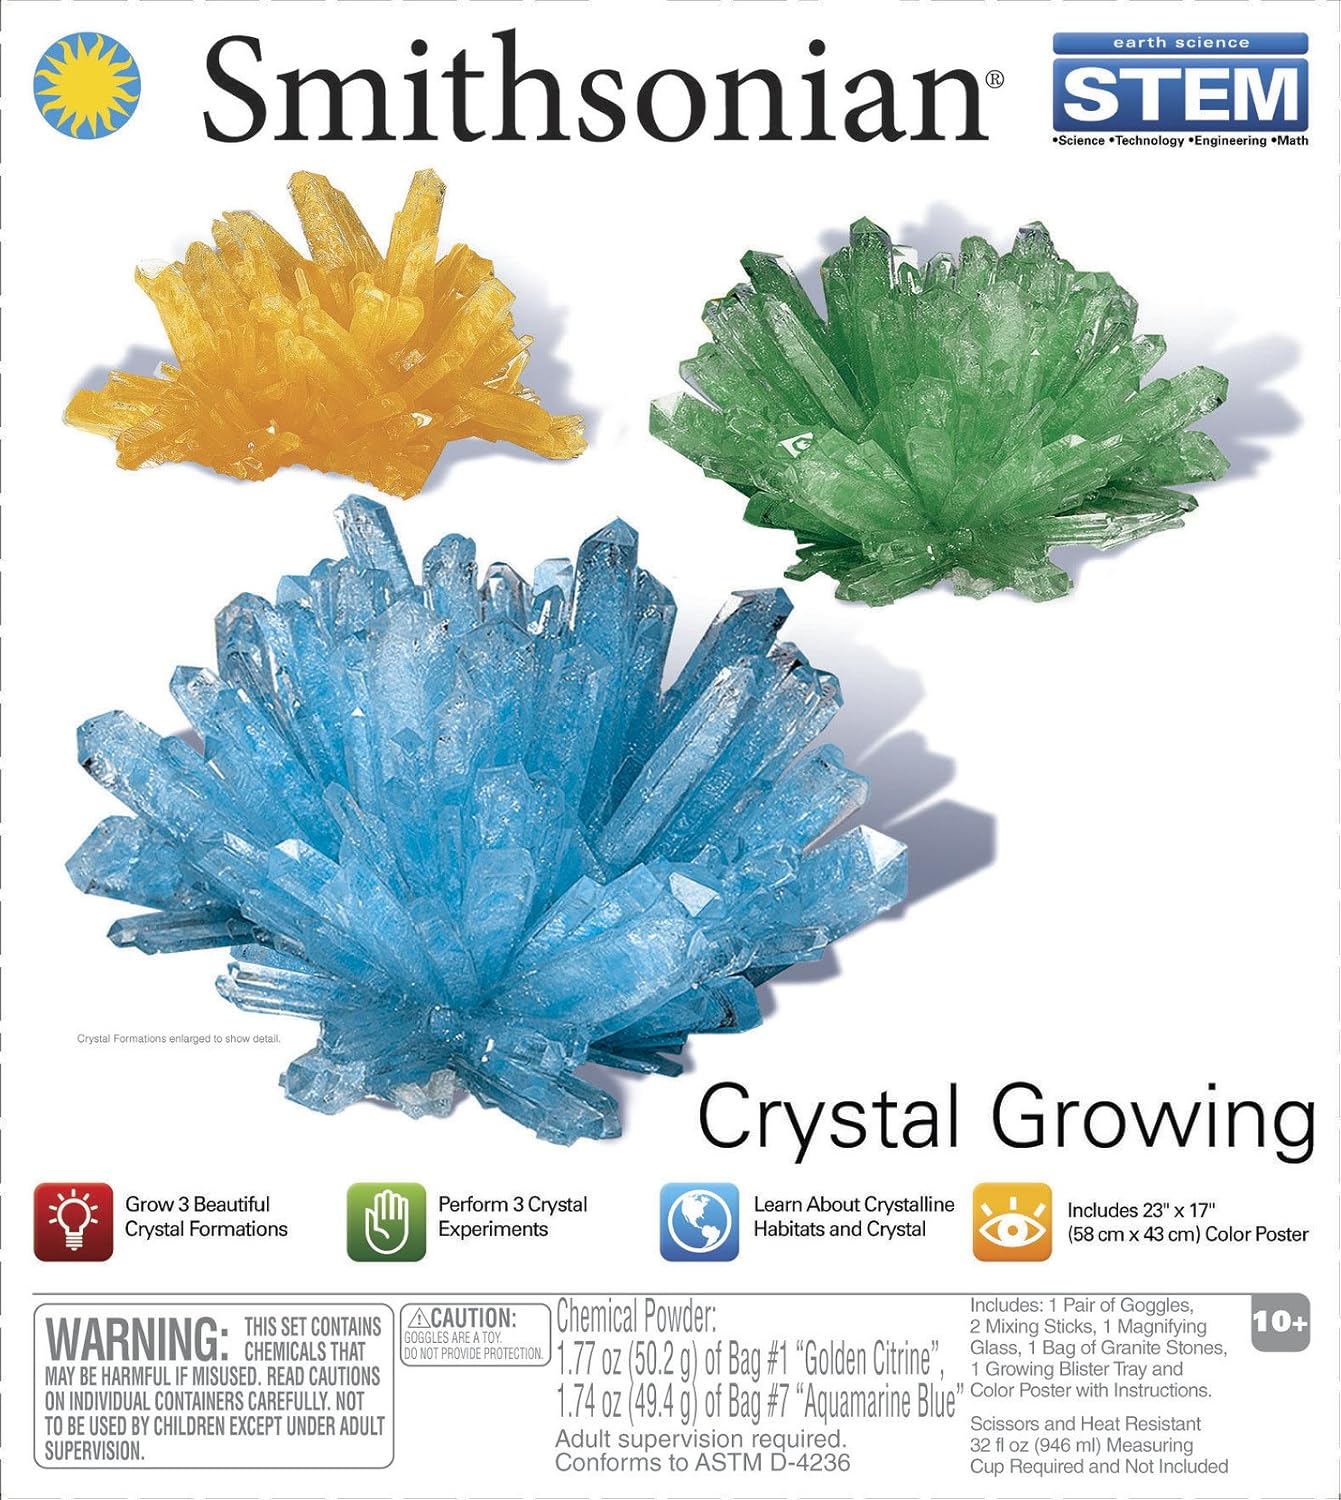
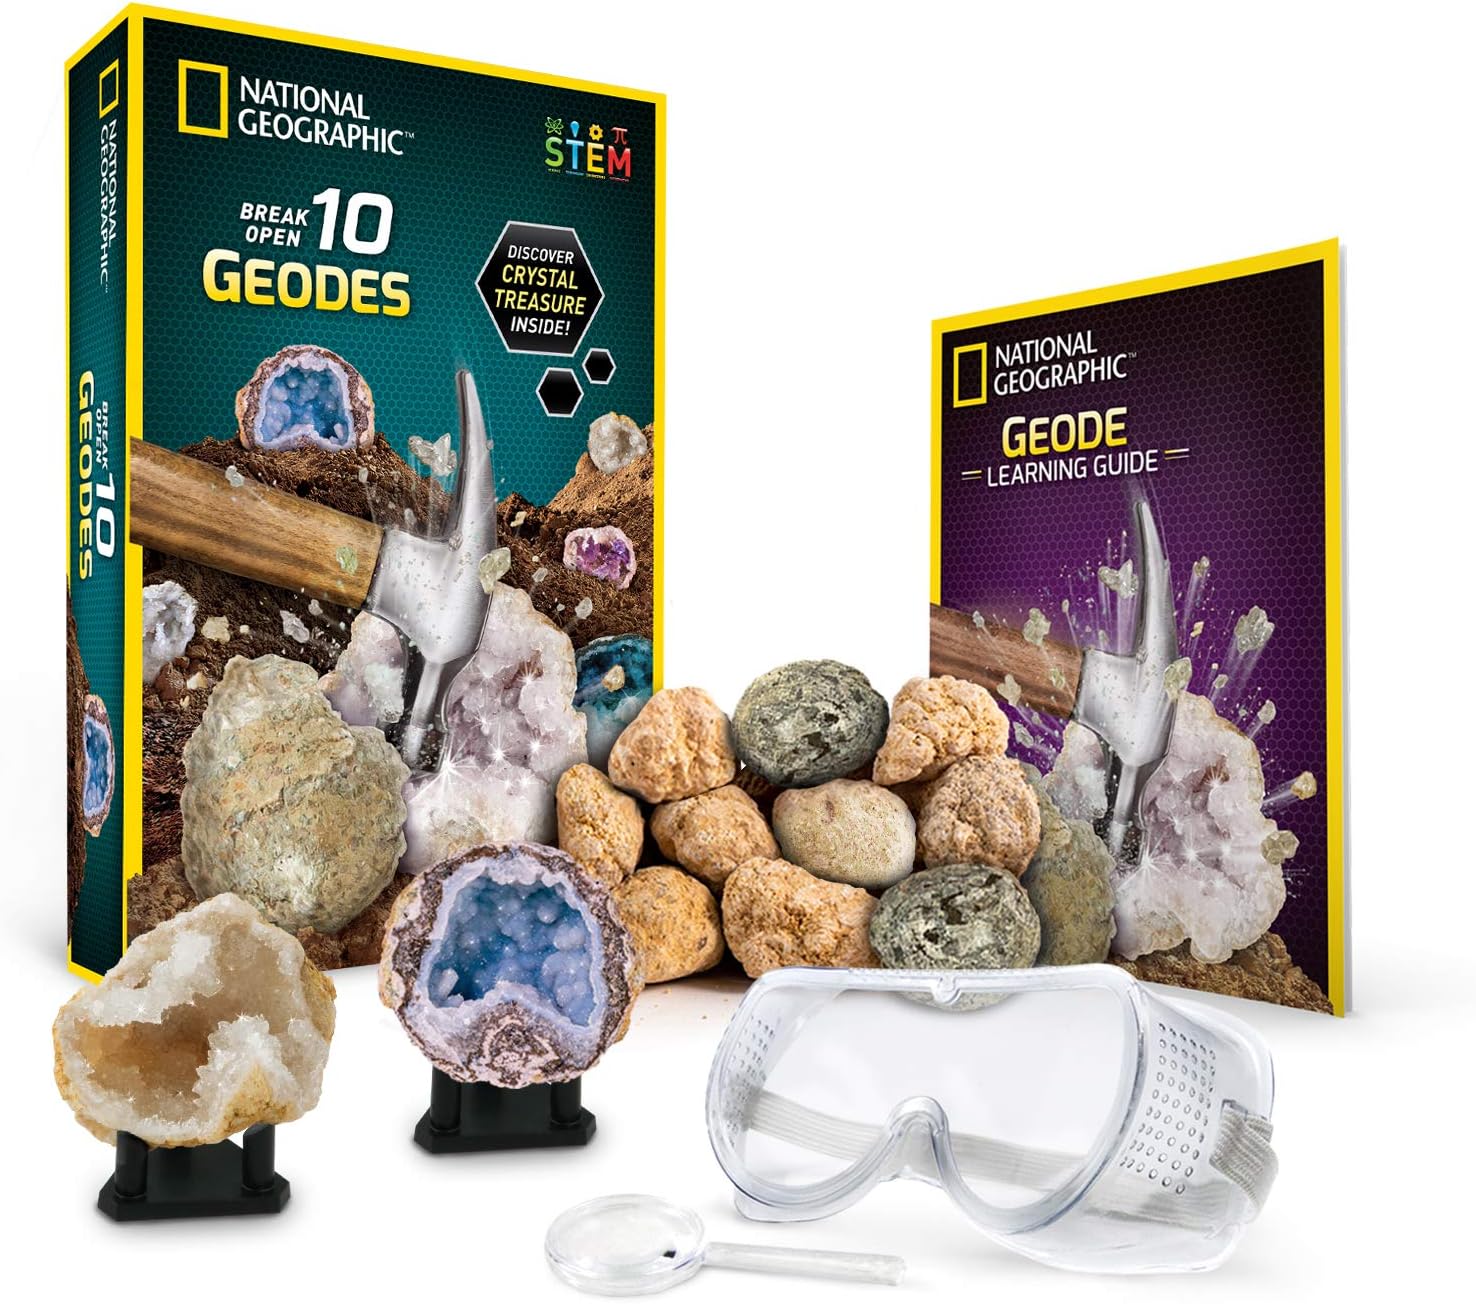
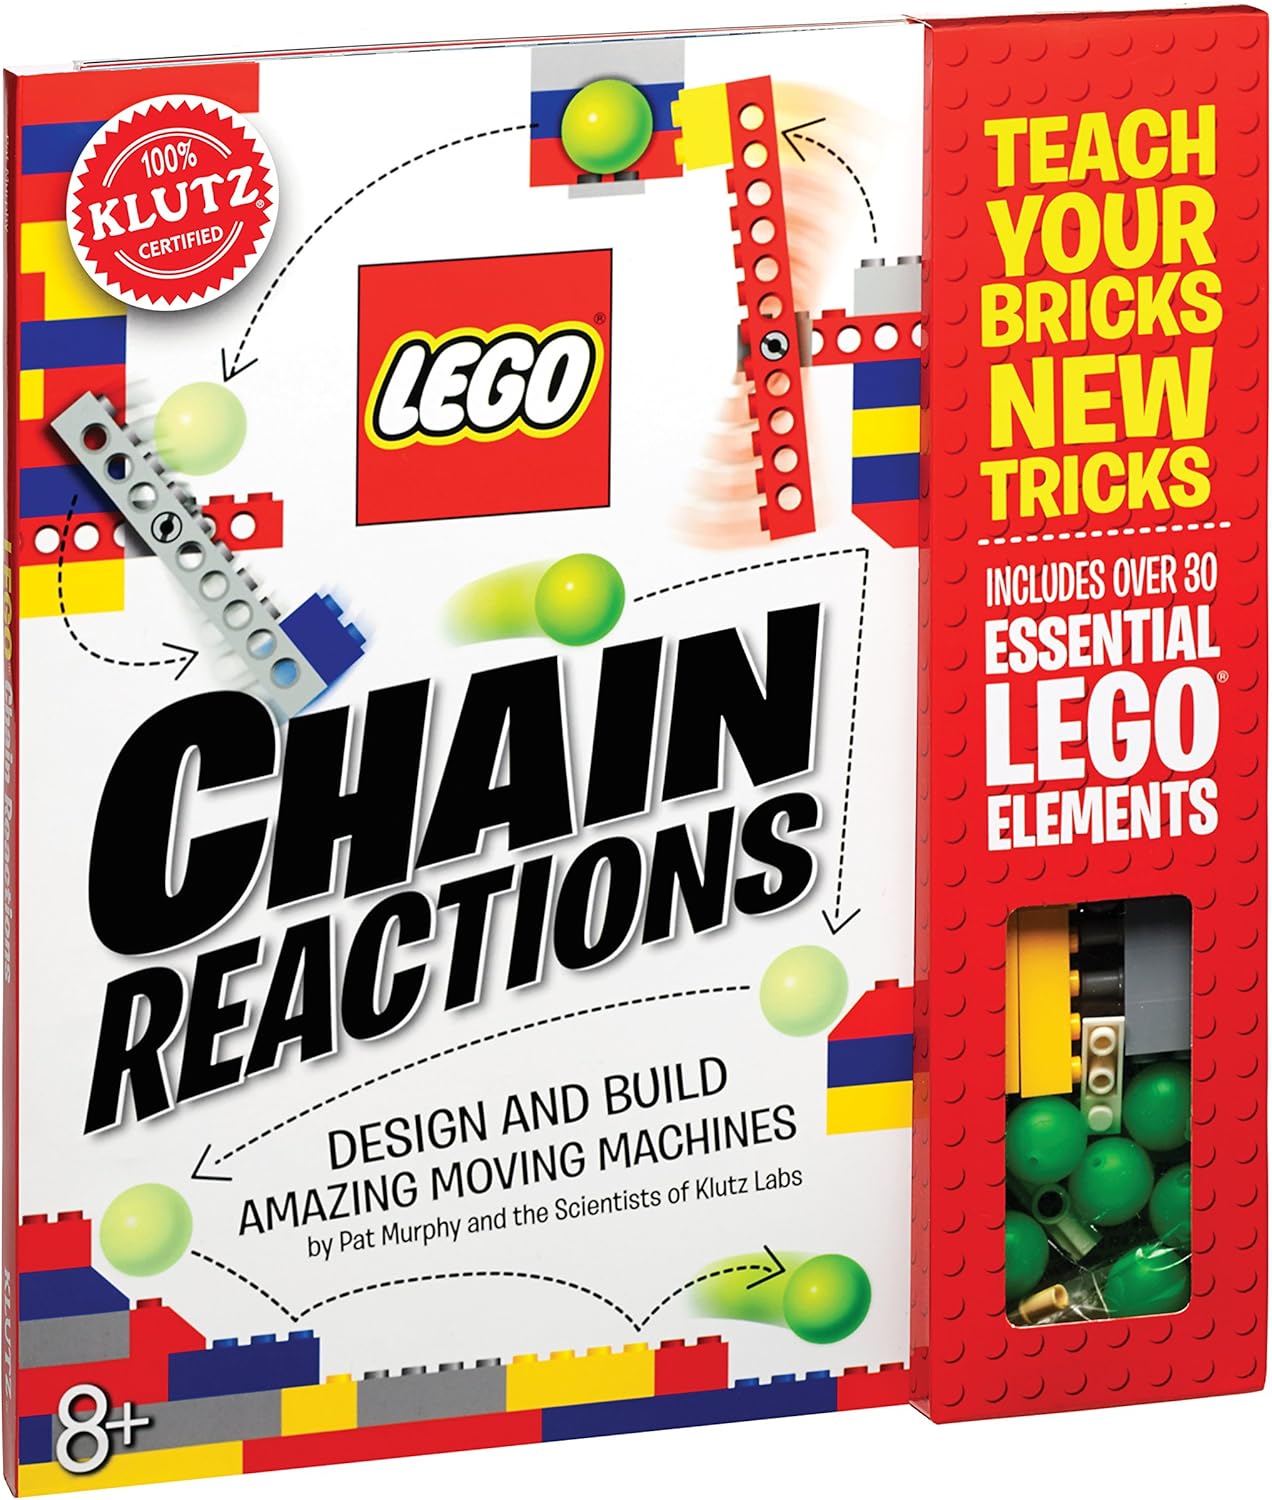
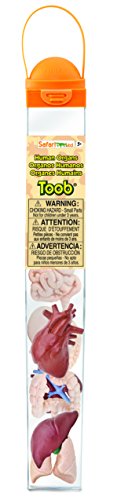
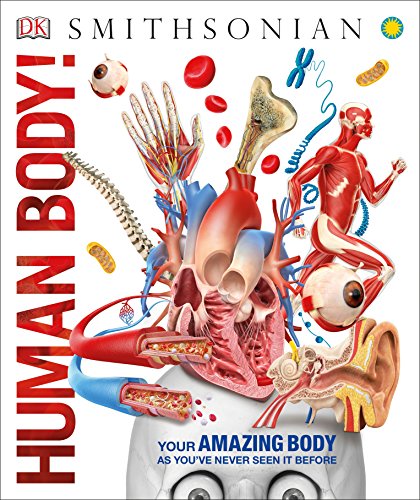
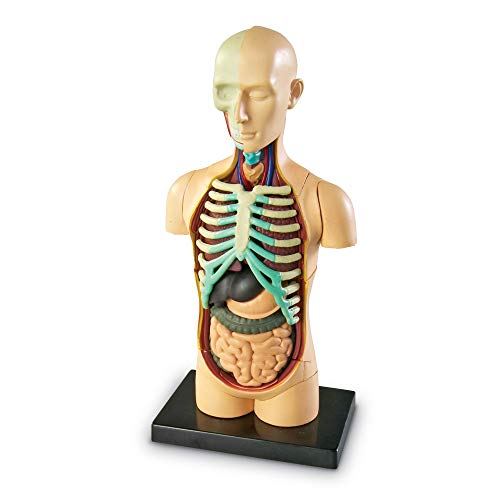
Human Organ Apron Primary Science Lab Activity SetDino Egg Fossil Dig KitSteve Spangler Science Geyser Tube ExperimentCrystal Mining Kit Gem ExcavationSmithsonian Crystal Growing KitNational Geographic Break Open 10 Premium Geodes Geology KitLego Chain Reactions Science & Building KitSnap Circuits LIGHT Electronics Exploration KitToysmith Mineral Science KitDIY Solar Power RoverAnatomy Models Bundle Set, Brain, Body, Heart, Skeleton
You may also be interested in reading:
Your Complete Guide to School at Home

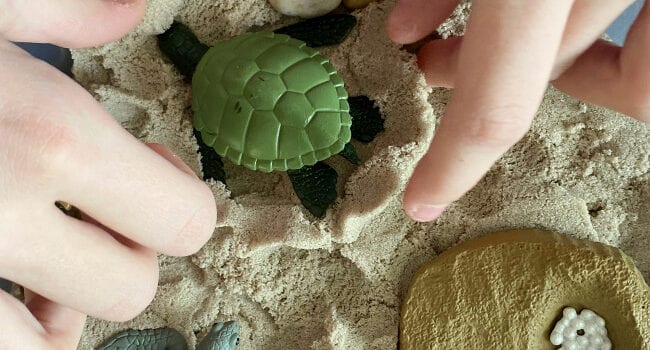
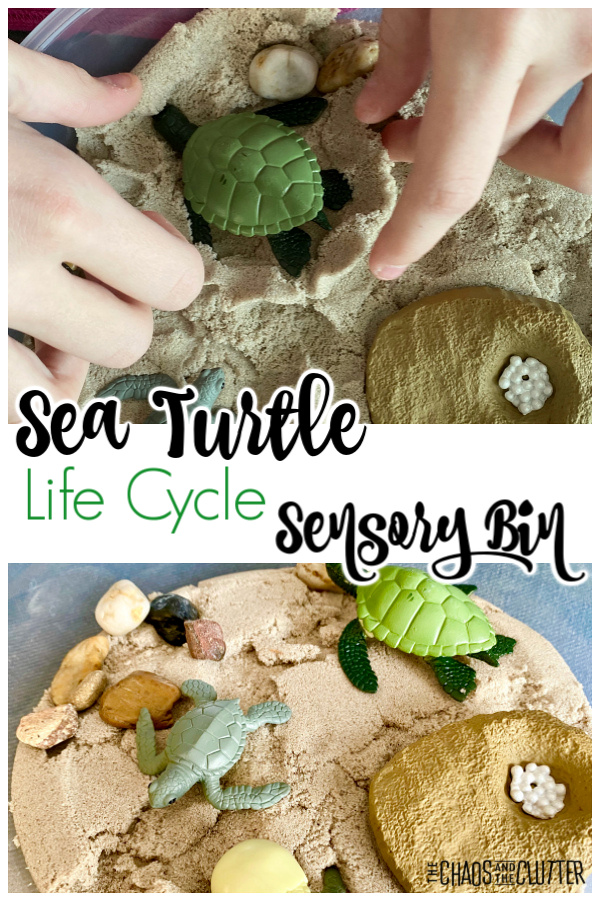
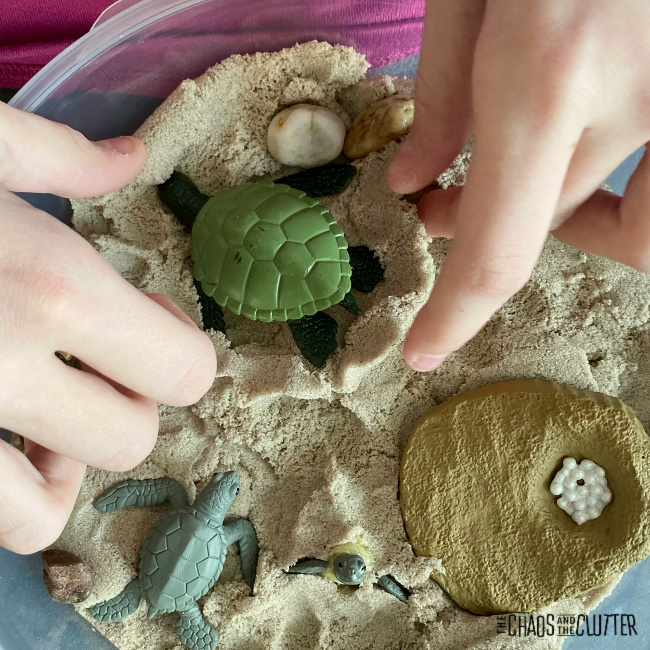
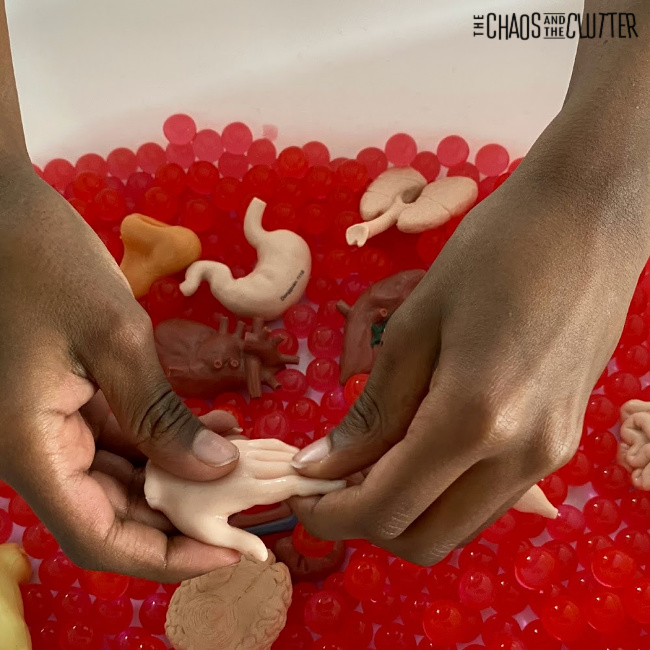
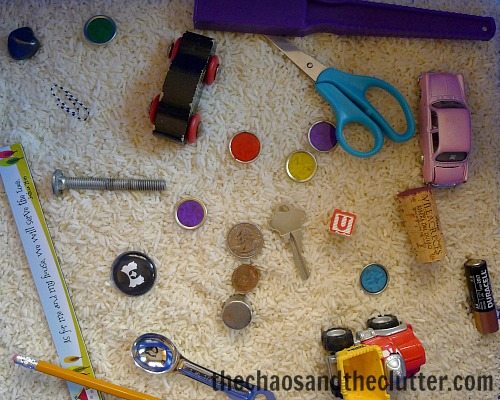
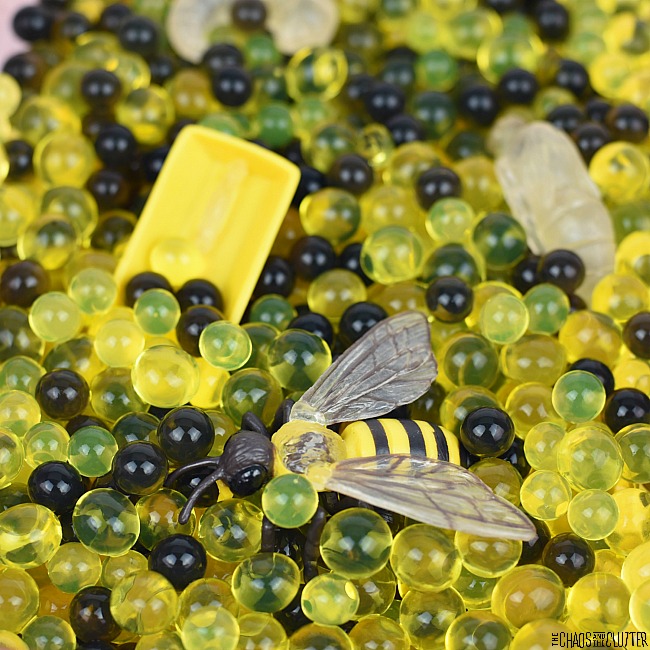
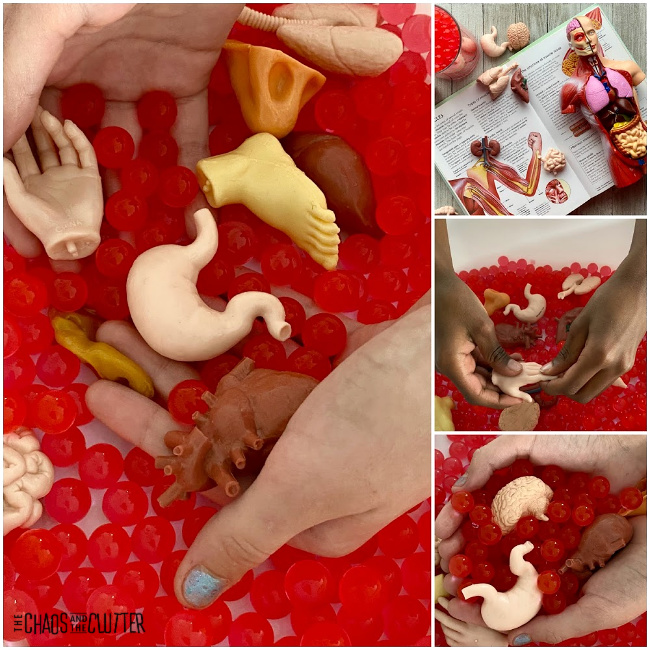
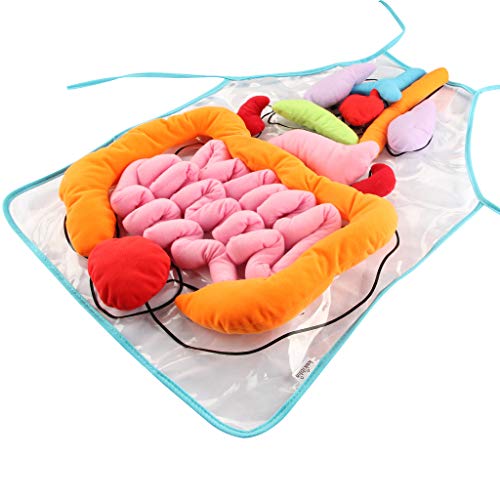
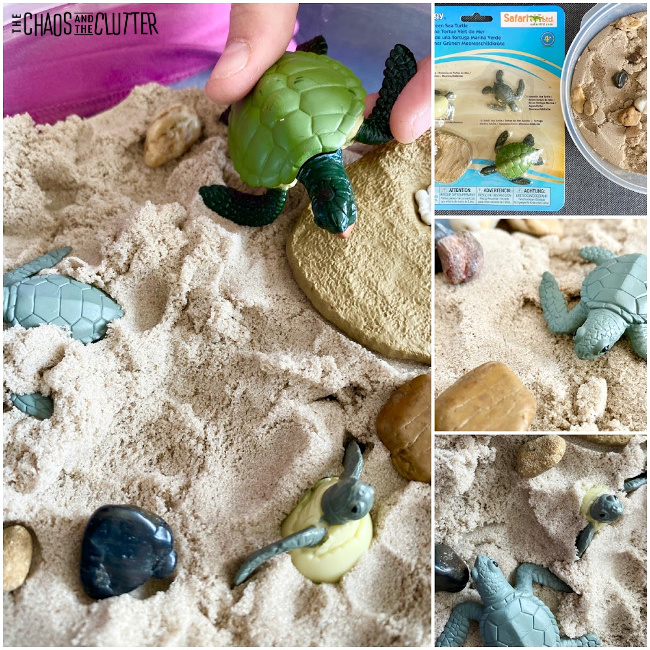 This sensory bin is great for use at home or in the classroom while doing a unit study. It enables kids to reenact what they are learning. Using more of their senses and learning through play allows for better retention. What may seem like a simple activity can allow kids to cement their knowledge and make it more real.

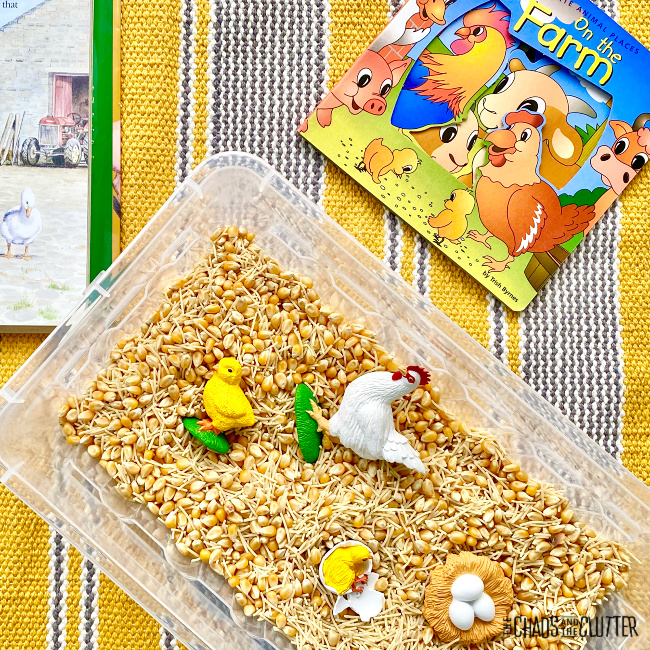
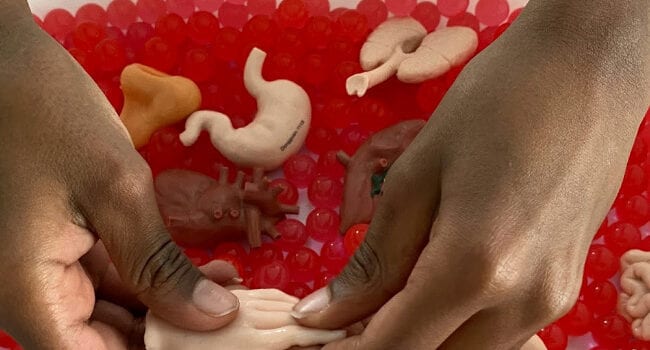
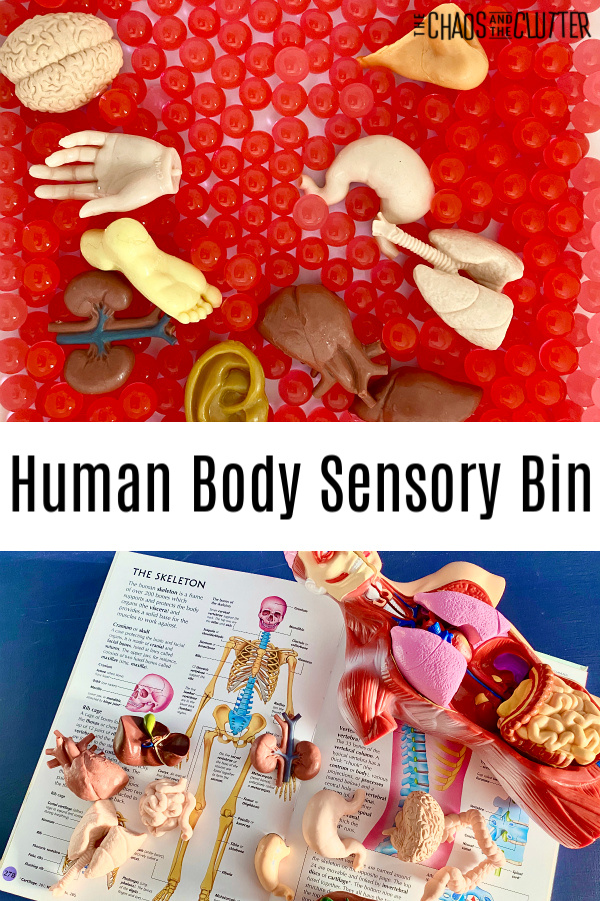 As kids learn about the human body, they can explore through sensory play. This can lead them to asking more questions and finding new discoveries.
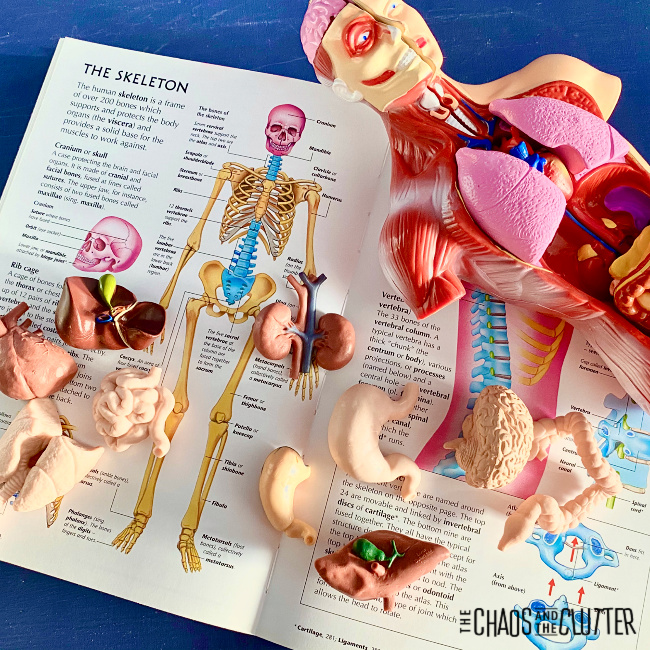
 Directions:
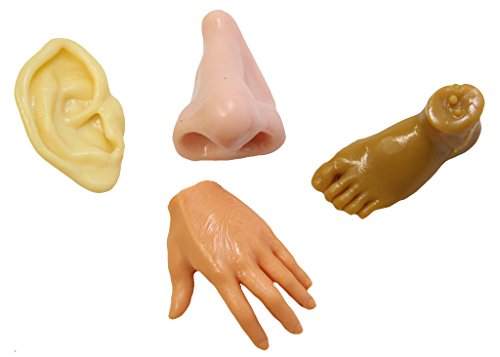
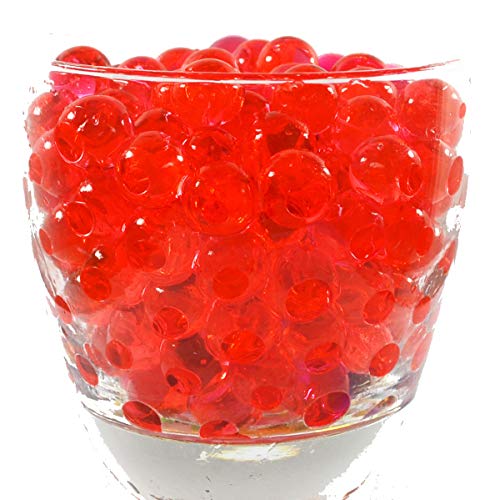
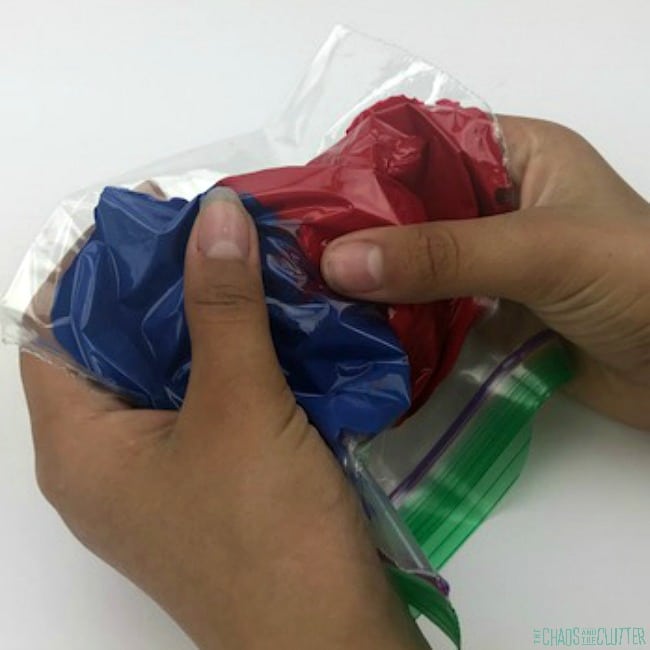
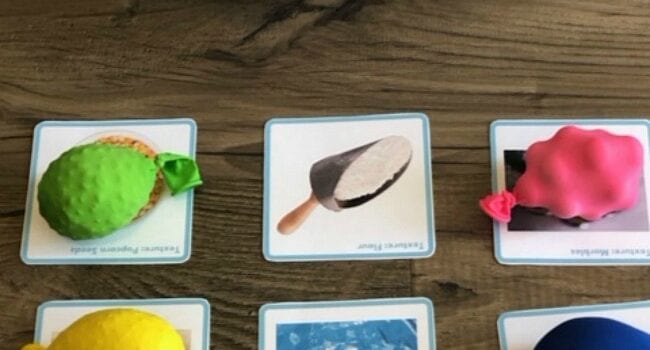
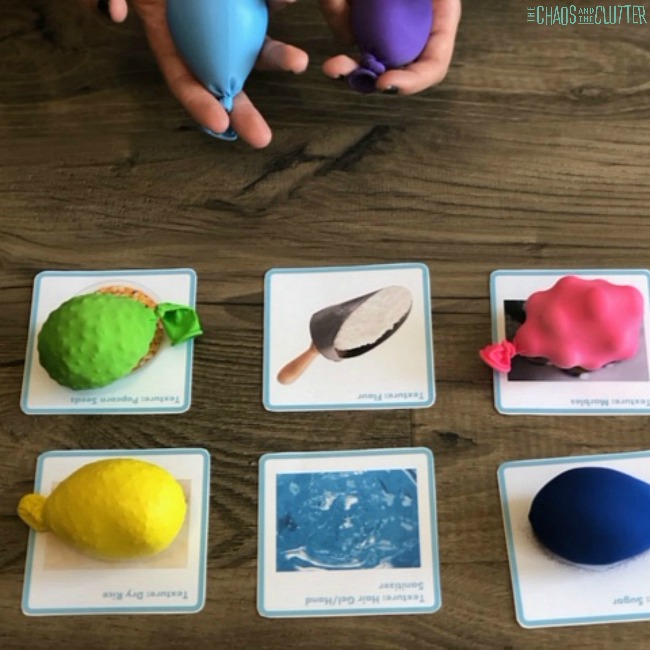
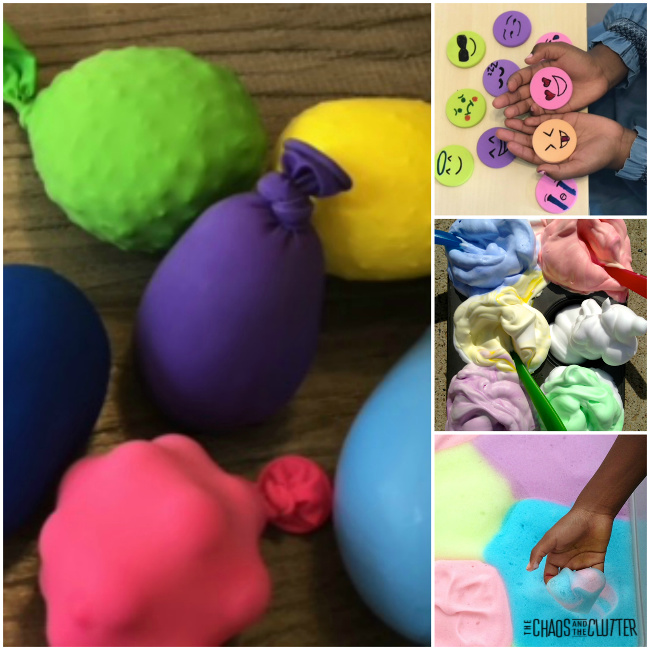
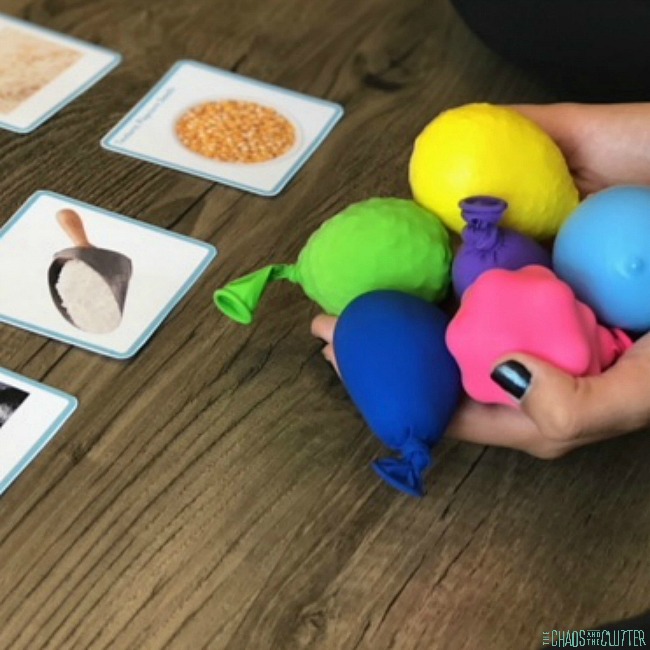
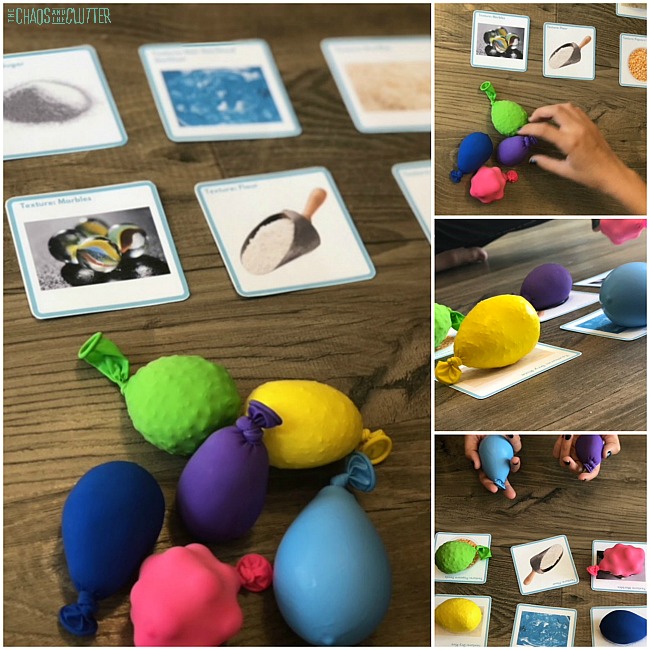
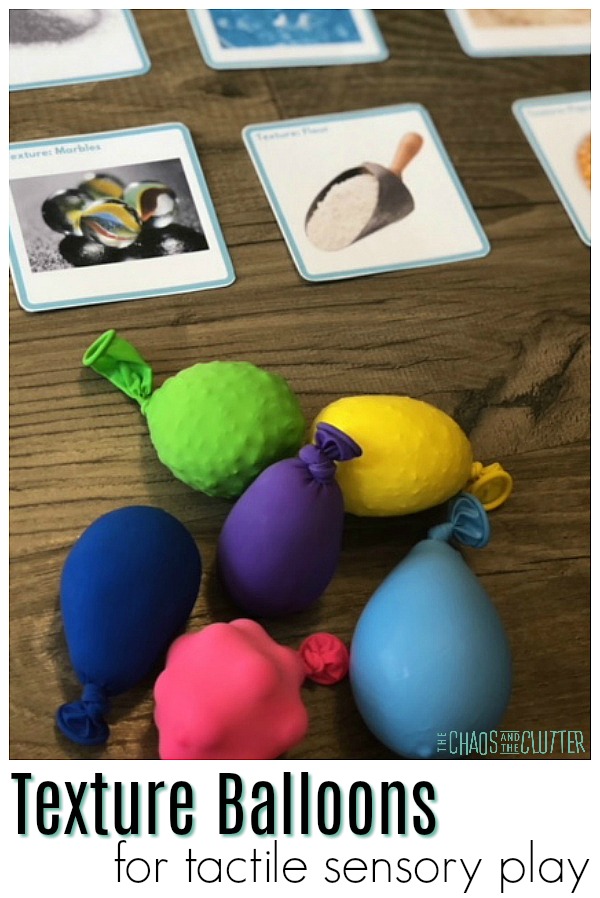 These tactile sensory balloons are a great way for sensory avoiders to experience textures without touching them directly. As an example, if your child doesn’t like the feel of water beads, you can place water beads in a balloon and they can feel the shape, squishiness, and movement of them without having to feel the wetness or gooeyness.
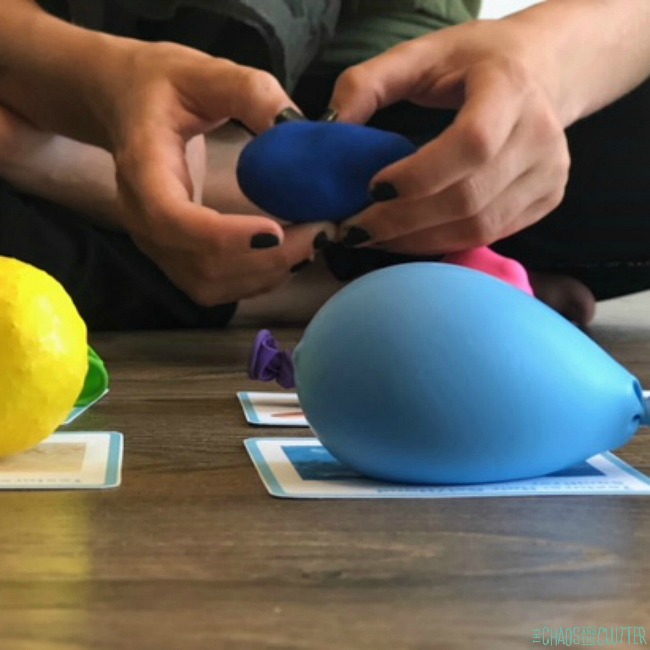
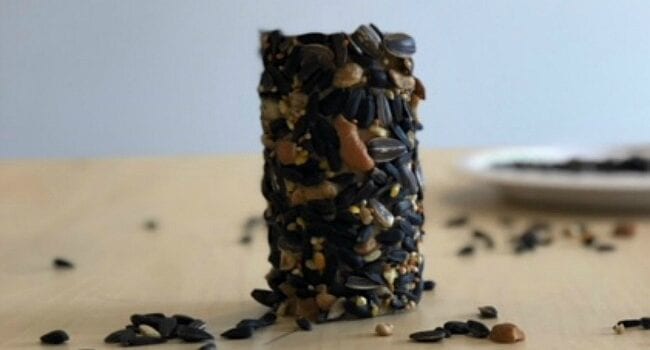
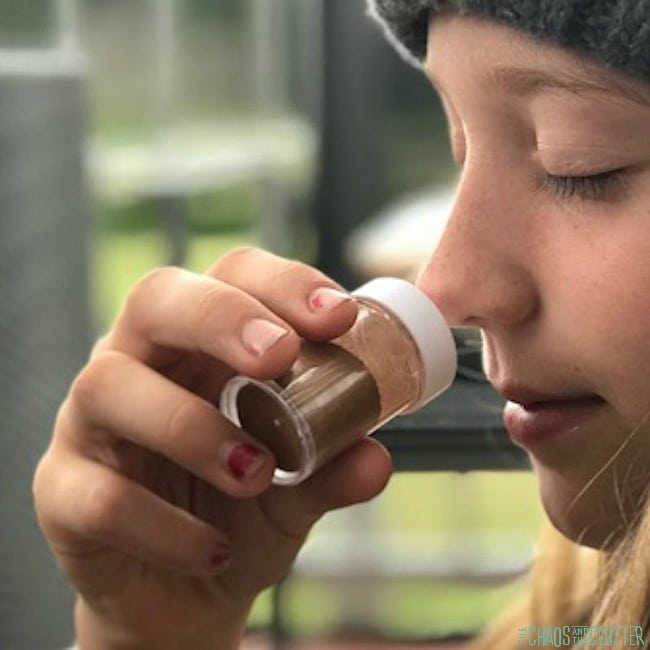
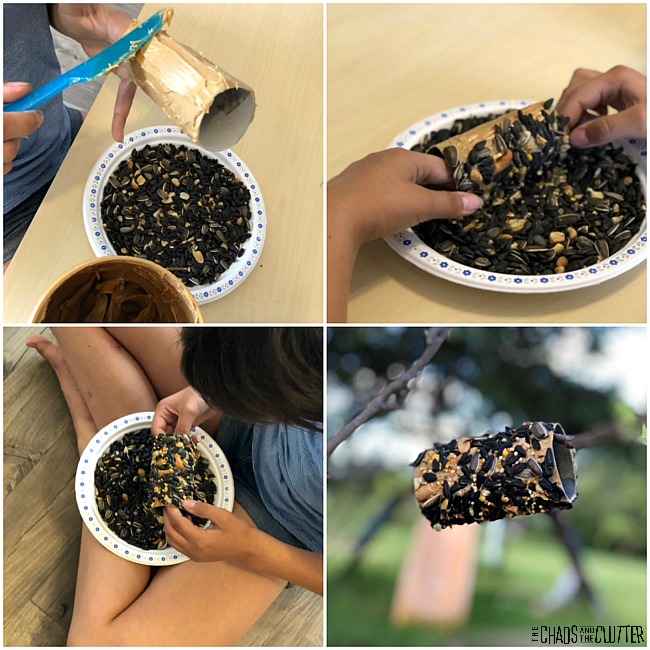
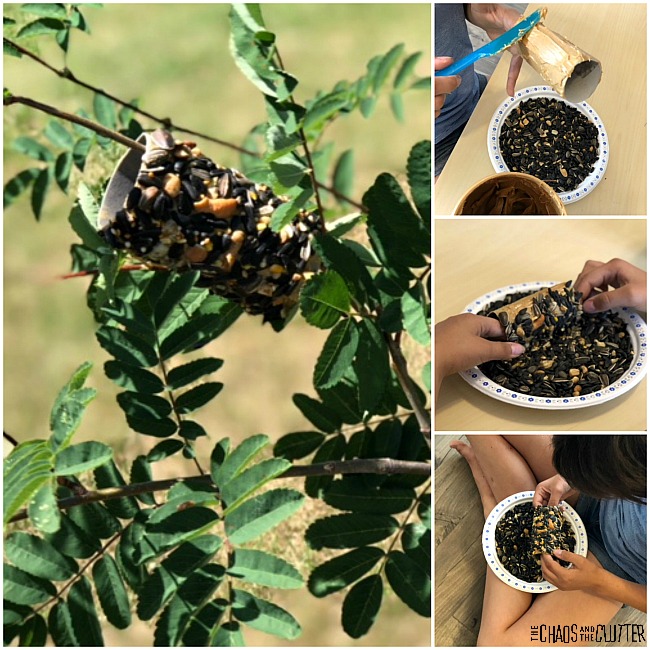
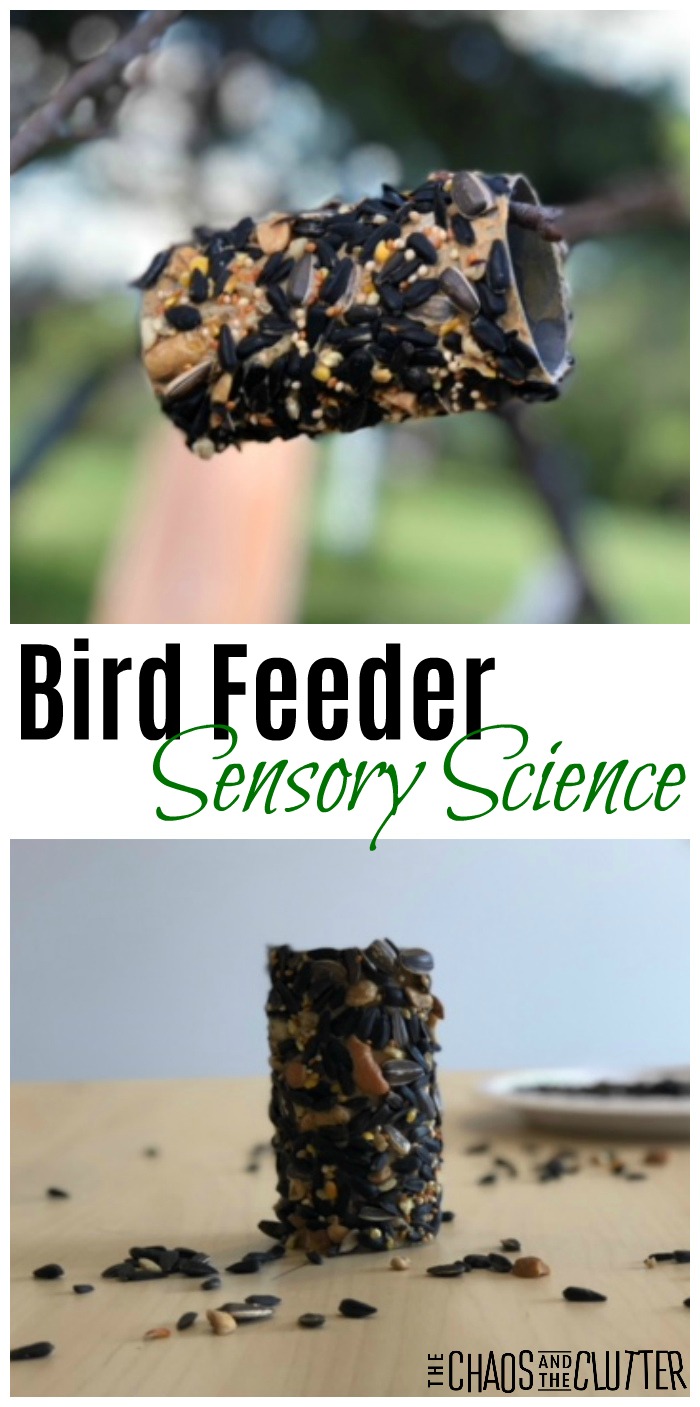 One thing I like about this project is how it engages the senses. The peanut butter and the bird seed both give olfactory (smell) sensory input. Rolling it in the bird seed and hanging it on a tree are excellent tactile input. And both making the bird feeder and later observing the birds who use it are visual.
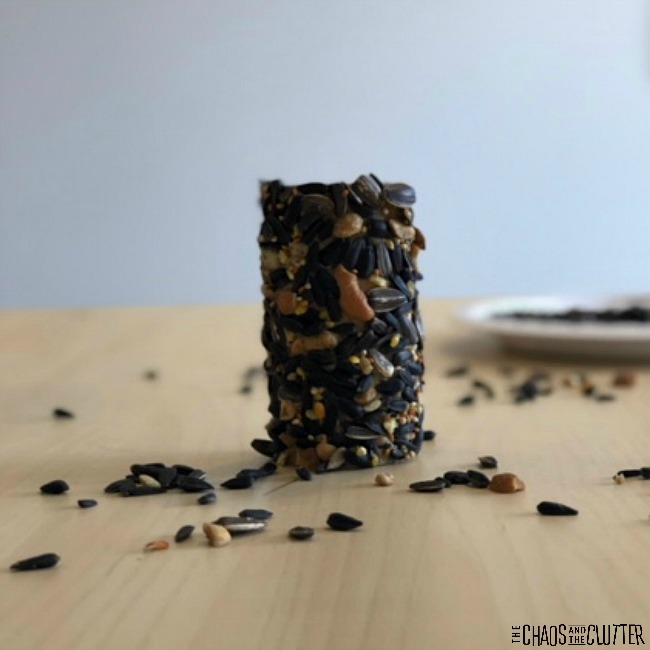
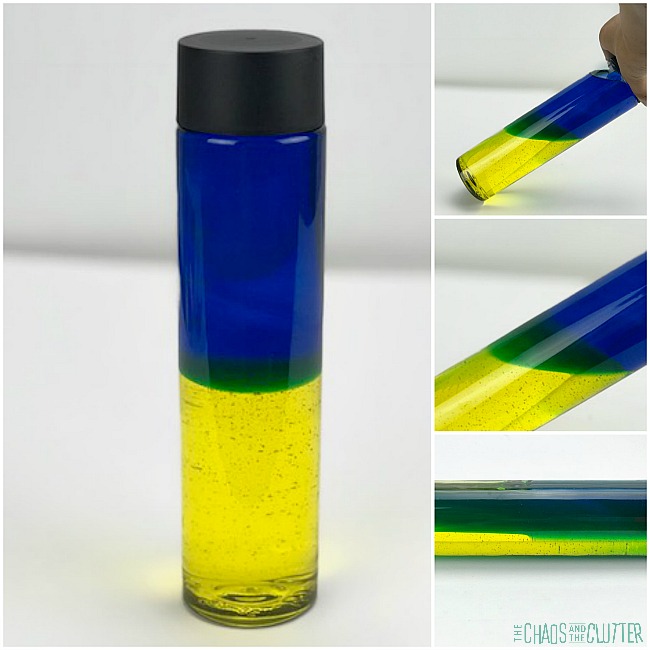
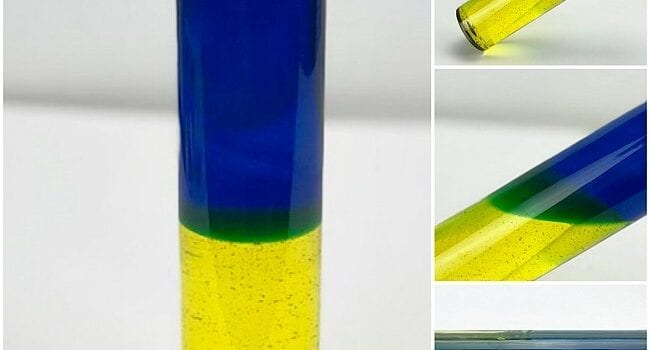
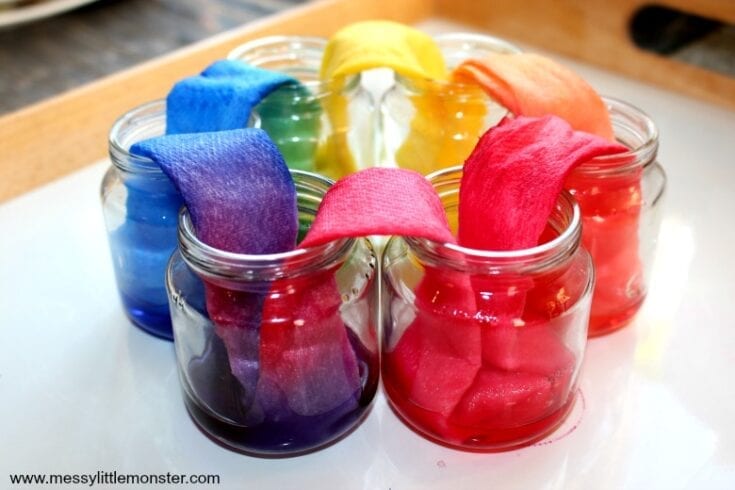
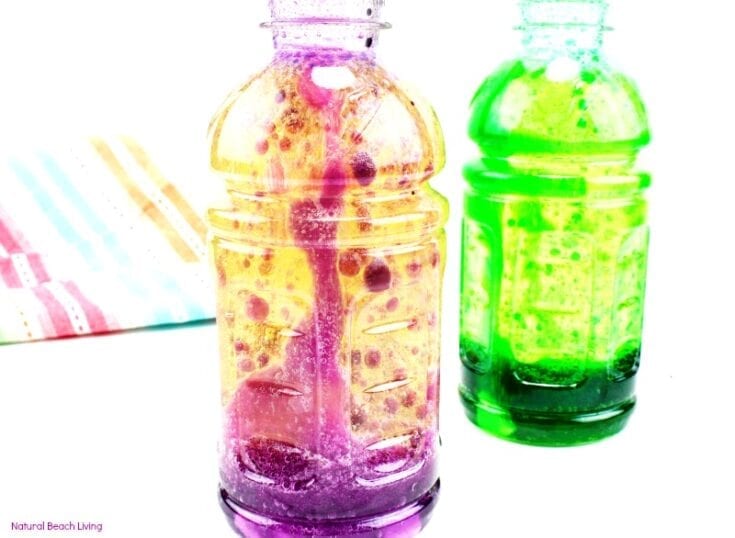
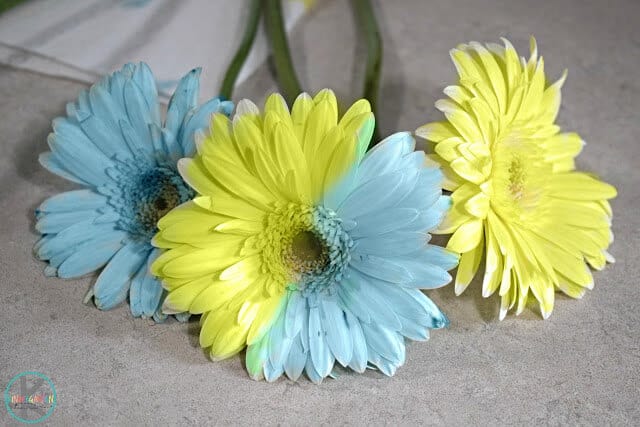
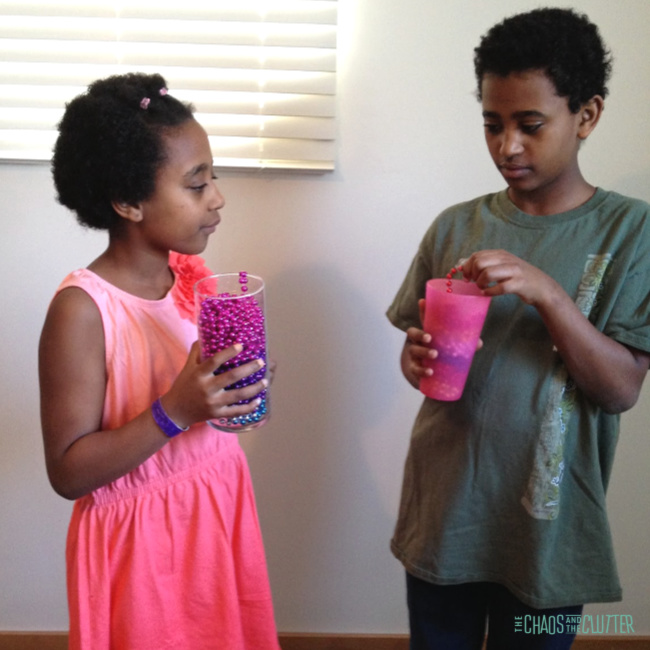
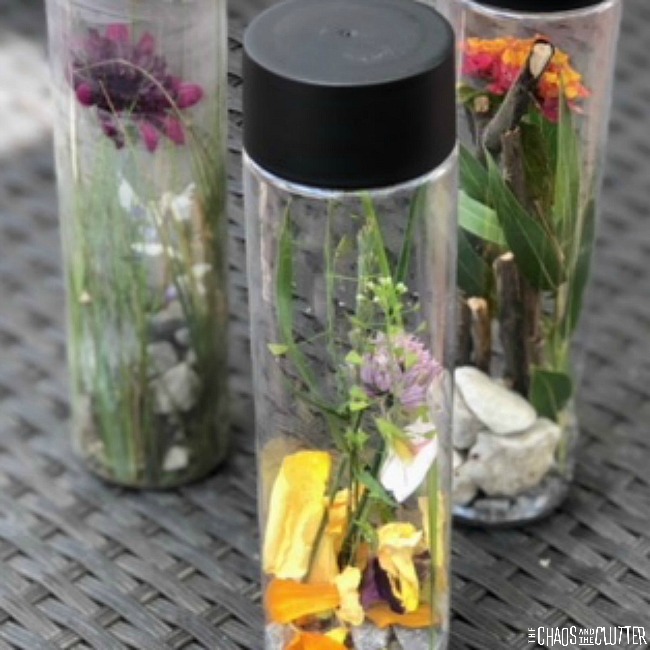
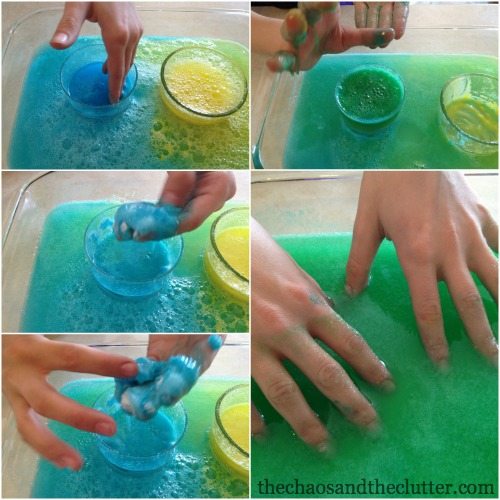
 This activity is effective for teaching the science concepts of colour (for younger children) and density (for older children. By using different densities, the two colours are able to mix to form a new colour and then separate again.
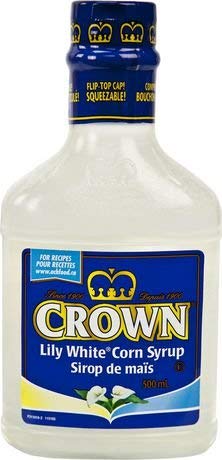
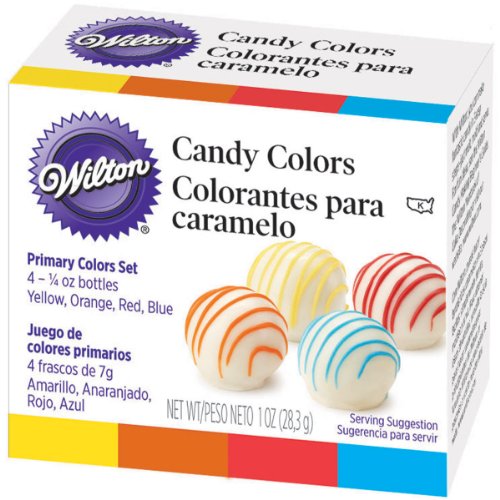
 The yellow and blue should stay separated when the bottle is upright. If you tilt the bottle, you will begin the see the colours combine to form green.