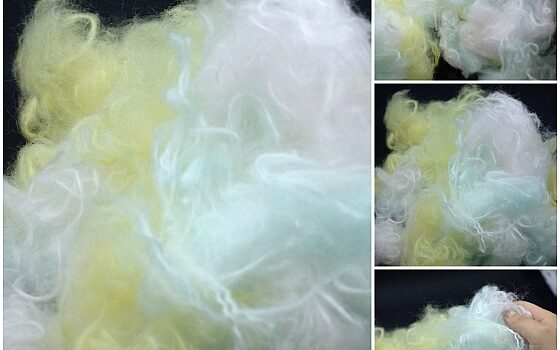
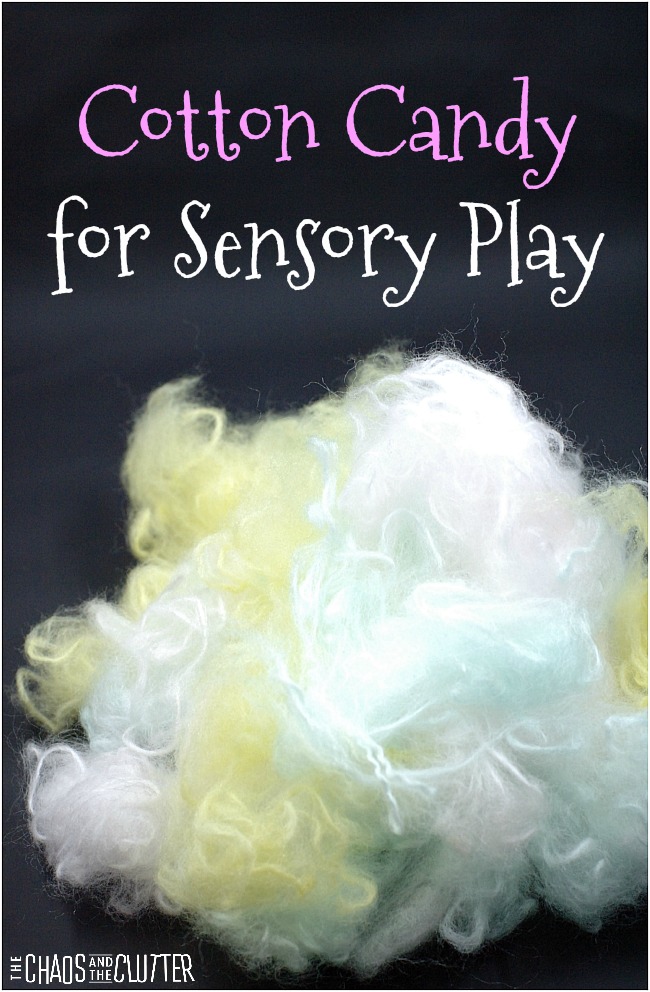
Pretend play meets sensory play with this DIY play cotton candy. It’s easy to make, so, so soft, and offers hours of fun. You only need two items to make this!
My girls discovered this a few years ago. Once they stumbled upon how to make it, they made it in multiple colours and it was perfect for all kinds of play opportunities.
 How to make fake cotton candy for sensory play:
Materials needed:
- yarn in pastel colours
- pet brush with wire bristles
Instructions:
- Comb out the yarn with the dog brush until it becomes fluffy and very soft.
- Play!
Yes, it’s really that simple.
Making it themselves is part of the fun, so be sure to allow your child the chance to comb the yarn themselves. Adult supervision is recommended for this and all other sensory play. The wire bristles are sharp so use your best judgment when it comes to your child’s age and skill level.
This fake cotton candy looks like the real thing. It is so soft. I wish you could reach through the screen and give it a feel. It has a silky feeling that kids love.
Cotton candy is sometimes also called fairy floss.
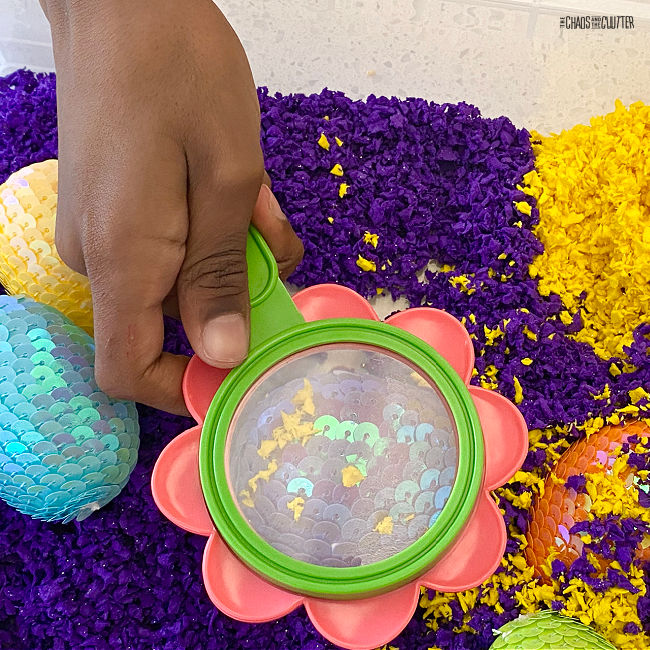
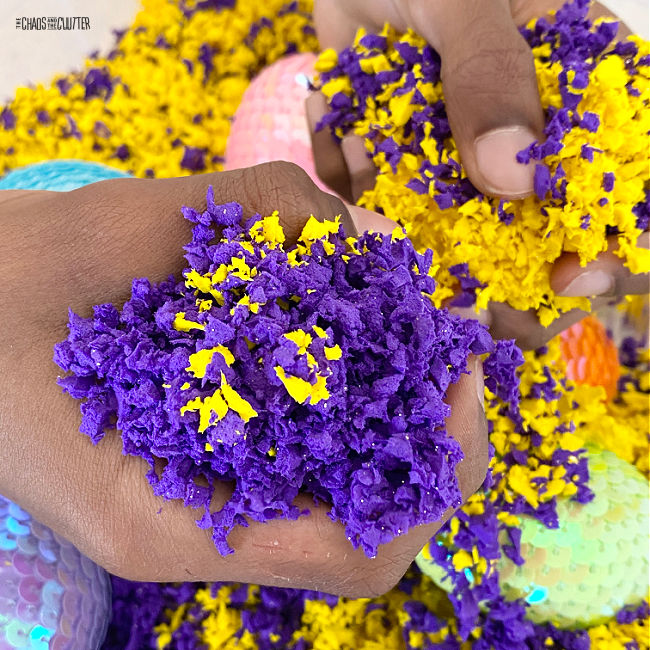
It’s perfect for using in sensory bins or pretend play. You could also include it in a play kitchen.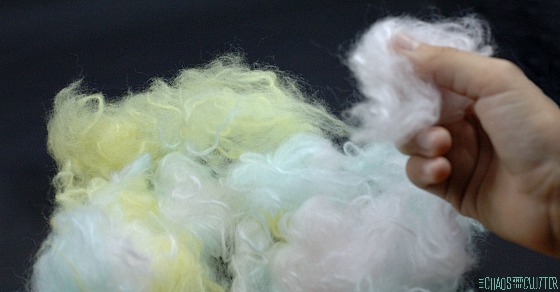 This sensory cotton candy would be so cute in a carnival or circus themed sensory bin!
It would also make a unique party favour or cute decoration for a circus or carnival themed birthday or party.
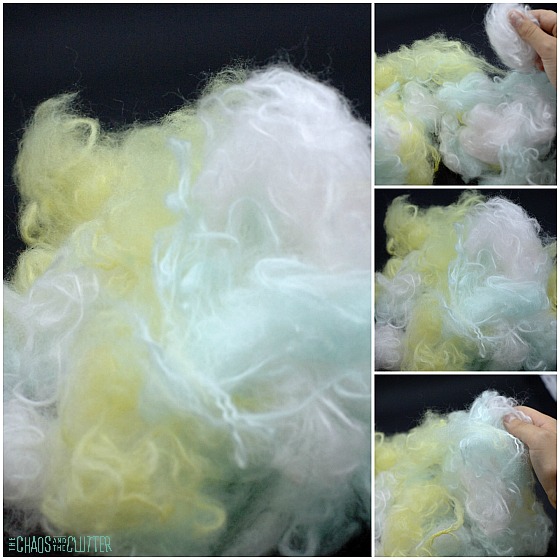
Pretend Cotton Candy Variations:
- Use different colour combinations.
- Wind some of the “fairy floss” around a paper straw to give it the look of cotton candy on a stick.
- Place a ball of the cotton candy in a paper cone.
- Make a large amount and attach it to clothing and a hat to create a cotton candy costume.
Sign up for your free Sensory Play Recipes sample and receive our Sensory Solutions and Activities emails.
Check out some of our other sensory play ideas:
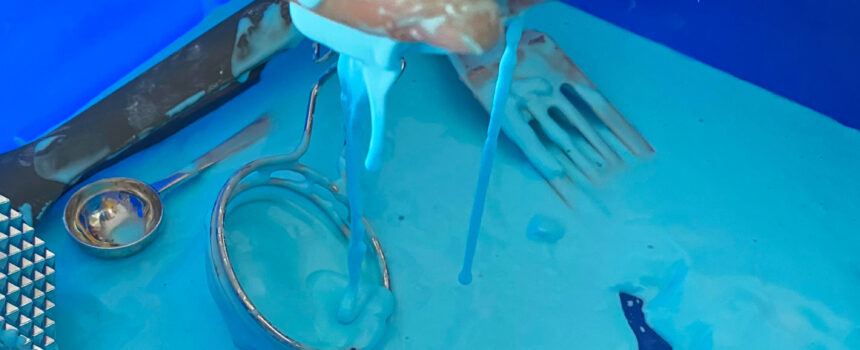
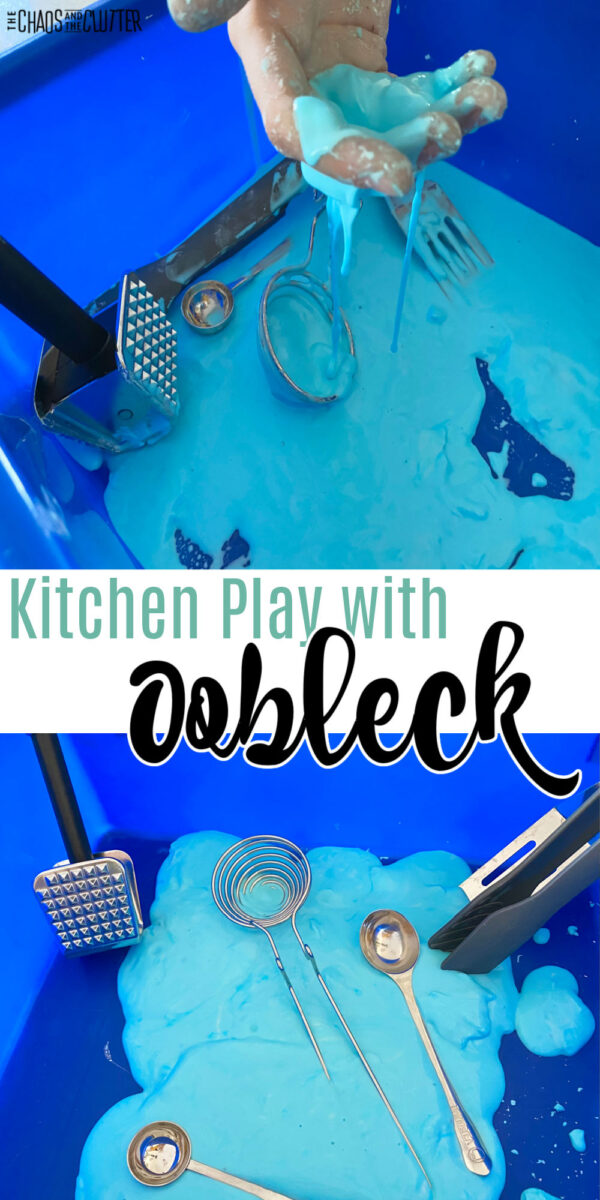 Of all the sensory play recipes, oobleck is the absolute easiest.
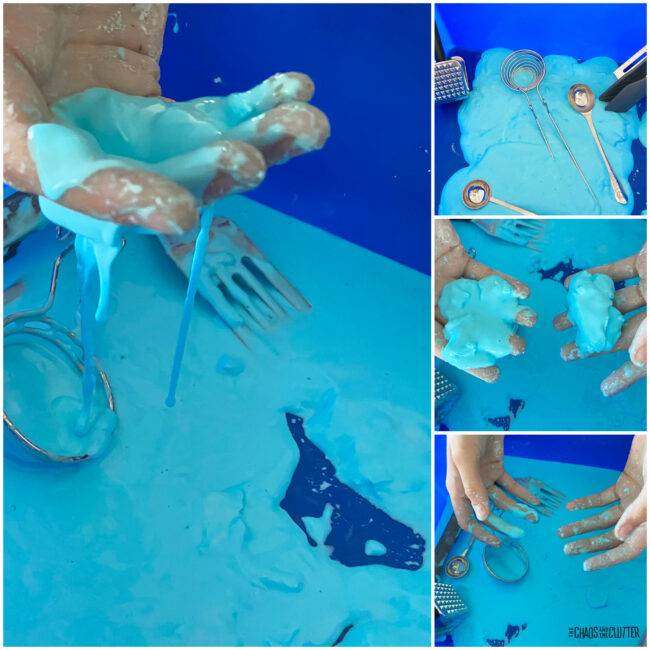
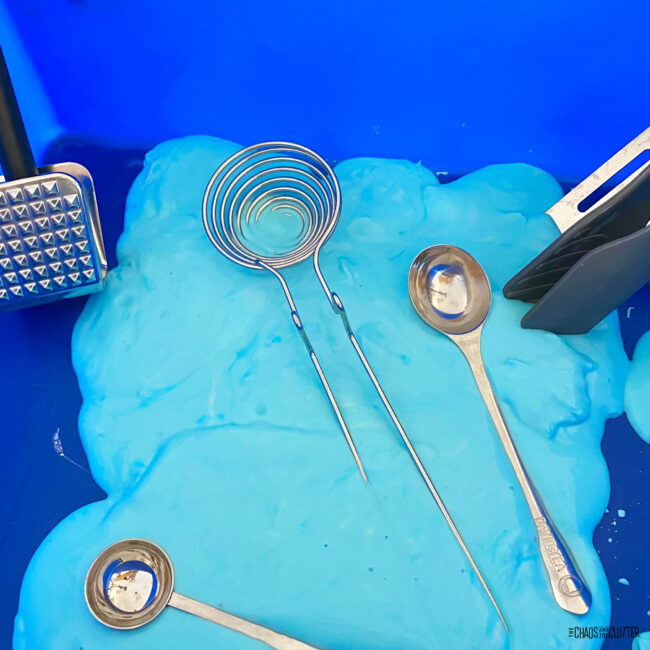

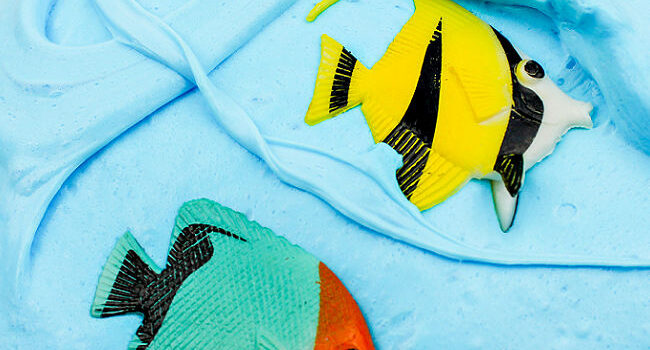
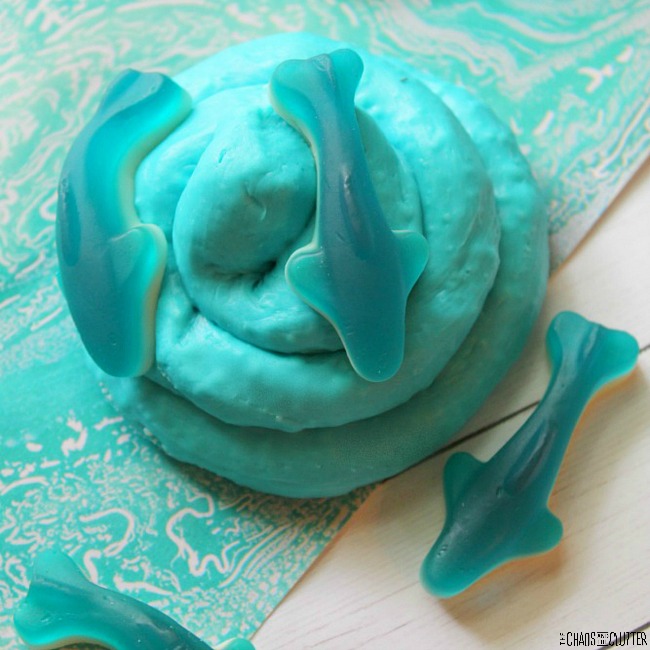
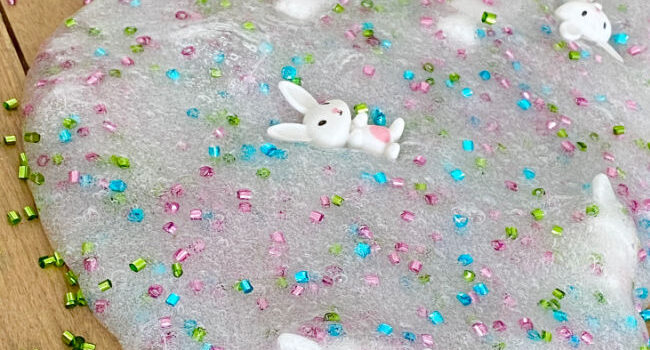
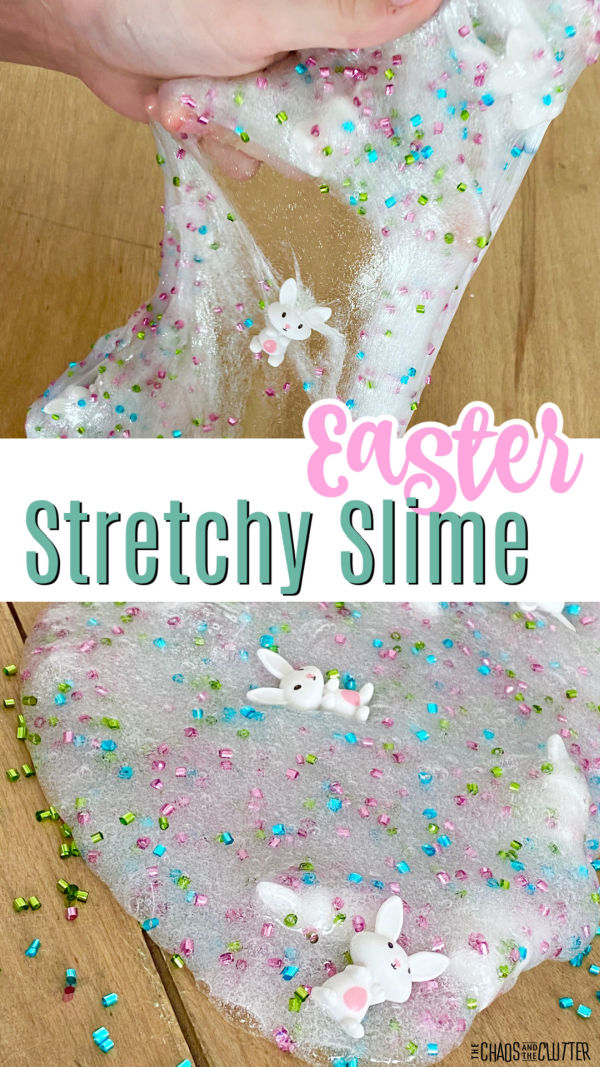
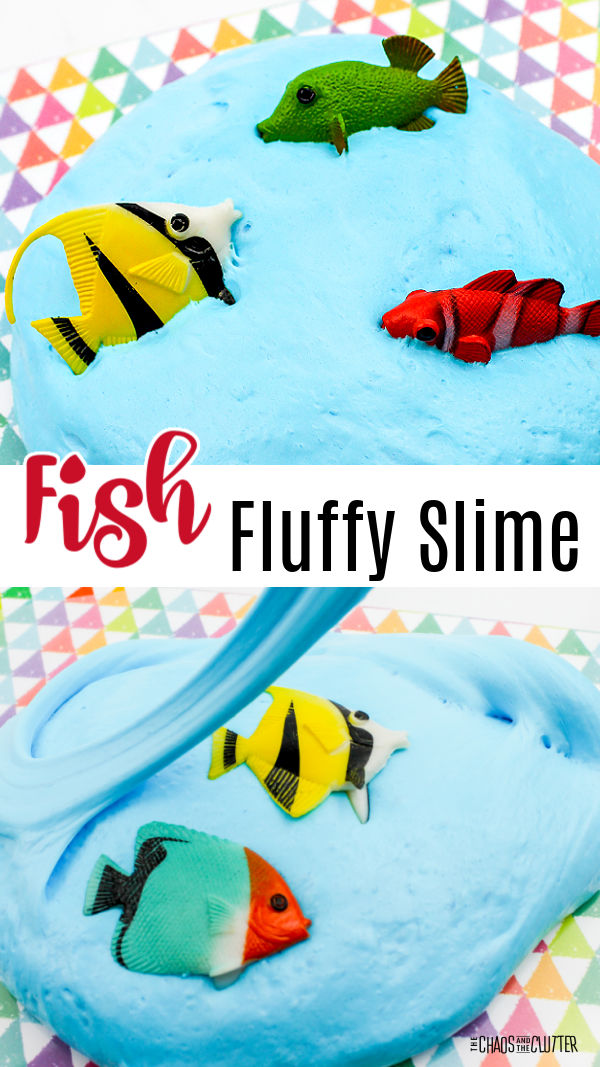 Slime is pretty popular in our house and fluffy slime is the favourite. Everyone loves the texture that the shaving cream gives to it. Plus, it’s got that really nice stretch to it.
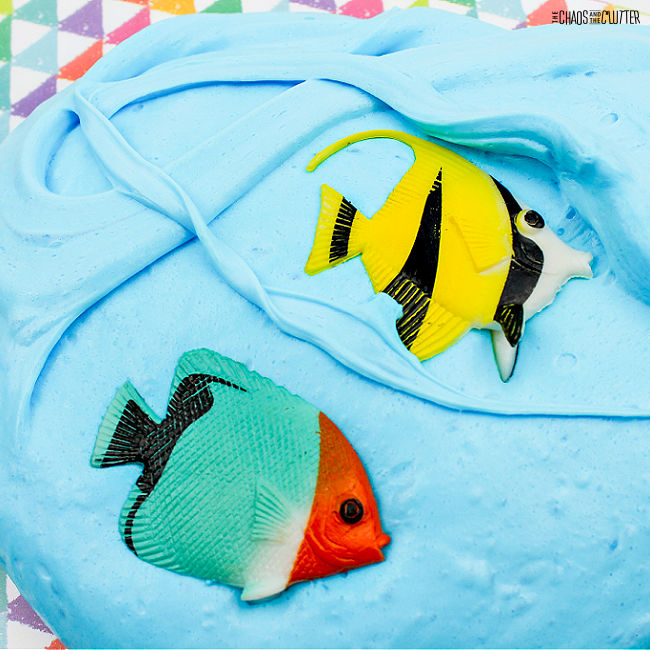 Directions:
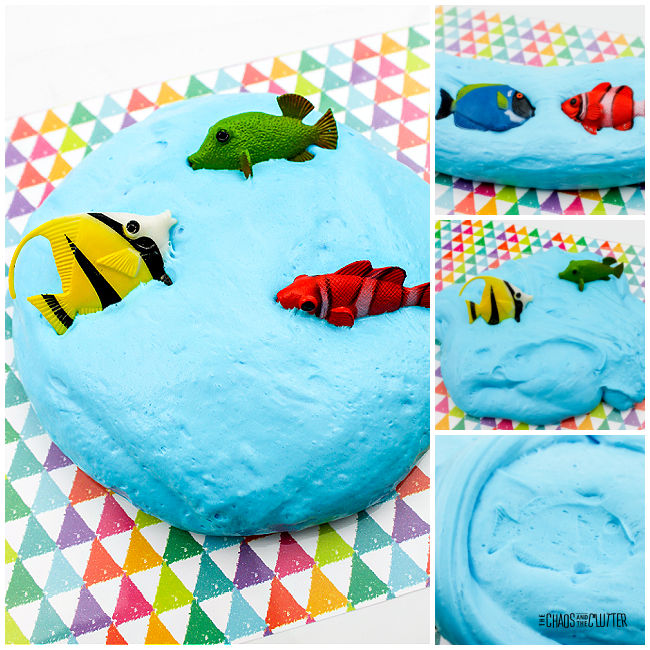 Adult supervision should be used with this and all other sensory play activities.
 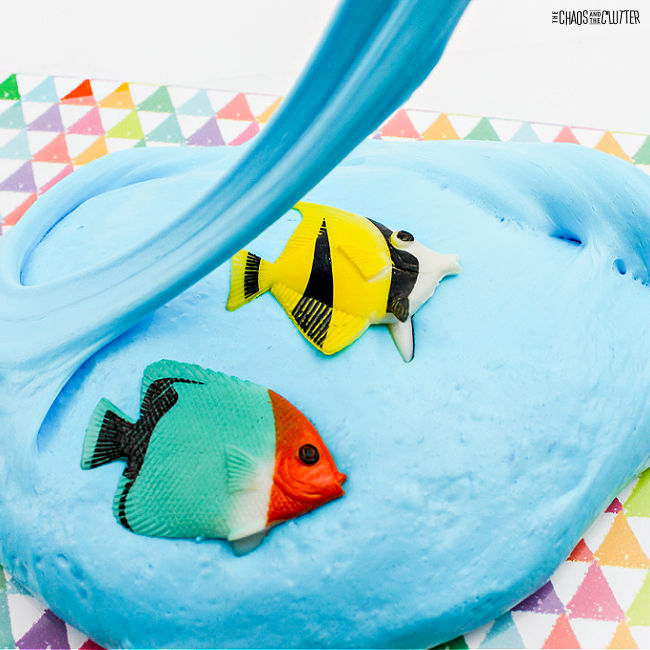 Be sure to check out some of our other fluffy slime recipes. These ones are our favourites:
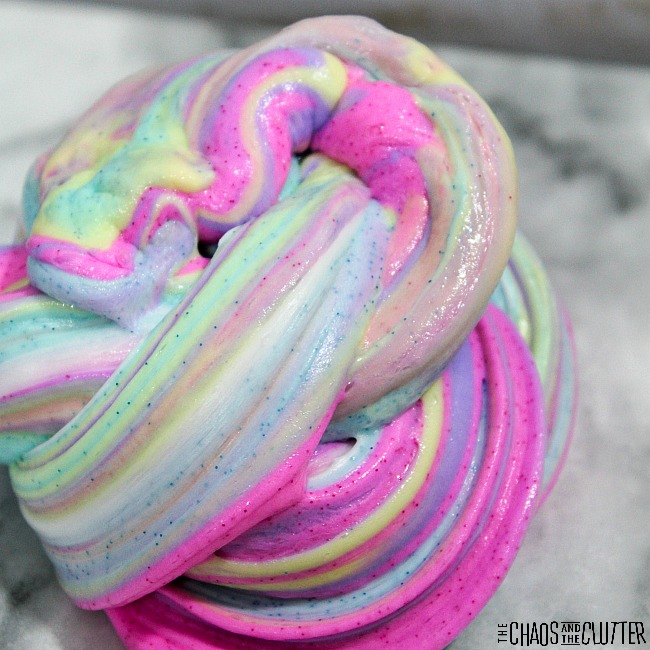


 Homemade slime is great for any occasion. In the video below, you’ll see just how easy it is to make this slime at home.
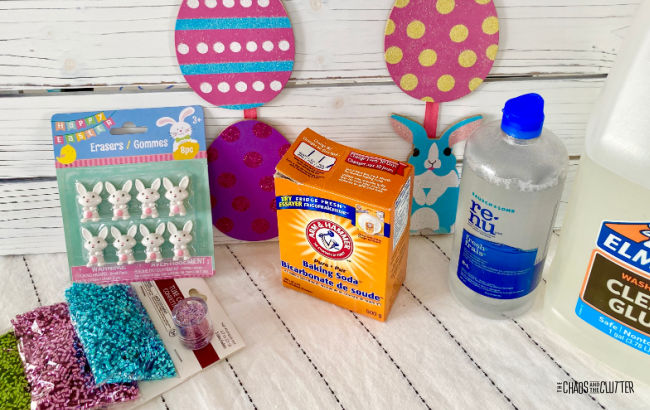 Instructions:
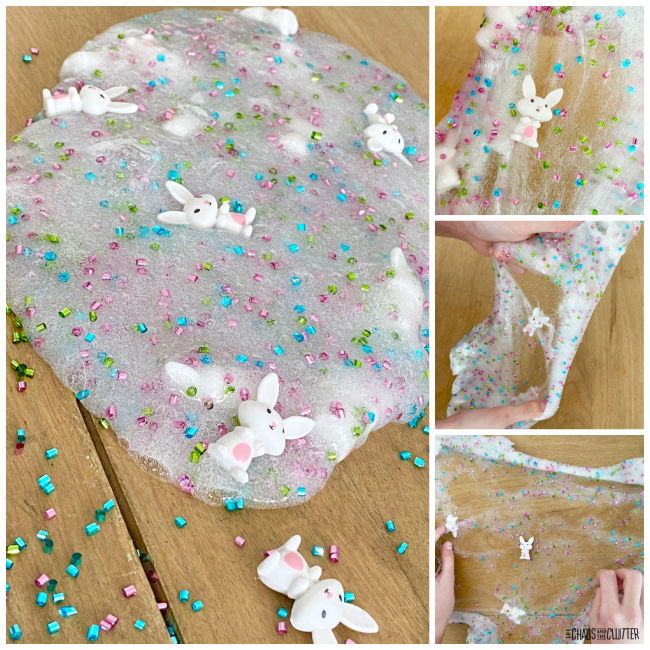 Be sure to use adult supervision with this or any other sensory play activity.
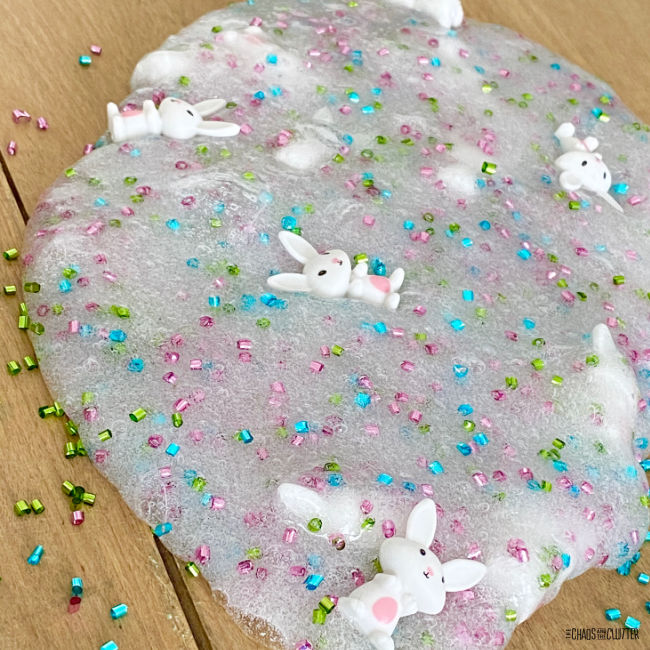
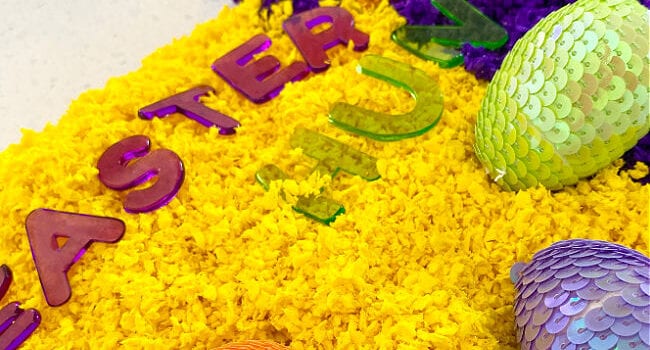
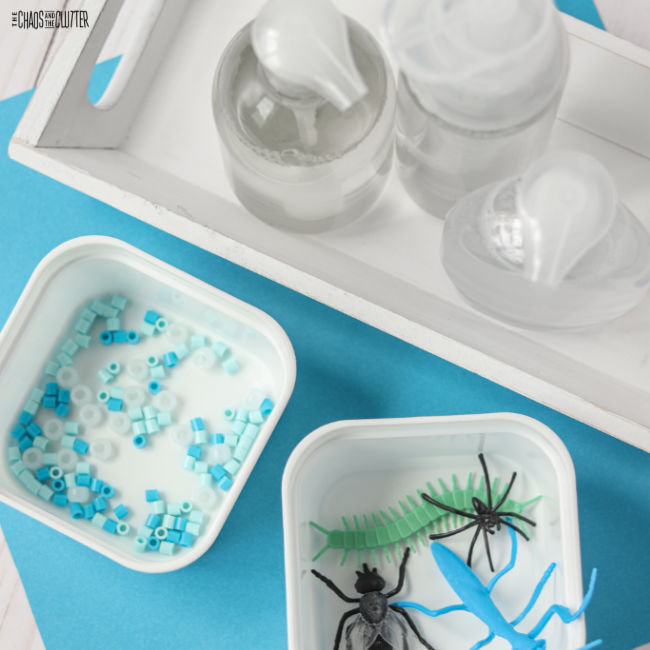
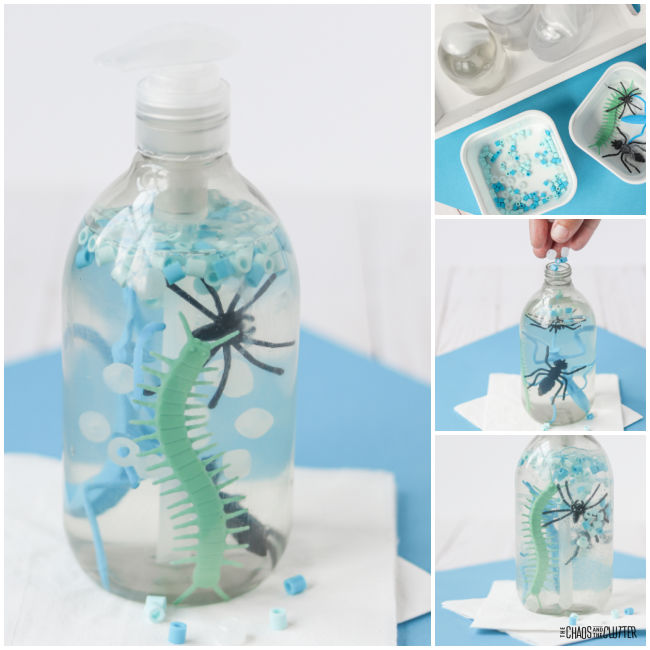
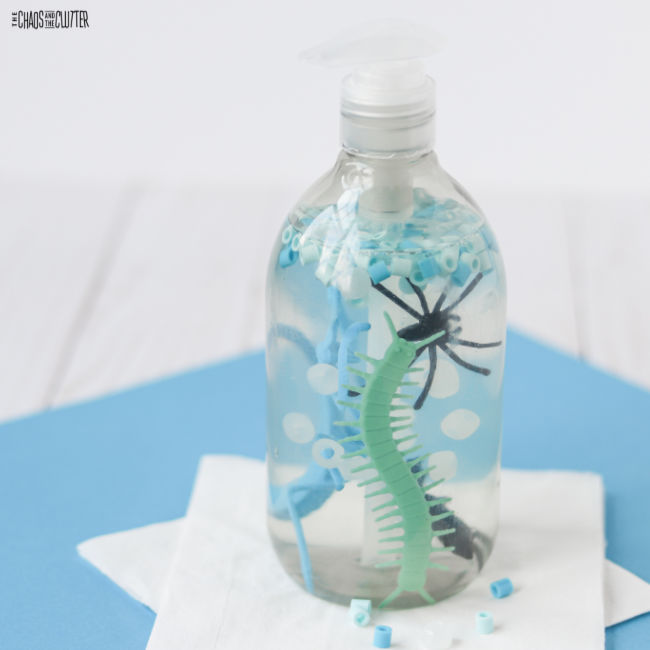
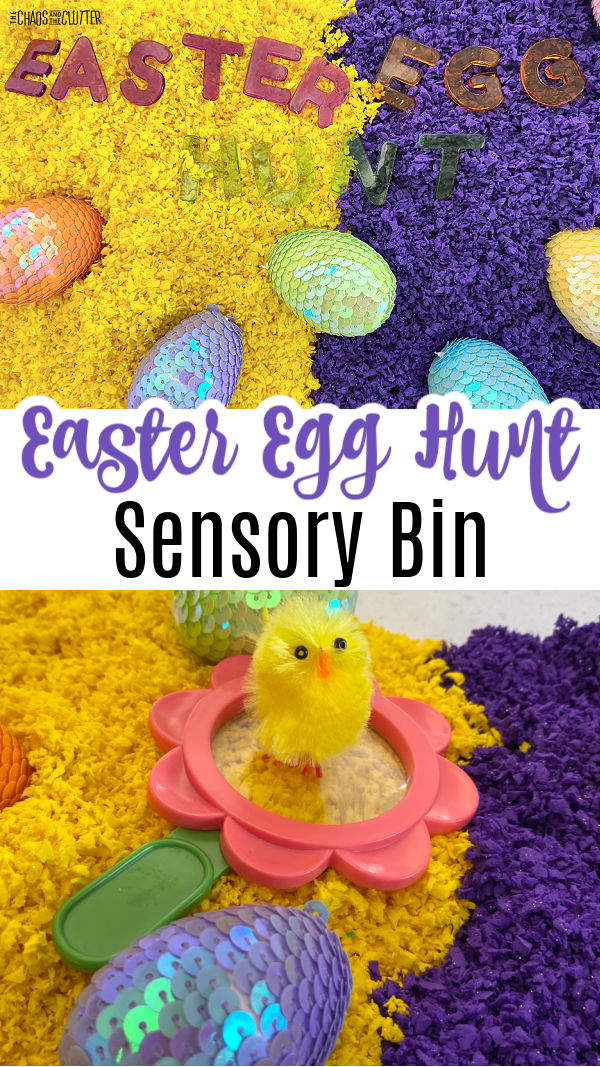 Using common Easter themed items in your sensory bin is the perfect way to get your kids playing and learning by using their senses. Each item on the bin is designed to help your child learn as they play by engaging at least one of their senses – sight, sound, smell, touch, and taste.
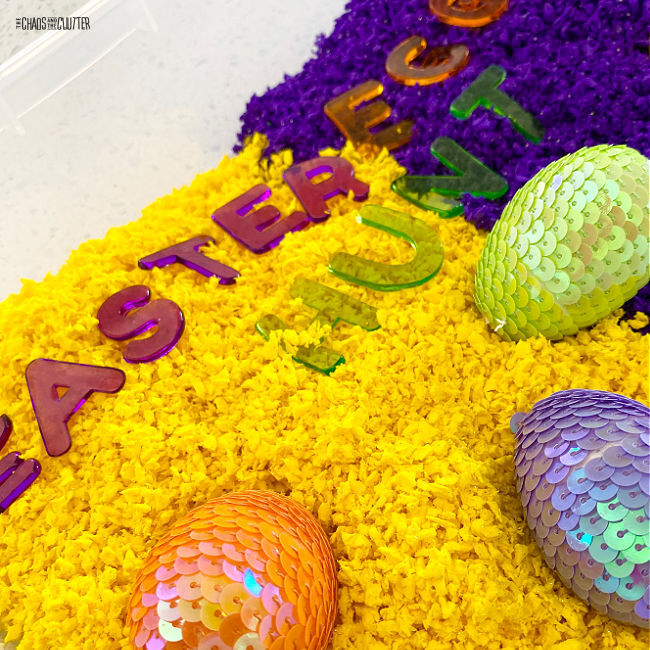 Instructions: