
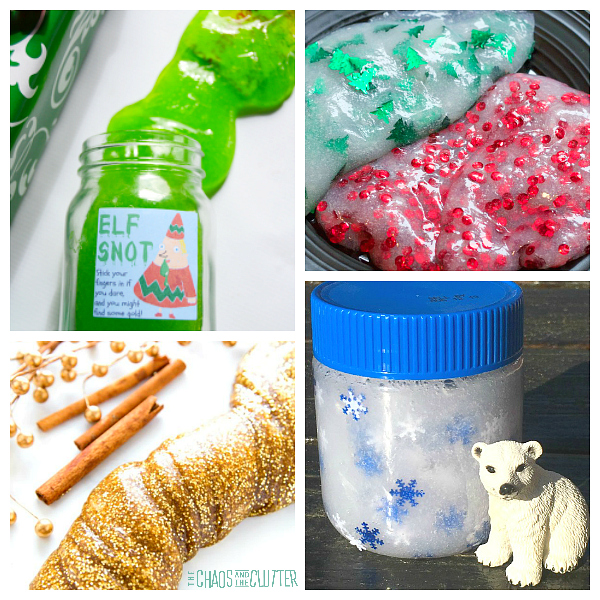
Glow in the dark slime is easier to make than you may think. This particular slime doesn’t even need a black light to glow. 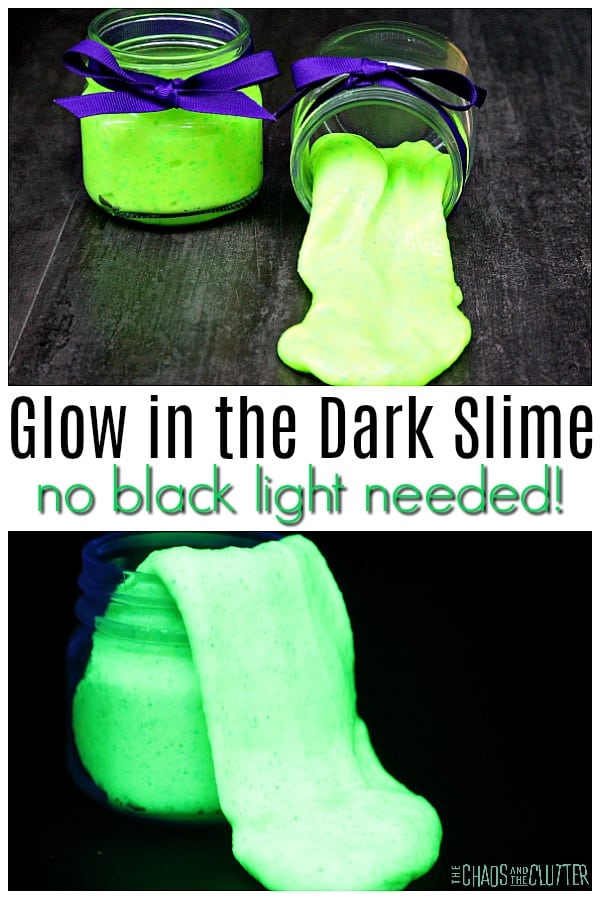 Adult supervision should always be used when making slime.
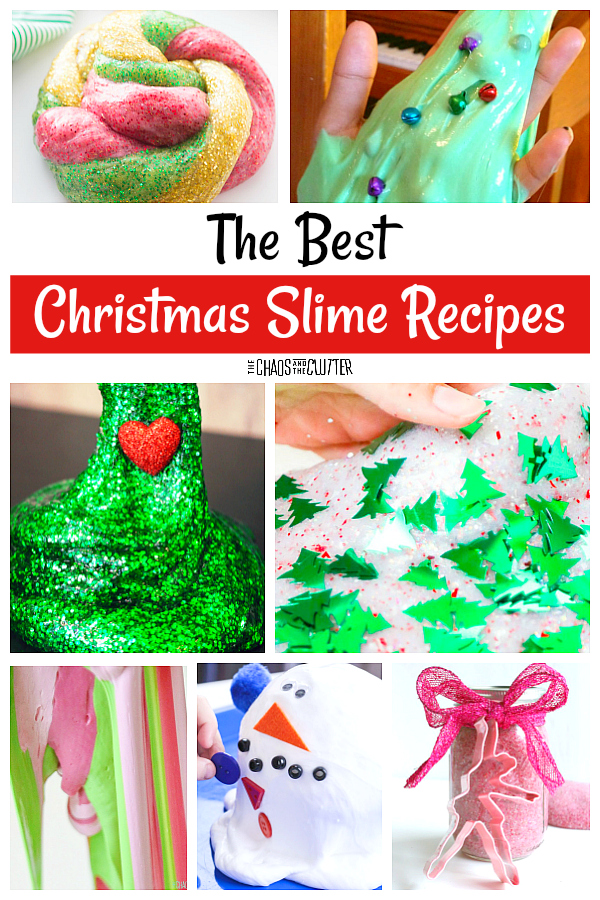
Glow in the Dark Slime Recipe:
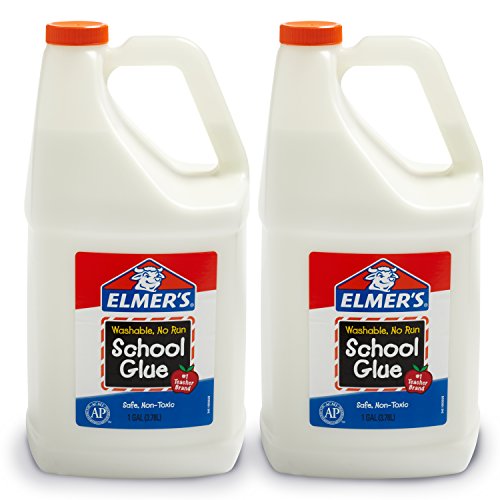
- 6 oz. Elmer’s washable clear school glue
- 10 drops vetiver essential oil
- 1 Tbsp. baking soda
- 2 tsp. glow in the dark paint or gel
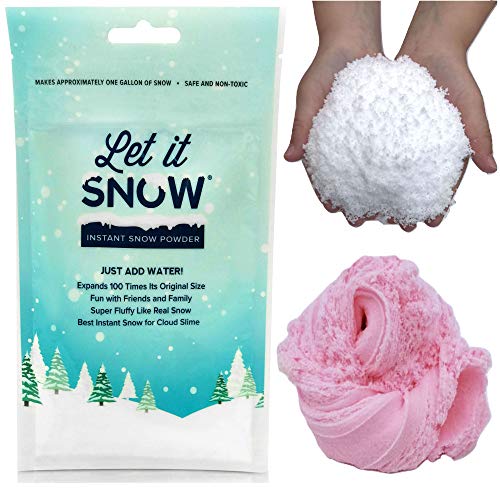
- 1 Tbsp. glow in the dark powder
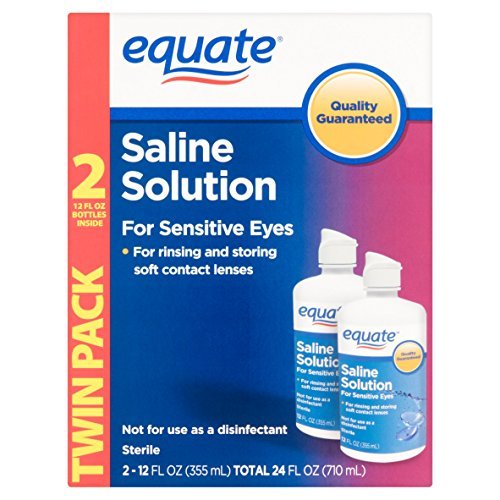
- 1-3 Tbsp. contact solution (be sure that the contact solution you use includes both boric acid and sodium borate in the ingredient list or it won’t work)
- 2-3 Tbsp. of neon glitter
 Instructions:
- Add the glue and essential oil to a small glass bowl and stir.
- Add the glow in the dark paint or gel, the glow in the dark powder, and the baking soda.
- Mix everything together.
- Add 1 Tablespoon of contact solution to the bowl. Mix well.
- You know that the slime mixture is ready to come out of the bowl when it pulls away from the edges of the bowl. You may need to add another Tablespoon or two to the mixture for it to come away completely.
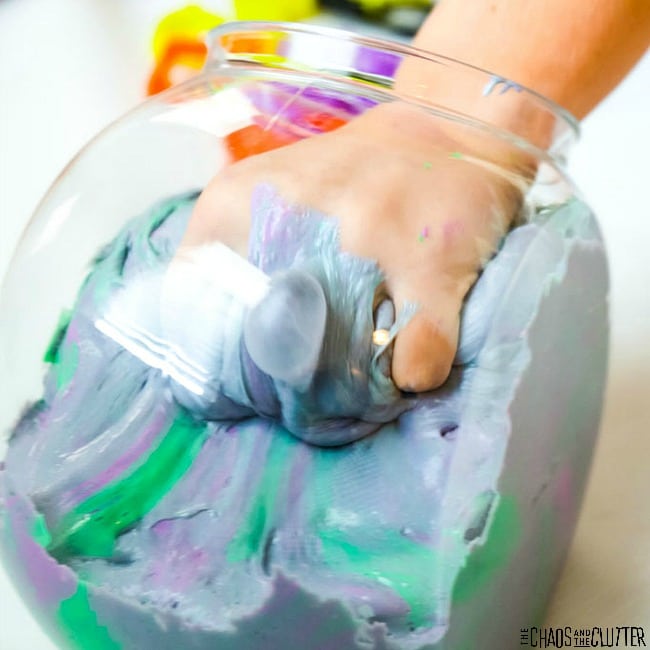
- Remove the slime from the bowl* and knead it on a flat surface until it’s nice and smooth.
- Add the glitter and continue to knead until it is incorporated into the slime.
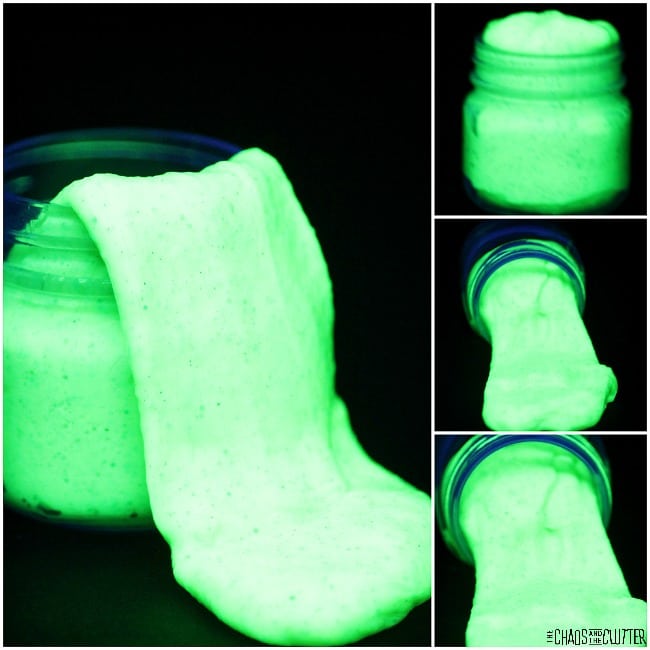
To make the slime glow, hold it under a light or take it into the sunlight for about 30 seconds. Then, bring it into a completely dark room and it will glow! 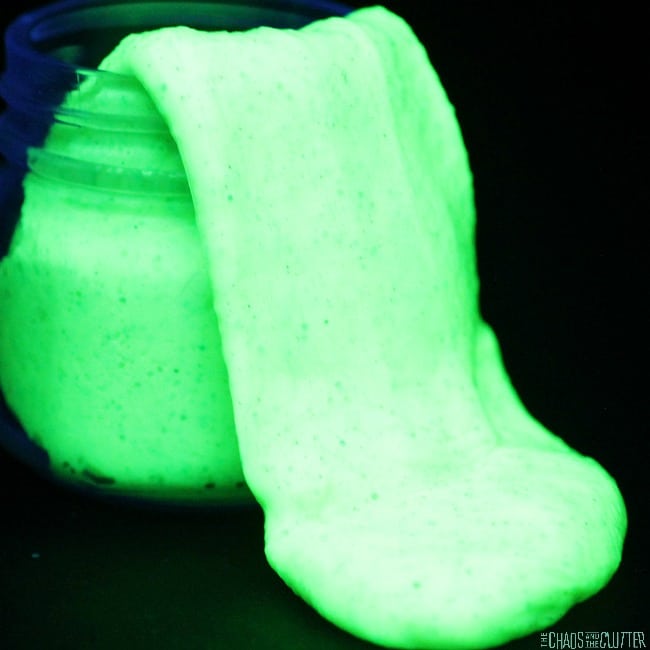 Store the glow in the dark slime in an airtight container or plastic bag. If stored properly, this slime will keep for a long time.
*Pro slime making tip: Squeeze a drop of the saline solution onto your finger and rub gently onto both hands before handling the slime. This will prevent the slime from sticking to you.
This slime would be cool to make for Halloween or for a sleepover party. The kids could enjoy its glow after dark.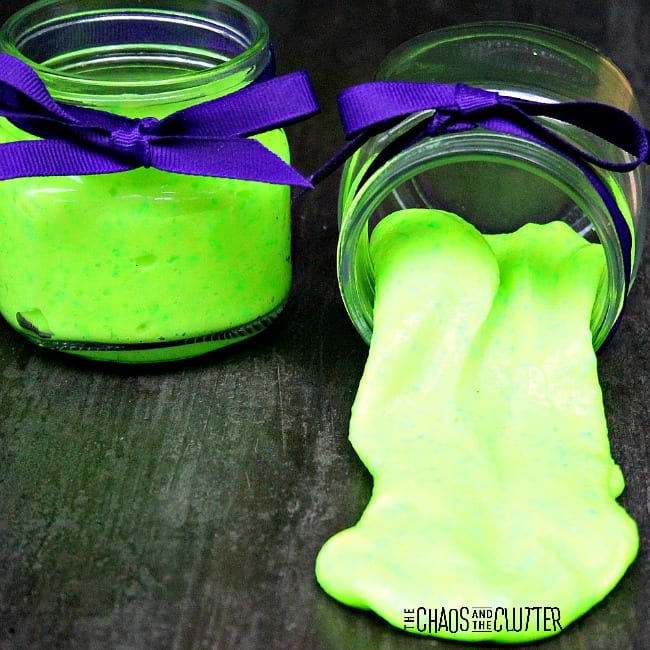 If you want to give it out as party favours, you can use baby food jars as containers wrapped with purple ribbon around the top.
Check out some of our other awesome slime recipes:
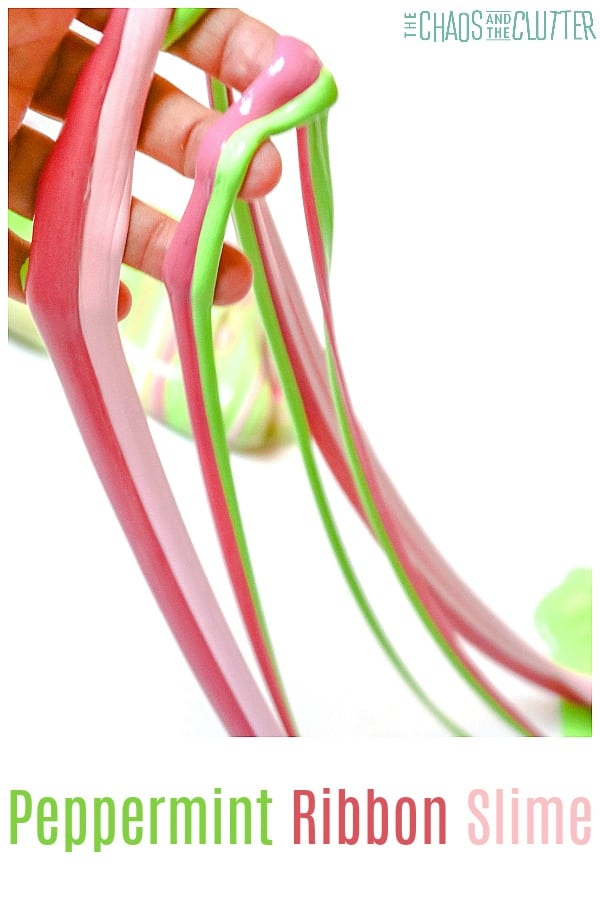
Peppermint Ribbon Scented Slime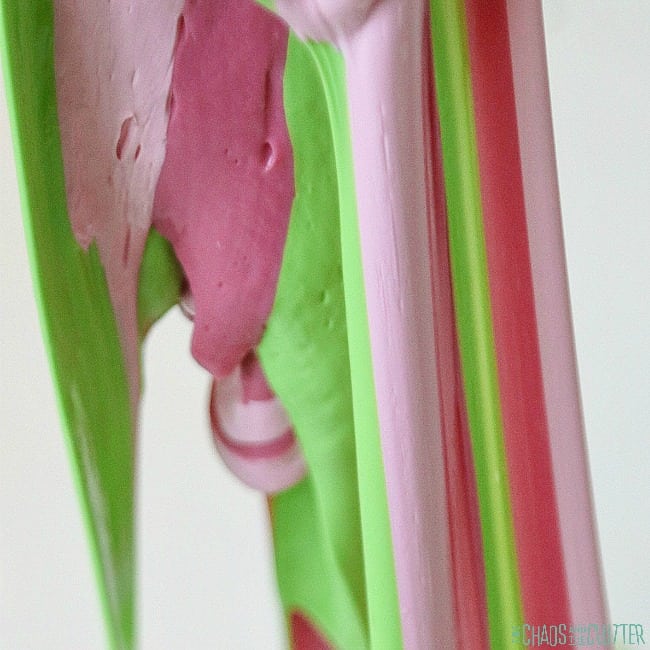
 Slime makes a great gift. You can either give the homemade slime in a container topped with a bow or festive cookie cutter on ribbon or create a kit with slime ingredients and recipes.
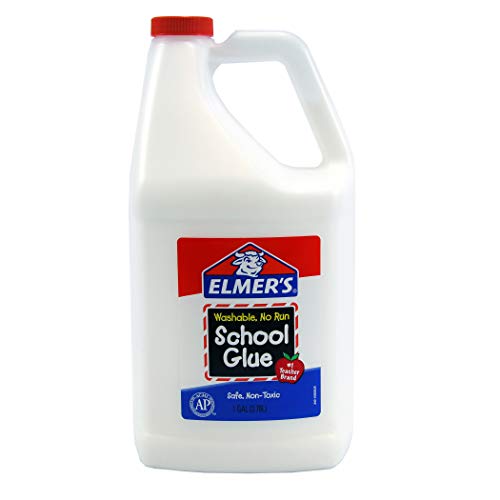


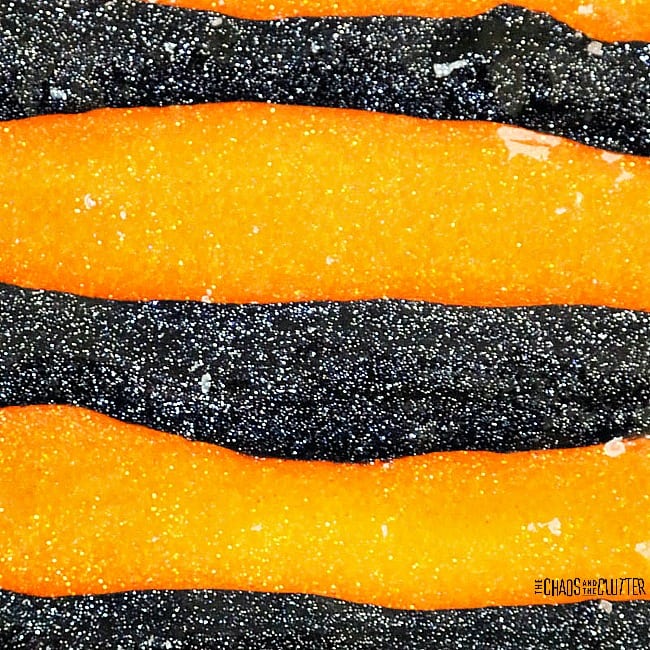
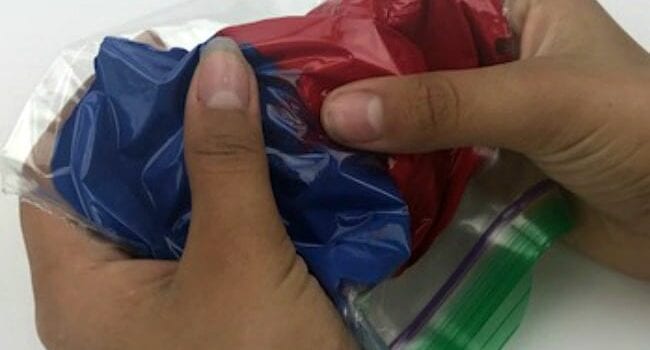
 Knead each one separately until it becomes the consistency of slime.
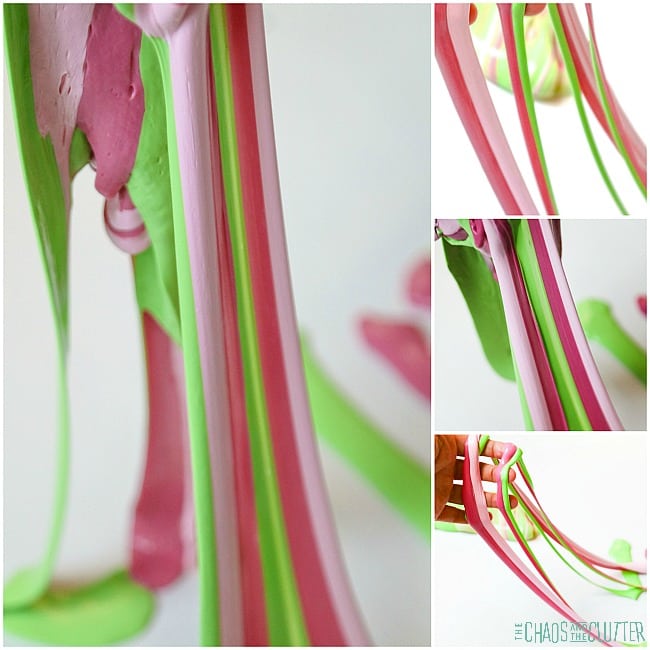
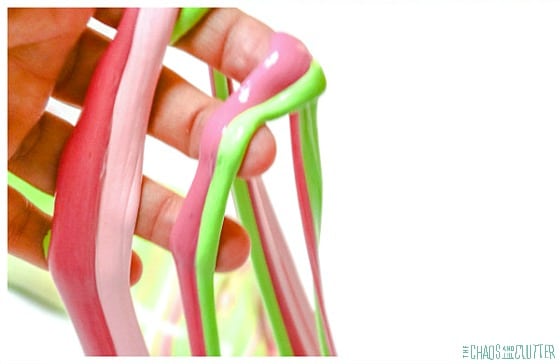 Just a little note to add: once you start playing with all three colours together, they will eventually mix. The colours don’t stay magically separated!

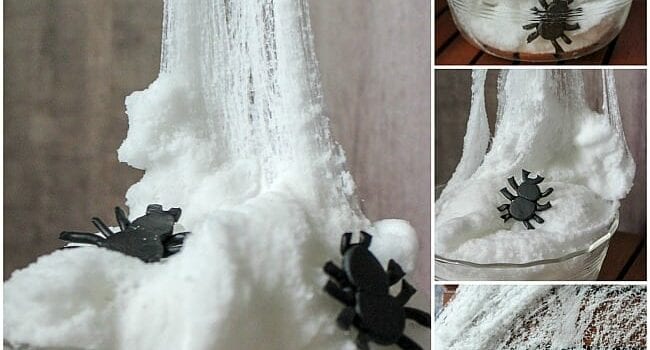
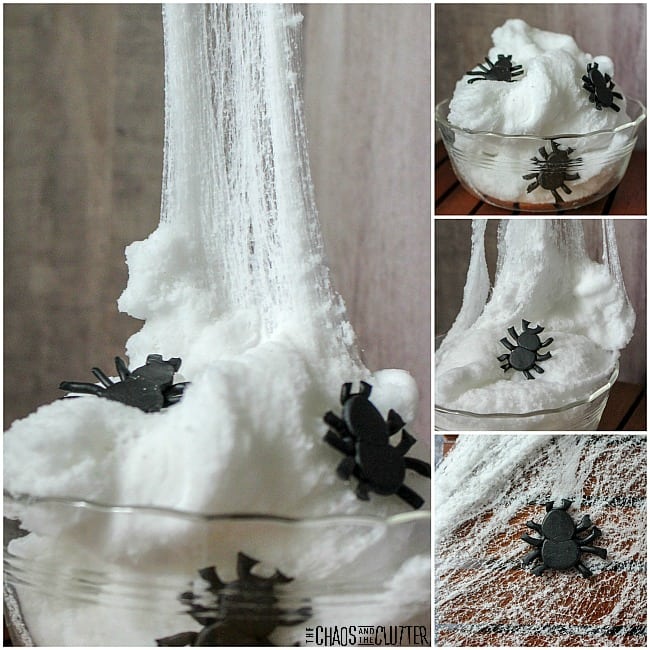
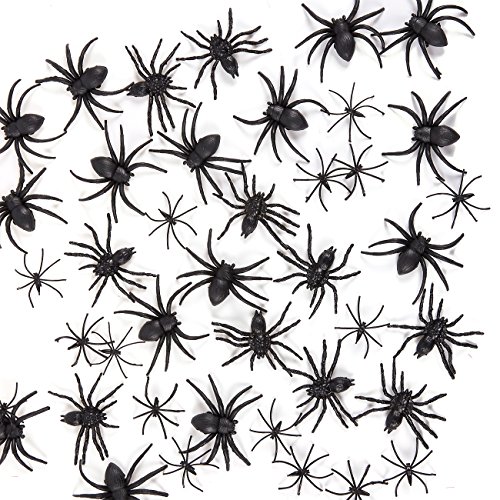
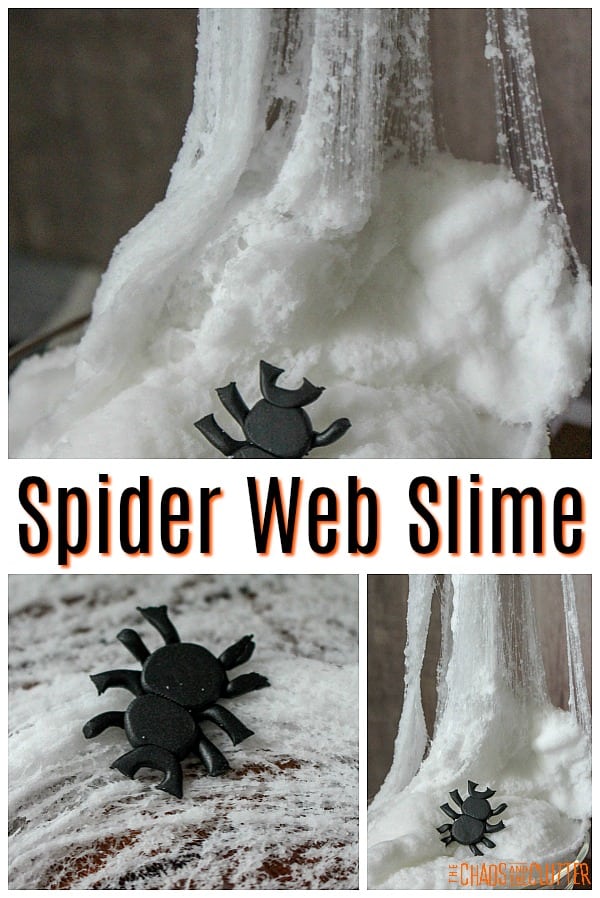 You know that spider web in a bag stuff that you can buy around Hallowe’en time? Well, I thought I could use that to make a really cool slime. I was very wrong!
 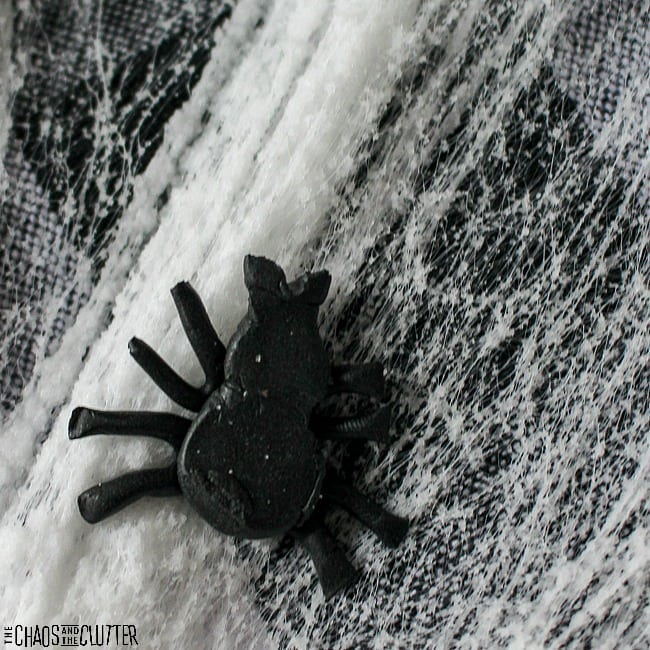 Do not make the same mistake I did and use the spider web stuff that comes in a bag to try to make a slime. It will be disastrous and messy.
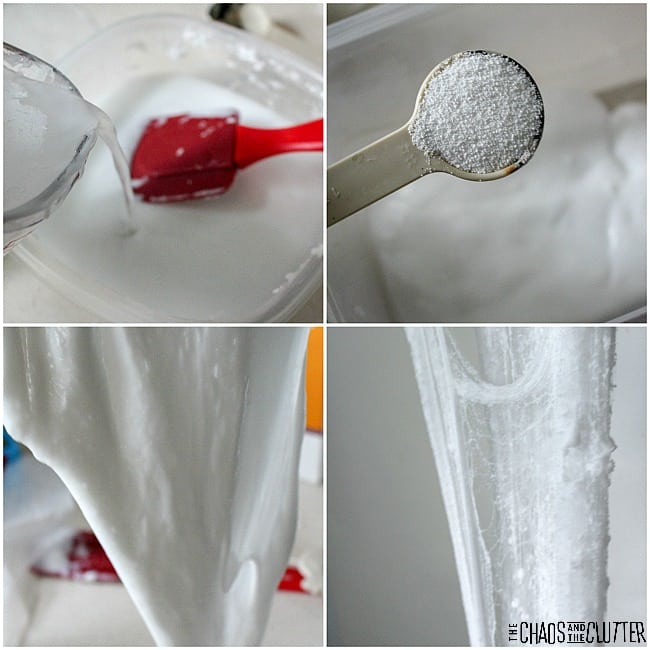
 We were inspired by
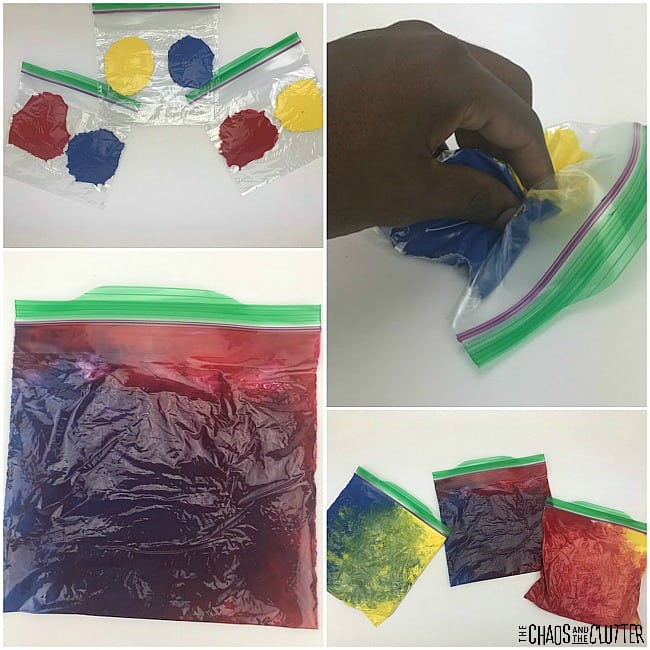 Instructions:
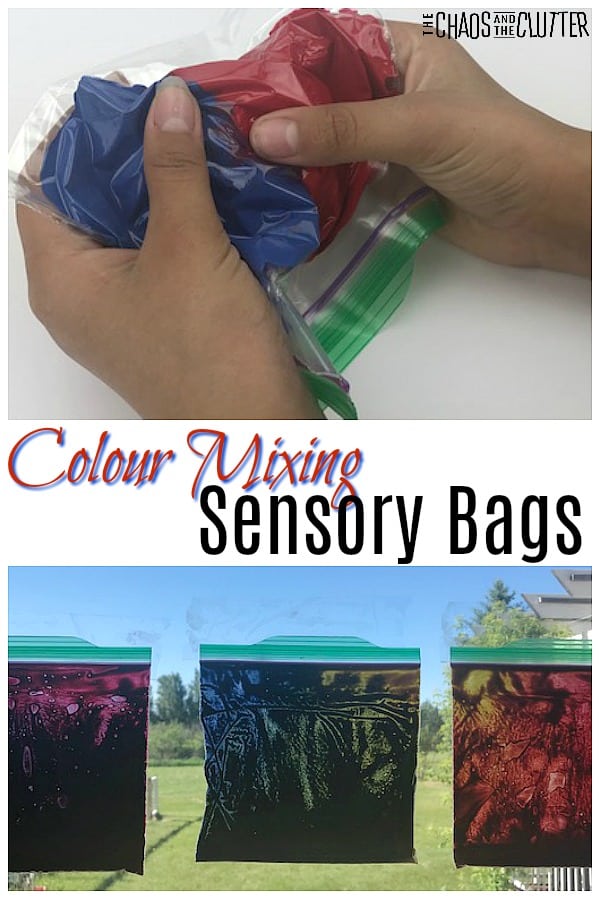
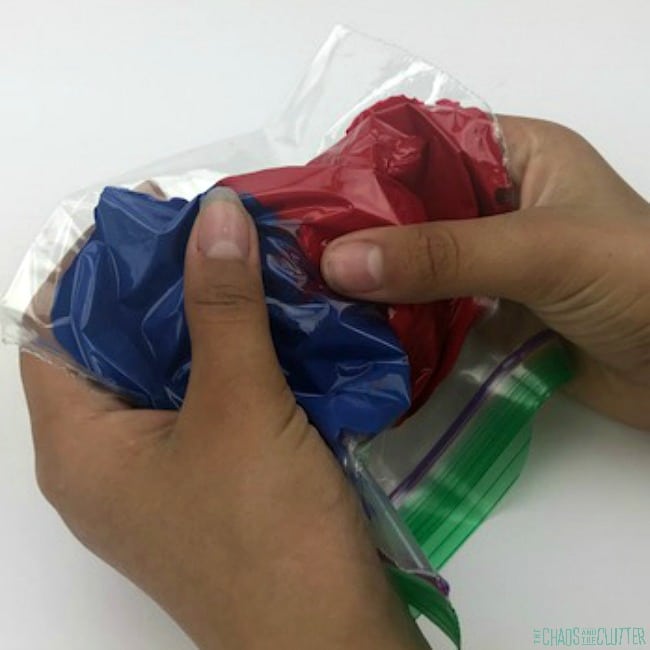 The kids are able to create other colours by squishing the primary colours into each other.
 Supplies needed:
 They loved this activity!
 The kids learned:
 Some of the books that we read that were related to colour:

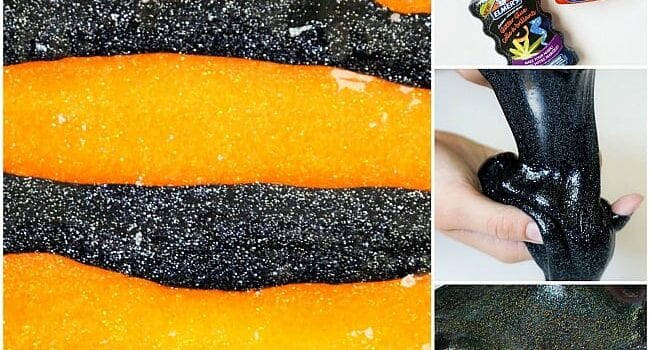
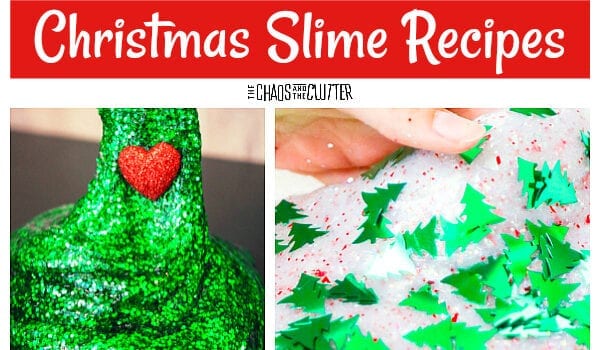
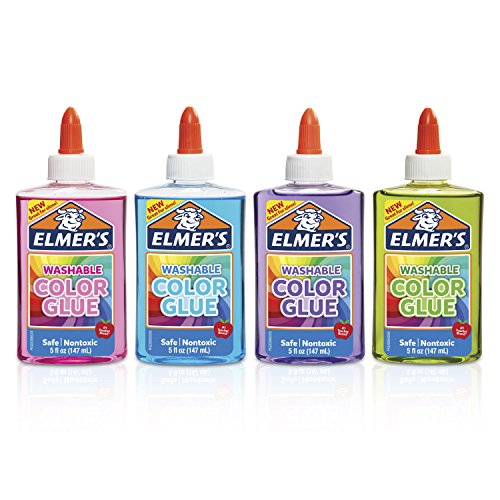
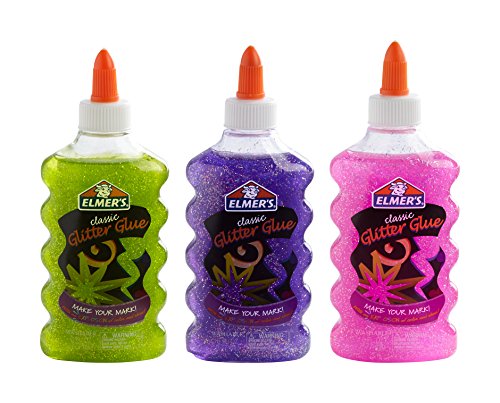
 The thing that makes this particular slime so simple is the glitter glue. You don’t have to mess with food colouring or paint or glitter because the glitter and colours are already in the glue. Super easy!
 Take out the mixture and knead by hand about five minutes, pulling, stretching, and pushing it until slime consistency is formed and it’s no longer sticking to your hands.