• Skip to primary navigation
  • Skip to main content
  • Skip to primary sidebar
  • Home
  • About
  • Contact
  • Privacy + Terms
  • Affiliates

The Chaos and the Clutter

  • Facebook
  • Twitter
  • Pinterest
  • Google Plus
  • RSS
  • Email
  • School at Home
  • Sensory
    • Sensory Processing Disorder
    • Awesome Sensory Play Activities
      • Sensory Bins
      • Sensory Bottles
      • Sensory Bags
  • Family Games
    • Minute to Win It Games
  • Special Needs Parenting
    • Childhood Anxiety
    • Reactive Attachment Disorder
    • Sensory Processing Disorder
  • Store
  • Course Login

Crafts and Activities

Hallowe’en Sensory Game

By Sharla Kostelyk

This Hallowe’en sensory game is so much fun! It combines a very popular sensory material with learning and fun. This game engages the visual, tactile, and proprioceptive sensory systems. Hallowe'en Sensory Game #sensoryplay #halloween #forkids #slimeactivities

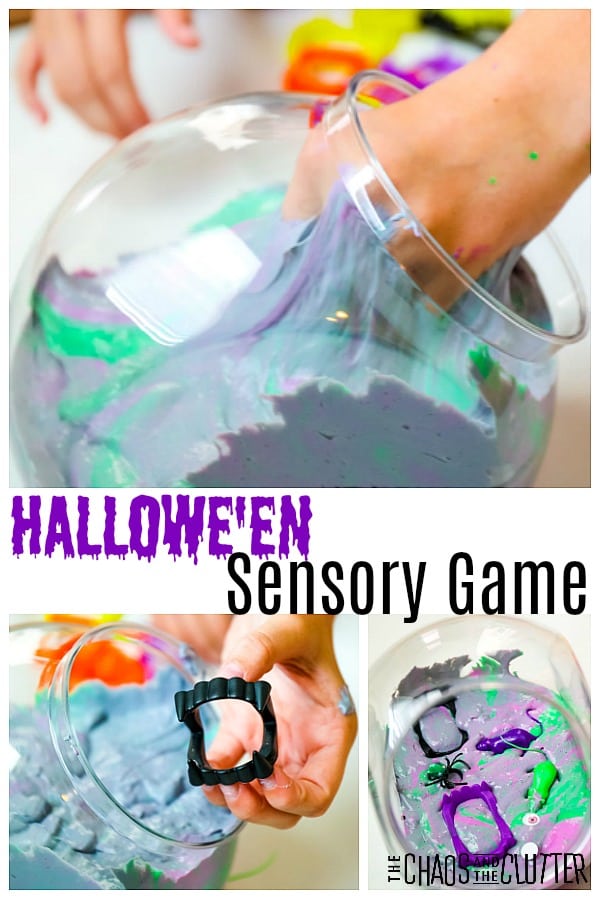
I remember when I was about eight years old. The neighbourhood moms put together a Hallowe’en party for all the kids. One of the activities was us having to reach our hands into things and guess what was inside.

It was things like cooked spaghetti (brains) or jello (guts). I still remember the feeling of the squishy spaghetti noodles slipping between my fingers. Yuck!

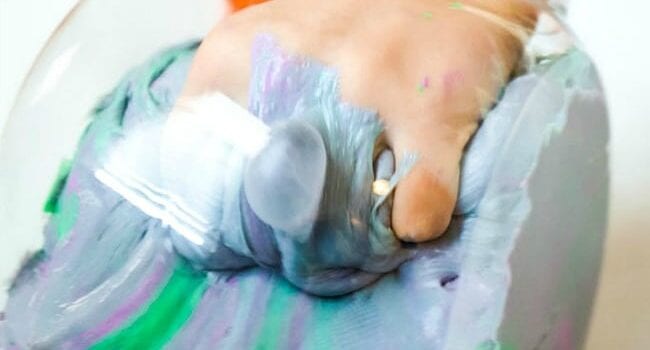
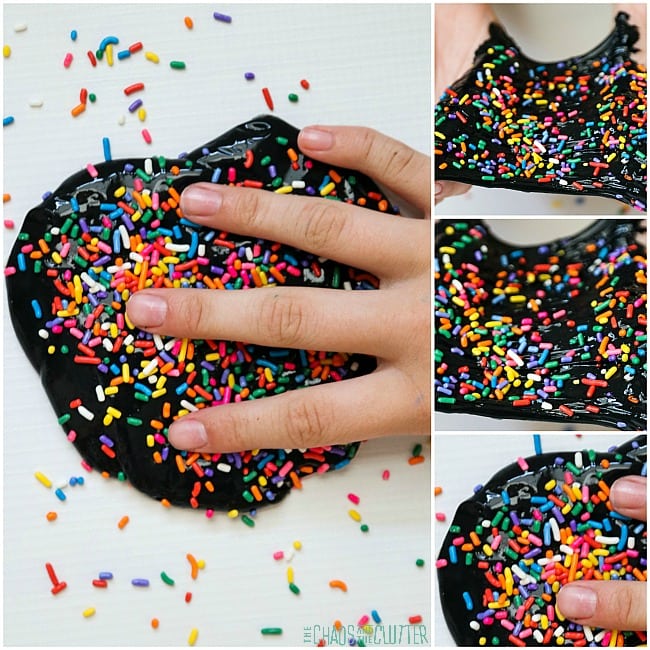
This sensory game is a bit of a play on that idea. It uses one of the most popular sensory materials out there, slime.

How to Play the Hallowe’en Sensory Game:

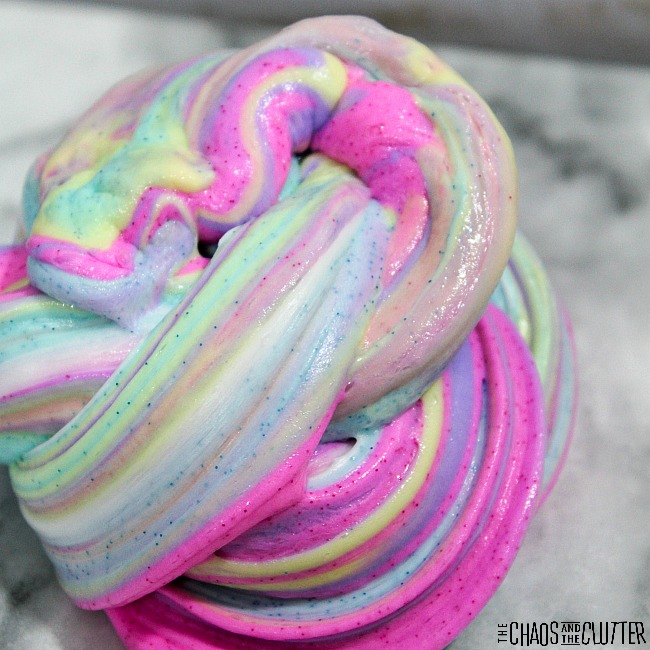
In order to set this game up, you’ll need to first make one or several recipes of fluffy slime. There is a recipe listed below. The reason that you want to use fluffy slime for this is that it sticks to hands less than other slime does.

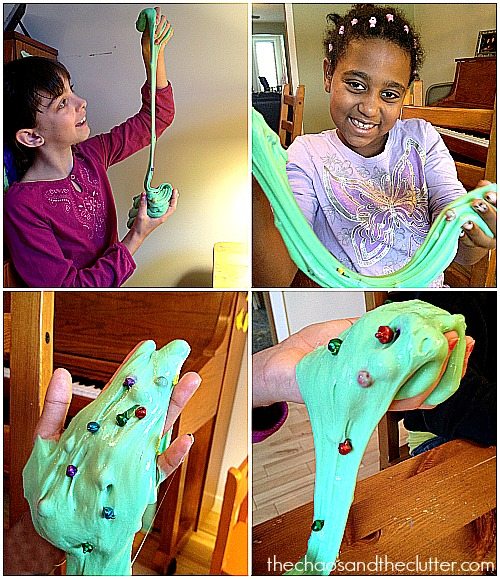
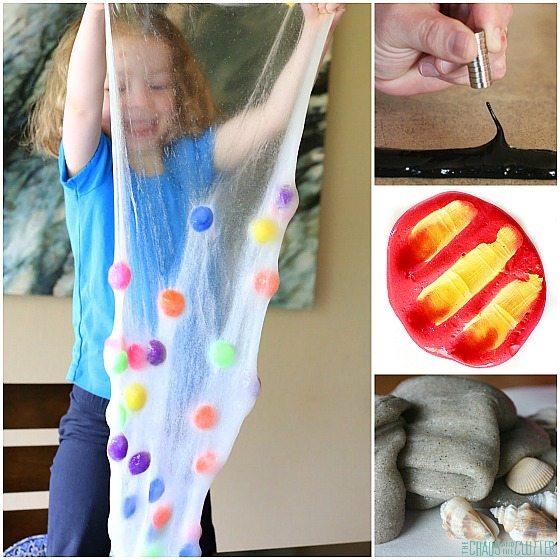
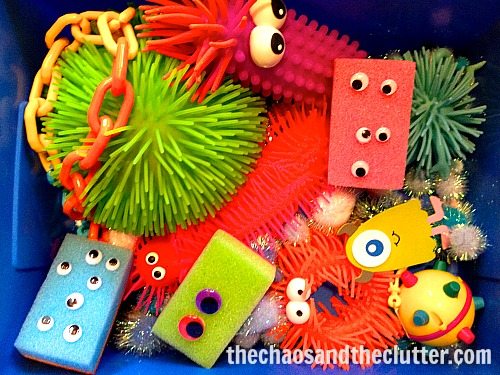
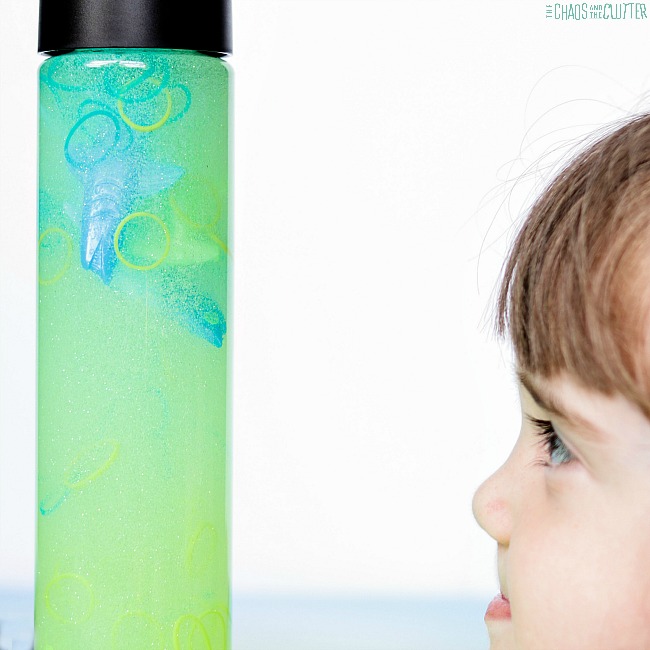
Take a medium sized bowl or plastic container and put a layer of slime inside. Add in some small Hallowe’en trinkets and toys. Put another layer of slime and another layer of small toys. Top with more slime to cover the toys. setting up Hallowe'en sensory game
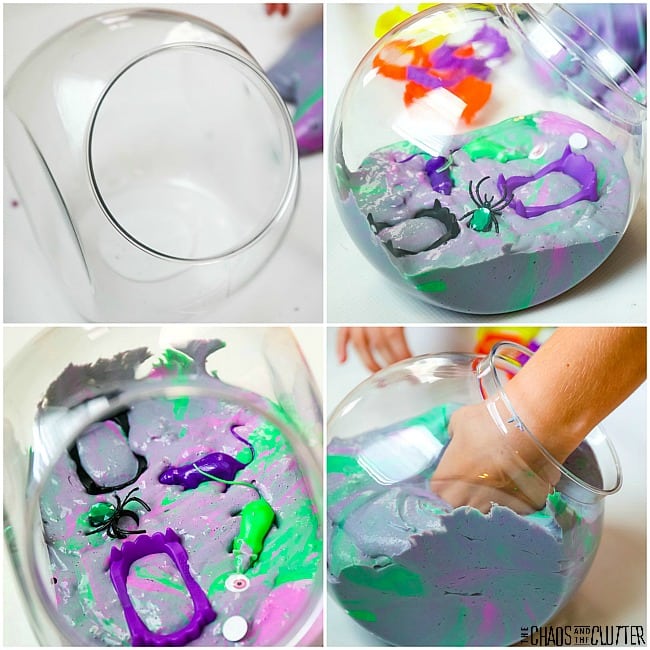
Ideas of toys to use:

  • plastic fangs
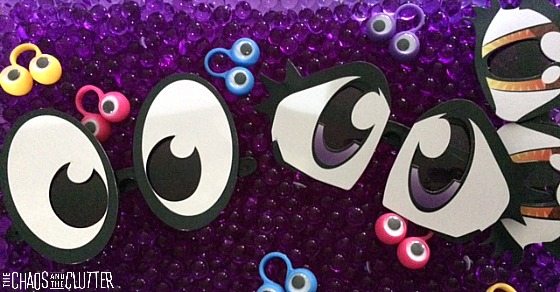
  • plastic googly eye rings
  • toy mice
  • stretchy frogs or snakes
  • plastic spiders
  • Zombie fingers
  • stretchy nose, ear, etc.
  • Hallowe’en erasers
  • eyeball bouncy balls
  • glow in the dark plastic bugs

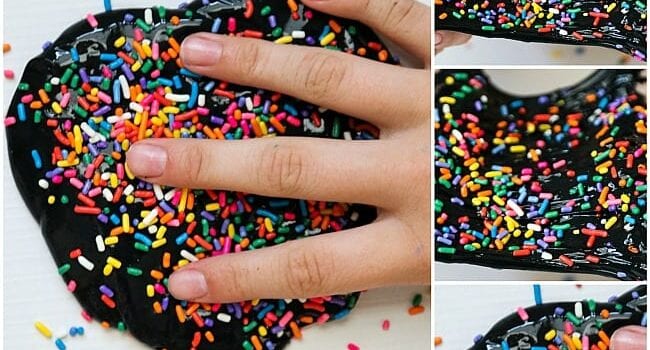
For older kids, you can pick gory type toys like the Zombie fingers in a black slime for maximum fun factor. For younger kids, brighter coloured slime and cute little toys are best.

There are two ways to play. Of course, if you can’t decide which to try, you can always play both versions!

  1. Have each child reach in and retrieve an item. You can let them keep their item as a prize.
  2. Have each child reach into the container and try to guess (without looking at the item) what the item is only using their sense of touch (tactile).

Fluffy Slime Recipe:

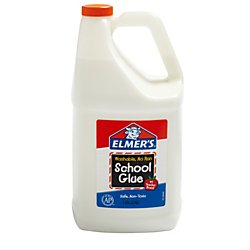
  • 16 oz. Elmer’s washable white school glue
  • 3 cups of shaving cream
  • food colouring or acrylic paint
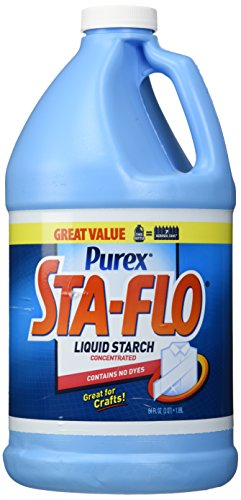
  • 1 cup liquid starch

In a large bowl, mix together the glue and shaving cream. Add some food colouring or paint in the colour you want to create. With fluffy slime, because of the shaving cream, you’ll have to use more colouring than you do with regular slime to get the same colours.

Once the glue, shaving cream, and colour are well mixed, slowly begin to add in the liquid starch. Continue to stir and add the starch in until the mixture begins to pull away from the sides of the bowl and form a clump.

At this point, remove it from the bowl with your hands. Knead it until it has reached the consistency of slime. It is now ready to be used to set up the Hallowe’en game.

You can use all one colour of slime or make several colours and combine them or layer them. You can use Hallowe’en colours like black and orange or green and purple. Any colour will work though. It just looks more Hallowe’en-y if the colours fit. 
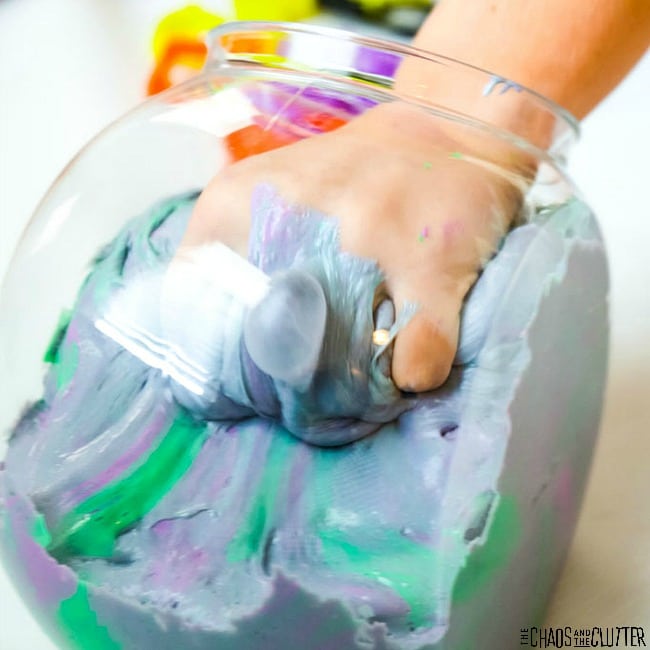
I hope you enjoy our little Hallowe’en sensory game. It would be fun for the classroom, home, or for a Hallowe’en party.

Check out these other Hallowe’en Sensory Activities:

Eyeball Sensory Bin Eyeball sensory bin with purple water beads

Monsters Sensory Bin

Filed Under: Crafts and Activities, Sensory Tagged With: sensory play, slime

How To Make Squishies

By Sharla Kostelyk

My kids love squishies. They are a great sensory tool. I came up with the idea to make a DIY squishy for them. I had a hard time figuring out how to make them myself until I stumbled upon something. That’s how these DIY Emoji Squishies were born. DIY Emoji Squishies #sensorytoys #sensoryplay #emoji #DIYkids
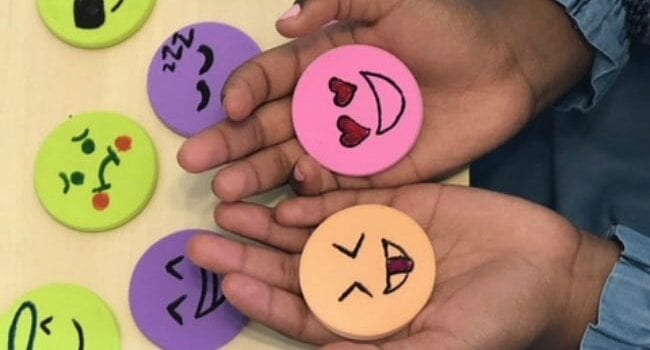
I found that the size of these was perfect for my kids to squeeze. They fit easily into their hands. So satisfying to squish!

Squishy toys help you release intense emotions, relieve stress, and get that happy chemical (dopamine) going, leading to those feel good feelings. They can also help boost focus, memory, and attention. Read more about the benefits of squishy toys. 

Materials to make Homemade Emoji Squishies:

  • round makeup sponges (we found these colourful ones at the dollar store)
  • permanent markers in a variety of colours (you’ll need black and red at minimum)

How to make Homemade Emoji Squishies:

Draw an emoji face onto each round makeup sponge with permanent markers.

Set them aside overnight to dry. It is important that you resist the urge to squish them until they are fully dry or the faces will smear. We made that mistake initially. And sad little smudged faces are not cute!
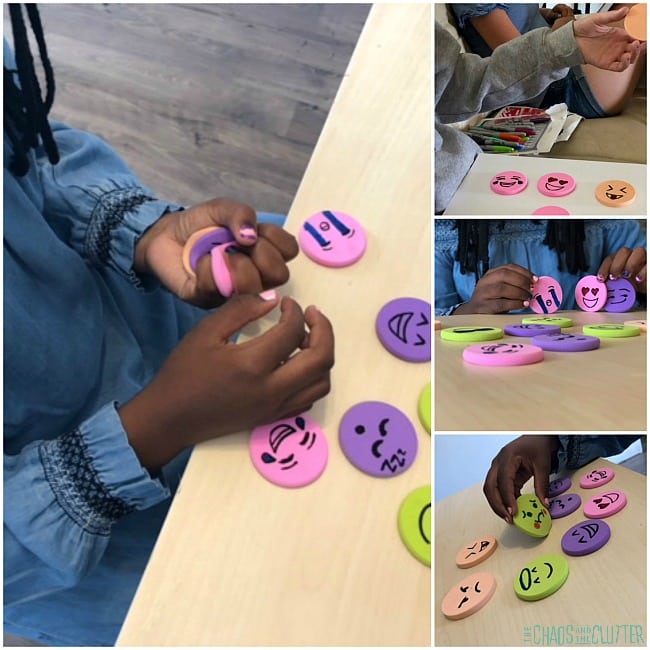
Once they have sat overnight, squish them, play with them, share them.

Toss some into backpacks or purses for on-the-go fidgets.

I love how these emoji squishies are not only a sensory tool, but a great way to help kids talk about their emotions too. You know I’m all about helping kids to develop an emotional vocabulary and making it fun and natural for them to talk about their feelings. 
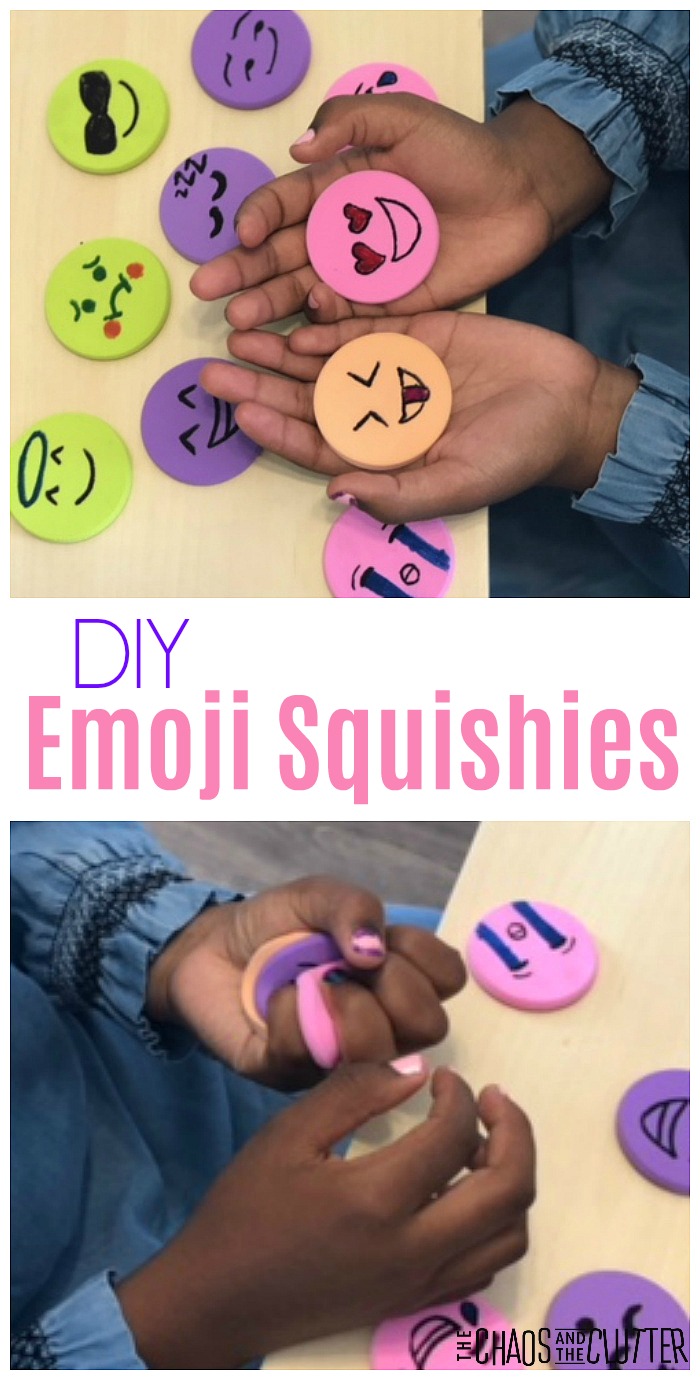
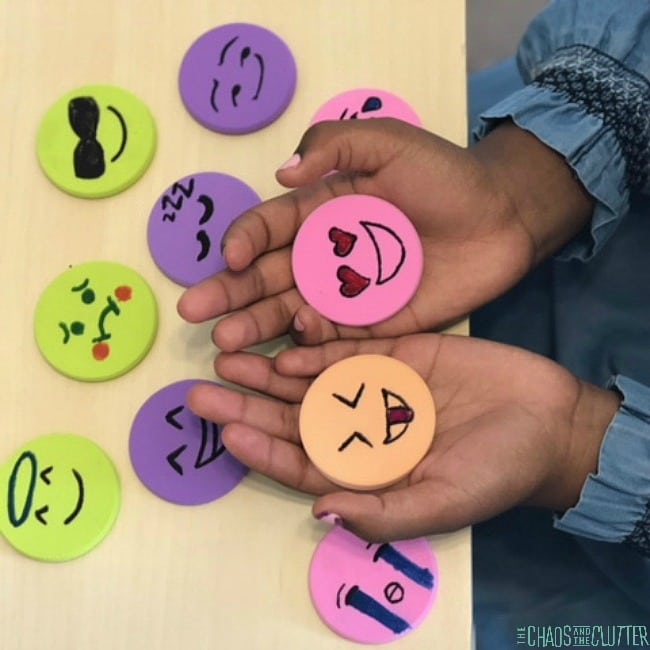
I encouraged the kids to tell stories using the emoji faces. I thought this would be a great way for them to practise their emotional vocabulary.

My plan may have backfired a bit when little miss here decided to create a love story between two of the emoji faces. Her little drama ended in them kissing! Silly girl!
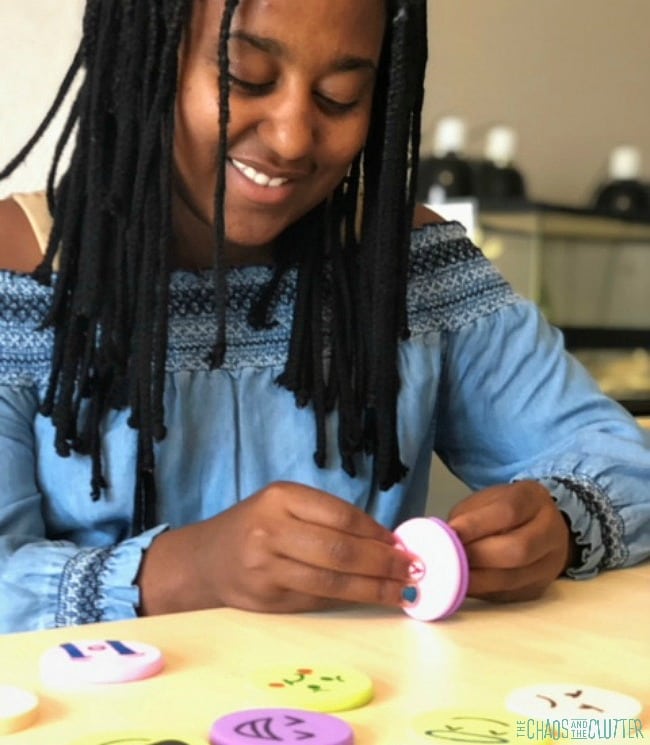
If you’re able to find your makeup sponges at the dollar store, then these are so inexpensive to make. Ours came in a pack of 6, making these less than 25 cents each to make! They would be cute to give as party favours or to make with a group.

They are a nice change up for kids to use instead of a stress ball as they have a similar effect. These are also a great fidget toy to have in the classroom as they don’t make any noise.

Join me for a free 5 part email series, Little Hearts, Big Worries offering resources and hope for parents.

You will also love:

DIY Mermaid Stress Balls

Shark Week Sensory Bottle

Unicorn Fluffy Slime

Filed Under: Crafts and Activities, Sensory Tagged With: sensory play

Rainbow Confetti Party Slime

By Sharla Kostelyk

Whether you are new to the slime craze train or barreling full speed ahead down the tracks, you’ll love this simple rainbow confetti party slime. Rainbow Confetti Party Slime #slime #sensoryplay #slimerecipe #kidsactivities

My kids are fully on board the slime train, so we have had the chance to make many types. By adding a small twist to each type, they never seem to get bored of it.

As with all slime recipes, supervise younger children, wash hands and surfaces that come into contact with the slime after playing, and avoid contact with clothing and hair.

Trust me on this one: slime and hair are a nasty combination!

Although I experiment with different types of slime, I prefer glue based slimes as they seem to have the best success rates. The type of glue you use matters, so rather than experiment, I suggest you use Elmer’s Washable School Glue. It’s tried and true.

There are many times when I suggest buying items from the dollar store or using a no-name brand, but this is not one of those times. If your kids are fully hooked on making slime, I suggest buying it by the gallon!

Rainbow Confetti Party Slime Recipe:

  • 1/2 cup Elmer’s white glue
  • 1/2 cup water
  • Wilton Color Right liquid (black)
  • 1/4 cup liquid starch
  • rainbow sprinkles

Adult supervision is recommended for making the slime as it does involve a chemical reaction. I like to use the wide popsicle sticks (also called craft sticks) for mixing because I can throw them away afterwards. Spoons work as well of course, but I find the glue a bit finicky to get off after.

  1. In a bowl, mix 1/2 cup of water with 1/2 cup of glue.
  2. Mix in the liquid color.*
  3. Pour in the liquid starch.
  4. Stir. Keep stirring until the liquid is gone and a glob of slime forms.
  5. Knead the slime. It will be stringy and goopy in the beginning, but will quickly become more and more the consistency of slime.
  6. Set the slime down and allow it to flatten out.
  7. Sprinkle with the confetti sprinkles and let it sit 20 seconds or so.
  8. Pick the slime up from underneath.

Elmer's Liquid School Glue, Washable, 1 GallonElmer’s Liquid School Glue, Washable, 1 GallonRainbow SprinklesRainbow SprinklesWilton Color Right Food Color BlackWilton Color Right Food Color BlackSta-Flo Liquid StarchSta-Flo Liquid Starch

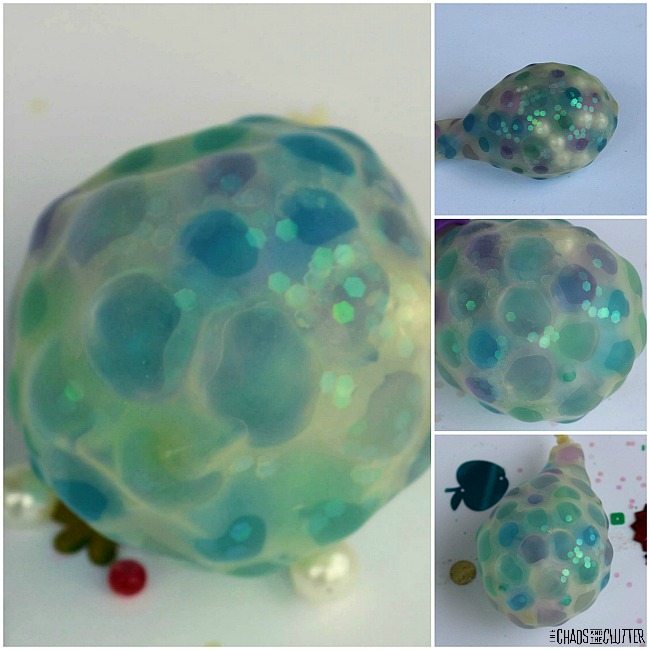
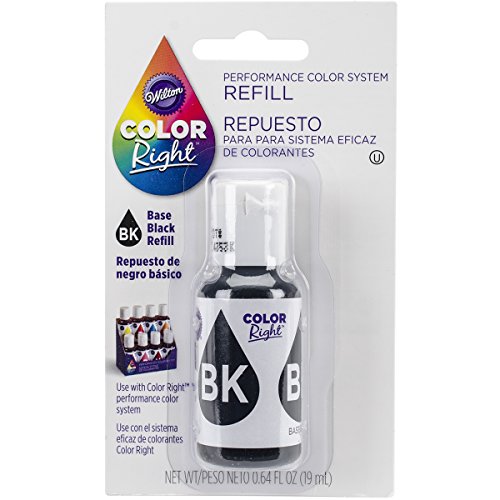
*Gel based food dyes are hard to mix into slimes and even harder to create a uniform colour with. I use a liquid based food dye for this reason.

Note that as the slime is played with, the sprinkles will mix in and lose their coloring, but that’s all part of the fun. Once they are dissolved, it will look like a completely new slime! Slime is great for sensory play. This particular one would be fun to make at a birthday party. Each of the kids could take home their slime in a small plastic container as a party favour.
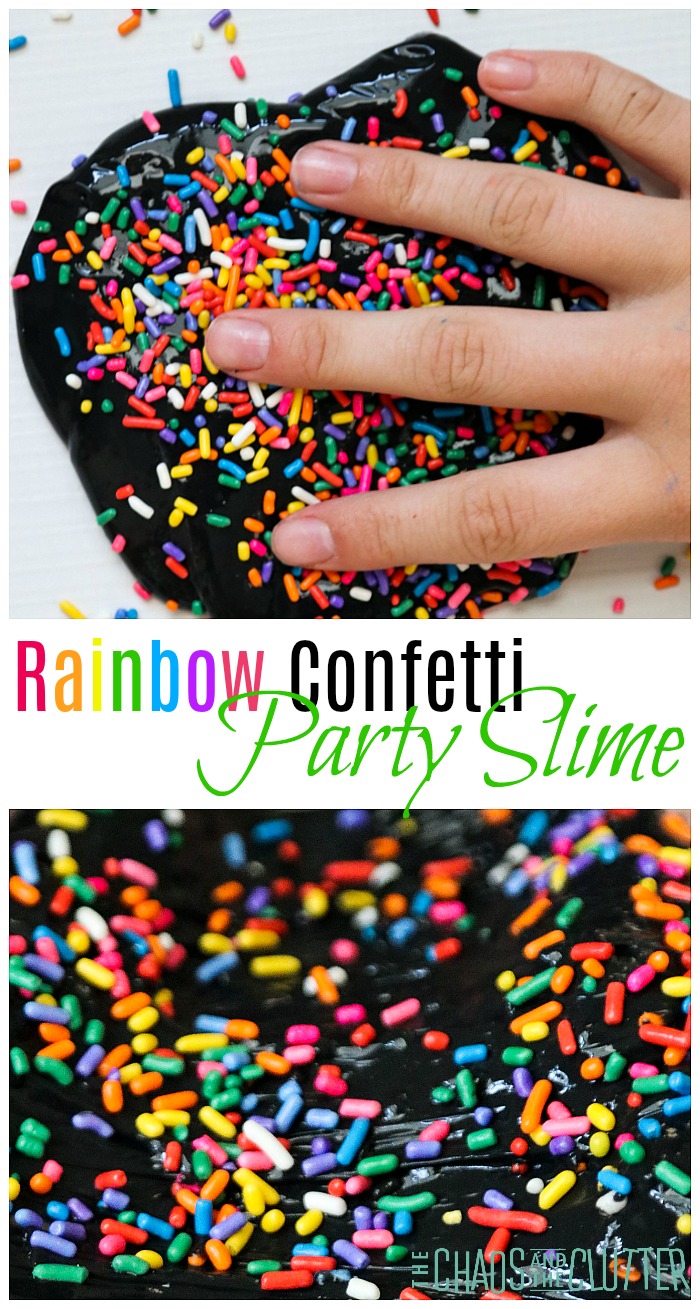
For awesome slime recipes at your fingertips, check out The Slime Book – From Edible Slime to Glow-in-the-Dark Slime – it’s got it all! 

Check out these other slime recipes: 

Crunchy Slime With Mardi Gras Beads

Holiday Jingle Bell SlimeHoliday Jingle Bell Slime

Filed Under: Crafts and Activities, Sensory Tagged With: sensory play, slime

A Summer Bucket List for Simple Fun

By Sharla Kostelyk

Do you remember lazy summer days spent splashing in a blow up pool with the stickiness of melting popsicles dripping down your hand? The days when you rode your bike with kids kids from the neighbourhood and played hopscotch and raced back home before the streetlights came on? It’s that kind of old-fashioned summer that I’m trying to recreate with this Summer Bucket List. This summer bucket list is all about creating good old fashioned simple memories for your kids this season.

Last year, I made a Summer Bucket List for Moms Who Want to Engage because I became aware of how often I watch my kids having fun but don’t actually join in with them. It was the perfect plan for us for that season of our life. This year, I needed something different.

This year has been chaotic. I am feeling the need to simplify and get back to basics. That led me to creating this summer bucket list. The one I made for this upcoming season is one full of ideas that I remember doing in my childhood summers. I hope you are able to find some gems on here for your family.

I have tried to keep the ideas easy and inexpensive. This will help me to create a simple summer full of childhood memories for my kids.

Summer Bucket List:

  1. Climb trees.
  2. Go berry picking. (Saskatoons are my favourite!)
  3. Ride bikes.
  4. Play horseshoes.
  5. Eat watermelon.
  6. Have a watermelon seed spitting contest.
  7. Count the seconds between the thunder and the lightning during a summer storm.
  8. Blow bubbles.
  9. Play mini golf.
  10. Tent in the backyard.
  11. Have a picnic.
  12. Go fly a kite. (I cannot type that without the Mary Poppins song going through my head!)
  13. Run through a sprinkler.
  14. Go to a splash park.
  15. Eat ice cream…with fixings!
  16. Watch a parade.
  17. Jump rope.
  18. Build tin can stilts.
  19. Fly paper airplanes.
  20. Fish in the pond.
  21. Go bowling.
  22. Make popsicles. Let the kids invent their own popsicle recipes.
  23. Find pictures in the clouds.
  24. Skip rocks.
  25. Tell ghost stories around a campfire.
  26. Sing loudly in the van.
  27. Play board games.
  28. Make a DIY slip ‘n’ slide.
  29. Play tag.
  30. Go to a Farmer’s Market.
  31. Cheer for a local team.
  32. Have a water fight.
  33. Go for a walk.
  34. Make a lemonade stand.
  35. Play hopscotch.
  36. Play cards on a rainy day.
  37. Build a fort.
  38. Go camping.
  39. Paint rocks.
  40. Play in sensory bins.
  41. Run through long grass.
  42. Have a hula hoop contest.
  43. Make s’mores.
  44. Watch fireworks.
  45. Collect seashells on the beach.
  46. Walk barefoot.
  47. Play on the trampoline with a sprinkler running underneath.
  48. Build sandcastles.
  49. Have a three-legged race.
  50. Participate in the summer reading program at the library.
  51. Host a neighbourhood penny carnival.
  52. Make shrinkydinks.
  53. Read by flashlight under the covers.
  54. Play dress-up.
  55. Have fun with face paint.
  56. Put on a puppet show.
  57. Play hide and seek.
  58. Draw with sidewalk chalk.
  59. Go on scavenger hunts.
  60. Skip. (you can, but do not have to, sing “Skip to my Loo” while skipping!)
  61. Get dirty.
  62. Go to the playground.
  63. Plant a garden or even just a flower.
  64. Stay up late.
  65. Make a tin can and string telephone.
  66. Have a family fun night.
  67. Go on a road trip.
  68. Catch butterflies.
  69. Dig up worms.
  70. Write and mail letters to relatives, the old fashioned way, with stamps.
  71. Help out a neighbour.
  72. Play the telephone game. (sometimes called the whisper game)
  73. Make real lemonade.
  74. Red Rover, Red Rover, we call…
  75. Have a sack race.

You can print off a copy of A Bucket List for a Simpler Summer if you want to use it to create your own old- fashioned summer for your kids. I’d love to see pictures of how it goes.

If you are looking for other fun summer ideas, you may be interested in checking out my Summer Sensory Activities Series.

Summer Sensory Activities Series

Filed Under: Crafts and Activities, Parenting in the Chaos

The Bag Game

By Sharla Kostelyk

Our neighbour Christie introduced our family to the Bag Game years ago and it is always a hit on family game night.  This easy game requires exactly one item and can be played anywhere. It can be played with large groups or small groups and with people of all ages.  It seriously does not get simpler or better than The Bag Game!The Bag Game - fun for family fun nights, youth group events and parties

We have played the Bag Game both outside and inside. We once played it with an empty cereal box because we didn’t have a paper bag to use. It is a great boredom buster on a snow day and an even better ice breaker at group events or a game for youth.

As long as you have a paper bag, this game costs nothing and couldn’t be simpler to set up. We always save paper bags now from stores or take-out at restaurants just for this purpose.

Our family loves this activity. There is always much hilarity that ensues as everyone stands around watching the person whose turn it is. There is laughter and cheering. Sometimes, there are some attempts to distract the person, especially when it comes to siblings!

How to Play The Paper Bag Game

Materials needed:

  • paper bag or cereal box

Instructions:

  1. Place an empty paper bag on the floor.
  2. Standing on one foot, each player must take a turn to retrieve the bag using only their mouth.
  3. Once the bag is successfully retrieved, that player tears off the piece of the bag that their mouth touched.
  4. In this way, the bag slowly gets lower and lower to the ground.
  5. Once a player’s raised foot touches the ground or one of their hands touches the ground, they are eliminated from the game.
  6. The last person remaining in the game is the winner.

the bag game: minute to win it challenges

You will want to play this in a fairly large area so that everyone has room to manoeuvre. We have found that everyone develops a bit of their own style in this game. Some put their other leg way up high and use it as a counterbalance. Some crouch low to the ground with their whole body while others bend their upper half down. One of our sons places one foot on top of the other before crouching down.

The Bag Game Variations

For younger children or those with mobility issues, you can play the game exactly the same way but allow both feet to be touching the ground.

You can choose to have some players be allowed this exception while others play with the traditional rules of the game.

Another variation is to allow each player three strikes per turn or per game wherein their raised foot or one of their hands can touch the ground twice without that player being eliminated.

the bag game: minute to win it challenges

We have a large family and we enjoy finding family games that we can all do together.  This one has quickly become a favourite.

You’ll notice from the blurry pictures that this is an active game with a lot of movement. There can be some pretty funny contortions, particularly when the bag gets down really low. There have been times in our competitive family when all that was left of the bag was a single piece of paper laying flat on the ground and our son managed to retrieve it!

The Bag Game is an easy activity for large groups with a variety of ages and abilities. It can be played at youth groups, camp, family reunions, Christmas parties, birthday parties, retirement celebrations, or in a classroom.

Looking for more super cool ideas for family fun or resources to help you connect with your child? Join our free 5 Days to Better Family Connection email series.

Click here for more fun family games:

Dollar Store Minute to Win It GamesDollar Store Minute to Win It party

The Flour Game

Minute to Win It Games

Filed Under: Crafts and Activities, Family Games

The Coolest Slime Recipes

By Sharla Kostelyk

Slime has been gaining in popularity as parents and kids discover its play and sensory possibilities. If you are getting bored with the usual slime ideas, these cool slime recipes are sure to bring a new level of excitement to your slime play!

If you are getting bored with the usual slime ideas, these cool slime recipes are sure to bring a new level of excitement to your slime play!The Coolest Slime Recipes

Rainbow Confetti Party Slime found right here at The Chaos and The Clutter

Buildable Rock Slime from over on Left Brain, Craft Brain (pictured)

Unicorn Poop Slime from Schooling a Monkey

Holiday Jingle Bell Slime from The Chaos and the Clutter

Egg Slime from The Pinterested Parent

Bubble Bath Slime from Teaching Mama

Chocolate Milk Slime from The Chaos and the Clutter

Geology Gemstone Slime from STEAM Powered Family (pictured)

Bubble Slime from Sugar, Spice and Glitter (pictured)

Fluffy Oobleck Slime from Fantastic Fun and Learning (pictured)

Unicorn Slime by My Frugal Adventures (pictured)

Rainbow Slime by Schooling a Monkey (pictured)

If you are getting bored with the usual slime ideas, these cool slime recipes are sure to bring a new level of excitement to your slime play!

Join me for a free 5 part email series Sensory Solutions and Activities and get your Sensory System Behaviours Easy Reference Cards.

Edible Starburst Slime by Teach Beside Me (pictured)

Beauty and the Beast Slime from As the Bunny Hops (pictured)

Mermaid Slime by The Nerd’s Wife (pictured)

Toothpaste Orbeez Slime from Savvy Naturalista (pictured, and yes, it’s actually made with toothpaste!)

Fluffy Sand Slime from Mom Dot

Erupting Slime by STEAM Powered Family

Fake Snot Edible Slime by Little Bins for Little Hands (yep, you read that right – it’s edible snot slime!)

Avalanche Slime from Mom Luck

Heat Sensitive Colour Changing Slime from Left Brain, Craft Brain

For awesome slime recipes at your fingertips, check out The Slime Book – From Edible to Glow-in-the-Dark Slime – it’s got it all!

You may also want to check out these Unique Slime Recipes.

Filed Under: Crafts and Activities, Sensory Tagged With: sensory play

  • « Go to Previous Page
  • Page 1
  • Interim pages omitted …
  • Page 13
  • Page 14
  • Page 15
  • Page 16
  • Page 17
  • Interim pages omitted …
  • Page 35
  • Go to Next Page »

Primary Sidebar

Categories

We are a participant in the Amazon Services LLC Associates Program, an affiliate advertising program designed to provide a means for us to earn fees by linking to Amazon.com and affiliated sites.

Copyright © 2026 • The Chaos and the Clutter • Site Design by Jeni @ The Blog Maven

Return to top of page

Copyright © 2026 · Chaos and the Clutter 2.0 on Genesis Framework · WordPress · Log in