• Skip to primary navigation
  • Skip to main content
  • Skip to primary sidebar
  • Home
  • About
  • Contact
  • Privacy + Terms
  • Affiliates

The Chaos and the Clutter

  • Facebook
  • Twitter
  • Pinterest
  • Google Plus
  • RSS
  • Email
  • School at Home
  • Sensory
    • Sensory Processing Disorder
    • Awesome Sensory Play Activities
      • Sensory Bins
      • Sensory Bottles
      • Sensory Bags
  • Family Games
    • Minute to Win It Games
  • Special Needs Parenting
    • Childhood Anxiety
    • Reactive Attachment Disorder
    • Sensory Processing Disorder
  • Store
  • Course Login

Sensory

Christmas Nativity Slime

By Sharla Kostelyk

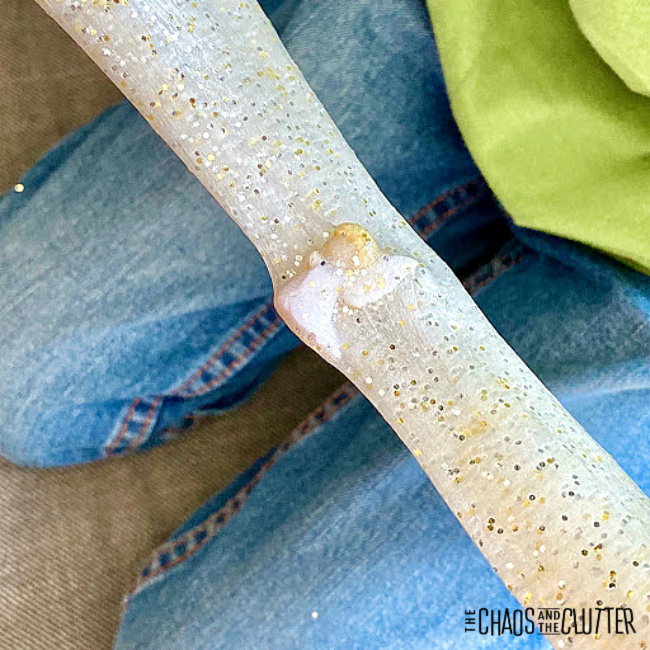
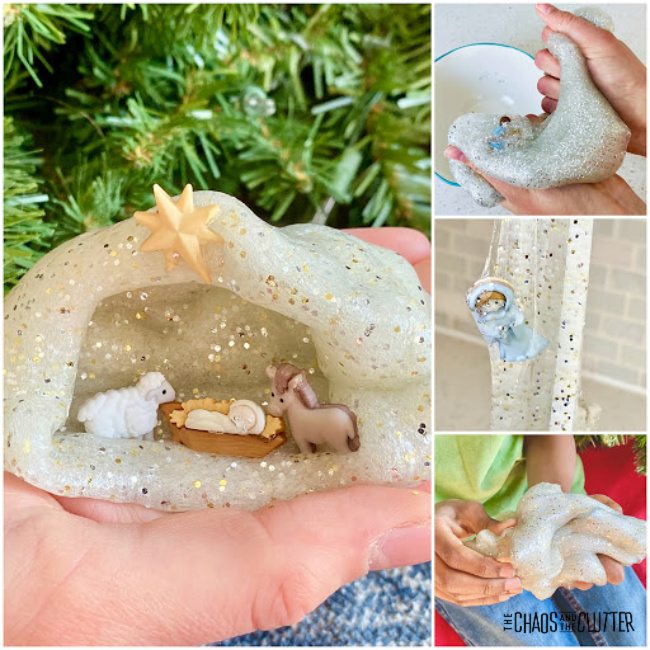
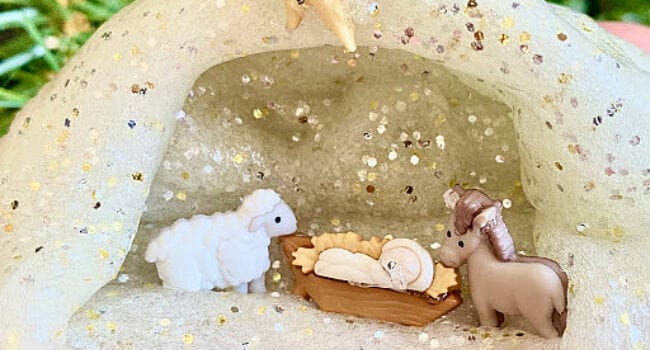
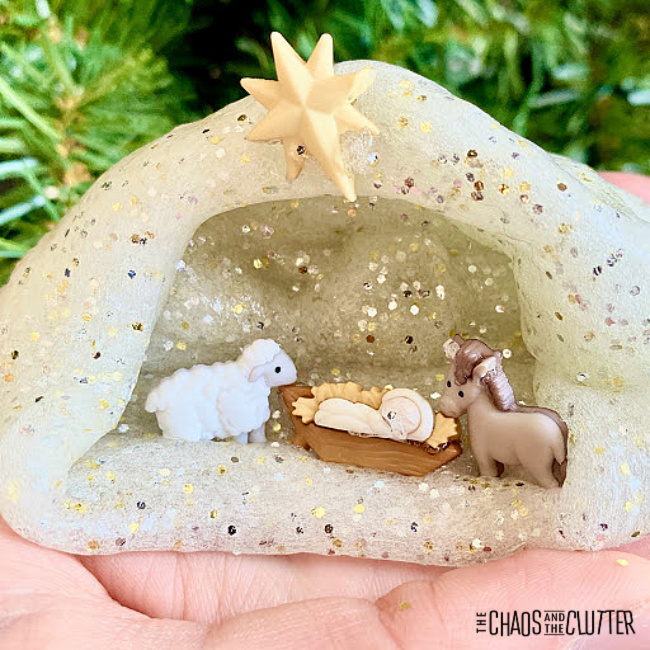
Leave it to kids to create the best ideas! While I thought of the nativity slime on my own, it was the imagination of one of the kids that came up with the concept of creating a manger with the slime. The results? Wow!a tiny nativity scene sits inside a manger made out of slime on top of a child's hand with text that reads "Nativity Slime”
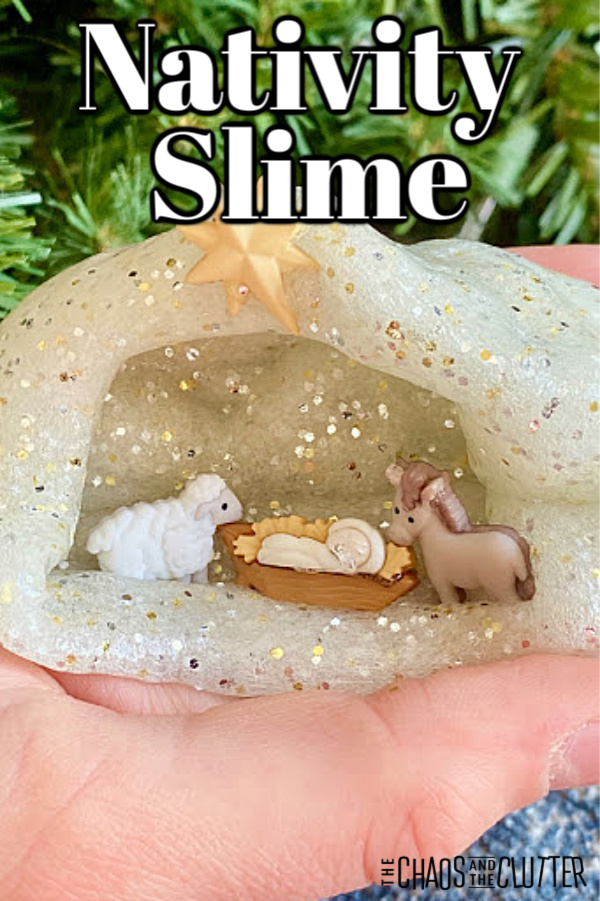
I love how this activity allows kids to use their imaginations and interact with the Christmas story. It has the added bonus of providing a calming effect!

You can see that in the video below that this slime has just the right amount of stretch and so many play possibilities.

Nativity Slime Recipe:

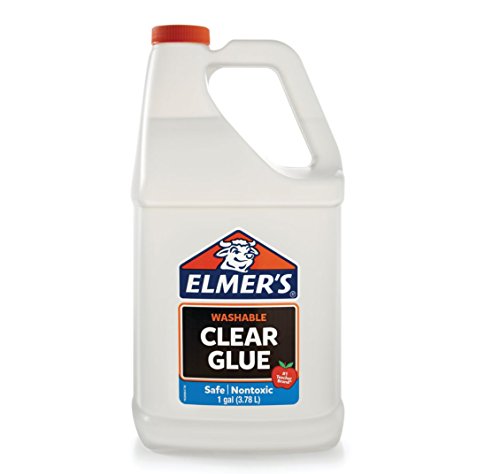
  • 1 cup clear glue
  • 2-3 Tbsp. contact lens saline solution
  • 1/2 tsp. baking soda
  • gold and silver glitter
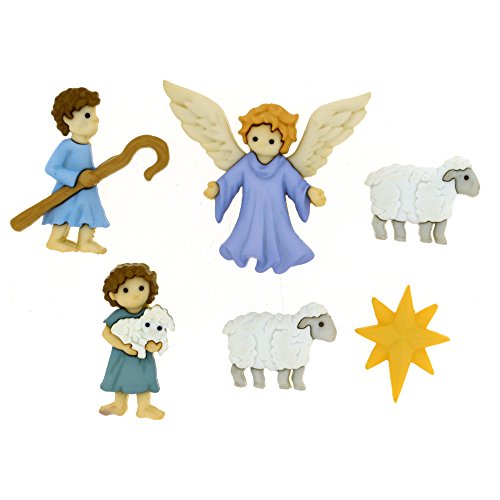
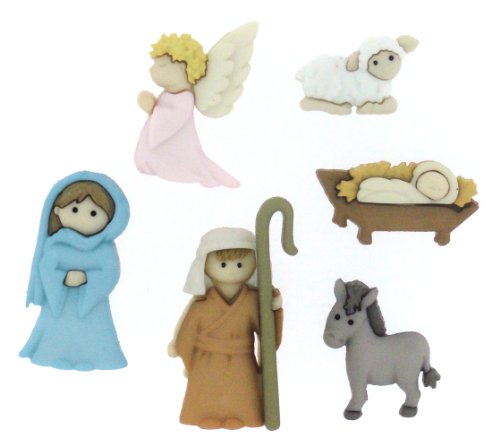
  • mini nativity figures (buttons)
  • mini Good Shepherd figures (buttons)
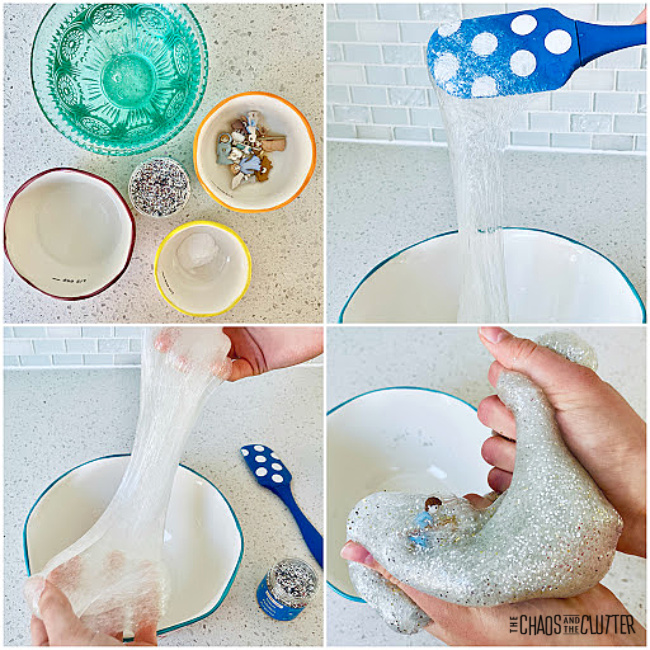
  1. Pour the glue into a large mixing bowl and add the baking soda.
  2. Begin to add the contact lens solution a few drops at a time as you stir.
  3. When you find that the mixture begins to pull away from the bowl, knead by hand.
  4. Add the glitter. Knead.
  5. Add the nativity figures and and fold them in.
  6. Continue kneading.
  7. The slime is now ready for play.

Dress It Up 7473 NativityDress It Up 7473 NativityDress It Up 7473 NativityDress It Up Buttons 8816 The Good ShepherdDress It Up Buttons 8816 The Good ShepherdDress It Up Buttons 8816 The Good ShepherdElmer's Liquid School Glue, Clear, Washable, 1 Gallon - Great for Making SlimeElmer’s Liquid School Glue, Clear, Washable, 1 Gallon – Great for Making SlimeElmer's Liquid School Glue, Clear, Washable, 1 Gallon - Great for Making SlimeEquate Saline Solution for Sensitive Eyes Twin Pack, 12 fl oz, 4 countEquate Saline Solution for Sensitive Eyes Twin Pack, 12 fl oz, 4 countEquate Saline Solution for Sensitive Eyes Twin Pack, 12 fl oz, 4 count

Slime Troubleshooting Tips:

If the slime is too sticky, you can try these tips:

  • knead the slime for longer
  • add a drop or two of baby oil
  • or put in a drop or two more of the contact solution

If the slime is too runny, you can try this:

  • mix in a bit more glue

If the slime has lost its stretch:

  • soak in hot water
  • or add a small dollop of lotion

Sensory and Learning Opportunities for the Nativity Slime:

Slime allows children (or adults) to engage their visual, tactile, and proprioceptive sensory systems. Because of the way that it engages the proprioceptive system, playing with the slime can have a calming effect.

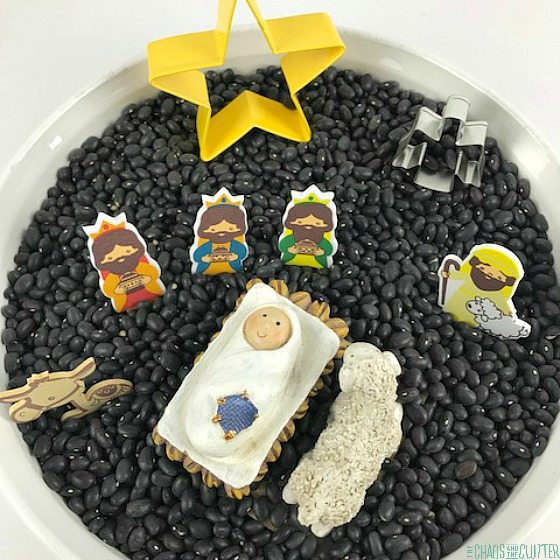
Kids can use their imaginations to move the nativity figures through the slime or on top of the slime. If they want to, they can even make a complete manger scene with the slime and nestle the baby Jesus inside. Have your child hold and squish and pull their slime while you are reading them the Christmas Story. Allowing them to engage in sensory play will actually help them be more attentive to the story and the figures in the slime will help reenforce the story and improve their memory.
You’re also going to love:
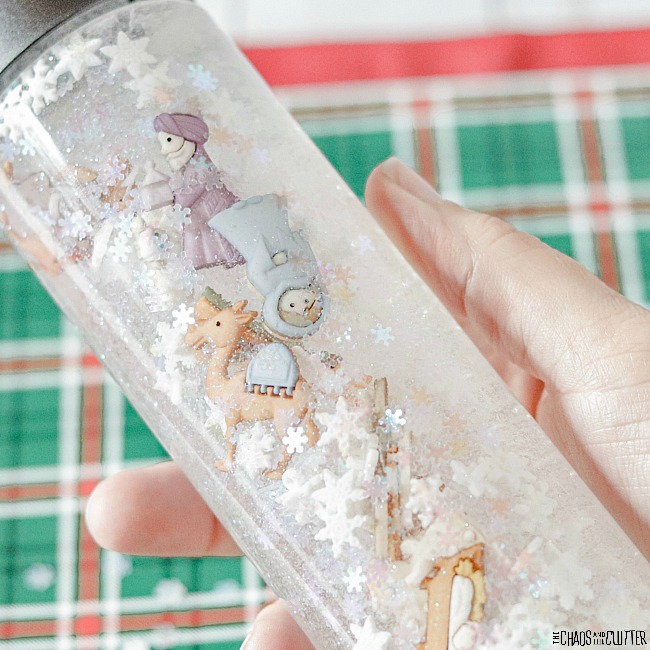
Nativity Sensory Bottle

O Holy Night Sensory Bin

Filed Under: Christmas, Sensory Tagged With: sensory play, slime

Gross Motor Dinosaur Action Cube

By Sharla Kostelyk

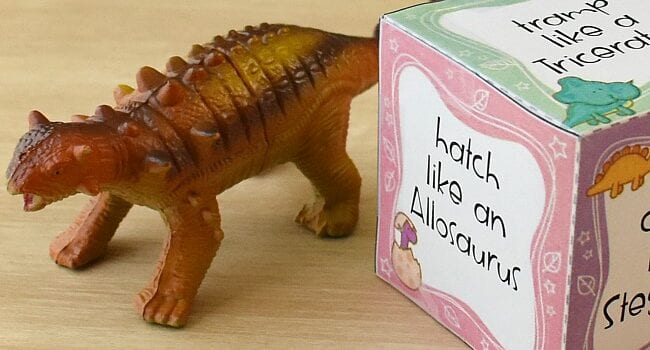
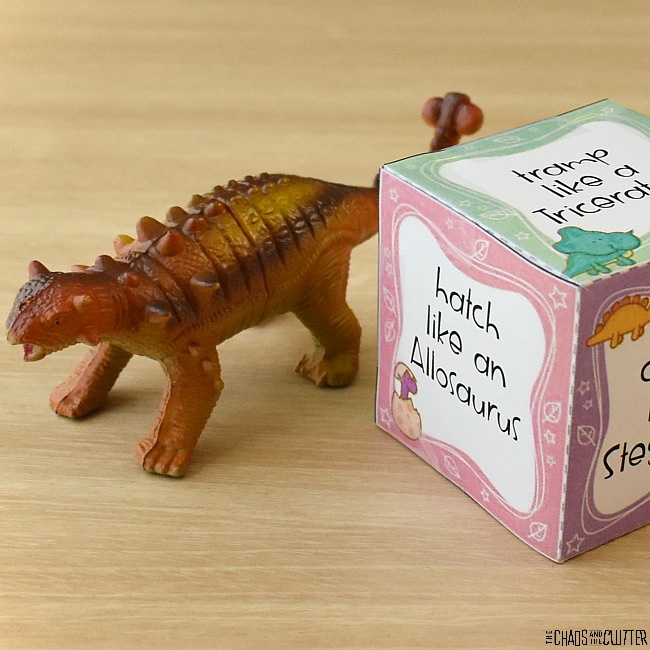
This gross motor dinosaur action cube is a fun way for kids to work on their gross motor skills and get valuable sensory input. This activity requires very few supplies and can be done anywhere.

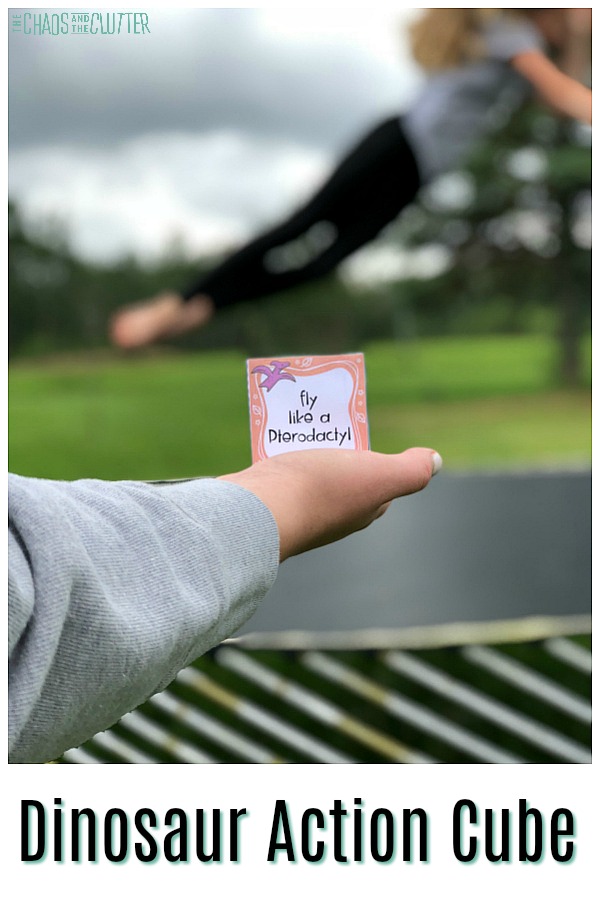
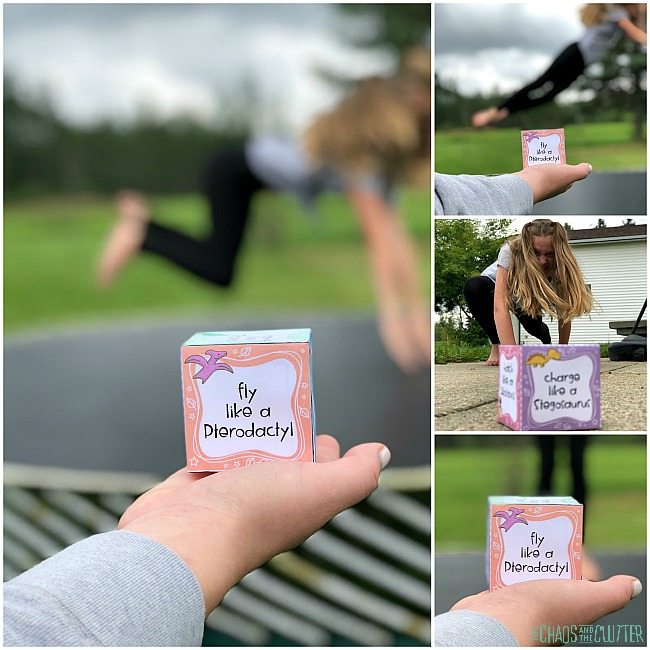
outstretched hand holding a square while a child jumps in the background with text that reads "Dinosaur Action Cube"You can use the dinosaur action cube indoors or outdoors. Kids of many ages can participate. This is a fun rainy day or snow day activity because it gets the whole body engaged. Kids explore their movements and imaginations as they hatch, tromp, charge, fly, and munch like the dinosaurs of the past.
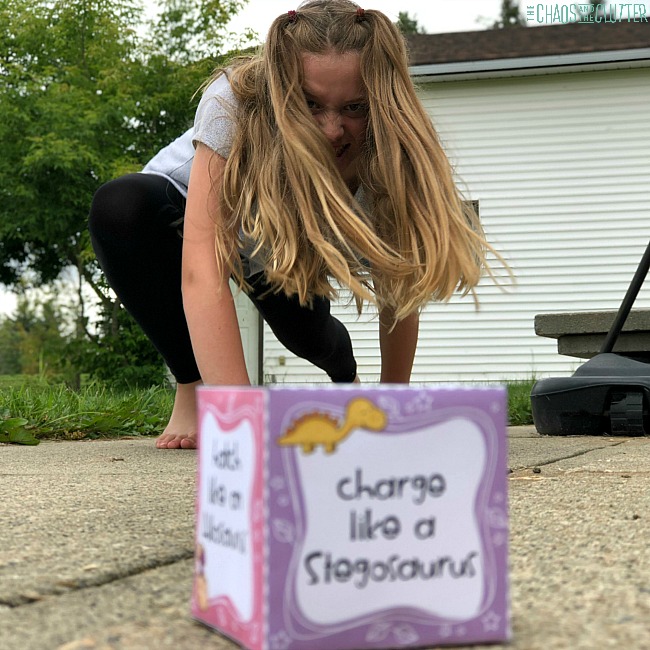
I love how these activities can be paired with a dinosaur unit. When we combine full body movements with learning, kids are more likely to remember. Participating in these gross motor activities is also a great brain break for them which makes learning more effective as well. This can be used in the classroom, at home, or in your homeschool.

Dinosaur Action Cube:

Supplies needed:

  • free download of the dinosaur action cube
  • scissors
  • tape or glue

Directions:

  1. Print.
  2. Cut around the outside.
  3. Fold along the fold lines.
  4. Tape or glue into a cube.
  5. Students can take turns to roll the cube and act out the action indicated.

You can also take the activity one step further by having them read about each of the dinosaur types on the cube or having them draw that species. There are so many possibilities.
Just enter your email in the box below to get your dinosaur action cube and let the learning begin!

The actions engage the student’s sensory systems as well as work on gross motor skills. With these actions, they are able to get visual, auditory, tactile, proprioceptive, and vestibular sensory input. I enjoyed seeing my kids’ interpretations of the dinosaurs. Some kids also like to add their own sound effects. We may not know exactly what dinosaurs sounded like, but my kids did some pretty convincing impressions!
Check out these other dinosaur learning activities:

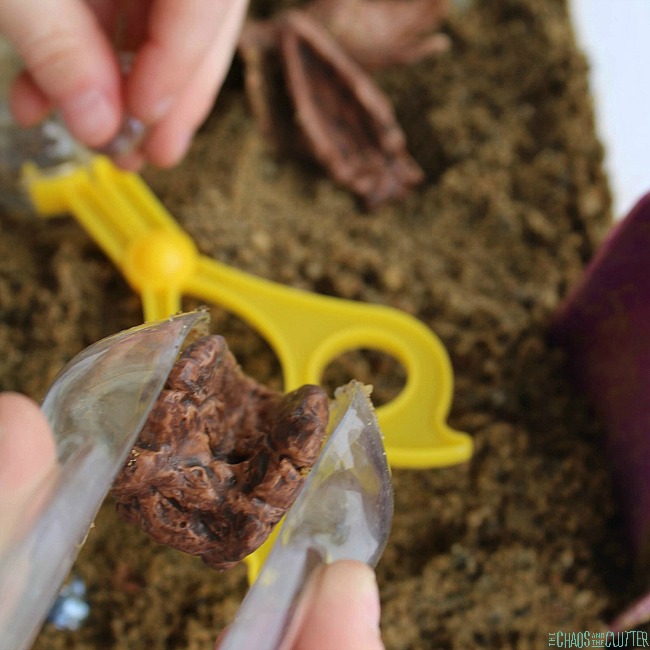
Dinosaur Fossil Sensory Bin

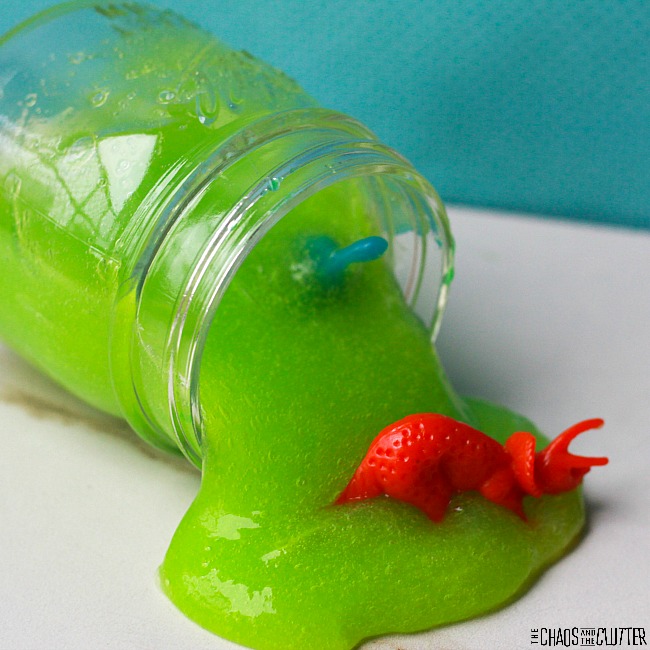
Dino Slime

Dinosaur Activities

Filed Under: Crafts and Activities, Printables, Sensory Tagged With: sensory play

Cookies Bite Size Lessons Sensory and Learning Activities

By Sharla Kostelyk

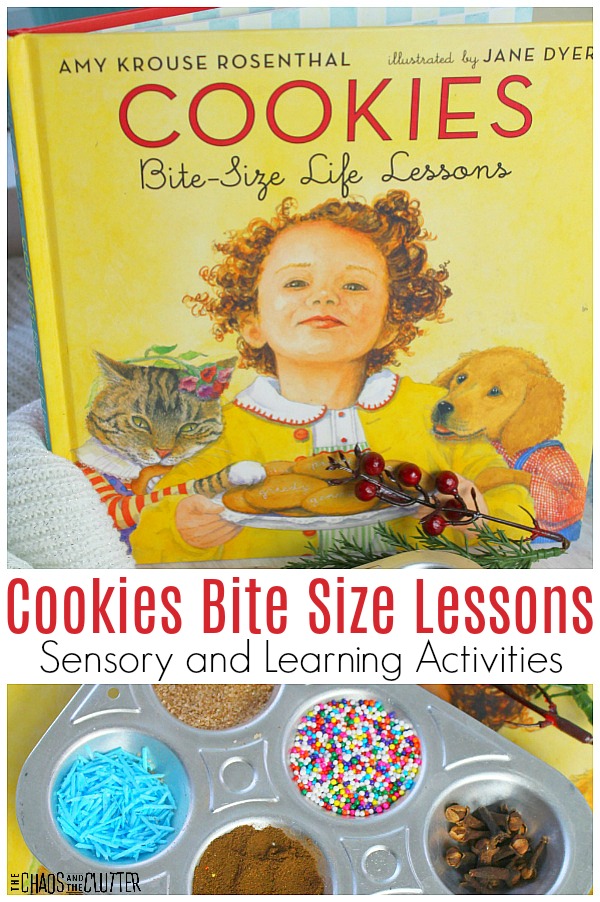
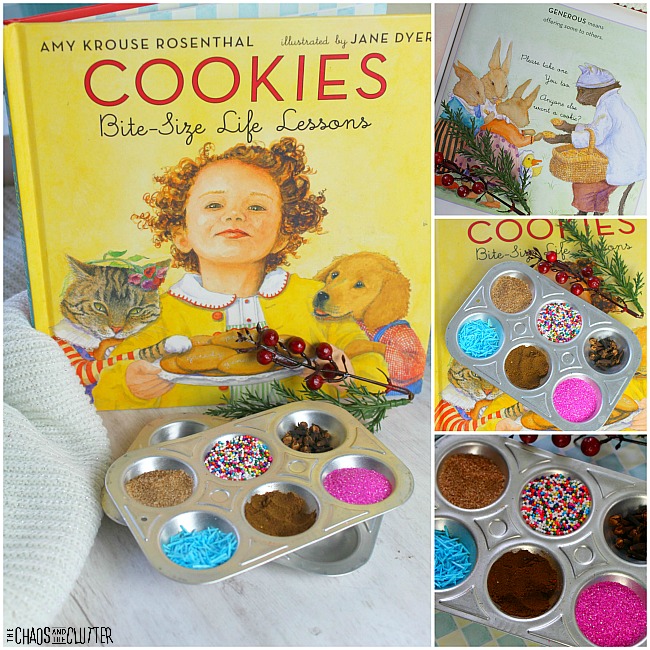
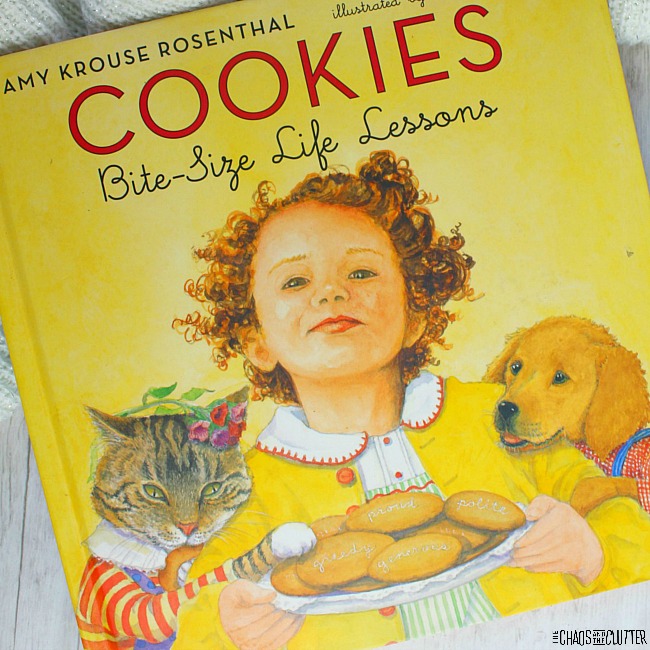
Nothing can bring a family together like baking cookies. In the book Cookies, Bite Size Life Lessons by Amy Krouse Resenthal, children can learn life lessons about love, kindness, and sharing all centered around their favourite food…cookies! Enjoy the book with your child, then take a look at these book based activities designed to extend the learning even further.

These activities are a great way to enjoy the themes of the story long when the book is done, and can help keep kids learning and engaged in a way that is fun and meaningful. yellow book cover and a muffin tin of sprinkles and text that reads "Cookies Bite Size Lessons Sensory and Learning Activities"

Cookies Bite Size Lessons Book Activities:

Activity #1: Cookie Baking Sensory Experience

In this activity, kids will experience the smells and feels associated with cooking baking in a hands on way. It engages the tactile and olfactory sensory systems.

Supplies needed:

  • muffin tin or muffin cups
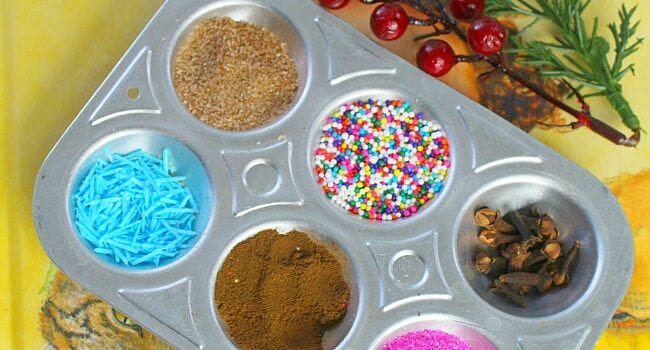
  • assorted cookie toppings such as candies, cinnamon sprinkles, candy sprinkles, sugar, cloves, and other spices.

Directions:

  1. Start by reading the book with your child. As you look at the pictures, talk about how we can use illustrations to “smell” the pictures. What types of items do you see that make you think of baking scents? Some examples include dough, sugar, candy, etc.
  2. Take a look at the samples you have collected for children to smell. Take turns smelling each sample. Some of the samples can include candy toppings, cloves, cinnamon, and sugar.
  3. Use your adjectives to describe the scents. Do they smell sweet? Spicy? Tasty?
  4. Let children touch and smell each sample and use their adjectives to describe what they are experiencing.

Activity #2: Comprehensive Book Walk

In this activity, children will take a book walk through the text and use this opportunity to ask questions, discuss their favourite pages, and more.

Supplies needed:

  • book
  • Post-it notes
  • pens/pencils

Directions:

  1. Give each child a stack of post it notes as well as a pen or marker.
  2. Go through the book page by page. When children find a page that they have a question about, have them write a “?” on the sticky note and stick it to the page.
  3. When they find a page that excites them or is their favourite, have them write a “!” and stick it on the page.
  4. When you are done walking through the book, take the time to go back and address the sticky notes. These conversations help them develop further comprehension of the text and can help guide the conversation.

Activity #3: Bake and Share

A big theme in the book is sharing with others. For this activity, you will plan, bake, and share your own batch of cookies.

Supplies needed:

  • book
  • ingredients to make cookies
  • construction paper, markers

Directions:

  1. Talk about the themes of the book such as sharing, caring, and love. Talk about who you would like to share cookies with and why.
  2. Bake a batch of cookies. Use this opportunity to practice those measuring skills. Let kids help plan, bake, and clean up.
  3. Take the construction paper and markers and create homemade cards to go with your cookies. Deliver them to family or friends who may enjoy them.
  4. Afterwards, sit down and talk about how sharing and caring feels.

Enjoy this book with your child, then give these fun and educational book based activities a try!

You may also enjoy these book activity ideas:

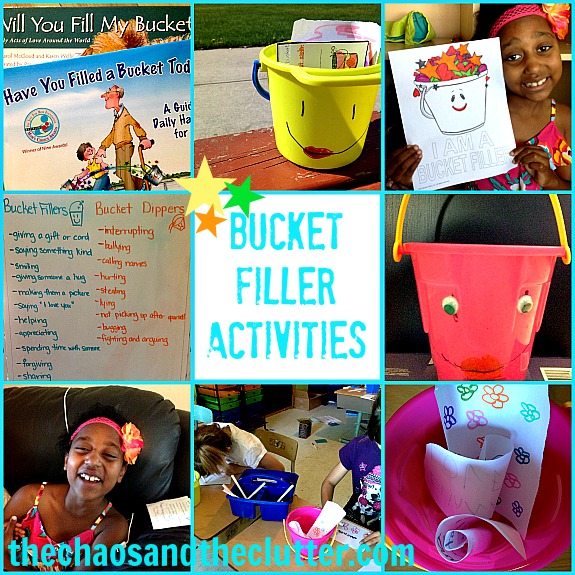
Have You Filled a Bucket TodayActivities for Have You Filled a Bucket

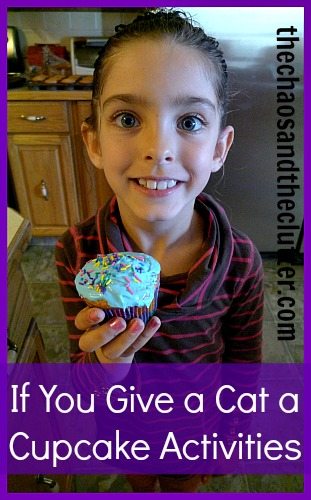
If You Give a Cat a Cupcake

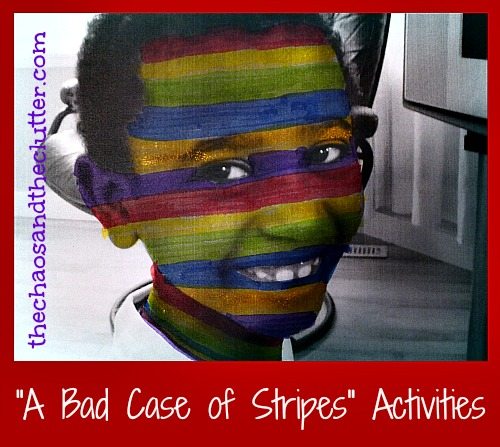
A Bad Case of StripesA Bad Case of Stripes Activities

Filed Under: Christmas, Homeschooling, Sensory

Deconstructed Christmas Tree Sensory Bottle

By Sharla Kostelyk

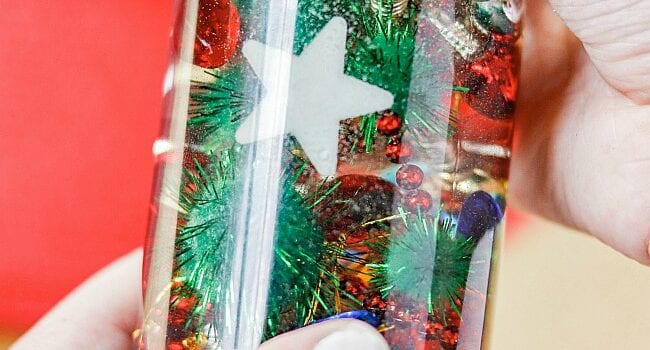
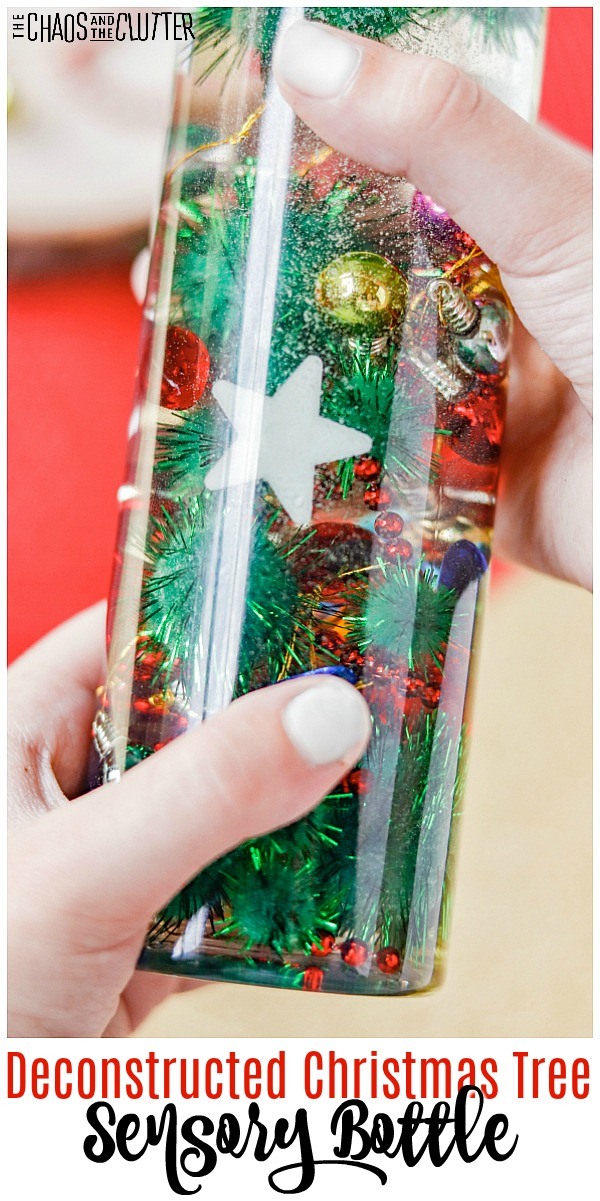
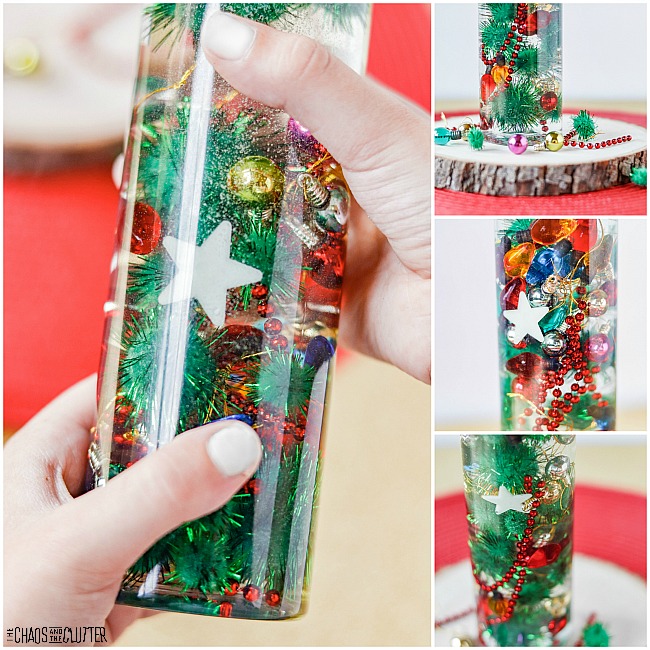
I am so in love with this Deconstructed Christmas Tree Sensory Bottle! It’s really simple and yet, it’s got this kind of whimsical quality to it that reminds me of something Dr. Seuss would have created. little hands hold a bottle full of green pompoms, tiny ornaments, and a star with text that reads "Deconstructed Christmas Tree Sensory Bottle"This is a great quiet activity for kids in amongst the hubbub of the holidays. Every year, I make several seasonal inspired sensory bottles for the kids like our Melted Snowman, Christmas Tree, and Nativity Sensory Bottles. They are small enough that kids can take it with them wherever they go.
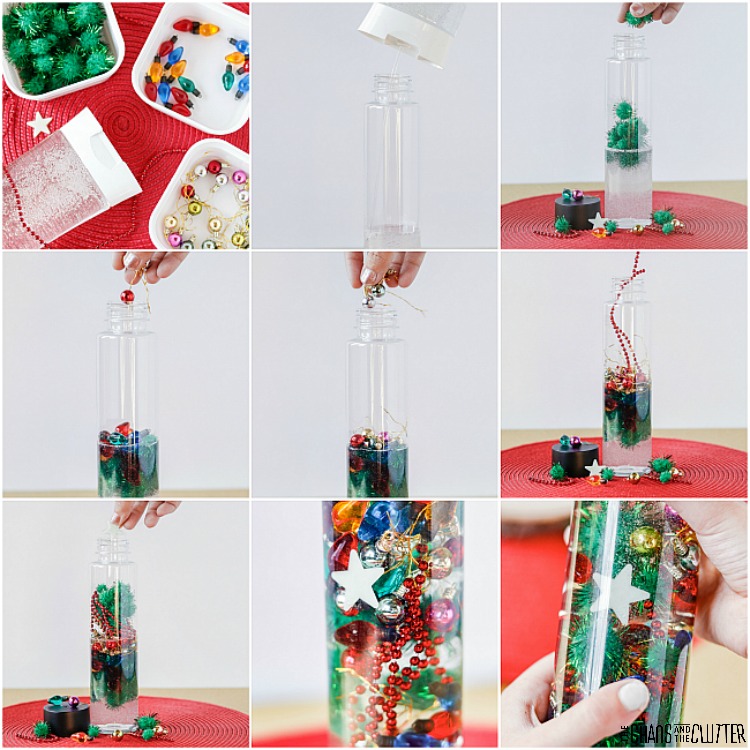
Deconstructed Christmas Tree Sensory Bottle:

Supplies needed:

  • empty plastic water bottle (I like the look of the Voss ones or sometimes you can find ones specific to sensory bottles at Michael’s)
  • clear dish soap
  • fuzzy green glitter pompoms
  • mini Christmas lights
  • mini Christmas ornaments
  • red bead garland
  • star
  • hot glue (optional)

Directions:

  1. Fill the bottle about a quarter of the way with clear dish soap.
  2. Add the pompoms.
  3. Drop in the mini lights, ornaments, garland, and lastly, top it off with the Christmas star.
  4. If there is any space left in the bottle, fill to the top with water.
  5. Replace the lid. If you’re using this with younger kids, hot glue the lid in place to secure.

You can find the supplies to fill this at the Dollar Store, Hobby Lobby, or on Amazon. Of course as with any sensory activity, adult supervision should be used at all times even if the lid is secured in place.
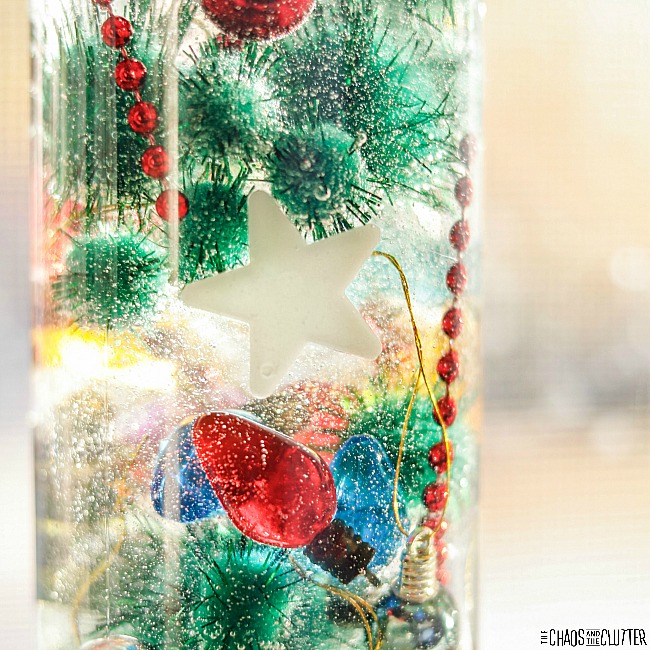
This really does look like a deconstructed Christmas tree in a bottle. It has all the decorations that would be on a tree, right down to the star topper. It even seems to almost look like it’s lit up when you hold it up to the light. It’s so cool!

Sensory and Learning Opportunities for Kids:
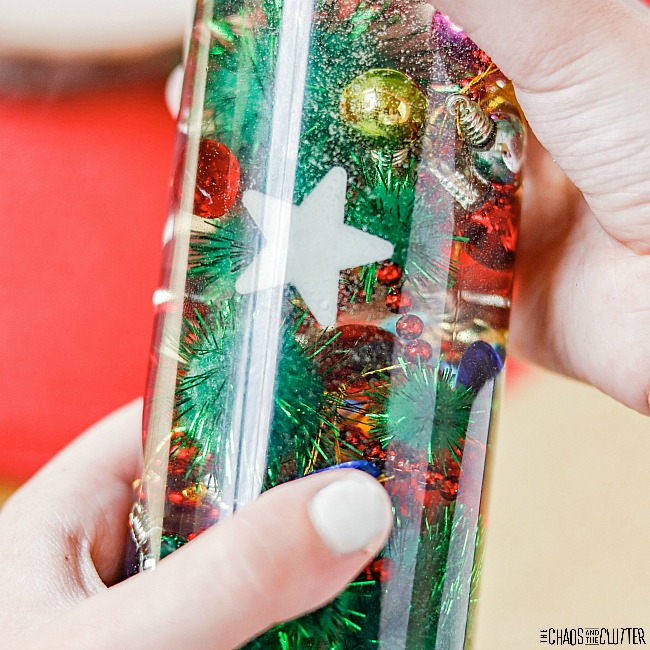
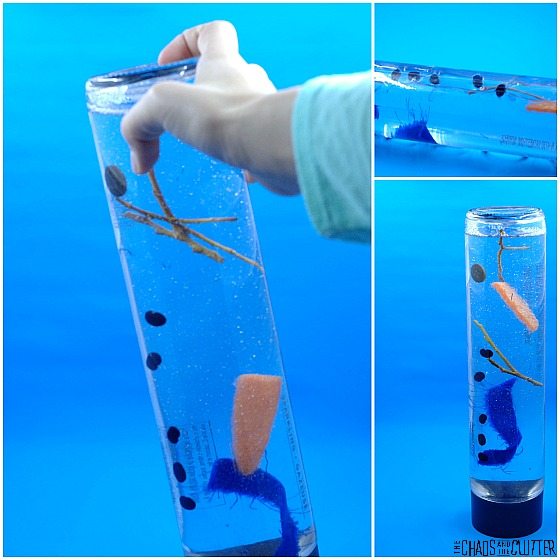
If preschoolers are playing with this, you can have them practise colours and counting but asking questions such as, “how many red Christmas lights can you find?” or “Can you count how many silver ornaments there are?”

Exploring with this sensory bottle engages the visual, tactile, and proprioception sensory systems. Sensory play is an important part of learning and development.

Check out these Christmas Sensory Bottles:

Nativity Sensory BottleMelted Snowman Sensory Bottle

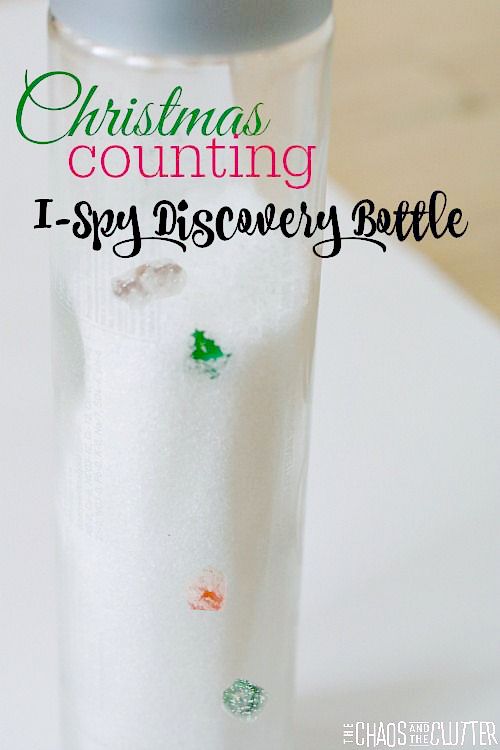
Christmas Counting I-Spy Sensory Bottle

Filed Under: Christmas, Sensory Tagged With: sensory bottles, sensory play

Nativity Sensory Bottle Snow Globe

By Sharla Kostelyk

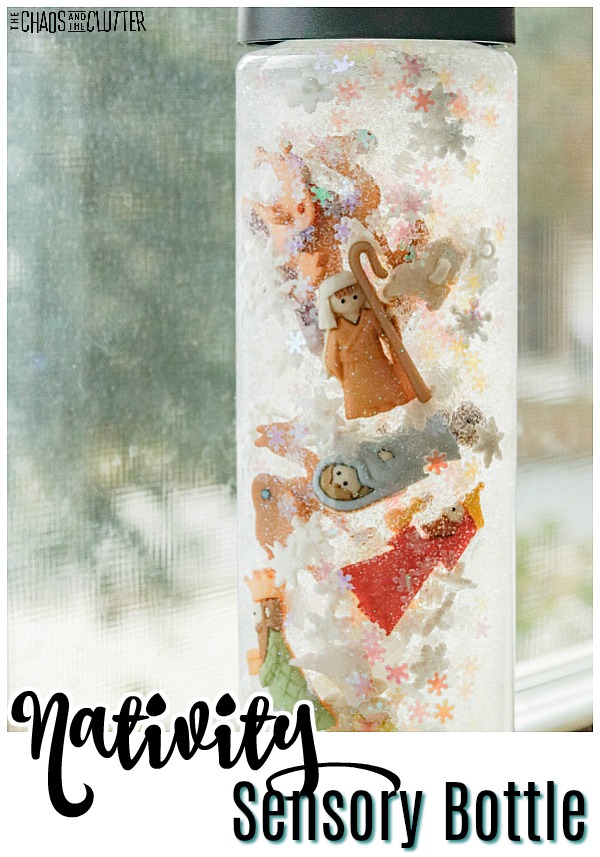
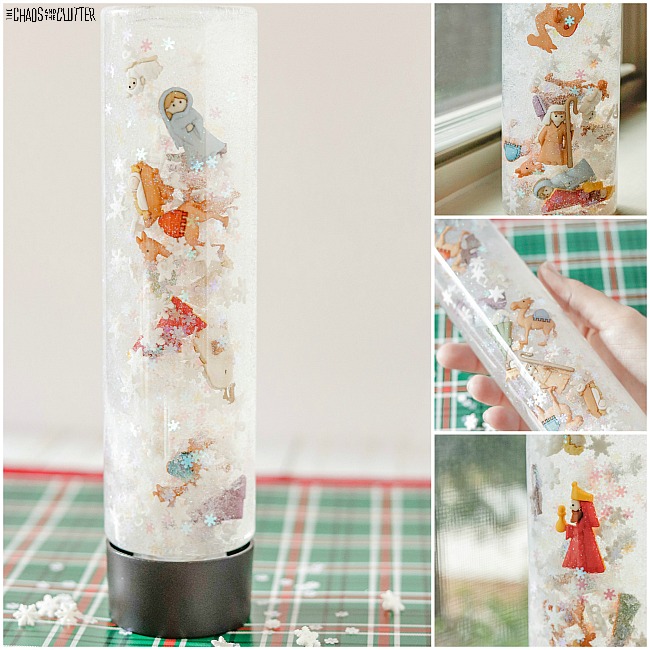
Is it weird to call a sensory bottle “beautiful”?! Because I really think this one is. The soft colours combined with the calming falling snow make this Nativity Sensory Bottle Snow Globe so pretty.

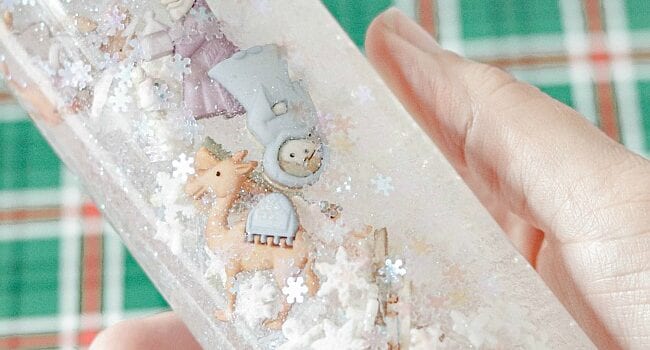
Sometimes parents can assume that the holidays are a time when kids don’t need as much sensory input because there are so many other things going on, but the opposite is actually true. With the change in routine and all the hubbub, children actually need more regular and varied sensory play to help them manage emotions and mitigate stress. We also use our Christmas Calm Down Kit for this purpose. clear bottle filled with clear liquid, falling snow, and the nativity icons with text that reads "Nativity Sensory Bottle"

I love this Nativity Sensory Bottle as a holiday activity. It highlights the reason for the season. It also creates kind of a snow globe effect because of the snowflakes and glitter. And watching that fall helps kids (or adults) to regulate their breathing and feel more calm.

Nativity Sensory Bottle Snow Globe:

Supplies needed:

  • plastic empty water bottle (I prefer the Voss brand because I like the look or sometimes Michael’s carries plastic bottles for just this)
  • clear dish soap
  • white or opalescent glitter
  • small snowflake buttons
  • nativity buttons
  • We Three Kings buttons
  • The Good Shepherd buttons
  • super glue (optional)

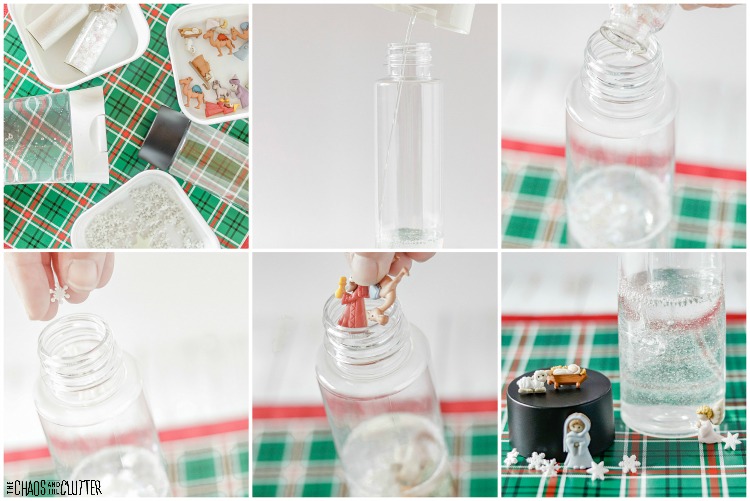
Directions:

  1. Fill a plastic bottle about halfway with clear dish soap.
  2. Drop in some glitter.
  3. Add some of the snowflake buttons.
  4. Drop in all the people (buttons) that belong in the nativity scene.
  5. Fill the remaining space with water and screw on the lid.
  6. I suggest that you super glue the lid in place to prevent kids from opening the bottle.

Even if the lid is glued in place, determined kids can get it off and this contains small parts, so adult supervision is required when kids are playing with this.

Sensory Opportunities:

This sensory activity engages both the tactile, visual, and proprioceptive sensory systems. Sensory play is important for development, regulating emotions and behaviour, language development, and so much more.You can also play a game where as you tell or read the Christmas story, your child can find each character in the story as they are talked about. This is a great way to increase their interest and attention to the story. It allows them to participate and engage.

You may also be interested in these Christmas activities:

O Holy Night Nativity Sensory Bin

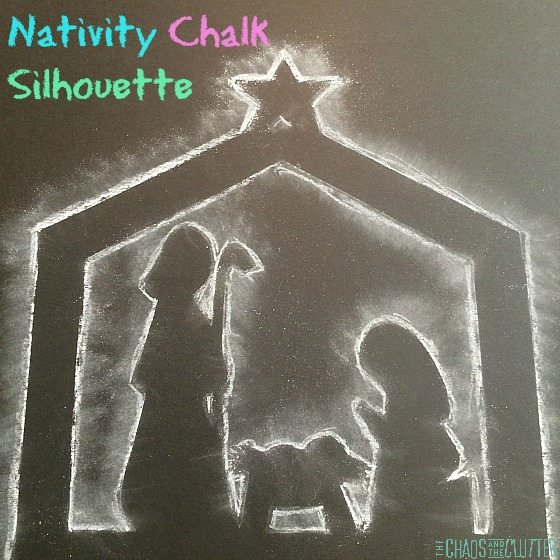
Nativity Chalk Silhouette

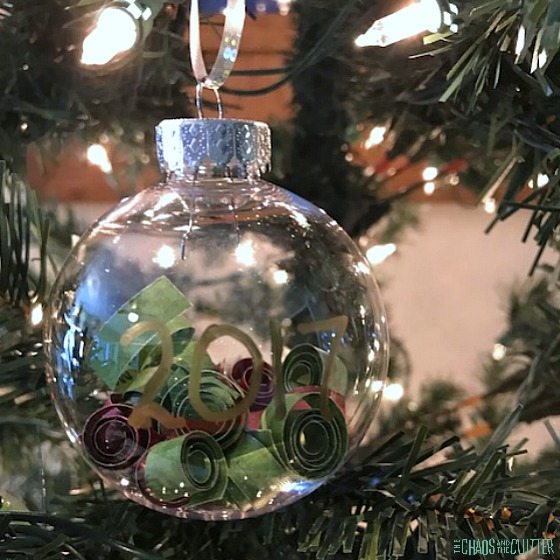
Time Capsule Family Ornament

Filed Under: Christmas, Sensory Tagged With: sensory bottles, sensory play

Football Mini Sensory Bottle

By Sharla Kostelyk

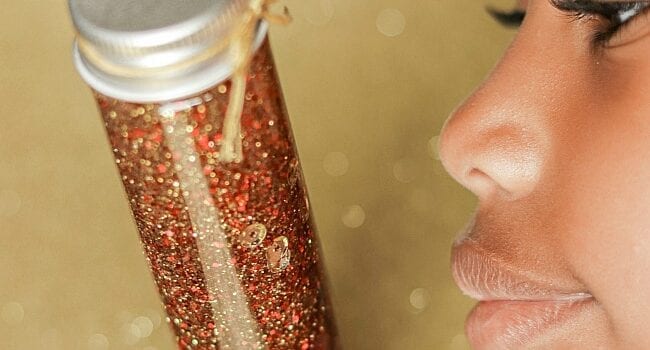
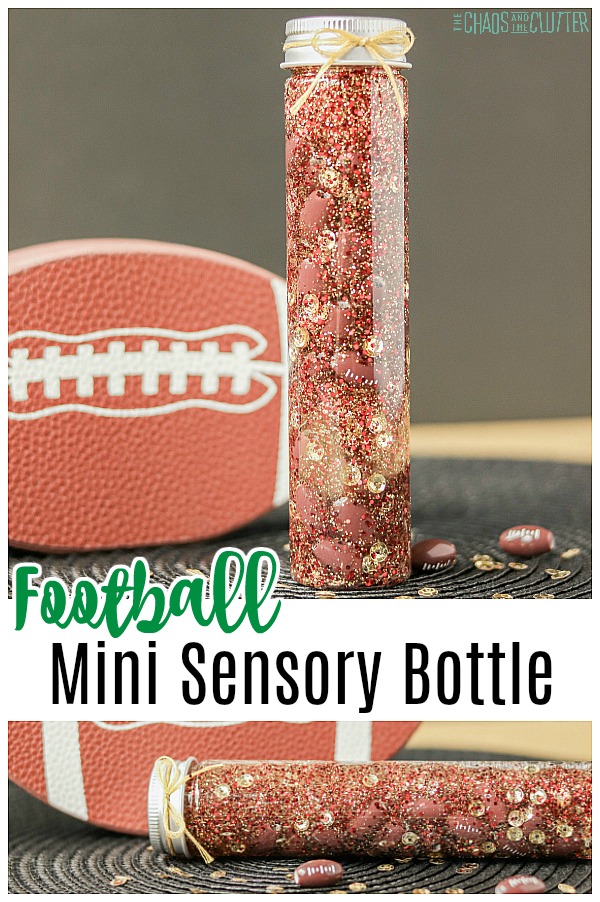
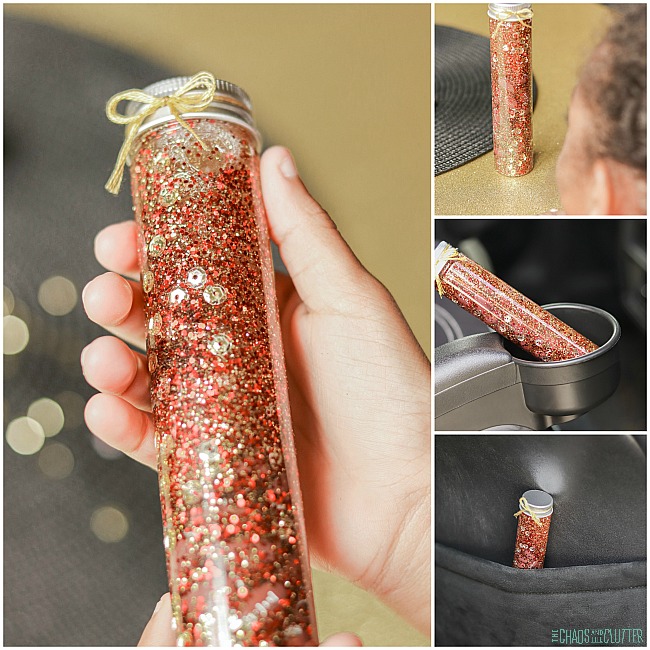
We love sensory bottles and usually make them in either the regular size or even the large one, but lately we’ve discovered these cute mini bottles. They’re great for bringing with you or putting into your child’s backpack. This football mini sensory bottle can be an effective small calm down tool for kids.

toy football in the background with a small bottle filled with gold and brown glitter and small footballs with text that reads "Football Mini Sensory Bottle"This would be a good sensory bottle for football season, Thanksgiving, the Super Bowl, or just for a sports fan. One of the things I like about it is that it can be hard to come up with sensory play ideas that boys are interested in. That’s not to say that some girls won’t also like this! But football is certainly an interest that many boys share.
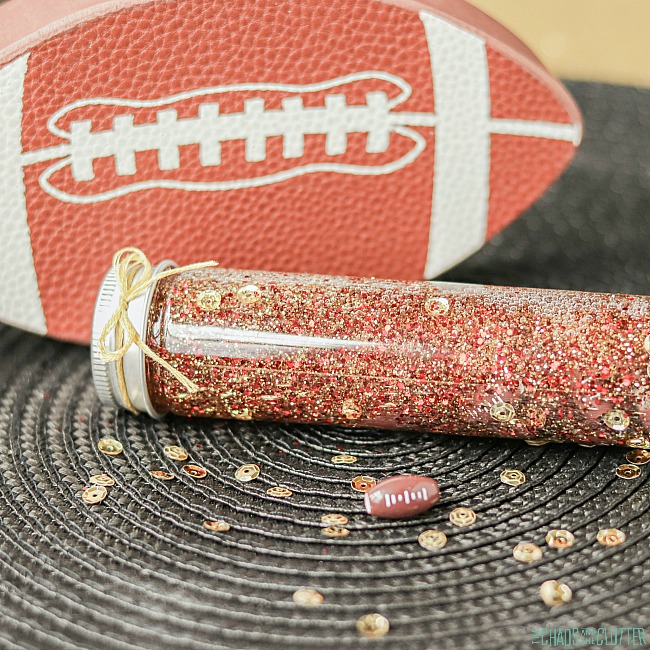
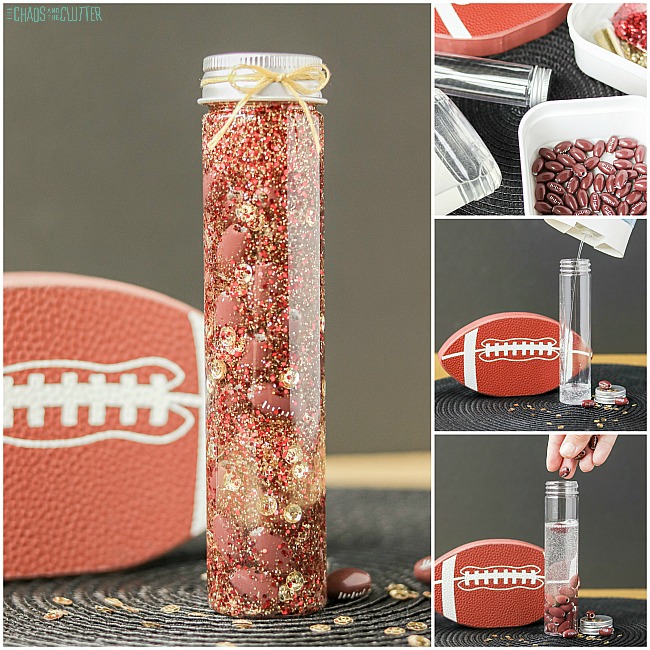
You can even customize the colours of this football sensory bottle to show your support for your favourite team! This could be a professional team, collage, or even school team. You could even take it with you to cheer on your team at games.

Football Mini Sensory Bottle:

Supplies needed:

  • mini bottle (we used these plastic test tube treat containers)
  • clear dish soap
  • mini football beads
  • sequins (choose a colour for your favourite team)
  • glitter (choose the colours of your favourite team!)
  • optional: hot glue

Directions:

  1. Pour clear dish soap into a mini bottle until it’s about half full.
  2. Drop in some mini football beads.
  3. Add in sequins and glitter.
  4. If there’s any room left in the bottle, fill the the top with water.
  5. Replace the lid. If using with small children, you can secure the lid with hot glue.

With this or any other sensory play activity, adult supervision is recommended. Even with the lid secured, it can be opened by determined kids or when the glue gets old and the bottle contains small parts that could be a choking hazard.

With its tiny size, this mini calm down bottle is great for bringing anywhere. You can tuck it into the seat pocket of the vehicle, put it in your child’s backpack, or include it in their calm down kit.

This cute little bottle engages both the visual and tactile sensory systems. Because the glitter and sequins stay suspended in the dish soap and fall slowly as it is turned, this can also serve as a calm down bottle. Children can watch the glitter slowly fall as they focus on regulating their breathing. It’s surprisingly effective.
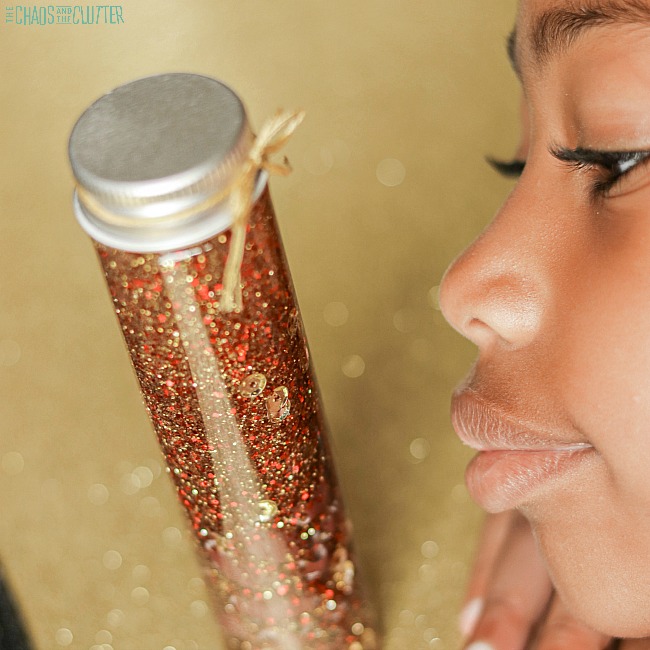
Check out these other sensory bottles for kids:

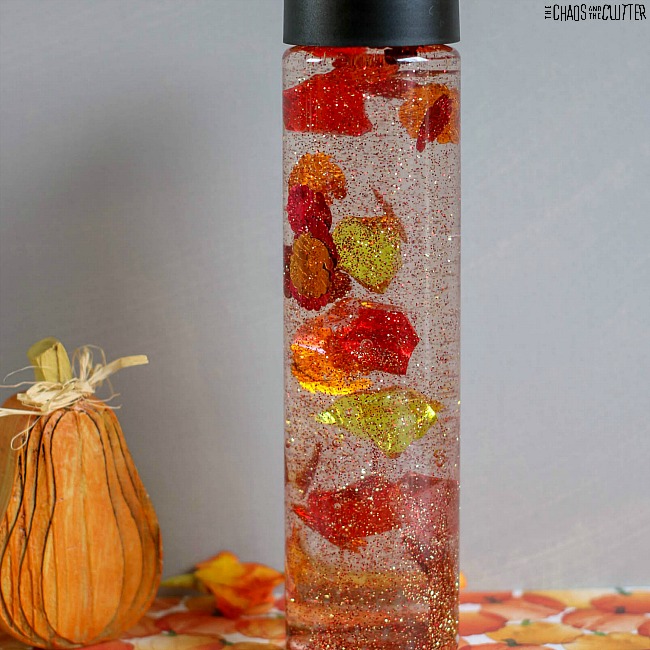
Thanksgiving Sensory Bottle

Glow in the Dark Sensory Bottle

Bugs Sensory Bottle

Filed Under: Sensory Tagged With: sensory bottles, sensory play

  • « Go to Previous Page
  • Page 1
  • Interim pages omitted …
  • Page 8
  • Page 9
  • Page 10
  • Page 11
  • Page 12
  • Interim pages omitted …
  • Page 50
  • Go to Next Page »

Primary Sidebar

Categories

We are a participant in the Amazon Services LLC Associates Program, an affiliate advertising program designed to provide a means for us to earn fees by linking to Amazon.com and affiliated sites.

Copyright © 2026 • The Chaos and the Clutter • Site Design by Jeni @ The Blog Maven

Return to top of page

Copyright © 2026 · Chaos and the Clutter 2.0 on Genesis Framework · WordPress · Log in