• Skip to primary navigation
  • Skip to main content
  • Skip to primary sidebar
  • Home
  • About
  • Contact
  • Privacy + Terms
  • Affiliates

The Chaos and the Clutter

  • Facebook
  • Twitter
  • Pinterest
  • Google Plus
  • RSS
  • Email
  • School at Home
  • Sensory
    • Sensory Processing Disorder
    • Awesome Sensory Play Activities
      • Sensory Bins
      • Sensory Bottles
      • Sensory Bags
  • Family Games
    • Minute to Win It Games
  • Special Needs Parenting
    • Childhood Anxiety
    • Reactive Attachment Disorder
    • Sensory Processing Disorder
  • Store
  • Course Login

sensory bottles

Bedtime Calming Sensory Bottle

a child's hands hold a blue calm down bottle. The child's hands are all that is visible as the child is snuggled underneath a green blanket.

By Sharla Kostelyk

This bedtime calming sensory bottle is perfect for helping children fall asleep. Your child can watch the stars in the bottle be revealed from within the glitter and count them until falling asleep.

Bedtime Calming Sensory Bottle for Kids #calming #calmdown #sensoryplay #sensorybottle #sensoryHaving a comfort item such as this calming bottle can help kids who have anxiety about bedtime. Incorporating this into the nighttime routine can be good for both children and parents.

Making a Bedtime Calming Sensory Bottle:

Supplies needed:

  • plastic Voss water bottle
  • 5-10 foam stars (glitter gold)
  • ¼ cup holographic glitter (royal blue)
  • ¼ cup glitter (royal blue)
  • 1 cup hand sanitizer
  • 1 cup water
  • funnel
  • Superglue

Directions:

  1. If using a Voss water bottle, empty the bottle of water and allow the bottle to fully dry.
  2. Add hand sanitizer and water to the sensory bottle using the funnel.
  3. Add the foam stars (these may have to be folded in half depending on size).
  4. Add both glitters to the bottle using the funnel.
  5. Seal with lid with Superglue and allow the glue to dry fully (at least 15 minutes).*

*Note: I normally only Superglue the lids on sensory bottles for small children, but since this one is going into bed with your child, you should secure the lid with glue. It would be quite a mess to clean up glitter and hand sanitizer from bedding! 

Bedtime Use:

Hand your child the calming bottle when they’re having trouble going to sleep and ask them to count the stars. They will have to allow the stars to reveal themselves from the glitter in order to count them. This will keep the child focused until they fall asleep.

Some kids also just find it helpful to have something to hold onto.

Be sure that the lid is securely in place before allowing your child to sleep with this sensory bottle and for younger kids who may choke on small objects (such as the stars), only use during the day when you can supervise.

Learning Opportunities:

Sensory – Describe the sounds the calming sensory bottle makes, the feel of the bottle (is it light, heavy, etc.), what you can see when you shake the bottle, how quickly the stars fall. This bottle provides visual, tactile, and proprioceptive feedback. 

Math Skills – Count the stars, count the different size stars, and sort the stars by size.

Science Skills – Watch how the glitter moves around, falling down, swirling around and moving with the shaking. Watch how the stars reveal themselves as the glitter shifts, kind of like the stars in the night sky are revealed as the sun goes down. 

Try making the same bottle with just water or just hand sanitizer instead of hand sanitizer and water and compare and contrast how the glitter falls in each of the bottles.

Fine Motor – Getting the stars into the sensory bottle can be a challenge for those little hands. This is great fine motor skill practise for them. It is also an opportunity to problem solve and discuss what happens if you fold the stars, push them in with your fingers or just try to get them to “fall” into the bottle.

Language Skills – have kids use descriptive language to explain what the stars and glitter look like, what sizes the stars are, and what they are experiencing. They can also practise their conversation skills by asking for their sensory bottle at bedtime and talking about how it makes them feel.

Bedtime Calming Bottle for KidsCheck out these other calming techniques for kids:

Calm Down Breathing for Kids Calming Lavender Playdough The Best Things to Include in a Calm Down Kit 

Filed Under: Sensory Tagged With: sensory bottles, sensory play

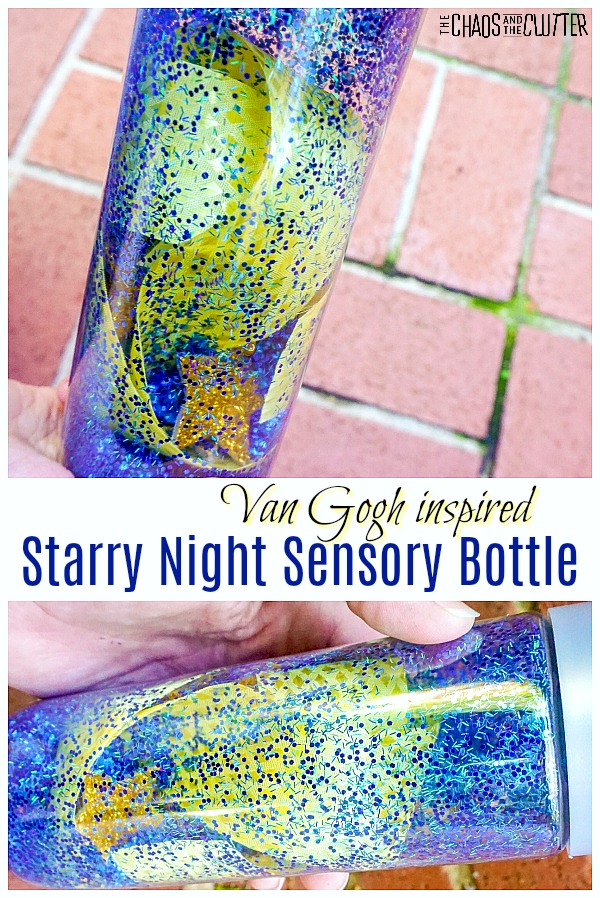
Van Gogh Inspired Starry Night Sensory Bottle

By Sharla Kostelyk

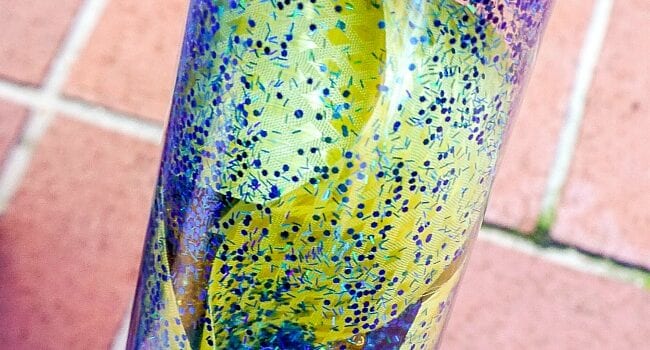
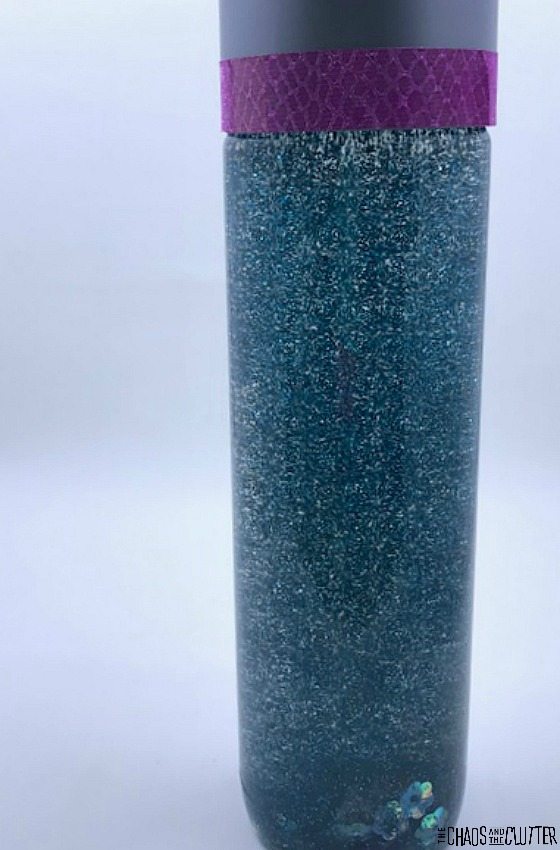
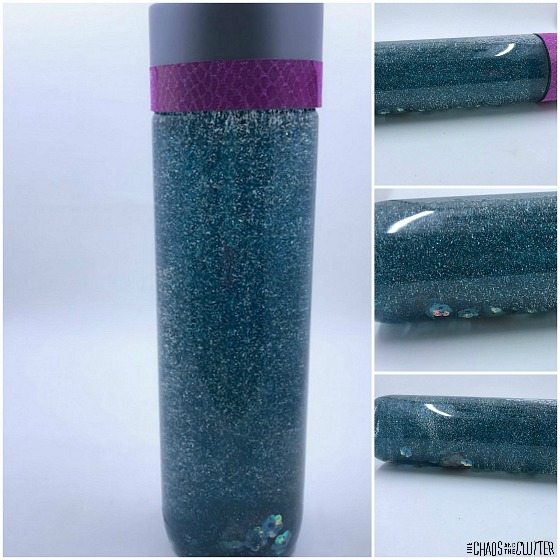
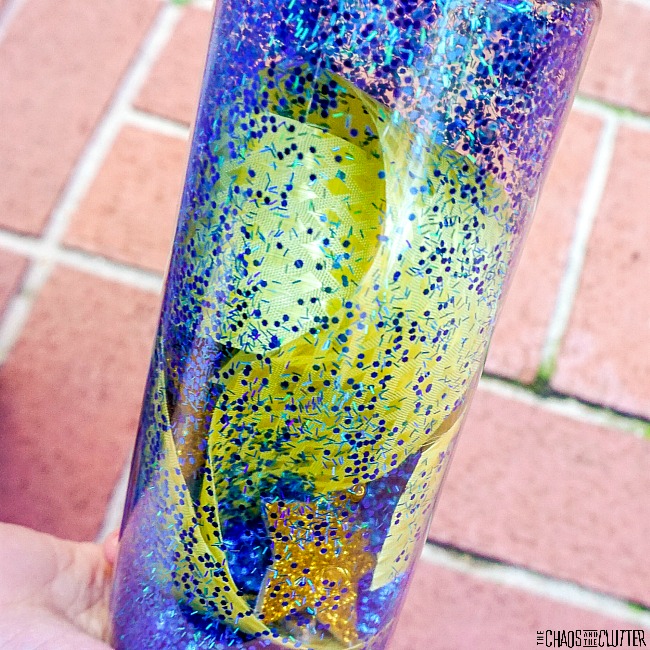
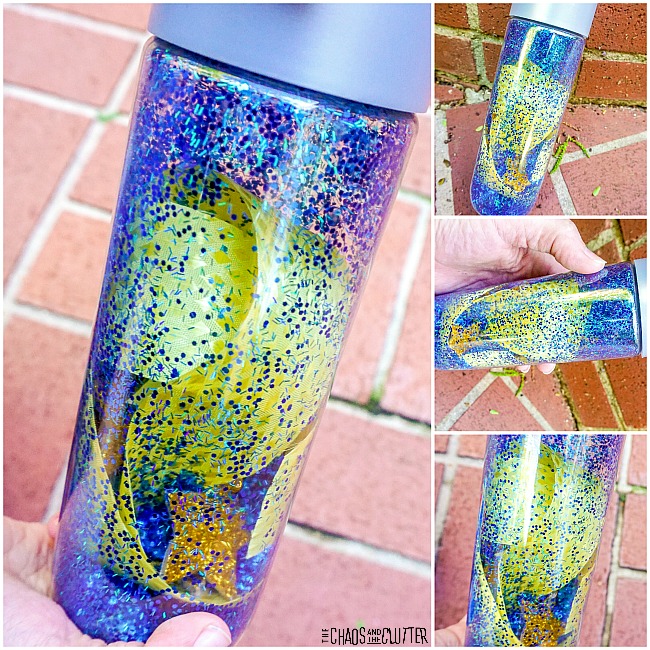
My oldest daughter loves Vincent Van Gogh’s Starry Night artwork. This starry night sensory bottle is inspired by that piece. Van Gogh Inspired Starry Night Sensory Bottle #sensorybottle #sensoryplay #sensory #kidsactivities #starrynightThis sensory bottle is extremely lightweight. This makes it perfect for keeping in the vehicle or in a backpack. Having easy access to a sensory bottle can help kids to stay calm when they need it. 
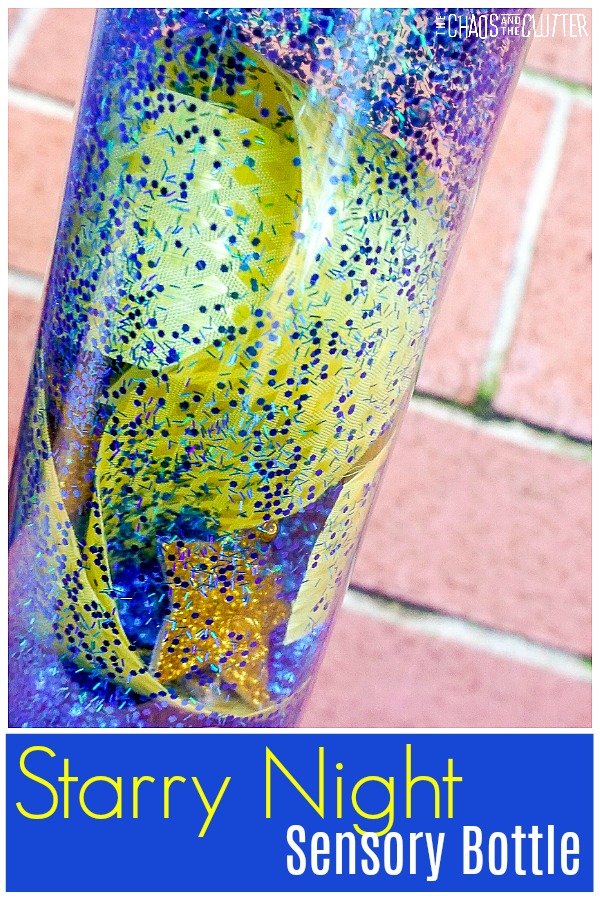
Starry Night Sensory Bottle:

Materials needed:

  • plastic water bottle (I like the Voss ones because of the shape and the wide spout)
  • 12-inch long, 3-inch wide yellow ribbon
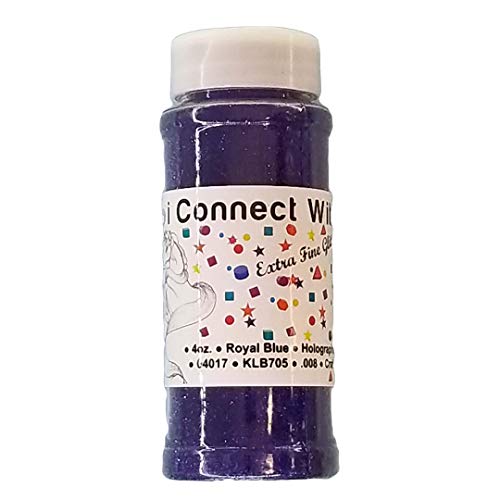
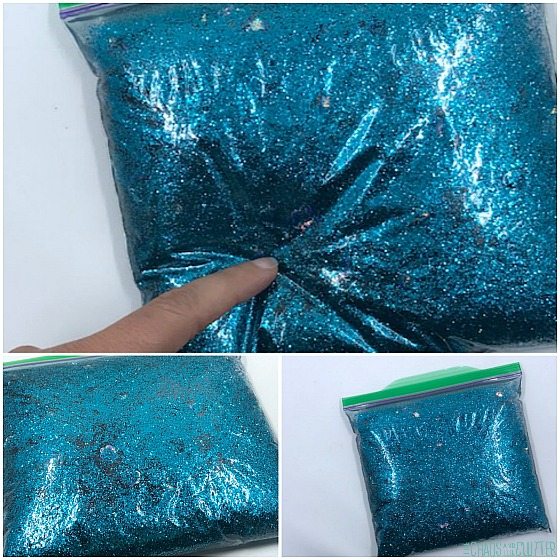
  • ½ cup Royal Blue holographic glitter
  • ½ cup Royal Blue glitter
  • 5-10 gold glitter foam stars, varying sizes
  • funnel
  • Super Glue, optional

VOSS Water BottlesVOSS Water BottlesVOSS Water BottlesRoyal Blue Holographic GlitterRoyal Blue Holographic GlitterRoyal Blue Holographic GlitterRoyal Blue GlitterRoyal Blue GlitterRoyal Blue Glitter

Directions:

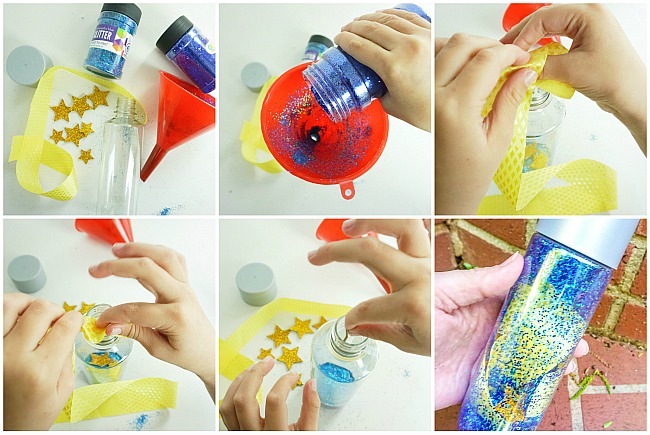
  1. If using a Voss water bottle, empty the bottle of water and allow the bottle to air dry.
  2. Fold the ribbon and slide it into the sensory bottle.
  3. Add stars (these may have to be folded in half depending on the size).
  4. Add both glitters to the bottle using the funnel.
  5. Replace the lid and play! (see note below)
Note: If you are intending to use this sensory bottle with small children, seal the lid with super glue before screwing the lid back on. You will need to give the super glue at least 15 minutes to dry before handing it over to a child.
Learning Objectives for the Starry Night Sensory Bottle:

Sensory – Describe the sound the bottle makes, describe the feel of the bottle (light, heavy, etc), describe what you see when you shake the bottle. This bottle provides good visual sensory input. 

Math Skills – Counting stars, counting the different size stars, sorting the stars by size.

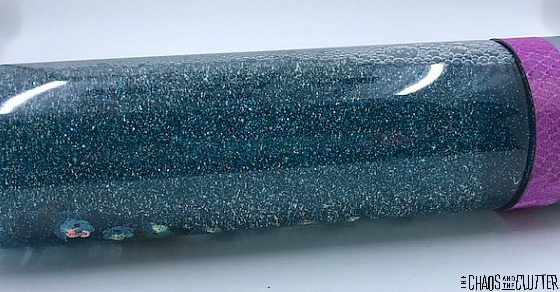
Science Skills – Over time, watch how the glitter sticks to the side of the bottle, creating a new “painting” with every shake.Fine Motor – Getting the ribbons and stars into the sensory bottle can be a challenge for little hands. Not only will this challenge their fine motor muscles, it is also an excellent chance to problem solve and discuss what happens if you fold the ribbon, push it in with your fingers or just try to get it to “fall” into the bottle.
Language Skills – Have kids use descriptive language to explain what the ribbon, stars and glitter look like, what sizes the stars are, how long the ribbon is and what they are experiencing. Each child can practice pragmatic language for rules on how to use the sensory bottle and how to share the sensory bottle (informing, demanding, stating, and requesting).

Art Appreciation – Look together at images of the original Starry Night painting by Vincent Van Gogh. Discuss how the sensory bottle is similar and how it is different.

Check out these other sensory bottles:

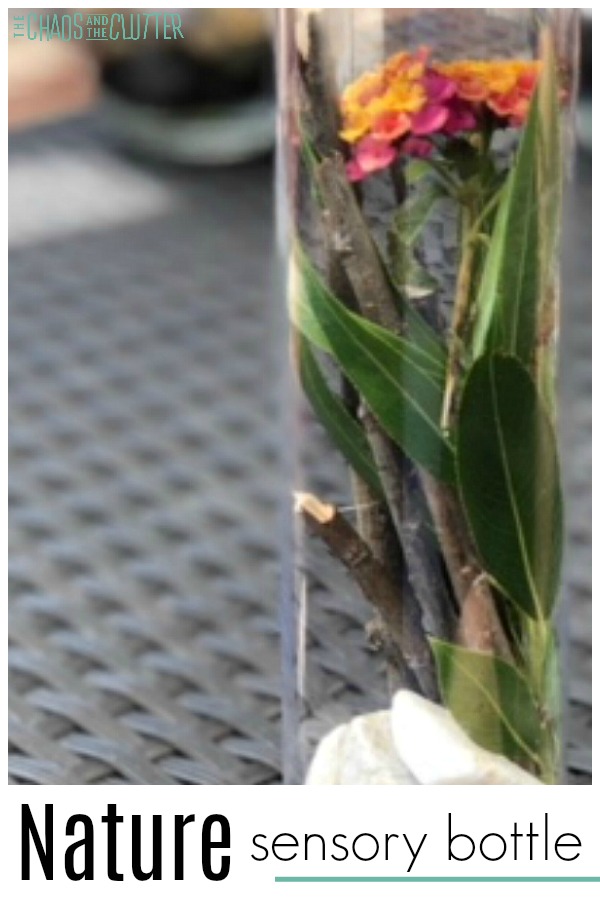
Nature Sensory Bottle

Rainbow Rainfall Sensory Bottle
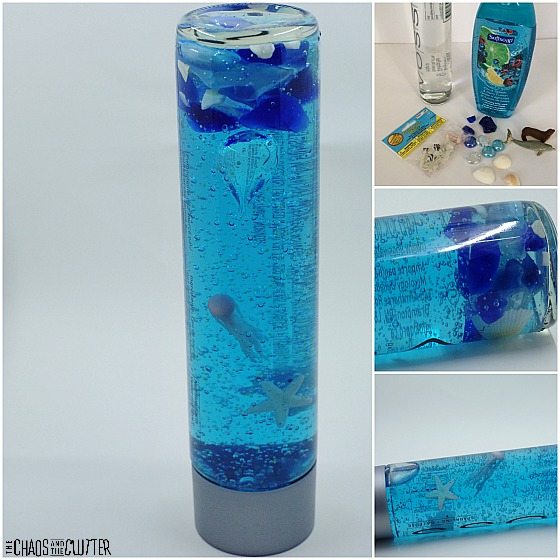
Ocean Sensory Bottle

Filed Under: Sensory Tagged With: sensory bottles, sensory play

Nature Sensory Bottle

By Sharla Kostelyk

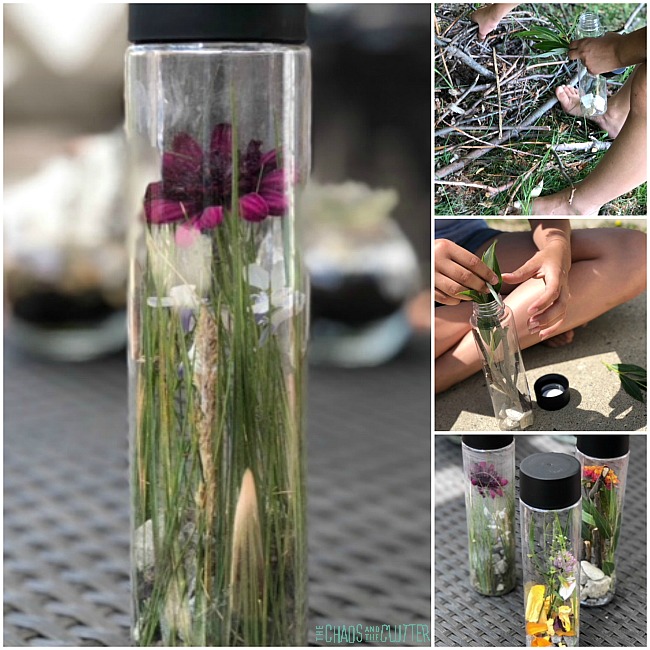
The sensory input on this activity happens throughout the activity. Each individual nature sensory bottle is unique.

Nature Sensory Bottles #nature #kidsactivities #sensoryplay #sensoryactivitiesforkids #sensorybottlesBegin with a trip outside to explore nature. Bring a plastic water bottle with you. Allow your child to really take the lead on this walk or hike.
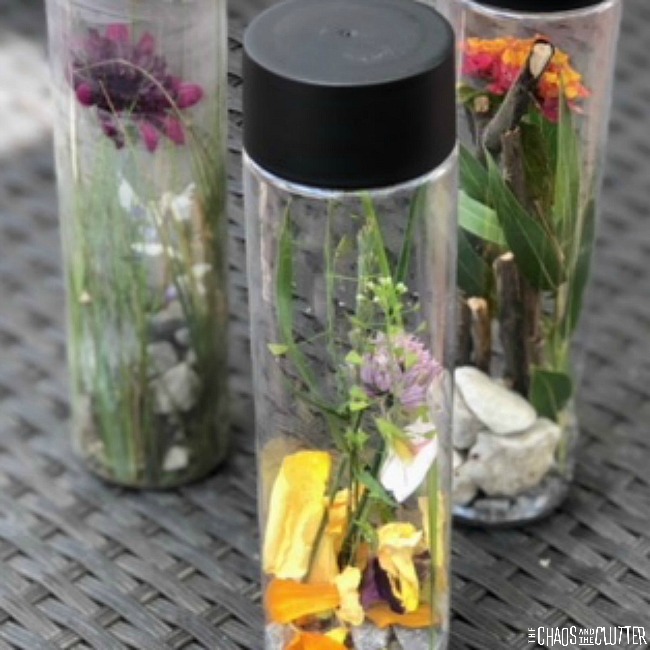
If they find things that catch their eye, they can add them to their sensory bottle. They can either gather all of the items before and add them to the bottle later or they can add the items as they find them.

My kids really enjoyed creating their nature sensory bottles. They enjoyed climbing through the trees looking to discover items to include. I love how each one of their came out so differently and yet all were lovely. We filled ours in the spring and the colours were so beautiful. The flowers, flower petals, and purple clover contrasting against the white rocks, green leaves and stems, and brown twigs made them quite striking.

Nature Sensory Bottle

Materials needed:

  • empty water bottle (I like the look of Voss bottles)
  • items found in nature

Instructions:

Go on a nature walk or hike to gather items for your nature sensory bottle. As you are outside, ask your child questions designed to help them become more aware of their sense.

“How does that rock feel?” or for younger kids, “Does that rock feel rough or smooth?”

“What do you smell?”

“Can you feel the wind?”

“What sounds do you hear?” or for younger kids, “Can you hear the birds chirping?”

“What colours or shapes do you see?”

As they gather items to fill their bottle, have them describe the items to you. See if they can incorporate their senses into the descriptions.

Really, any item they find can be added to the sensory bottle, so this list is not comprehensive.

When complete, place the lid on the bottle. Some of the items in these sensory bottles can mould over time due to moisture, so the bottles only keep for a few weeks. Or you can fill the bottle up and empty it right away and head back out on another nature hike to fill it again. 

What to put in a nature sensory bottle:

  • sticks
  • rocks
  • pussy willows
  • leaves
  • snow
  • water
  • flowers
  • flower petals
  • weeds
  • pebbles
  • seeds
  • dirt
  • mud
  • sea shells
  • pine cones
  • pine needles
  • feathers
  • herbs
  • grass
  • acorns
  • sand
  • berries
  • insects (only if you poke holes in the bottle of course)
  • wheat

You can do this sensory activity in any season. The nice thing about that is that the nature sensory bottle you make in winter will be very different than the one you make in spring. My favourite season is fall because of the colours of the leaves. They make beautiful sensory bottles!

This easy idea is included in our Sensory Science eBook Volume 1 in the Nature section. The book includes fun, hands-on activities for kids that combine learning with sensory input.  

Filed Under: Sensory Tagged With: sensory bottles

Colour Mixing Sensory Bottle

By Sharla Kostelyk

I love when you can combine learning and fun! This colour mixing sensory bottle does just that. It brings science and the wonder of discovery to sensory play.

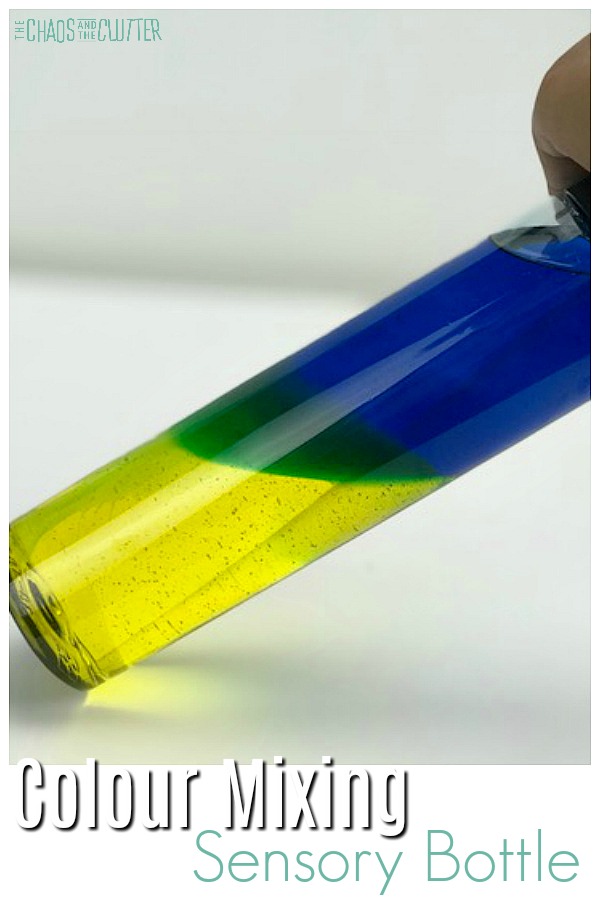
Colour Mixing Sensory Bottle #sensoryscience #sensorybottles #sensoryplay #homeschool #scienceThis activity is effective for teaching the science concepts of colour (for younger children) and density (for older children. By using different densities, the two colours are able to mix to form a new colour and then separate again.

When held up to the light or sunlight, the colours created in this colour mixing sensory bottle are beautiful.

Even I was surprised at how cool this simple science activity was. I wasn’t sure if it would work and was delighted when it did. My kids were even more delighted!

Due to the weight of the corn syrup, these sensory bottles are on the heavy side, making this a wonderful activity for proprioceptive sensory input. These also of course involve the visual sensory system as children use their eyes to explore the colours changing.

How to Make Colour Mixing Sensory Bottles:

Materials needed:

  • empty plastic water bottle (330 mL/11 oz. size)
  • clear corn syrup
  • mineral oil
  • food colouring
  • Wilton oil-based candy colour in primary colours*
  • funnels or measuring cups with a spout
  • plastic or glass containers of similar size
  • spatula

White Corn SyrupWhite Corn SyrupWhite Corn SyrupWilton Oil Based Primary Colors SetWilton Oil Based Primary Colors SetWilton Oil Based Primary Colors SetVOSS Plastic BottlesVOSS Plastic BottlesVOSS Plastic BottlesMineral OilMineral OilMineral Oil

Directions:

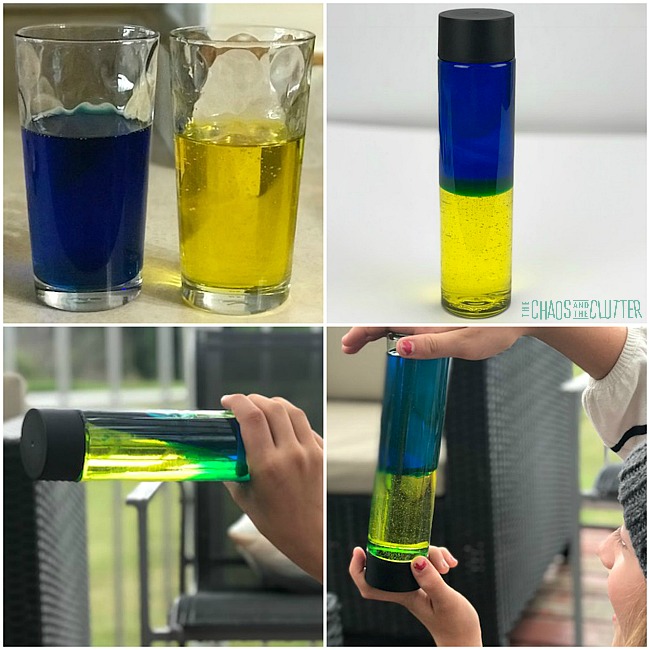
  1. In a glass or clear plastic container that is similar in size to the empty water bottle, add clear corn syrup and a few drops of yellow food colouring. Mix well.
  2. In another glass or clear plastic container that is similar in size to the empty water bottle, add mineral oil and a small bit of blue food colouring paste*. Mix well. Add a very small amount of the dye as you can always add more once you see the colour. You don’t want the blue to be too dark.
  3. Pour the yellow corn syrup mixture into the empty water bottle to about the halfway point. You may need to use a spatula to get it all transferred.
  4. Next, pour the blue mineral oil to nearly the top.
  5. Top with the lid. If you want to secure the lid, you can do so using a hot glue gun.

*It is important that you use an oil based food colouring in this step. Water based dyes will not work.

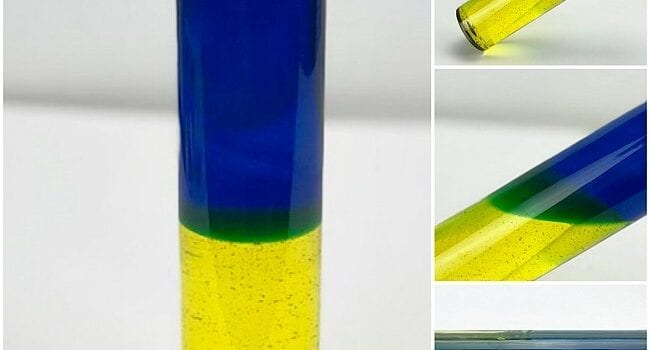
The yellow and blue should stay separated when the bottle is upright. If you tilt the bottle, you will begin the see the colours combine to form green.
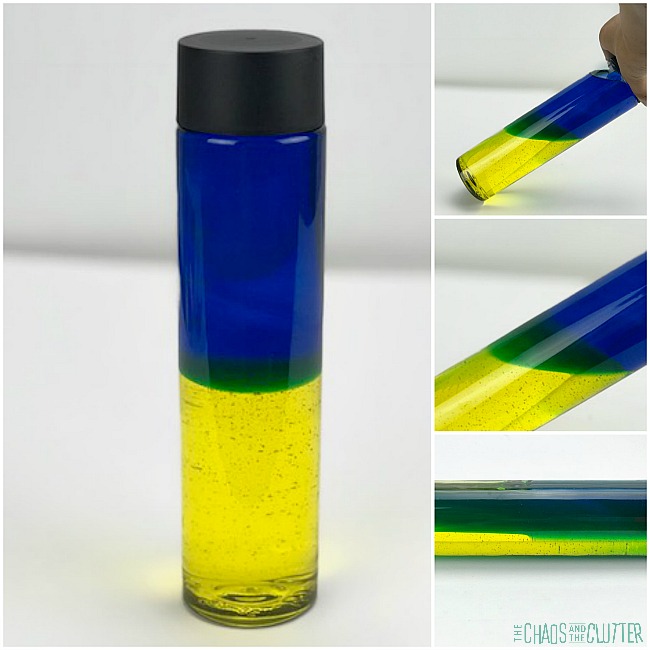
You can create other colour mixing sensory bottles by adding yellow and red which when combined will make orange and blue and red which will form purple when mixed.

Note: It works best to have the lighter colour be the one that is mixed with the corn syrup.

What makes the colours separate?

The difference in densities between the corn syrup and mineral oil is what keeps the colours separate. They sit on top of each other unless tipped. The colours will then mix to form a new colour, but when brought upright again, the colours will separate because of the density of the liquid they are in. For younger children, give a simple explanation on density, but focus most of the science lesson on the colour mixing.
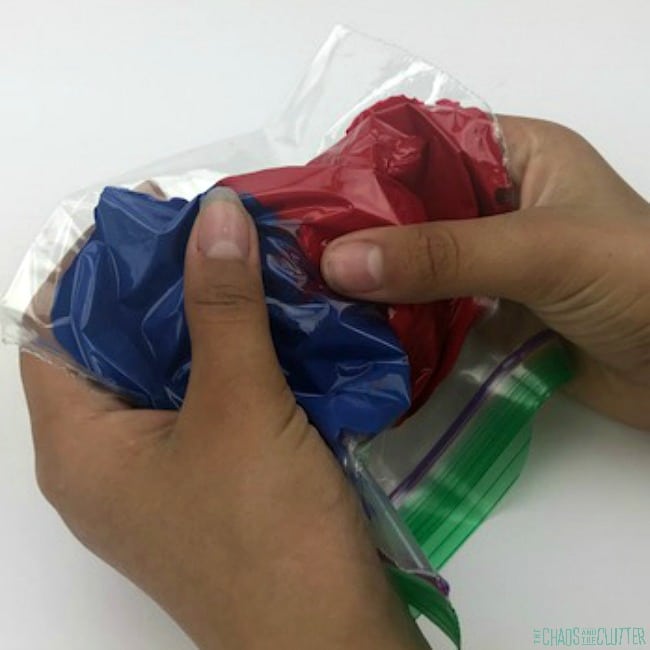
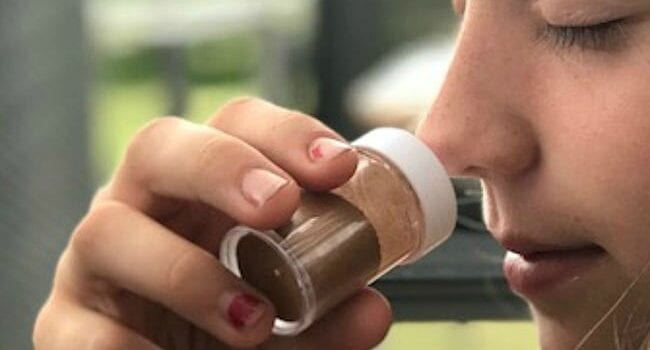
For older children, use this science experiment as a way to introduce density. Follow up with this video that helps further explain density. You can then expand the discussion from there.

More sensory science:

This activity appears in the Colours section of The Sensory Science Book Volume 1. In it, you can find other incredible activities to help children discover the world around them. 

Experiment with other colour mixing examples.

Colour Mixing Sensory Bags 

Colour Mixing Jello Experiment10 Jello Science Experiments

If you’re looking for more fun ideas for your child, get a free sample of our Sensory Play Recipes eBook.

Filed Under: Homeschooling, Sensory, Simple Science Tagged With: sensory bottles, sensory play

Sensory Smell Bottles

By Sharla Kostelyk

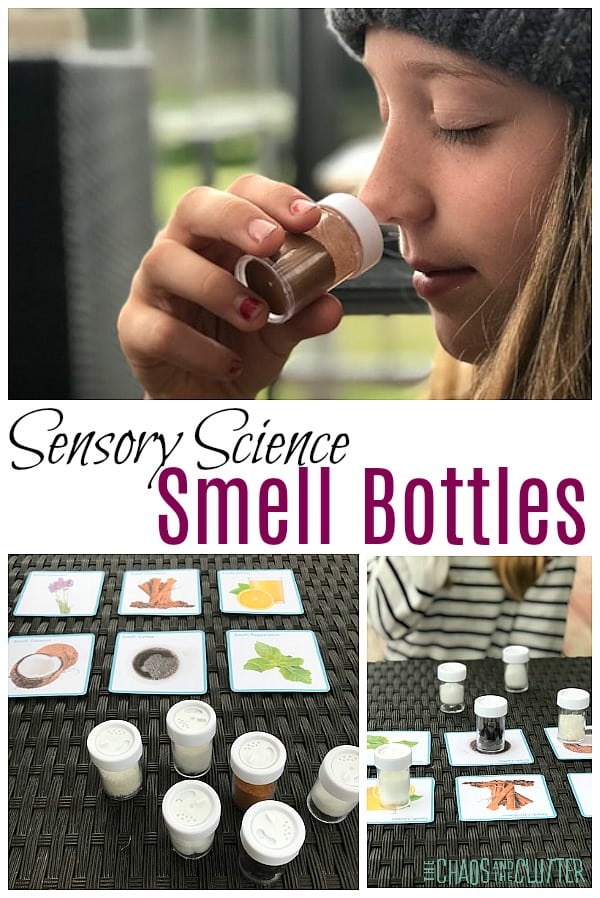
I’ve been wanting to make smell bottles for a long time. I first learned of them as a Montessori activity. They are also an amazing sensory activity for teaching about olfactory and providing sensory input. Sensory Science Smell Bottles #sensoryscience #smellbottles #sensoryplayMy kids really enjoyed this activity. Of course, boys being boys, I got to hear what other smells we could have bottled!!! How is it that boys can always find a way to find the gross factor?!
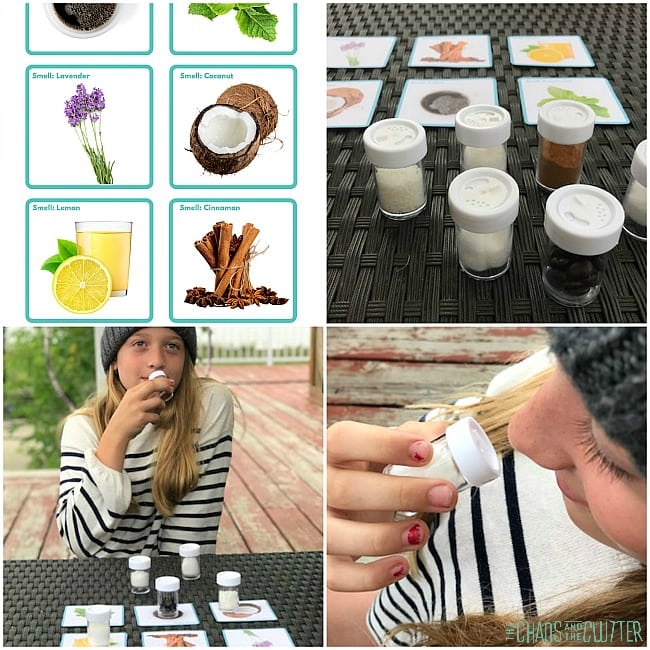
If you’re doing a unit on the Senses, this is a good way to introduce the sense of smell.

This is an inexpensive activity as you will likely have most of the supplies at home already. I found the travel spice bottles we used at the dollar store. You could also use leftover empty spice bottles if you have any.

How to Make Sensory Smell Bottles:

Supplies needed:

  • travel spice bottles
  • cotton balls
  • coffee beans or coffee grounds
  • cinnamon
  • peppermint extract or peppermint essential oil
  • lavender essential oil or lavender
  • coconut
  • lemon essential oil or lemon juice

Instructions:

  1. Put the coffee grounds or beans in one bottle, some cinnamon in another, some coconut in another.
  2. Put some peppermint extract or essential oil on a cotton ball, lavender essential oil on another, and lemon juice or lemon essential oil on another cotton ball. Place each cotton ball into a container.
  3. Have the child guess what each smell is. With younger kids, allow them to use their visual sense as well. They can look for clues such as colour and pair that with the smell to help them figure out what it is.
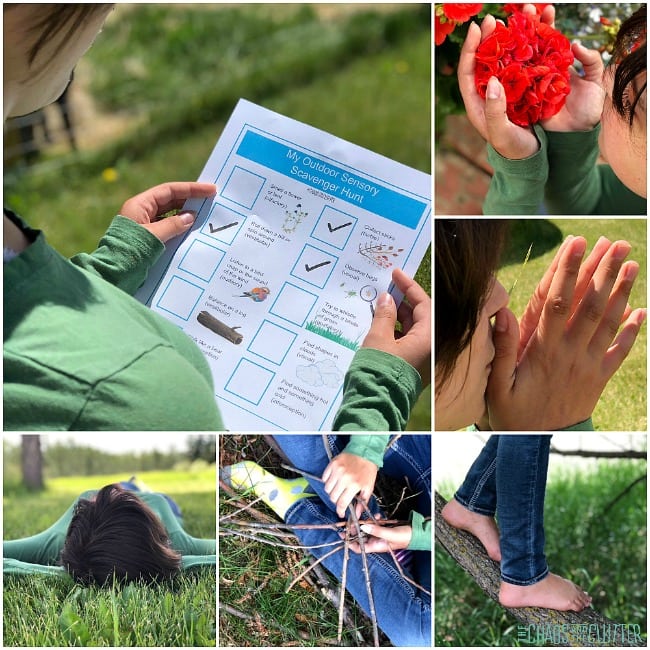
Help your child play “Sensory Detective”. If you print out the corresponding Smell Bottle Cards (available in the Sensory Science Book Volume 1), lay them out for your child to match the scents to.

With older kids, have the child try the activity blindfolded so that they are only using their sense of smell.

Try filling the bottles with more challenging scents to identify such as a flower, dirt, honey, pepper, salt, or orange.

Talk about what the smells are and how our sense of smell also affects what things taste like. You can find an explanation about smell and taste to share with kids here.

Note that just like all senses, some kids will be more sensitive. They may find some (or all) of the smells too strong or even offensive.

Allow them to go at their own pace. Let them hold the bottle further away or even smell through the lid. Some kids’ sense of smell is so strong that they will be able to smell it through the closed lid.

Find this sensory science activity and many more in The Sensory Science Book, full of engaging hands-on learning ideas.

Check out these other sensory science activities: 

Jello Colour Mixing Experiment jello colour mixing experiment

Outdoor Sensory Scavenger Hunt 

Join me for a free 5 part email series Sensory Solutions and Activities (just pop your email into the box below) and get a printable list of 175 Great Sensory Ideas.

Filed Under: Sensory, Simple Science Tagged With: sensory bottles, sensory play

At the Beach Sensory Bottle

By Sharla Kostelyk

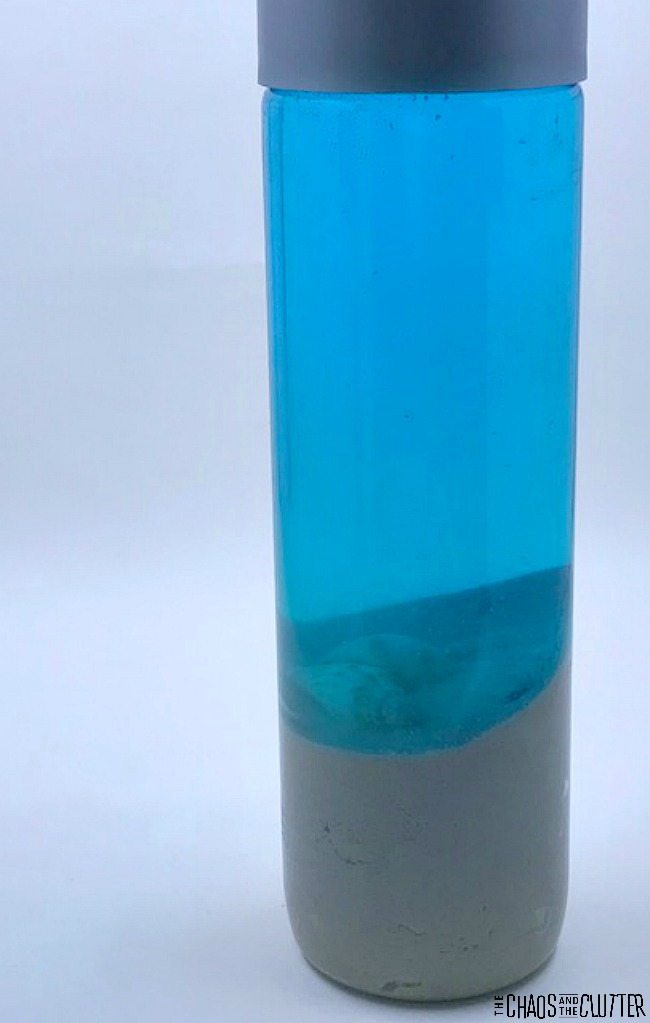
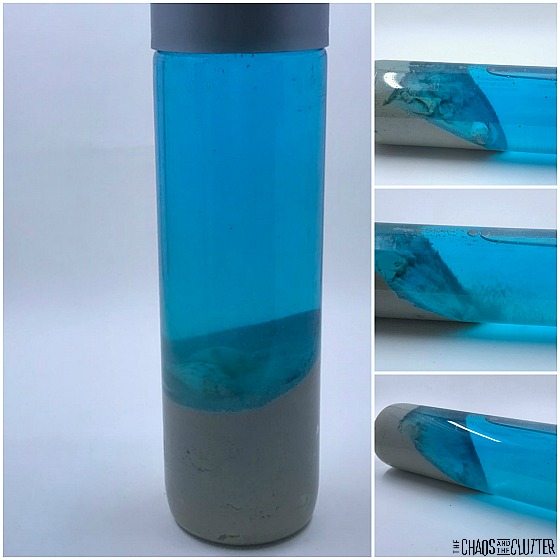
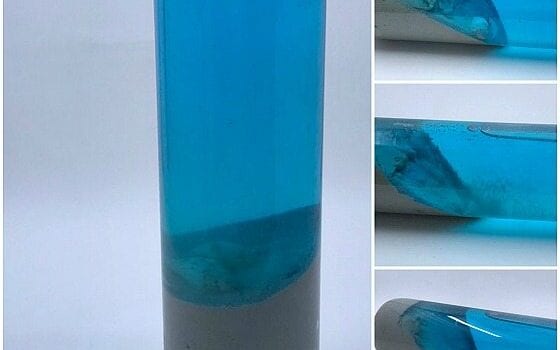
What makes this beach sensory bottle unique is that we made it using kinetic sand. This ensures that the sand stays separate from the water. We used shells that the kids picked at the beach on Vancouver Island a few years ago, making it a nice way to tie memories into their sensory play. We love Vancouver Island. One of our sons was born there so vacationing there always creates special memories.

At the Beach Sensory Bottle

At the Beach Sensory Bottle

Materials needed:

  • water bottle (I used a Voss bottle)
  • water
  • blue food colouring
  • kinetic sand
  • blue glass beads or sea glass
  • seashells
  • optional: hot glue

Empty the water out of the water bottle. I know that seems backwards since you’ll be adding water back in, so you can pour it into a measuring cup to use in the bottle afterwards. Fill the bottle about a third of the way with the kinetic sand. Using a funnel makes this easier to do.

Kinetic Sand - Beach SandKinetic Sand – Beach SandVOSS Water Plastic BottlesVOSS Water Plastic BottlesSea GlassSea Glass

Mix two drops of food colouring into the water and fill the bottle most of the way to the top with the blue water. Drop in the water beads and seashells. Put the top back on the sensory bottle. If you want to, you can secure it in place with hot glue.

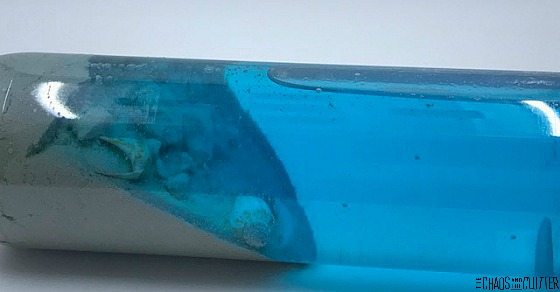
The kinetic sand creates a lovely beach effect when a child tips the bottle or shakes it up. This beach sensory bottle is a nice way to bring the beach home with you, particularly if you use seashells that your child gathered in the sand themselves.
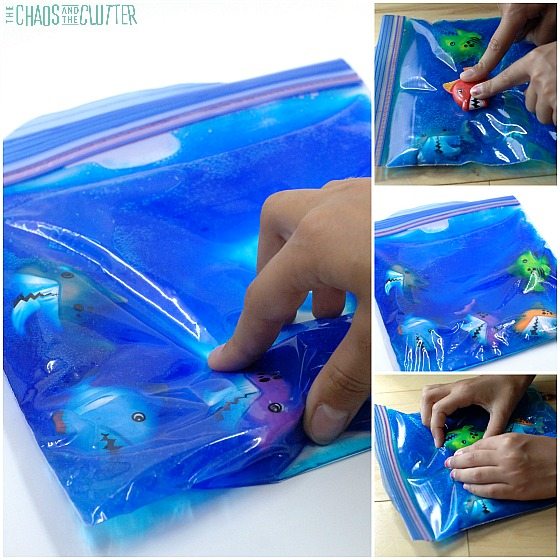
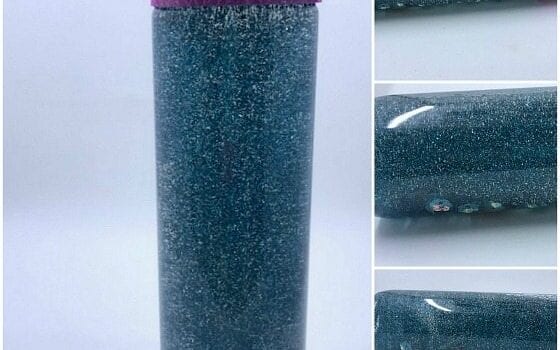
Are you looking for other easy sensory activities that can actually be created at home? Join me for a free 5 part email series Sensory Solutions and Activities (just pop your email into the box below) and get a printable list of 175 Great Sensory Ideas.

Ocean Sensory Bottle

Squishy Shark Sensory Bag

Filed Under: Sensory Tagged With: sensory bottles, sensory play

  • « Go to Previous Page
  • Page 1
  • Interim pages omitted …
  • Page 4
  • Page 5
  • Page 6
  • Page 7
  • Page 8
  • Interim pages omitted …
  • Page 10
  • Go to Next Page »

Primary Sidebar

Categories

We are a participant in the Amazon Services LLC Associates Program, an affiliate advertising program designed to provide a means for us to earn fees by linking to Amazon.com and affiliated sites.

Copyright © 2025 • The Chaos and the Clutter • Site Design by Jeni @ The Blog Maven

Return to top of page

Copyright © 2025 · Chaos and the Clutter 2.0 on Genesis Framework · WordPress · Log in