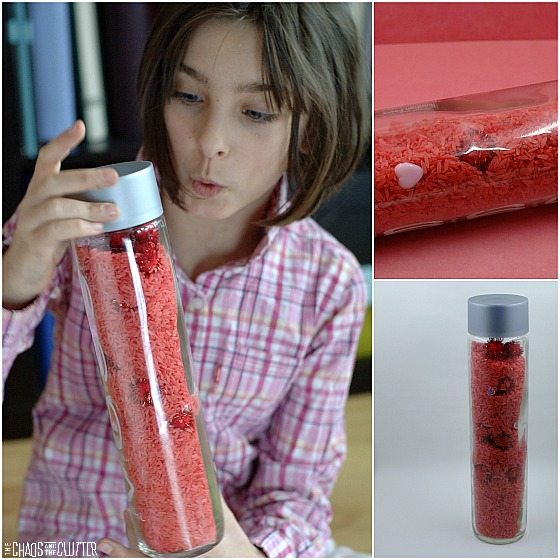
When it comes to sensory activities for home or the classroom, it doesn’t have to be complicated. This simple scented Valentine’s sensory bin encourages hands-on play. Because of the scent, this activity is reminiscent of cinnamon hearts which are of course a Valentine’s Day staple.
Scented Valentine’s Sensory Bin:
Supplies needed:
- white rice
- white vinegar
- red food colouring
- cinnamon essential oil
- heart gems
- heart shaped container (can often be found at the Dollar Store) or sensory bin
- optional: scoops or spoons for play
Directions:
- Add 2 cups of rice to a gallon sized resealable plastic bag.
- Drop 2 tsp. of vinegar to the rice.
- Add 20-30 drops of red food colouring. (more drops = deeper colour)
- Put in 3-7 drops of cinnamon essential oil (depending on how strong you want the smell to be).
- Seal the bag and shake. Mix well until the rice is evenly coloured.
- Line a baking sheet with paper towel.
- Pour the coloured rice onto paper towel, spread out evenly, and allow the rice to dry. (I usually leave mine overnight.)
- Once dry, add one cup of white rice and mix. The mix will look red, white, and pink.
- Pour the rice into a heart shaped tray.
- Add hearts for sensory play.
- When the bin is no longer being played with, you can store the rice and hearts in a clear glass or plastic jar or bottle as decoration.
Sensory and Learning Opportunities:
Kids playing in this Valentine’s sensory bin engage their olfactory (smell), tactile (touch), visual (sight), and proprioceptive sensory systems.
You can expand this activity by creating a seek and find in the rice with sight words related to Valentine’s or by having kids count the number of red or pink hearts and discuss which one there are more of.
Are you looking for other easy sensory play ideas for kids? Join us for a free five day email series on Sensory Activities and Solutions and get a free sample of our Sensory Play Recipes eBook.
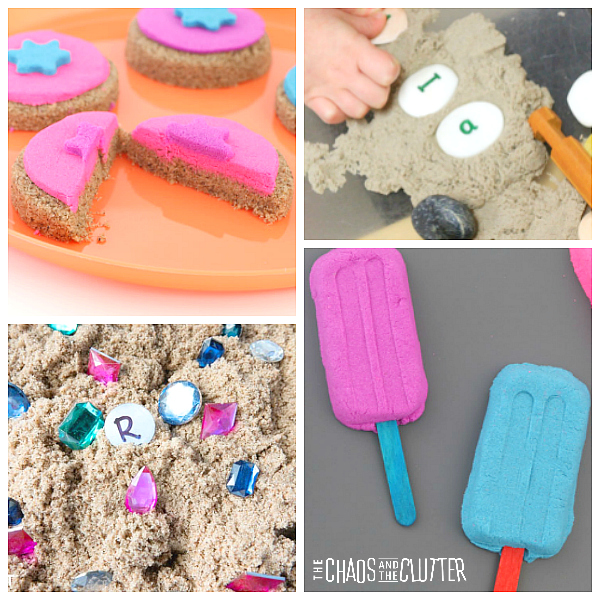
Some of our other Valentine’s sensory activities:


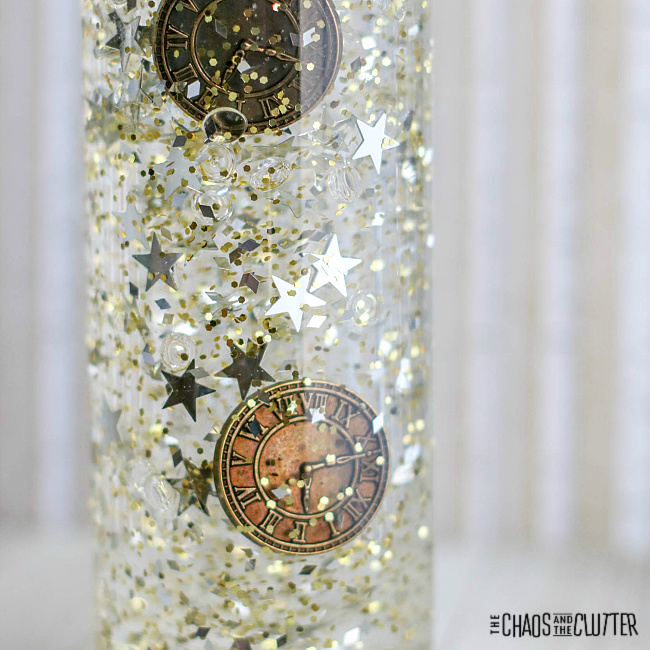
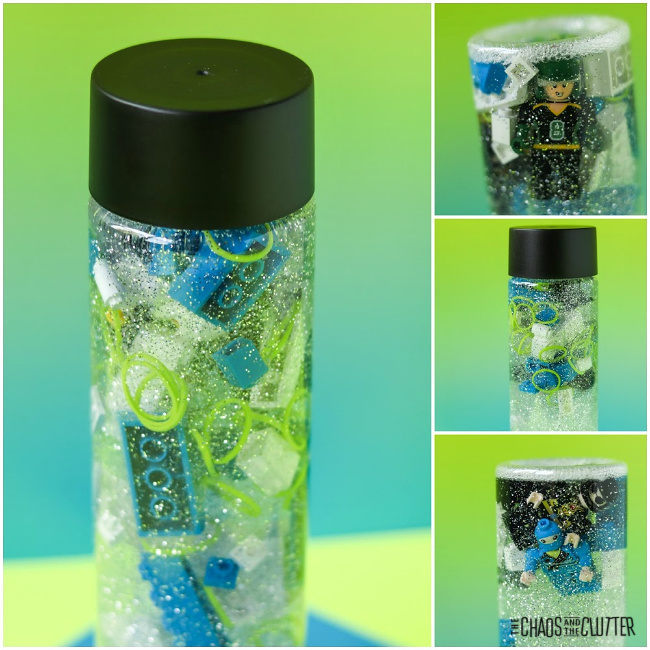
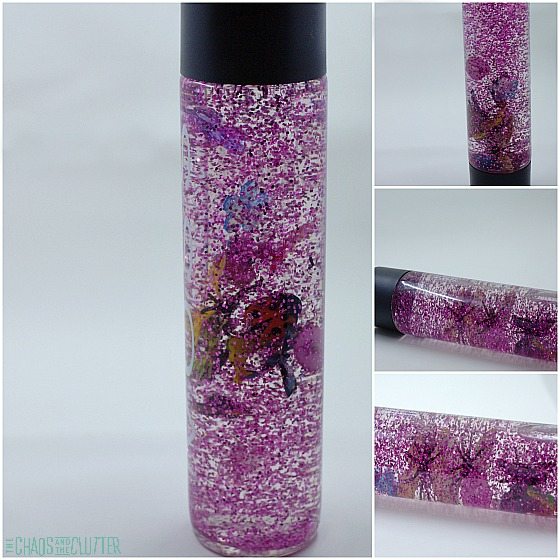
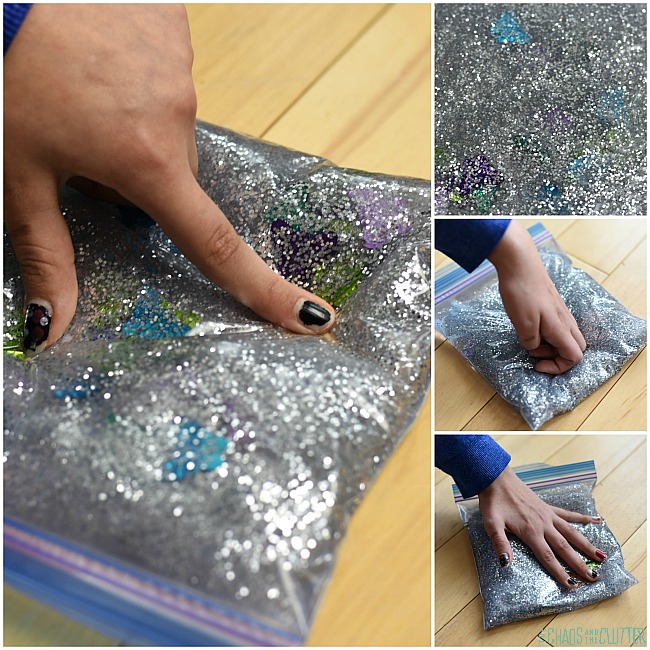
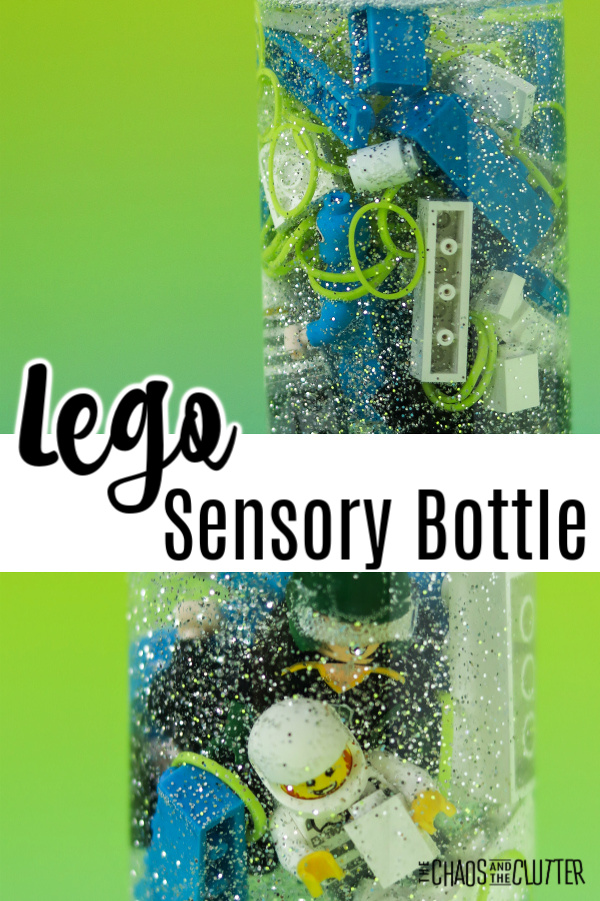 It can be a great calm down tool for kids as they sit and watch, mesmerized by the movement of the slow falling glitter, green bits, and Lego.
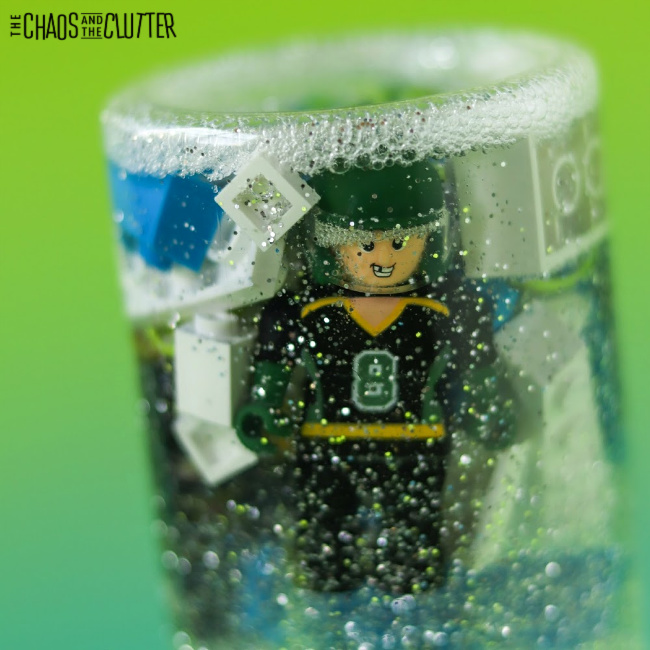
 Directions:
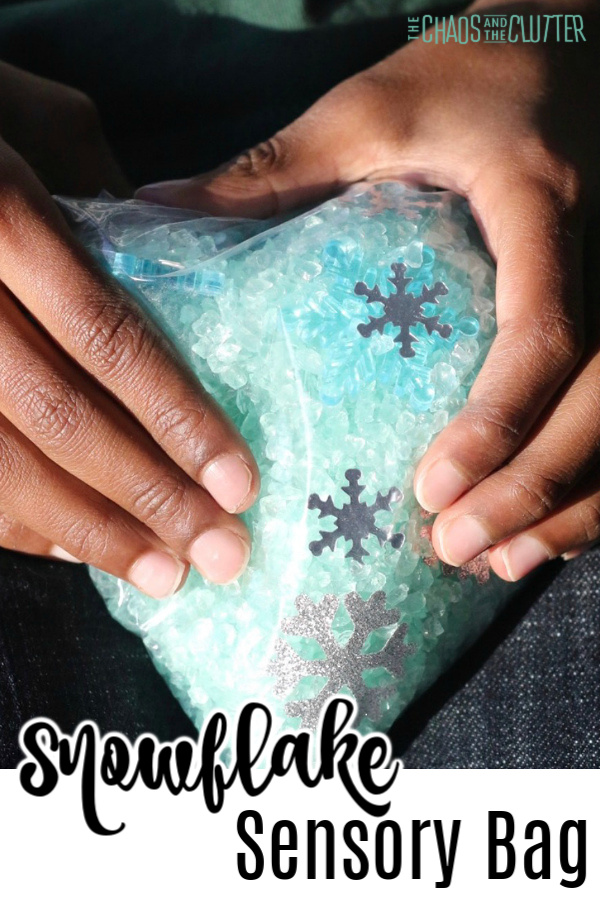
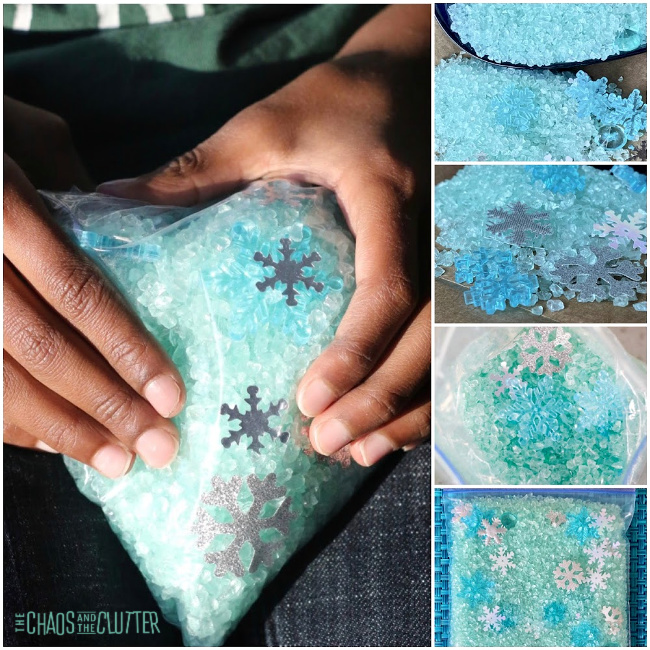
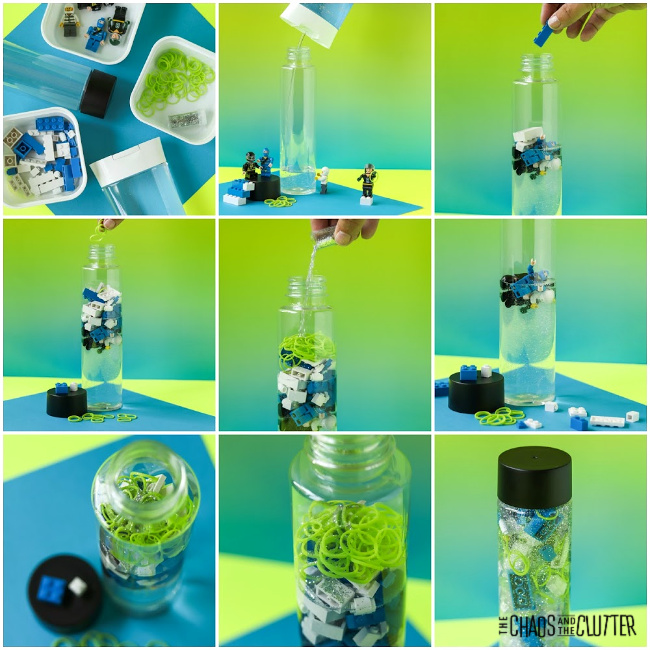 As with all sensory activities, adult supervision should be used at all times. Even if you have glued the lid in place, it can come off and the bottle contains small parts which are choking hazards.
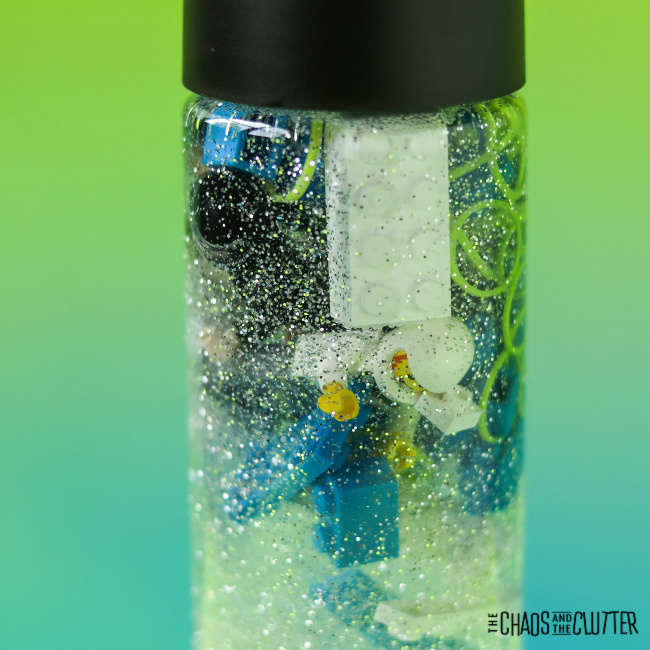 Are you looking for other easy sensory play ideas? Join us for a five day email series on Sensory Activities and Solutions and get a free sample of our Sensory Play Recipes eBook.
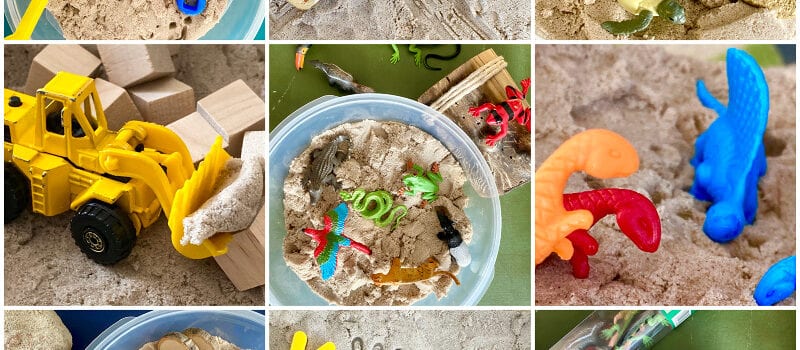
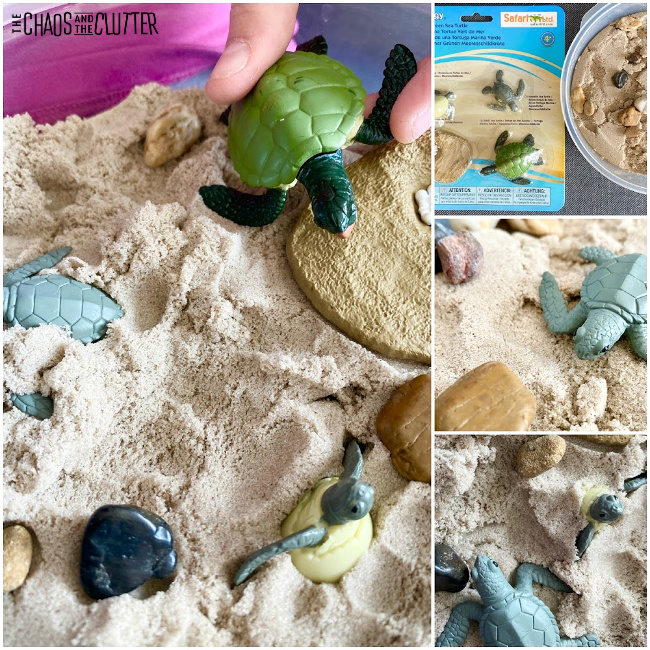
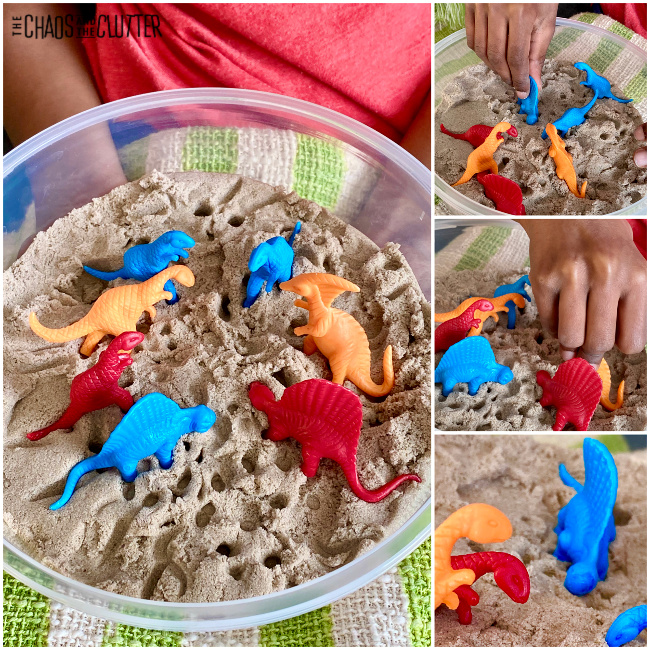
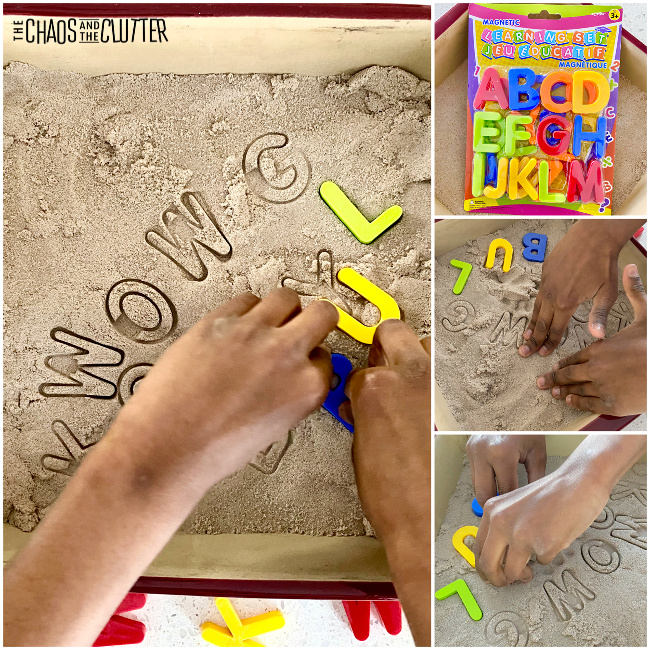
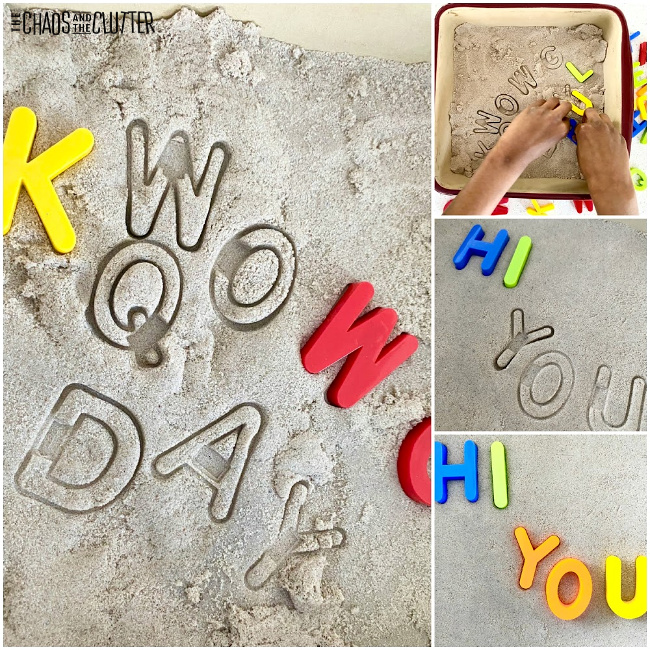
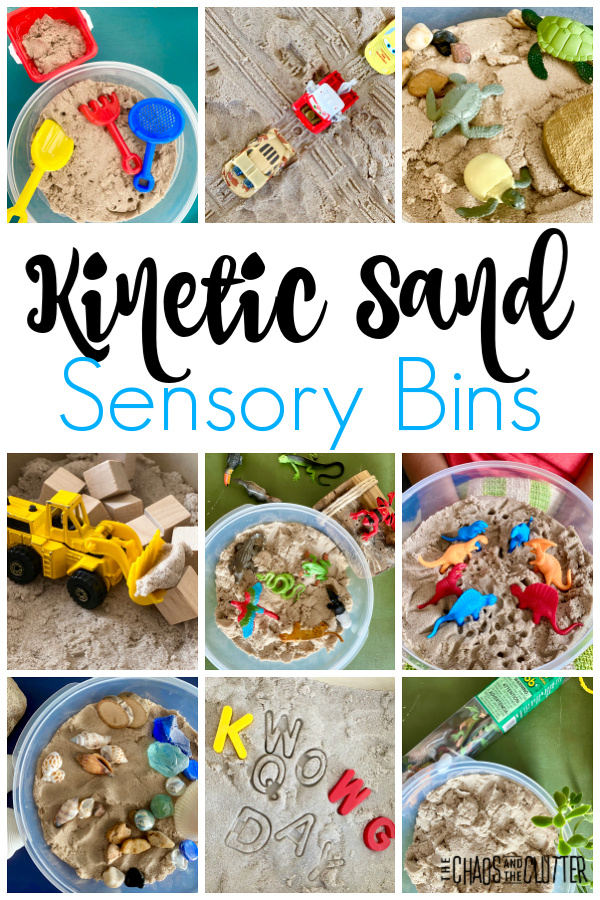 Store bought kinetic sand can be expensive, so I usually make my own using this
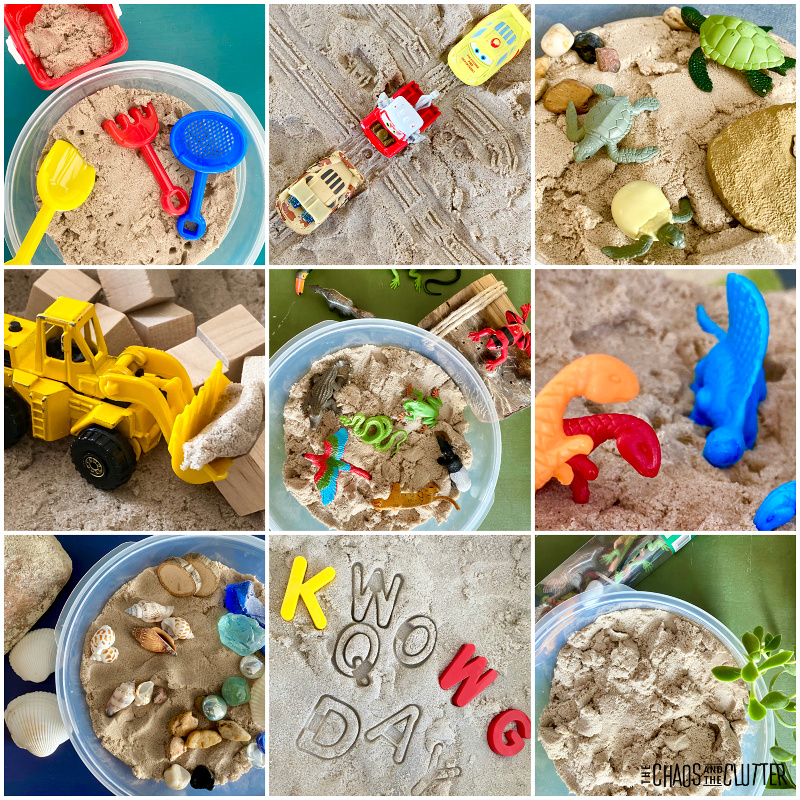
 Looking for more easy sensory play ideas? Join for a five day email series on Sensory Activities and Solutions and get a free sample of our Sensory Play Recipes eBook.
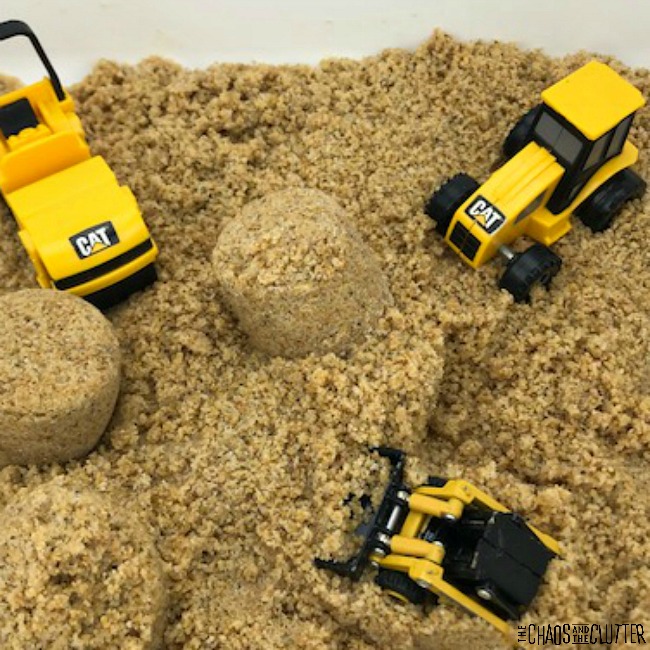

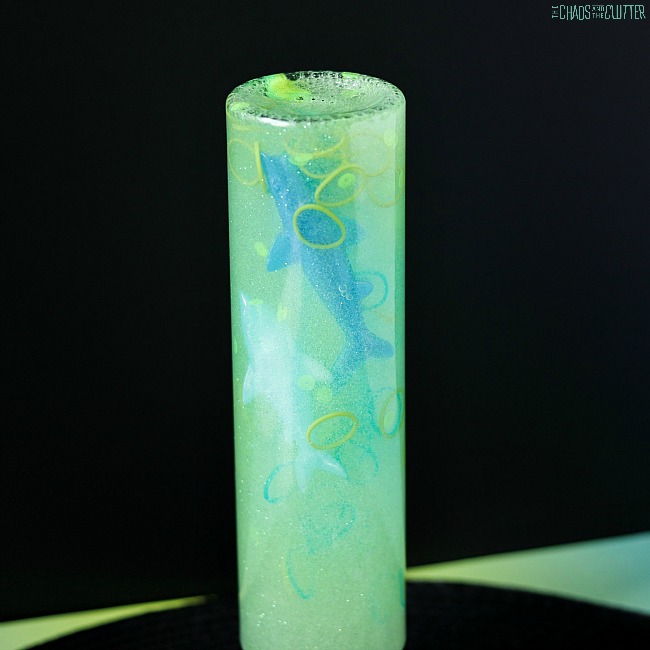
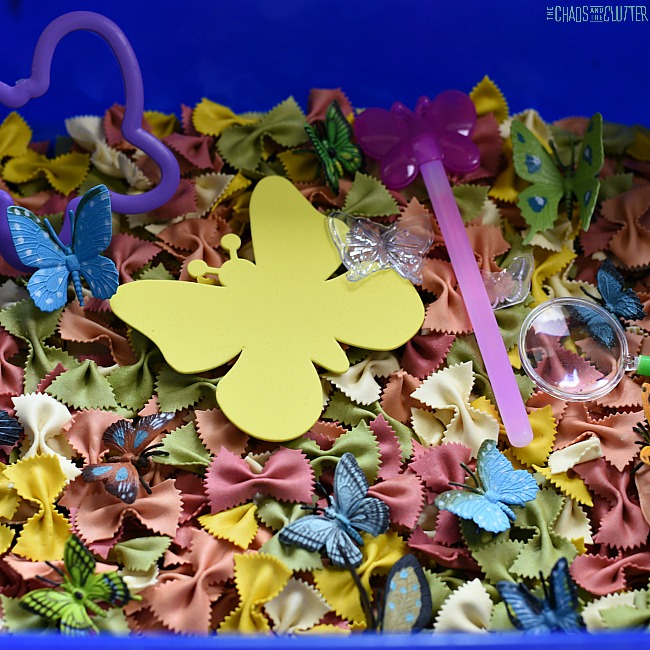
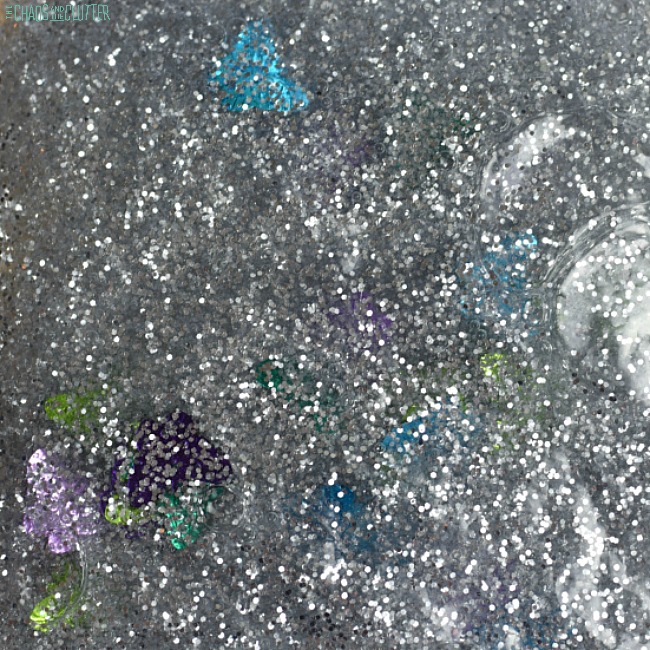
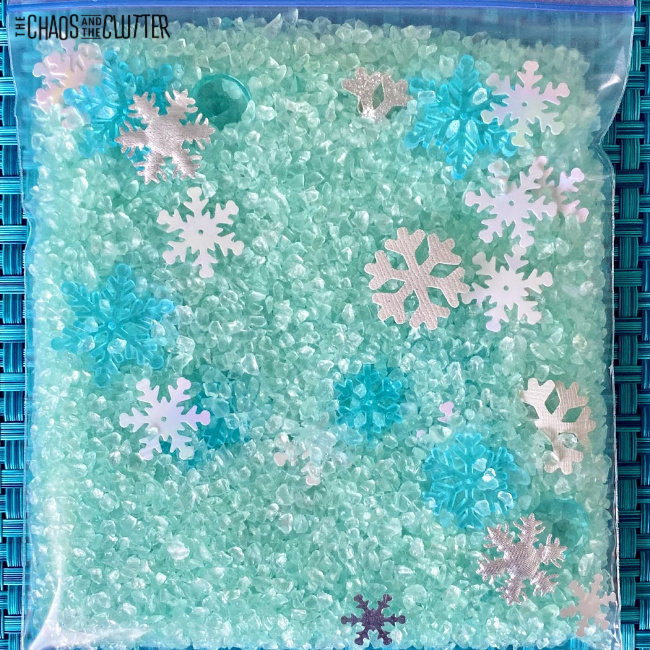
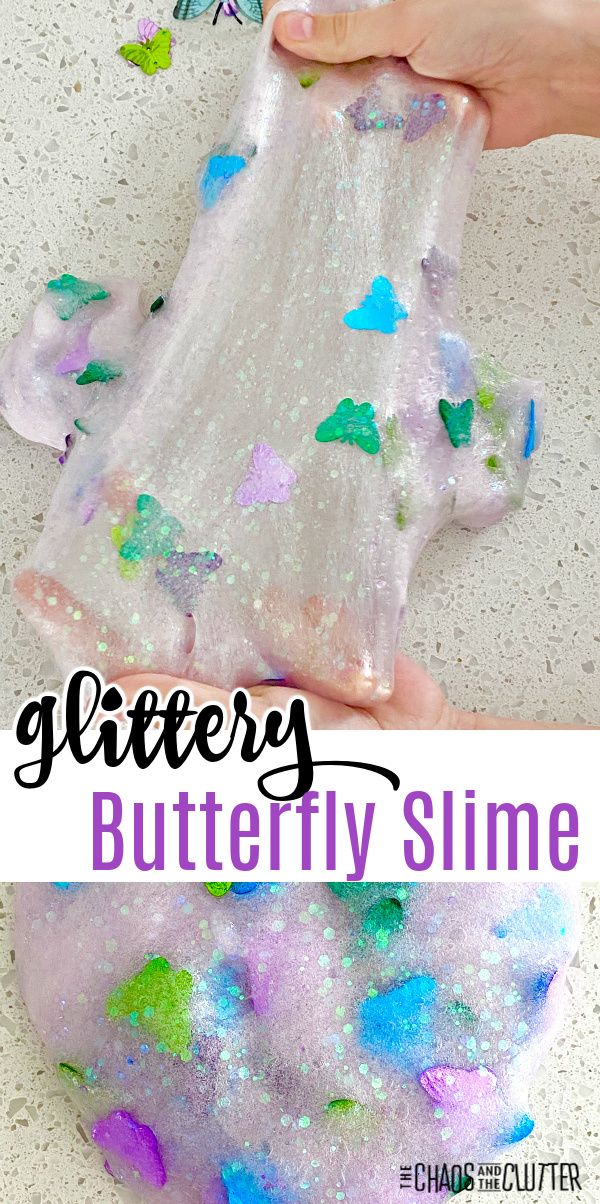 As I type this, it is -40° outside when I live up in Canada. Yes, that’s -40° in both Fahrenheit and Celsius! Now this temperature is cold even for us seasoned Canadians so this is exactly the kind of day that has me dreaming of Spring. I’ve been thinking about flowers and butterflies and green grass as I stay bundled inside and look out at the snow.
 Directions:
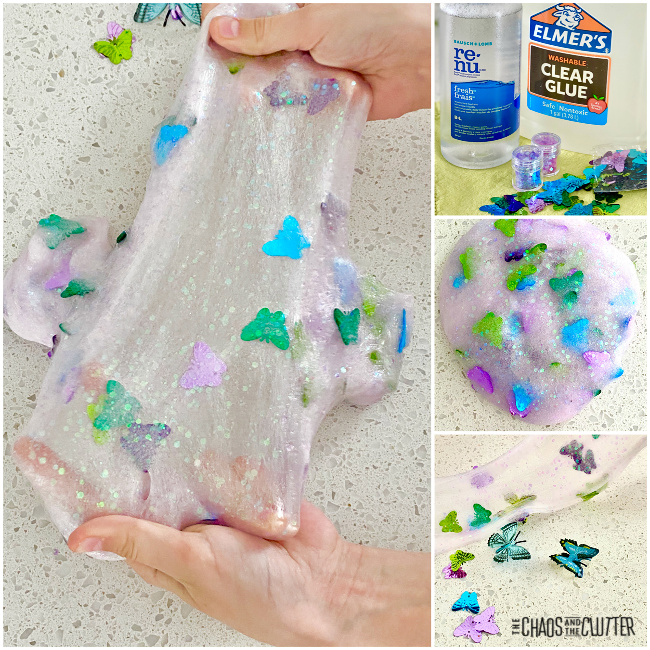

 Directions:
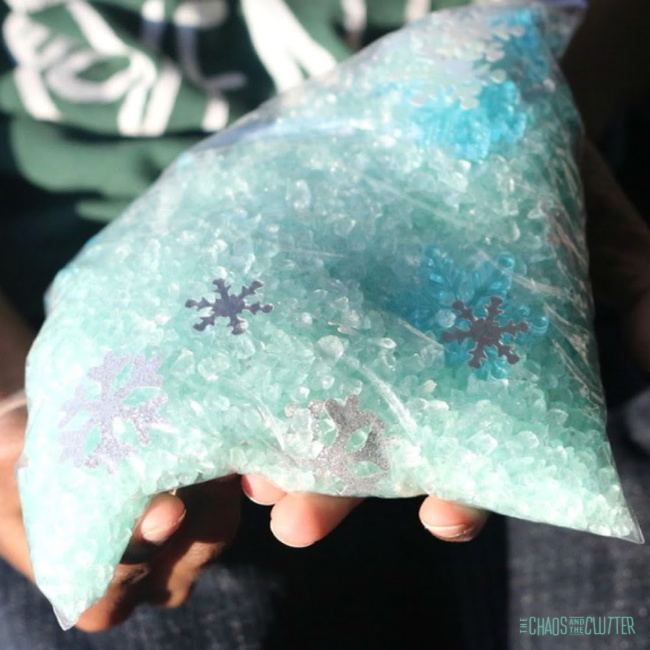
 Are you looking for more easy sensory play ideas like this one? Join us for a five day email series on Sensory Activities and Solutions and get a free sample of our Sensory Play Recipes eBook.
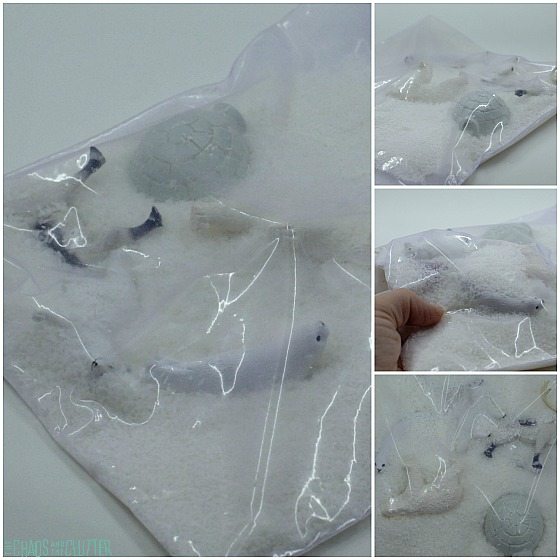
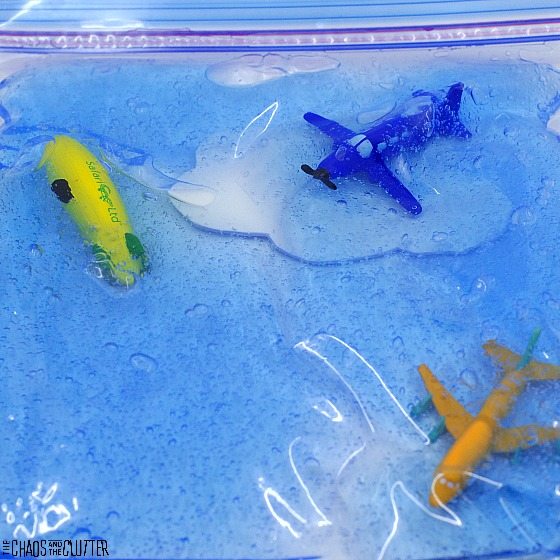

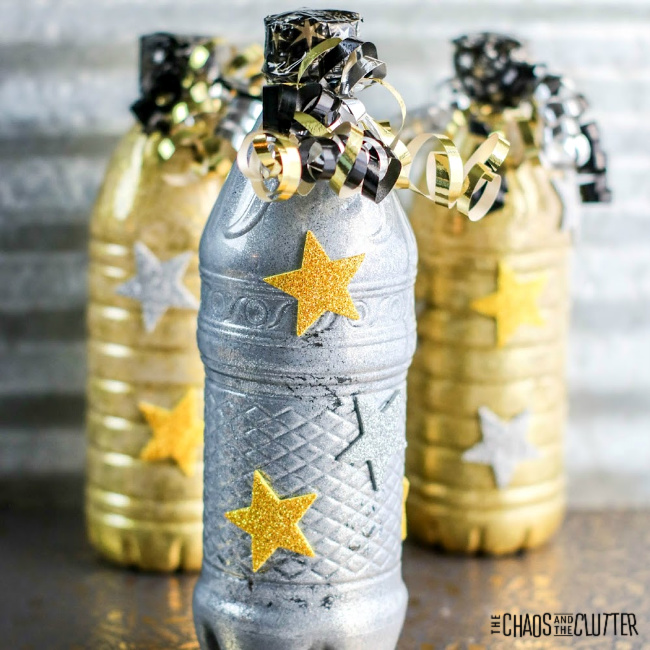
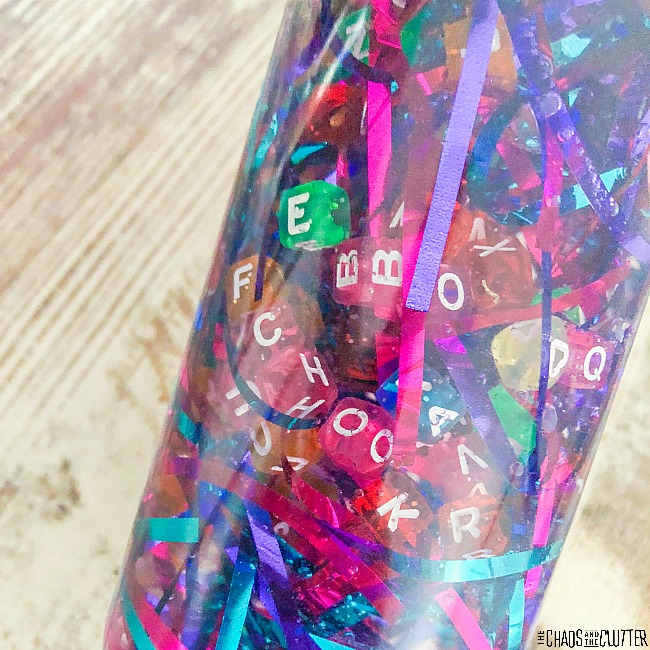
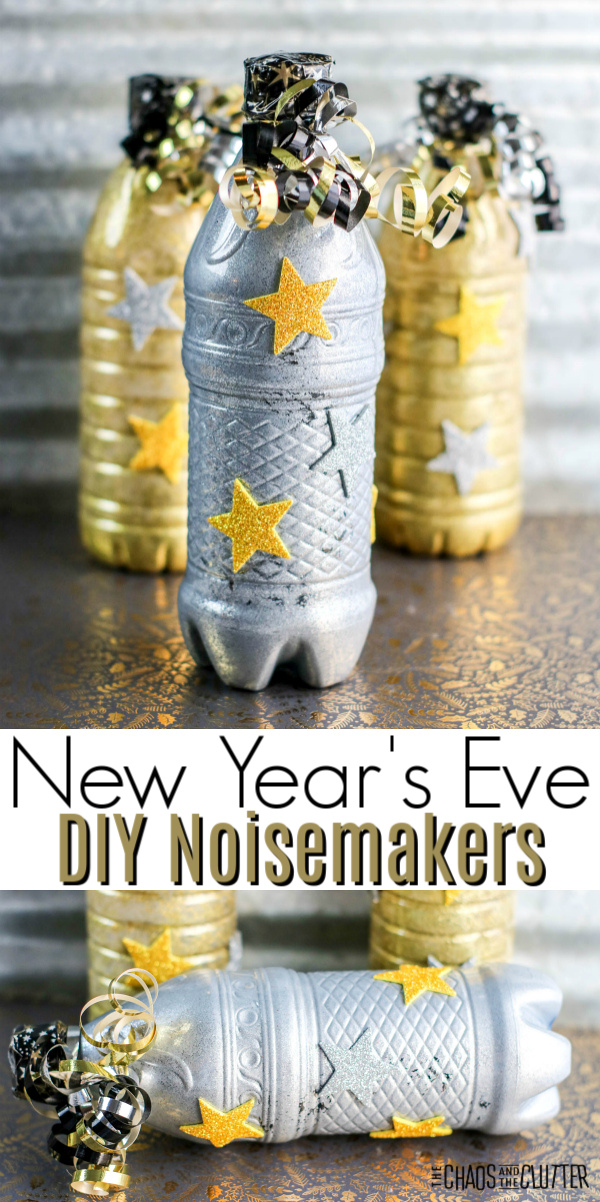 This New Year’s Eve, let the whole family get in on the festivities with activities such as this easy to make
 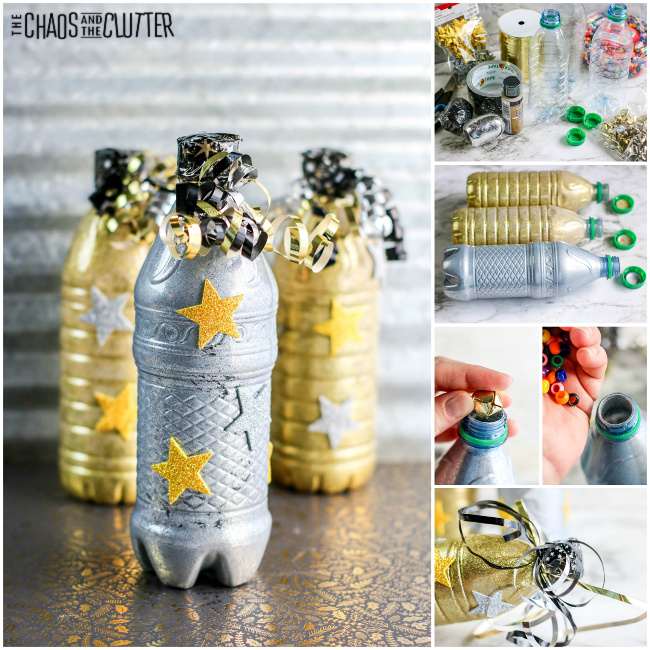 Directions: