Alphabet playdough mats are a wonderful teaching tool to use with children. Whether you are using them with toddlers or preschoolers to introduce letters or with students in kindergarten or early elementary to help reinforce the letters and their sound, learning through play is the most effective way.
 When we first brought home two of our kids from Ethiopia, not only were they trying to learn a new language, they were trying to learn a new alphabet. I tried all of the usual methods to no avail. My kids weren’t making any progress.
It was then that I decided to try a more sensory rich approach. A big part of that was using playdough mats. We also used salt trays and sensory bins. That made all the difference!
When using playdough mats, kids can shape the dough into the desired letter which provides a sensory experience and reinforces what they are learning. In addition, they are receiving visual cues. They can also use their finger to trace the letter or can draw the shape with a dry erase marker.
How to use alphabet playdough mats:
- Print off the Transportation Alphabet Playdough Mats.
- Laminate the pages or place them into a plastic sheet protector.
- Have the child trace the letter with their finger as they say the name of the letter.
- Set out some playdough. You can find our favourite homemade playdough recipe here.
- They can then shape the playdough to form each letter of the alphabet and place it on the corresponding playdough mat.
- Have the child say the name of the transportation example that begins with that letter so that they can practise the sound each letter makes.
![]()
Ways to expand on this activity:
- Use dry erase markers to trace inside the letter or colour the letter in.
- Name words that start with that letter.
- Set out cookie cutters in the shape of the letters. The child can then use that to press into the dough and reinforce learning of each letter.
- Put out alphabet stamps which can be used to stamp impressions into the playdough.
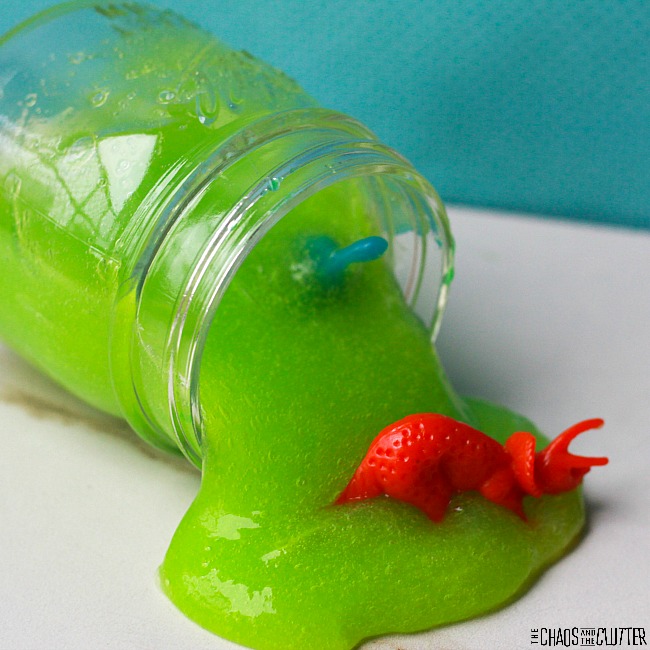
- Use slime instead of playdough to shape the letters.
- Fill the letters with stickers.
- Use bingo dabbers.
- Make a collage of things that start with each letter and glue them on the plastic sleeve around the letter.
![]()
The benefits of using these playdough mats printable worksheets:
- reinforcing the ABCs.
- practise fine motor skills.
- get visual, tactile, and proprioceptive sensory input (olfactory too if you use scented playdough!).
![]() Get your free printable alphabet playdough mats by entering your email address below. You’ll also be signed up to receive our email series Sensory Activities and Solutions.
Get your free printable alphabet playdough mats by entering your email address below. You’ll also be signed up to receive our email series Sensory Activities and Solutions.
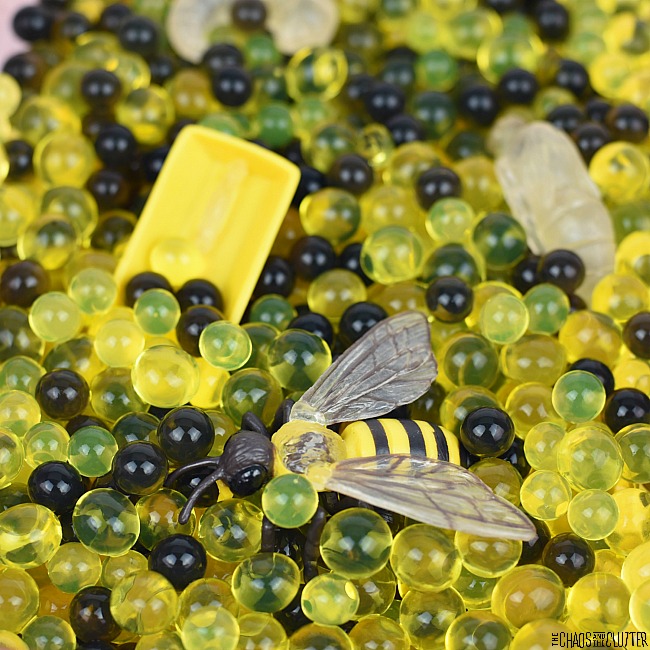
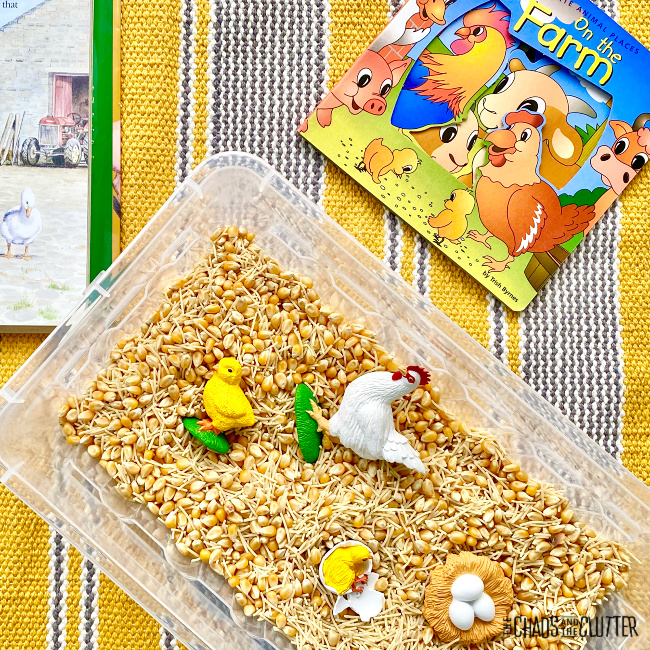
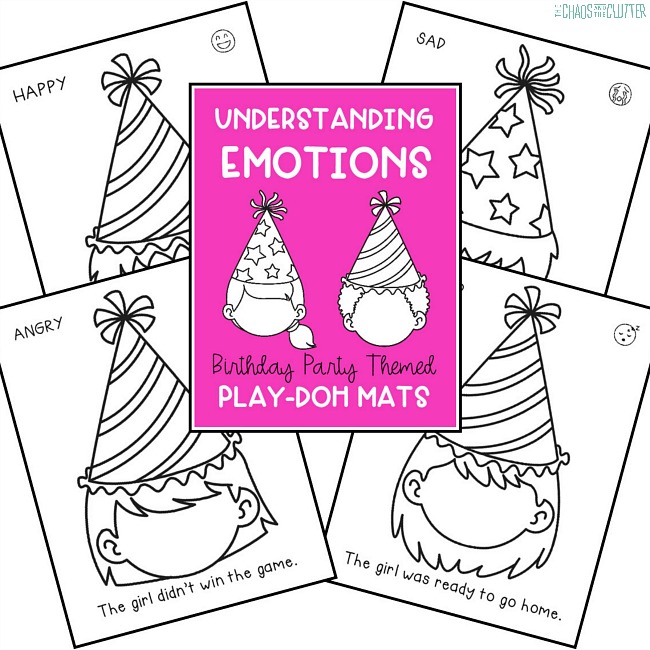
Check out some of our other free playdough mats for kids:

 Directions:
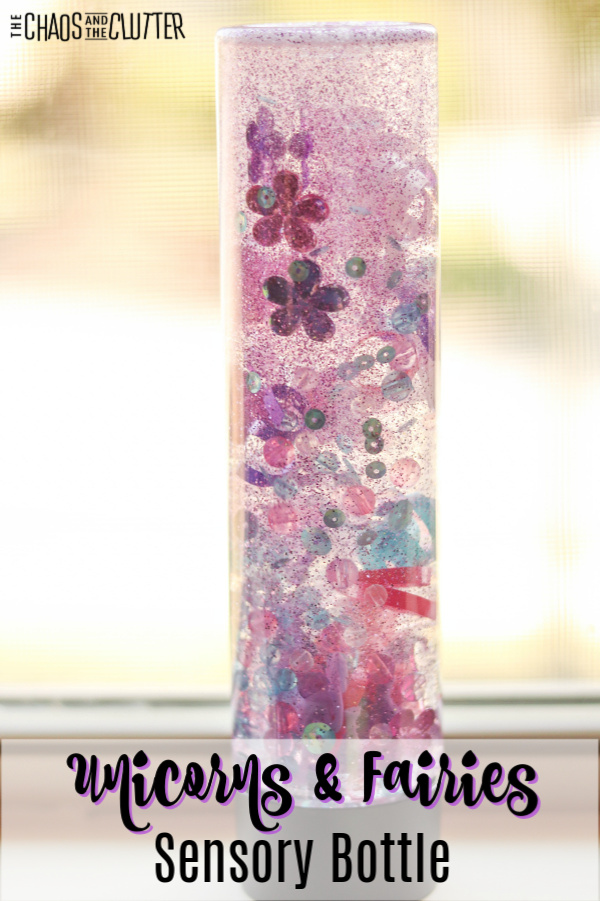
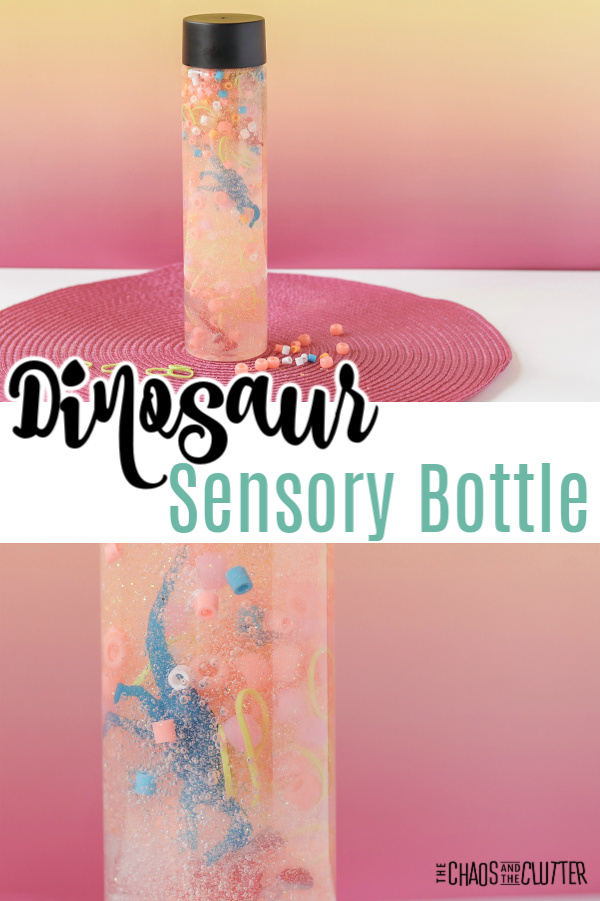
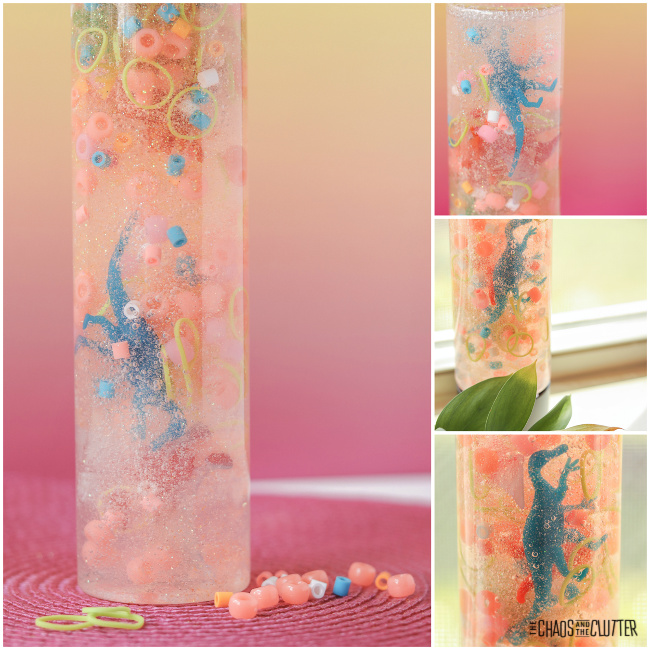
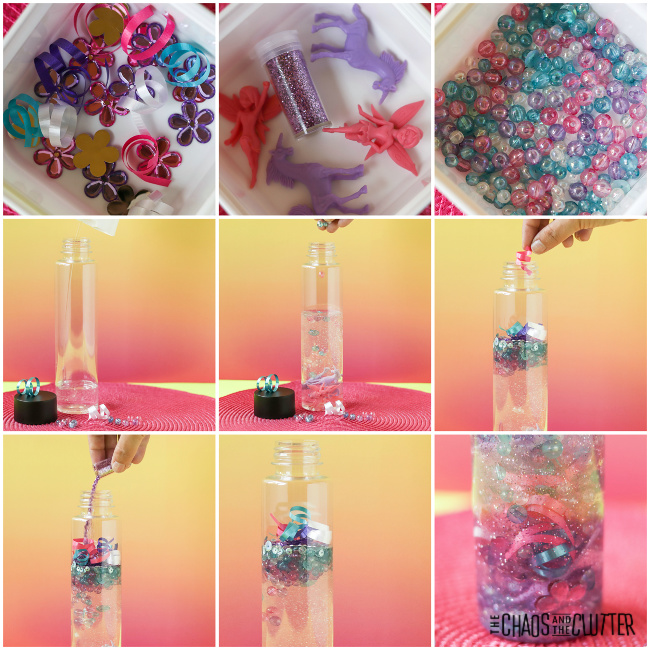 As with all sensory activities for kids, adult supervision is recommended at all times. Even if you’ve Superglued the lid in place, it can still come off and the bottle contains small parts which are choking hazards.
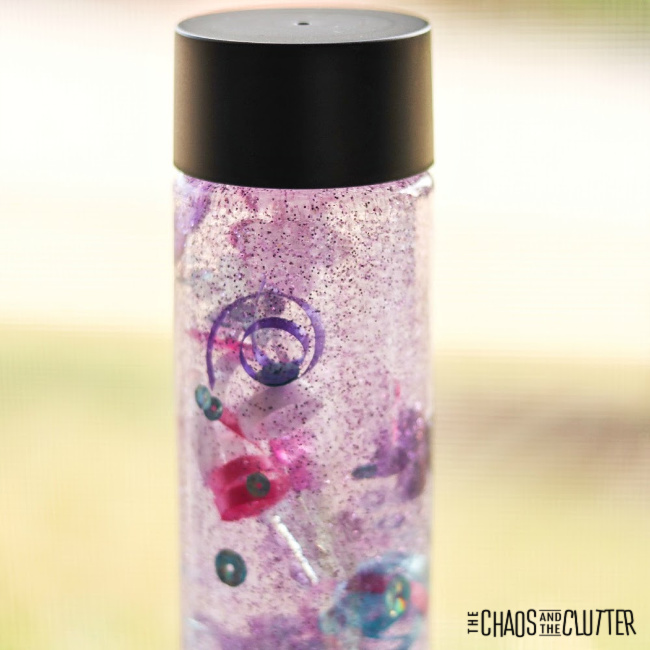 Are you looking for more easy sensory play recipes? Join us for a five day email series on Sensory Activities and Solutions and get a free sample of our Sensory Play Recipes eBook.
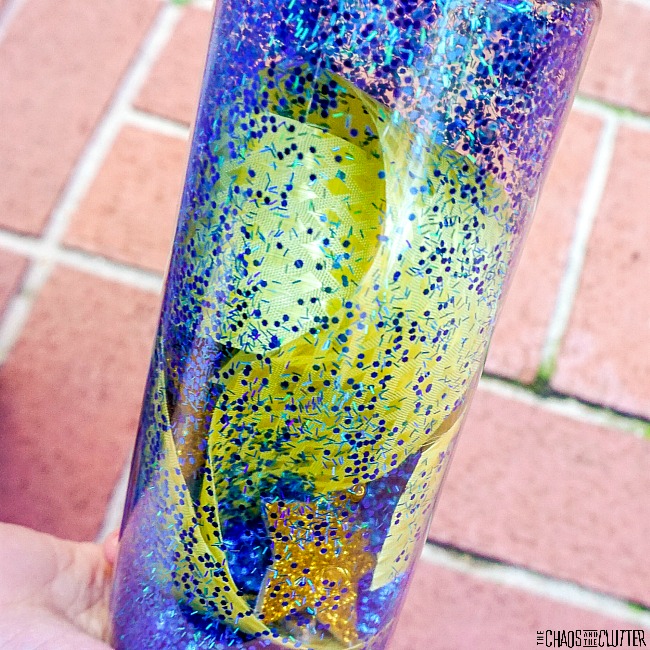
 Directions:
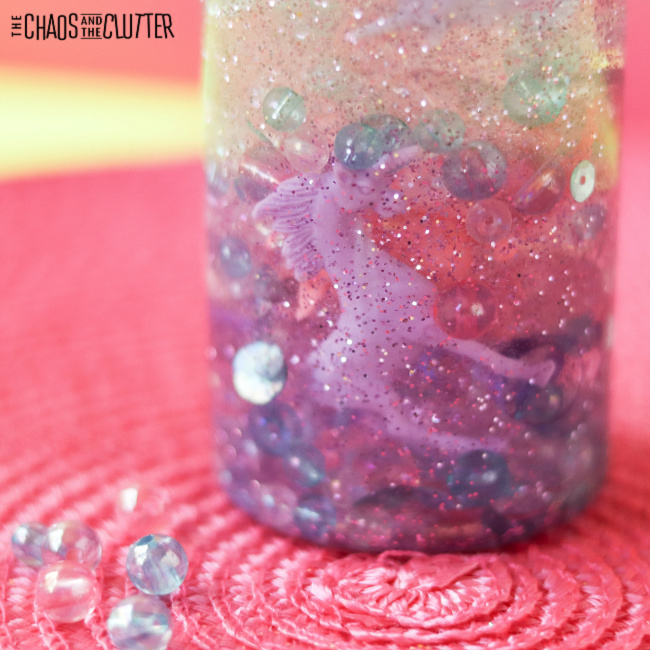
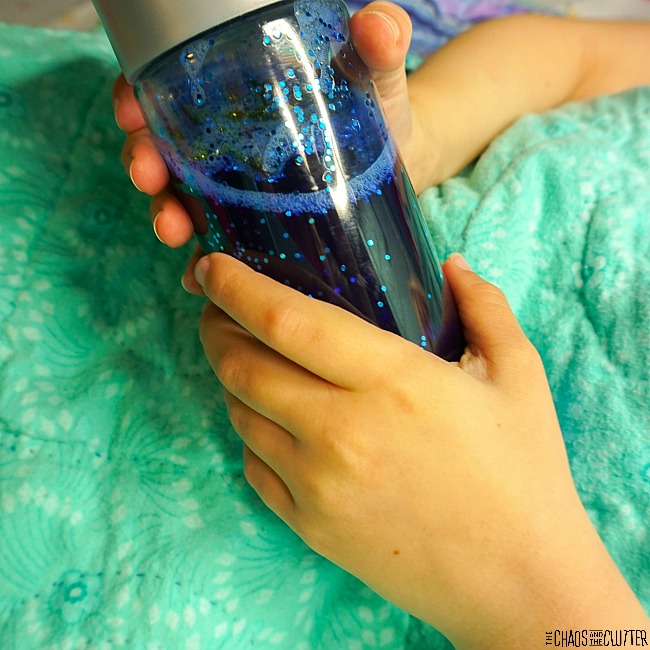
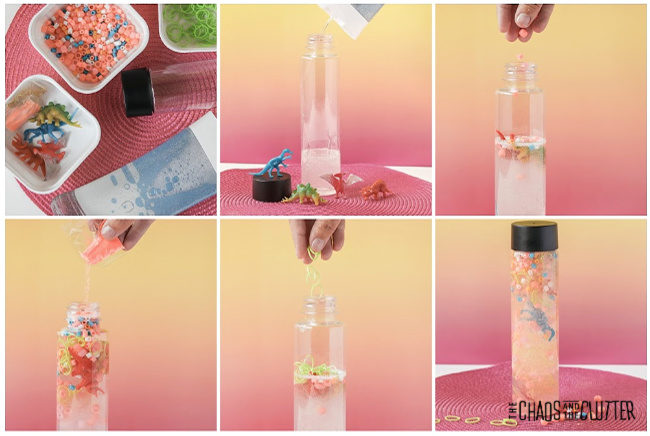 Adult supervision should be used at all times when kids are playing with this activity. Even if you glue the lid in place, it can come off especially over time. The bottle contains small parts which are choking hazards.
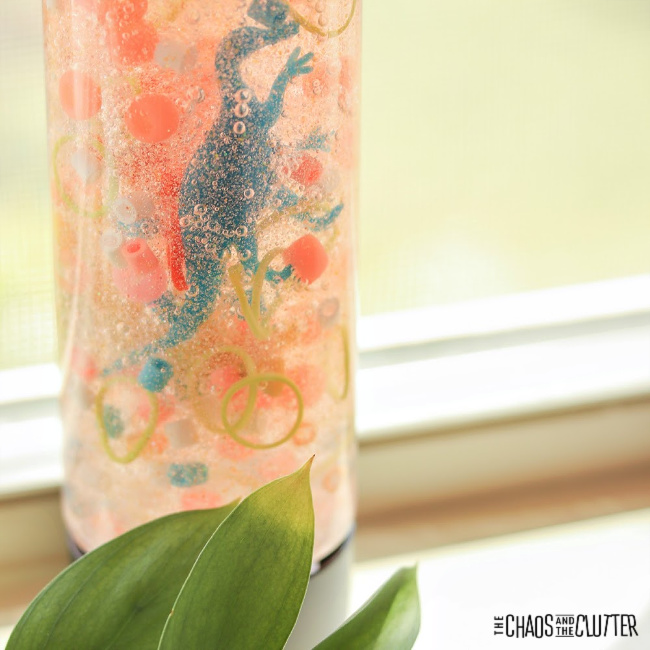
 Stovetop Directions:
 Directions:
 Are you looking for other easy sensory play recipes? Join us for a free five day email series on Sensory Activities and Solutions and get a sample of our Sensory Play Recipes eBook.
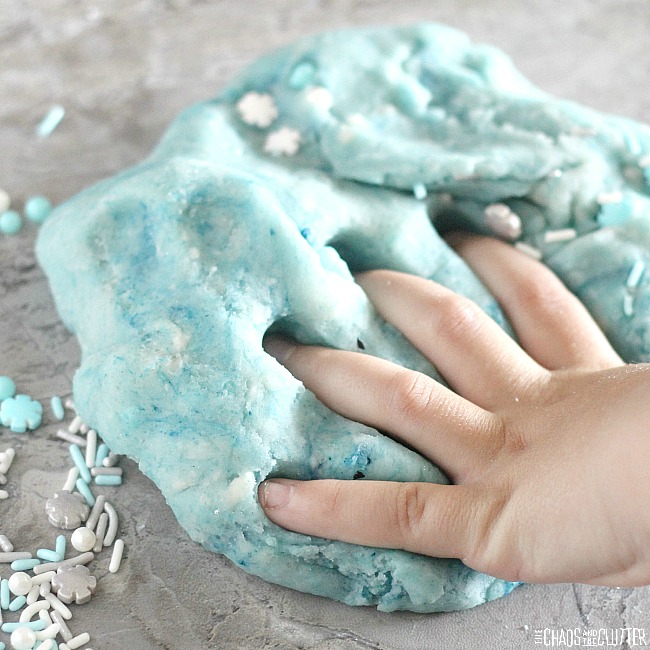
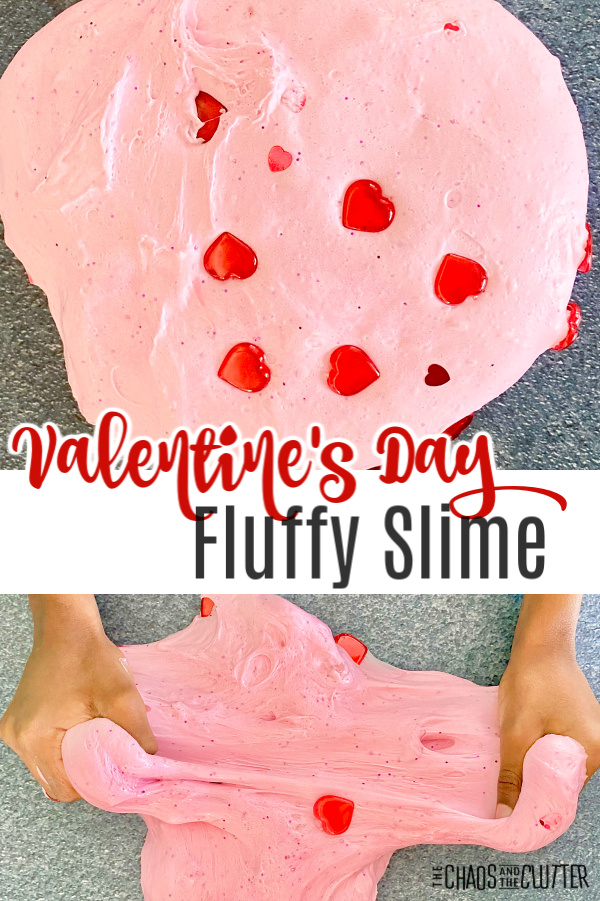
 Directions:
 When the slime isn’t stretchy after a few days of play, you can add a bit of hot tap water or a small amount of lotion.
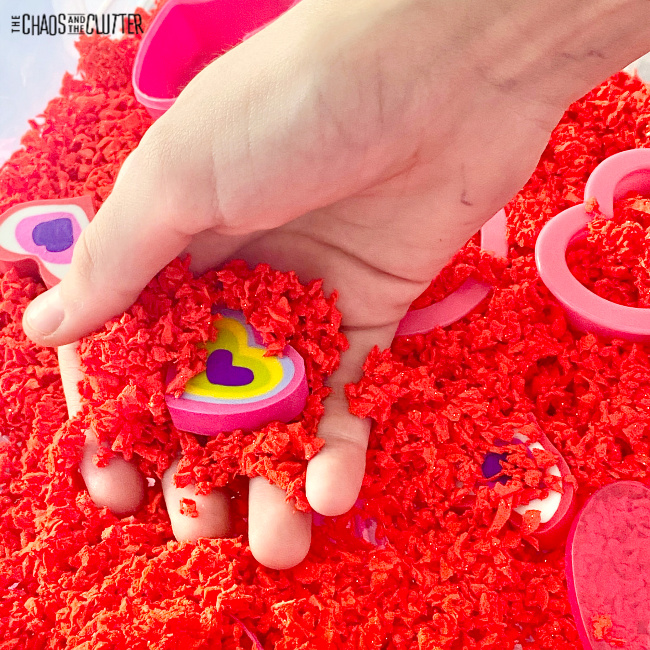
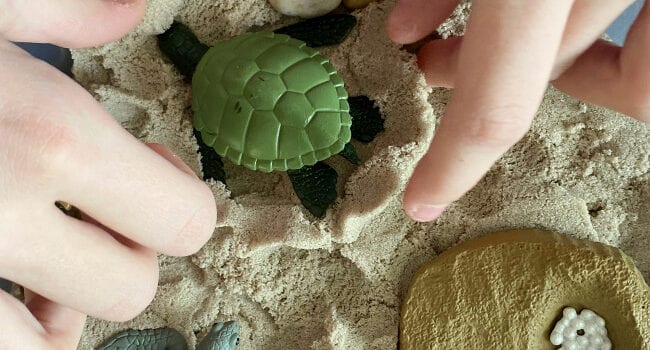
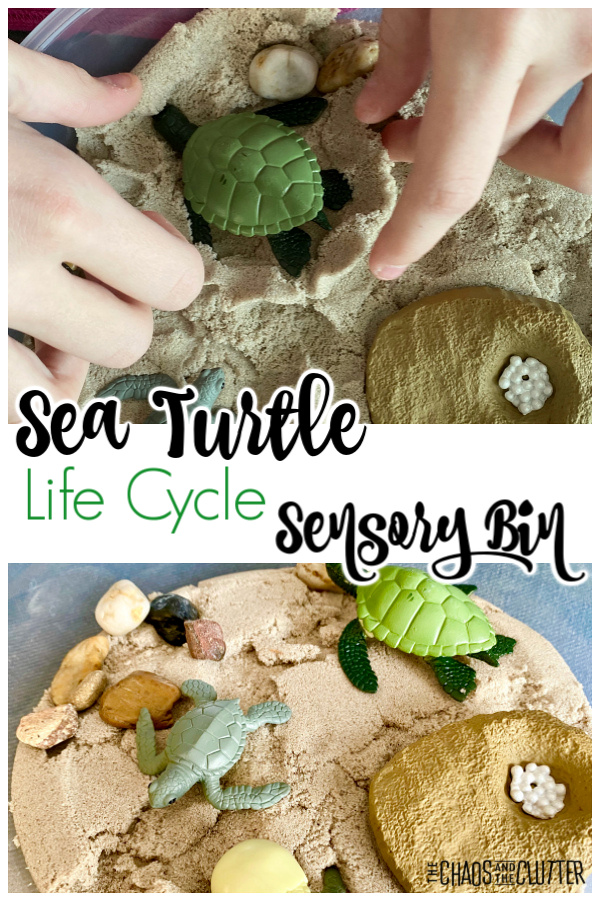
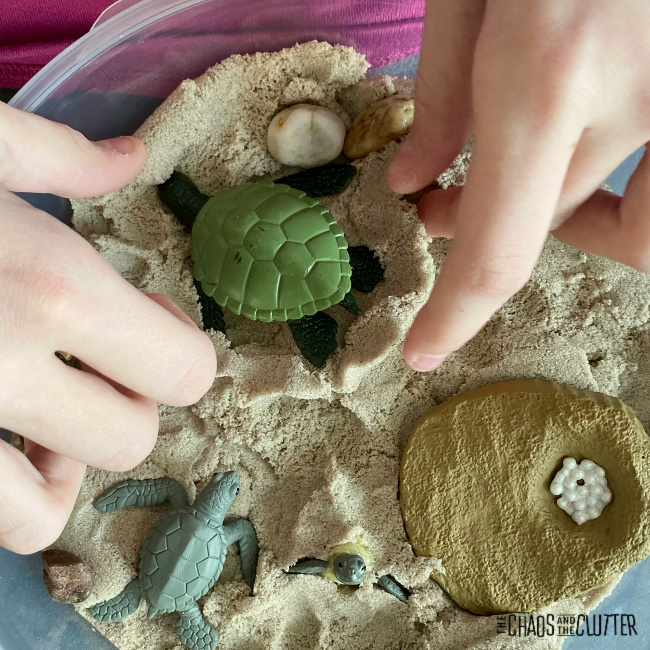
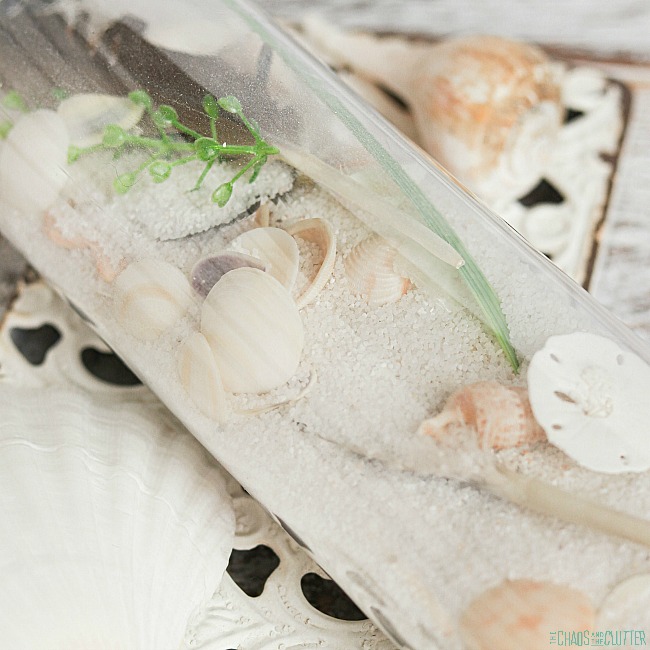
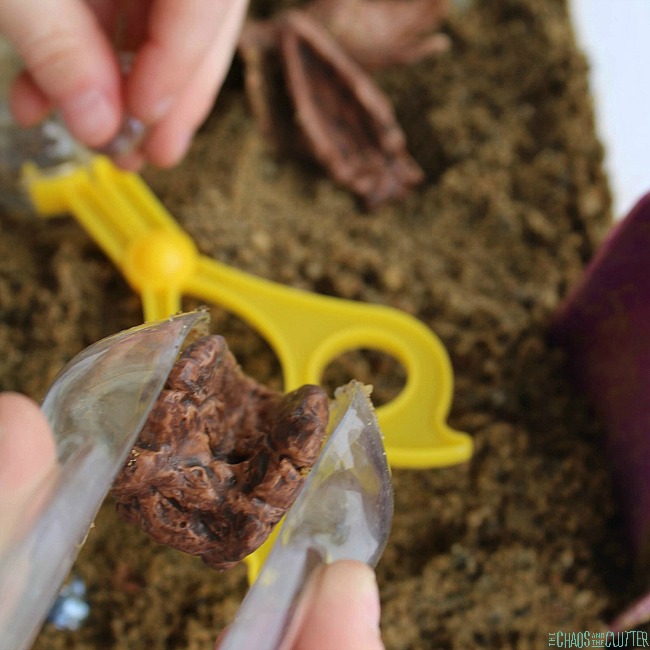
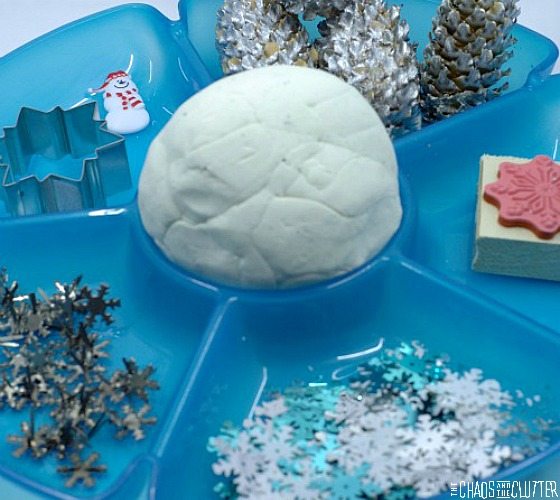
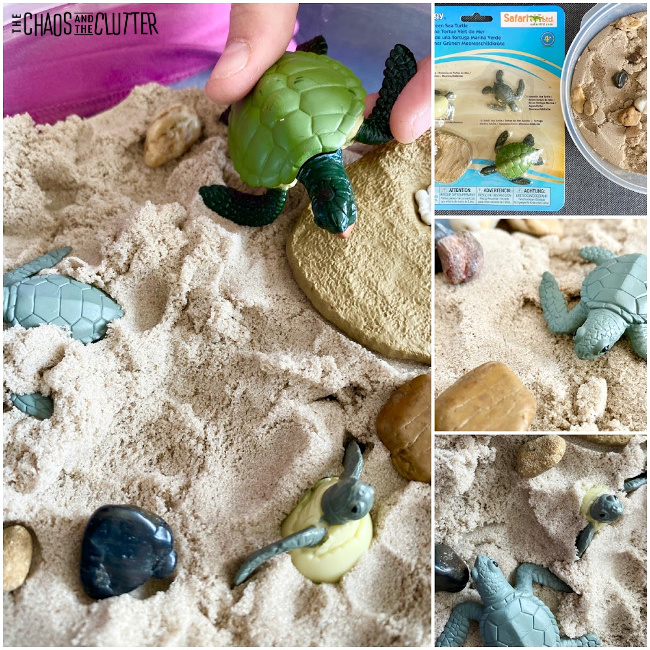 This sensory bin is great for use at home or in the classroom while doing a unit study. It enables kids to reenact what they are learning. Using more of their senses and learning through play allows for better retention. What may seem like a simple activity can allow kids to cement their knowledge and make it more real.