I find that it’s often the easiest activity ideas that are the best. This fits that criteria. By making a Sprinkles Sensory Bag for your child or student, you can create an easy fine motor and sensory activity that also serves as a boredom buster. 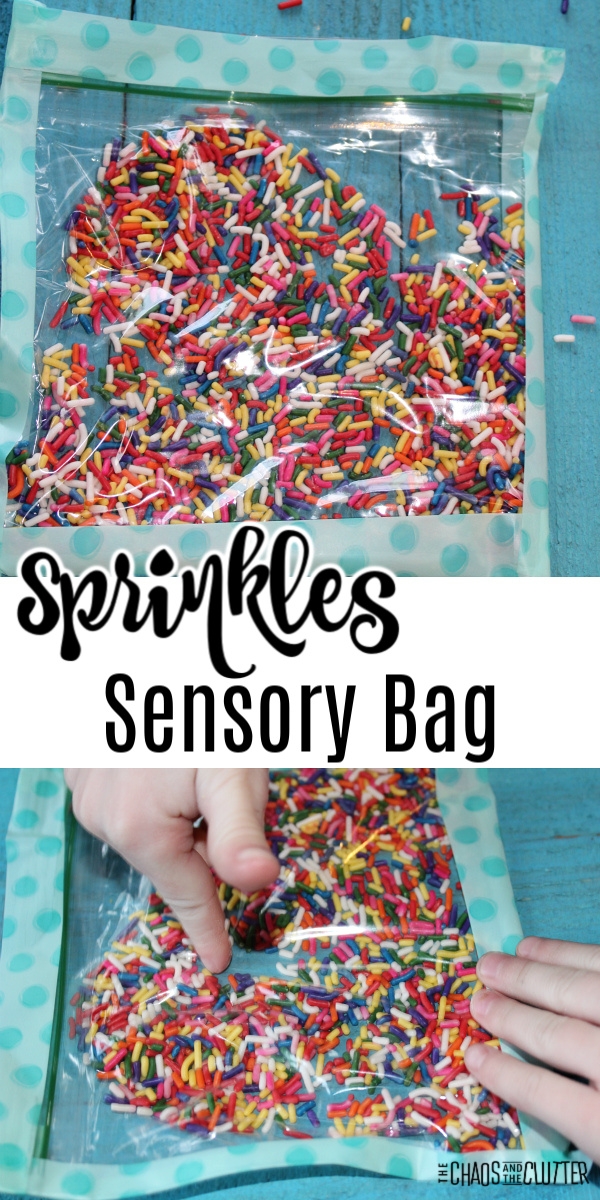
Sprinkles Sensory Bag:
Supplies needed:
- resealable plastic bag (sandwich or medium size*)
- cake sprinkles
- colourful duct tape
- optional: paper
*While you can use a sandwich bag, I find that the freezer bags in size medium are thicker and less likely to tear so that’s what I always use for our sensory bags.
Directions:
- Reinforce the sides and bottom of a zipper seal bag by folding duct tape over them.
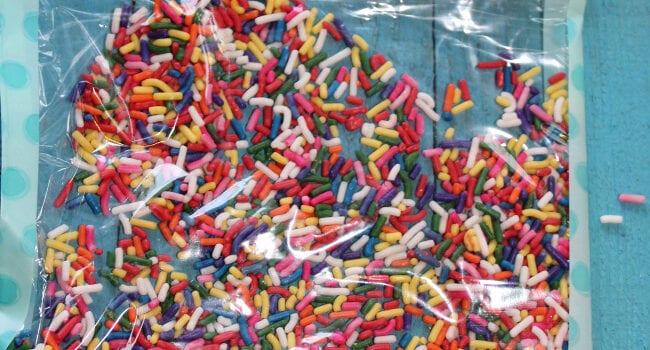
- Pour in some sprinkles.
- Remove the excess air and seal the bag.
- Fold another strip of the duct tape over the top.
- Give the bag to your child.
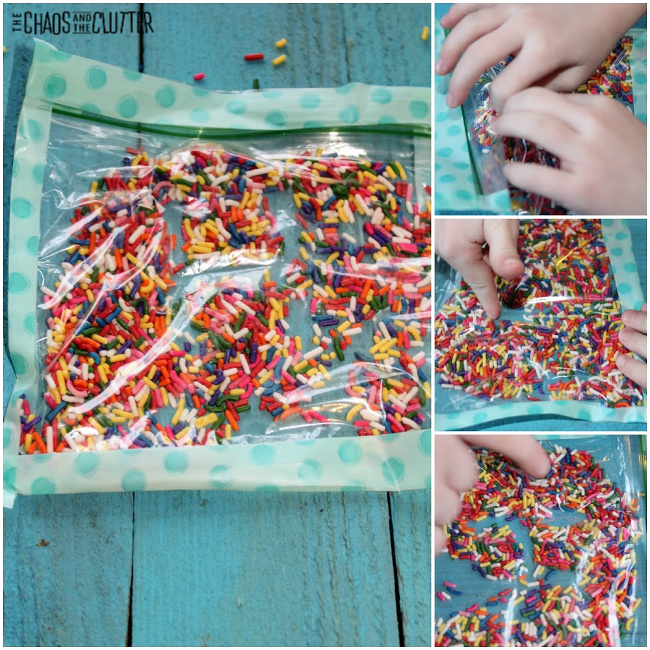 Your child can trace letters, numbers, or shapes in the sprinkles with their finger. This will help reinforce learning and also give them fine motor practise.
If you want, you can write a letter, number, or shape on a piece of paper and lay the bag on top of the paper so that they can use that as their guide.
As far as sensory benefits go, this activity provides tactile, visual, and proprioceptive sensory feedback. If kids shake the bag, there is also a small amount of auditory sensory input as well. 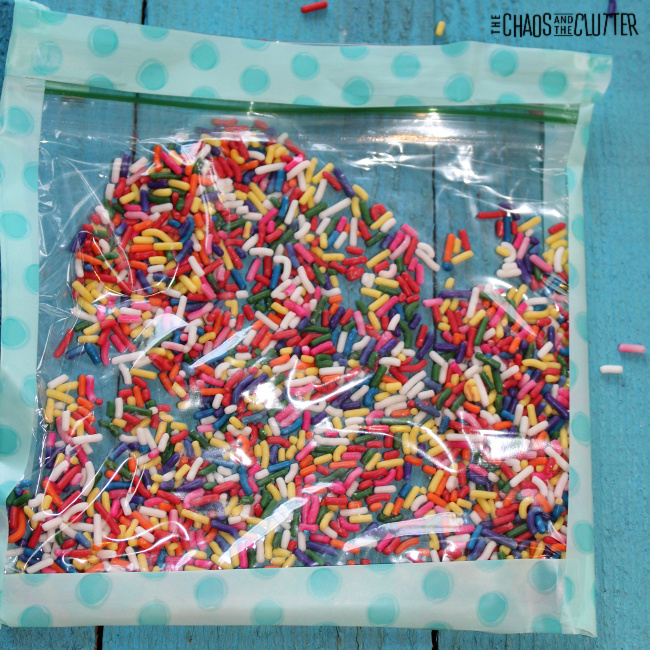 One of the things that’s nice about this is that it is safe for preschoolers and even toddlers because even if they are able to get the bag open, the sprinkles are edible. Of course, adult supervision should be used with all kids’ activities.
You may also be interested in these preschool fine motor activities:
Ball and Bands Fine Motor Activity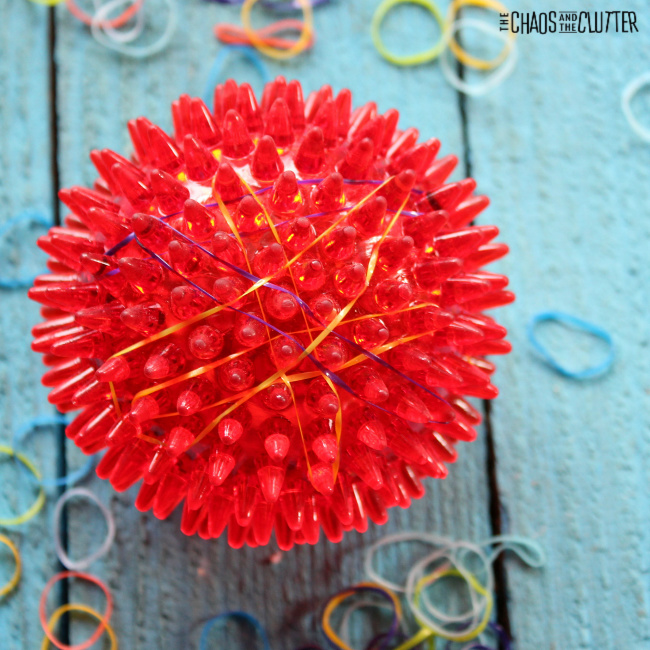
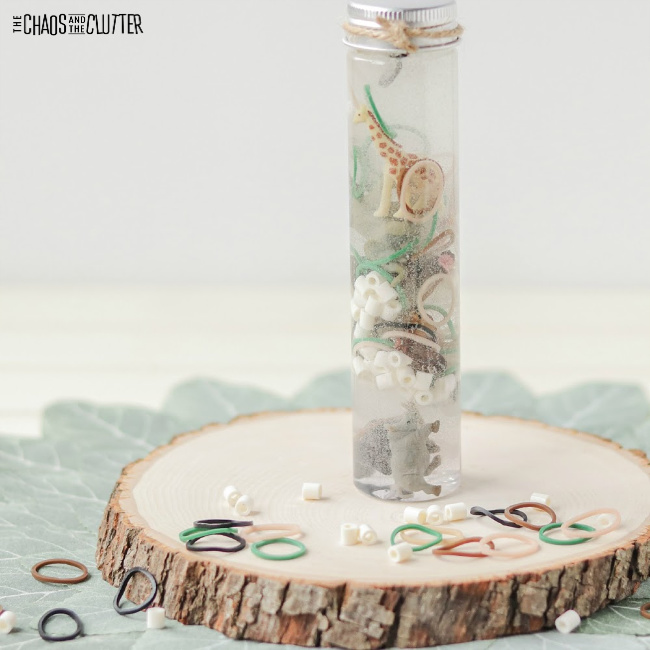
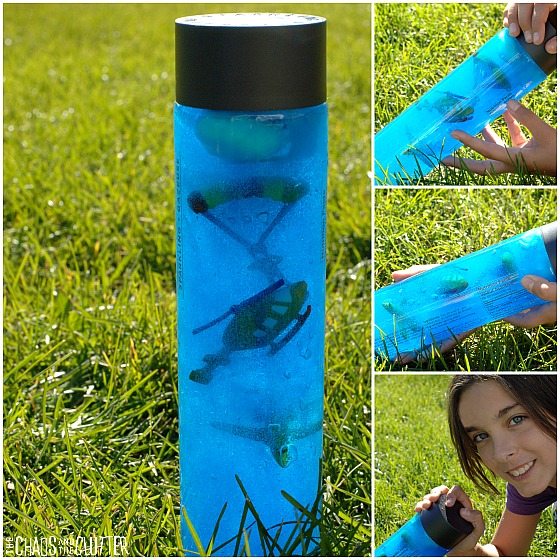
 The glitter falls slowly through the glue and water mixture, creating a calm down effect. This sensory bottle also provides tactile, proprioceptive, and visual sensory feedback for kids.
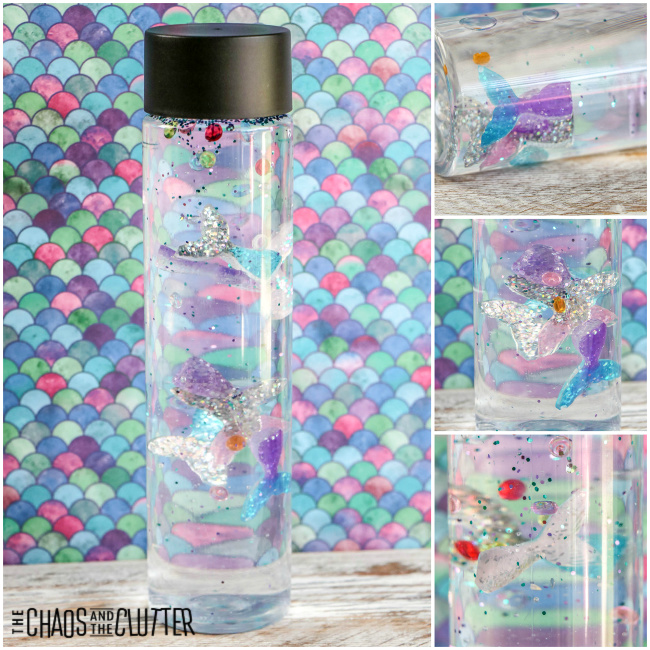 Directions:
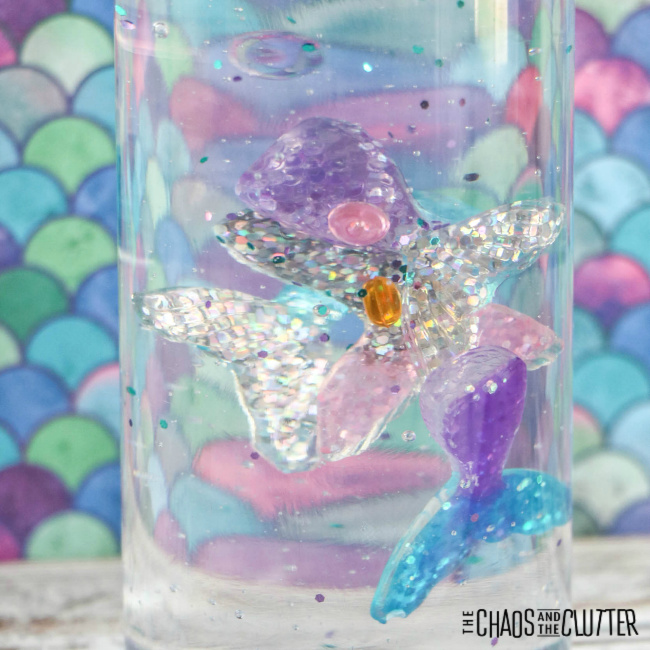 Are you looking for more easy sensory play ideas? Join us for a five day email series on Sensory Activities and Solutions and get a free sample of our Sensory Play Recipes eBook.

 Directions:
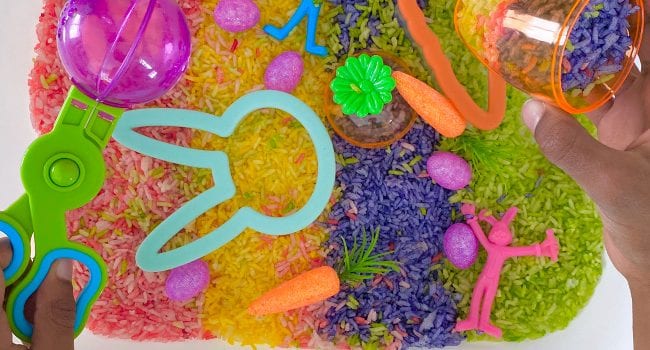
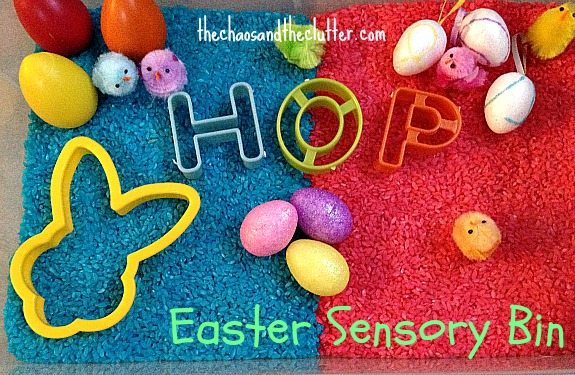
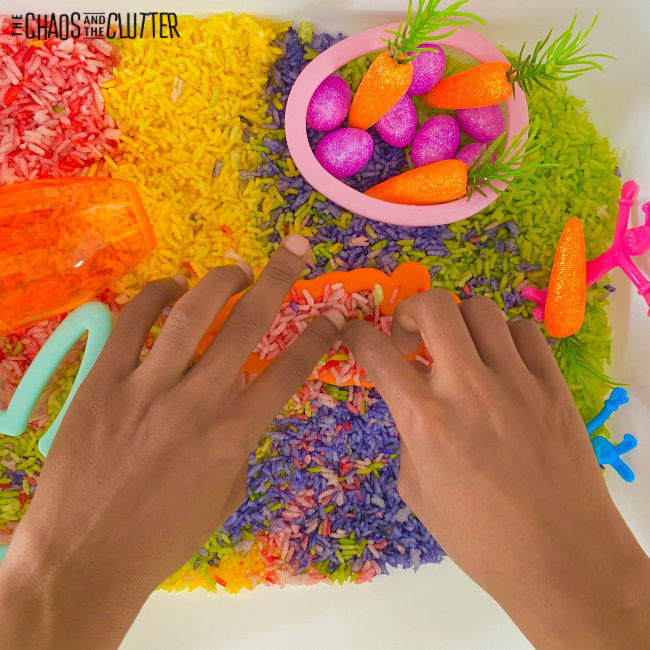 Once they begin playing with the bin, the different colours of rice will inevitably mix and that’s ok. If you have a child who gets upset by things like this, explain ahead of time that the colours will mix and that it’s all part of the fun. Once the colours mix together, it’s also quite pretty.
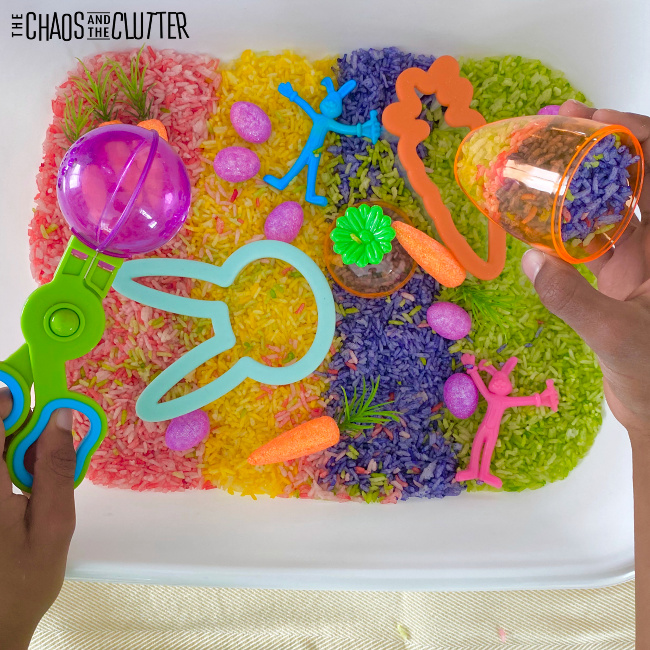 Check out some of these other Easter sensory activities:
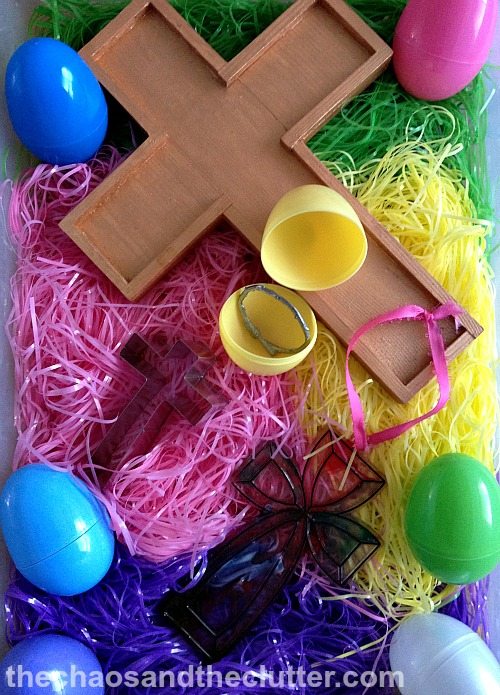
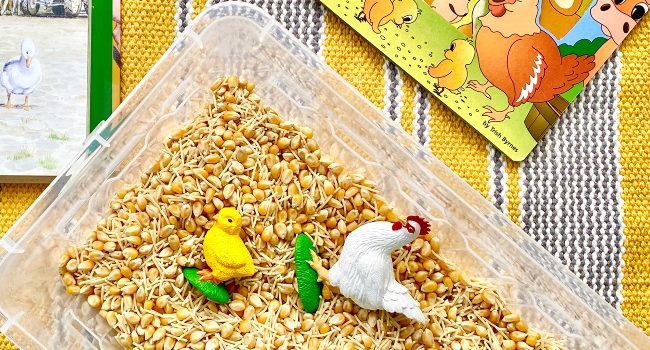
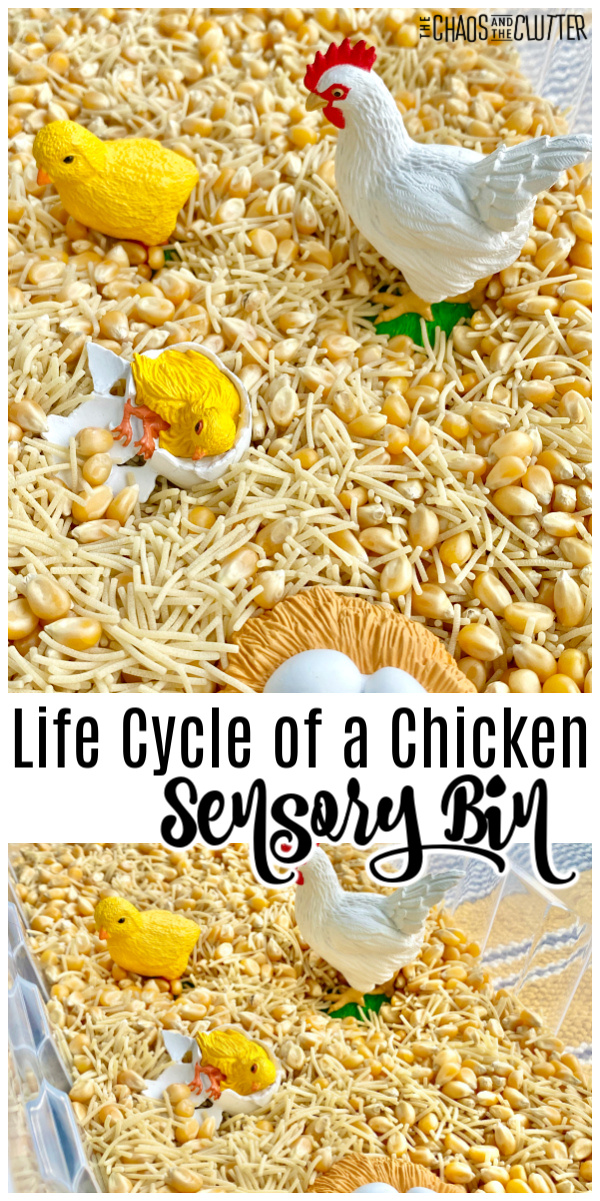
 Full disclosure: I’m dreaming of Spring right now because where I live, it is still below freezing and snow blankets the ground a week into April. So I am all about thinking about baby chicks, green grass, and colourful flowers right now! And of course Easter.
 Directions:
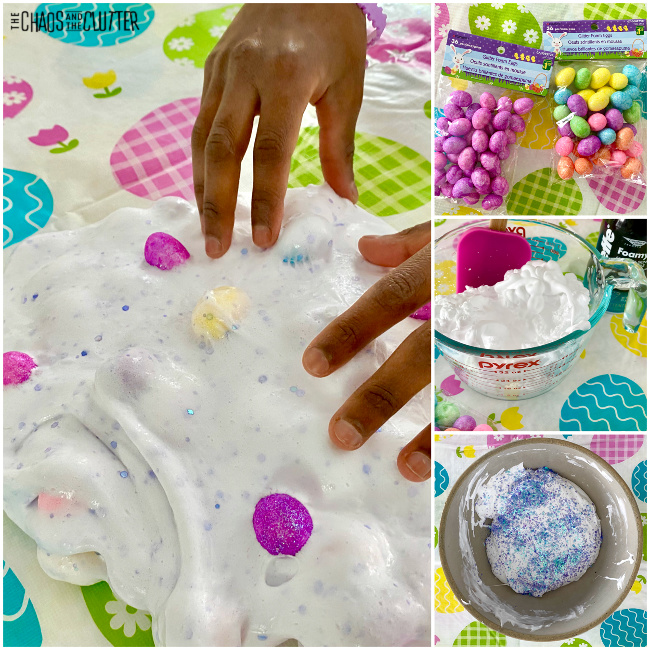
 Directions:
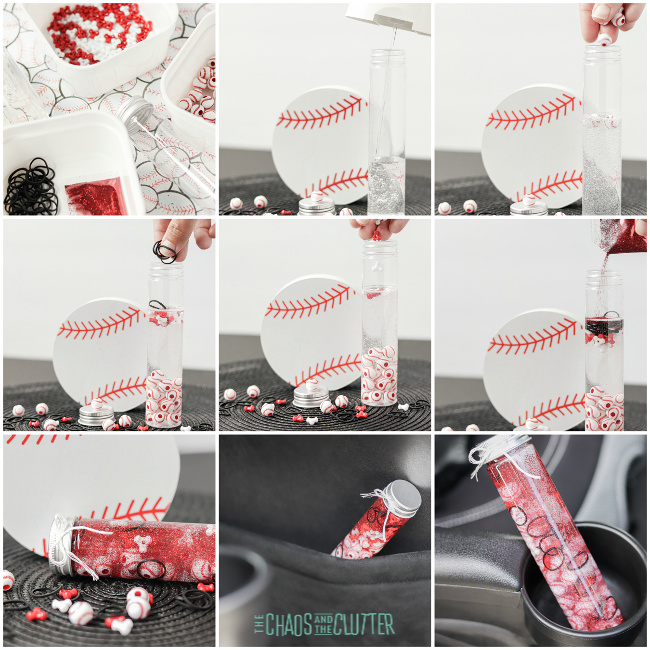
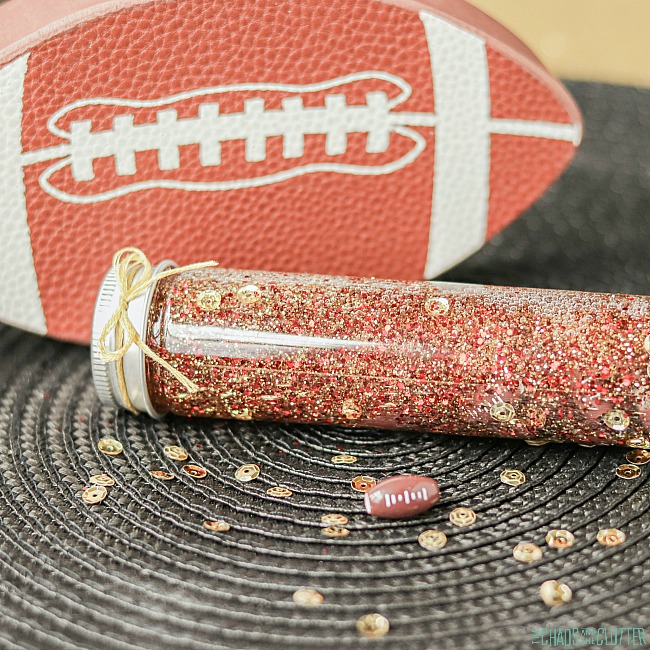
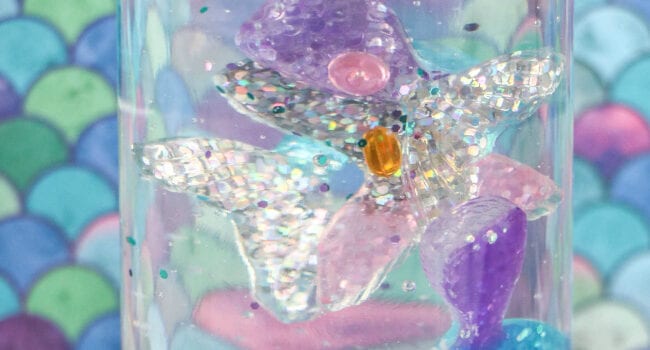
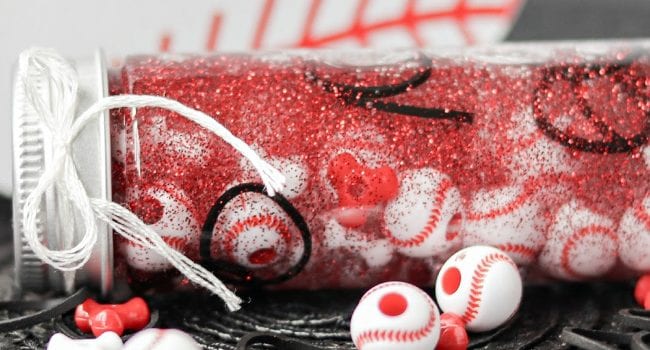
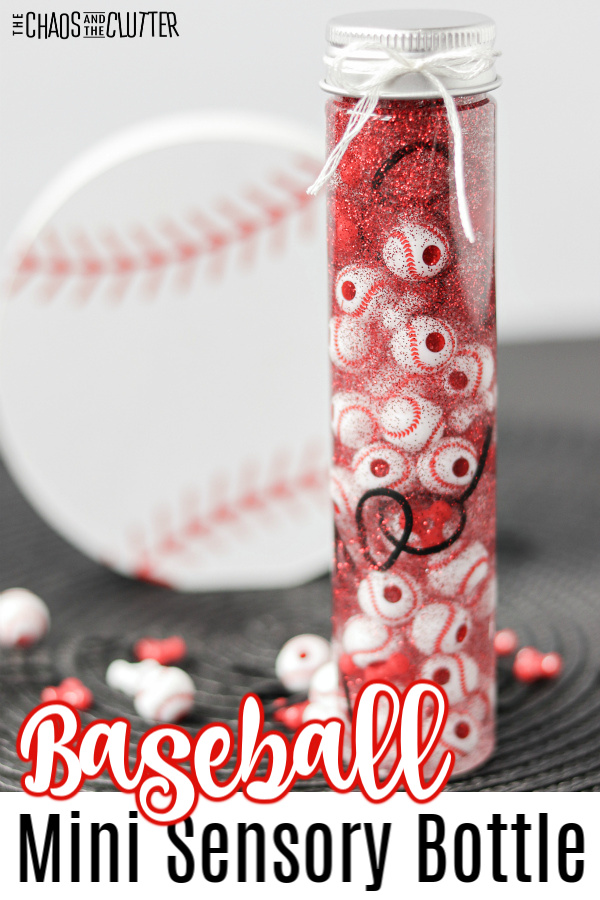
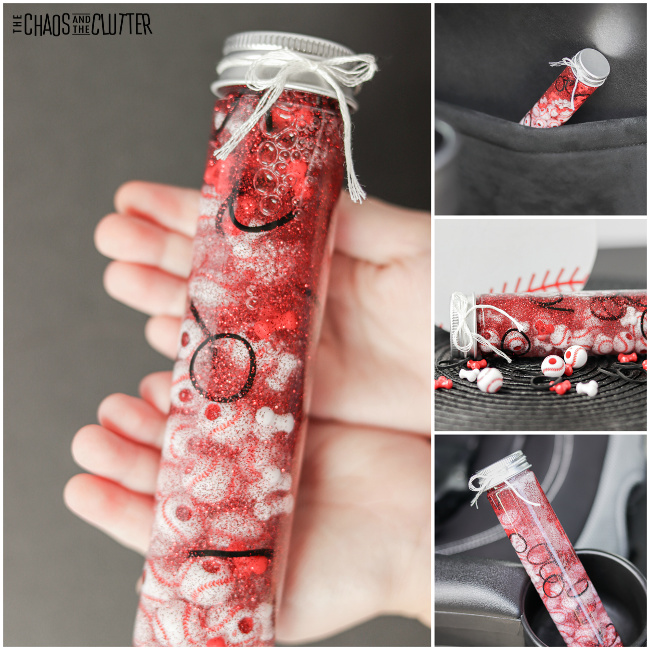
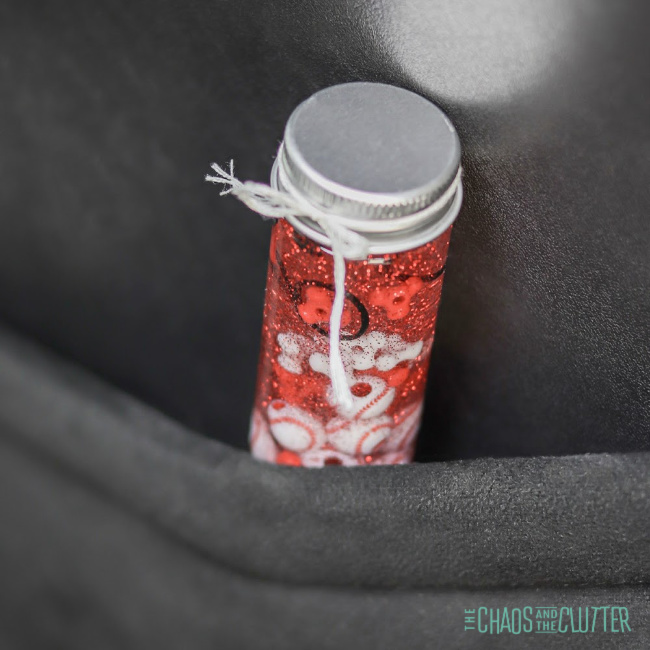 This adorable mini bottle incorporates both the visual and tactile sensory systems. Because the glitter and beads stay suspended in the dish soap and fall slowly as it is turned or flipped over, this can also serve as a calm down bottle. Children can watch the glitter slowly fall as they focus on regulating their breathing.
 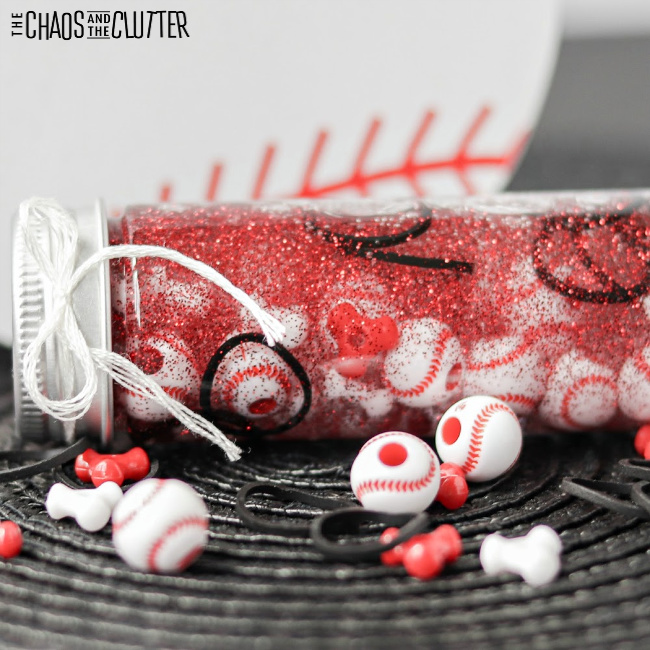 Are you looking for more easy sensory play ideas to use with kids? Join us for a five day