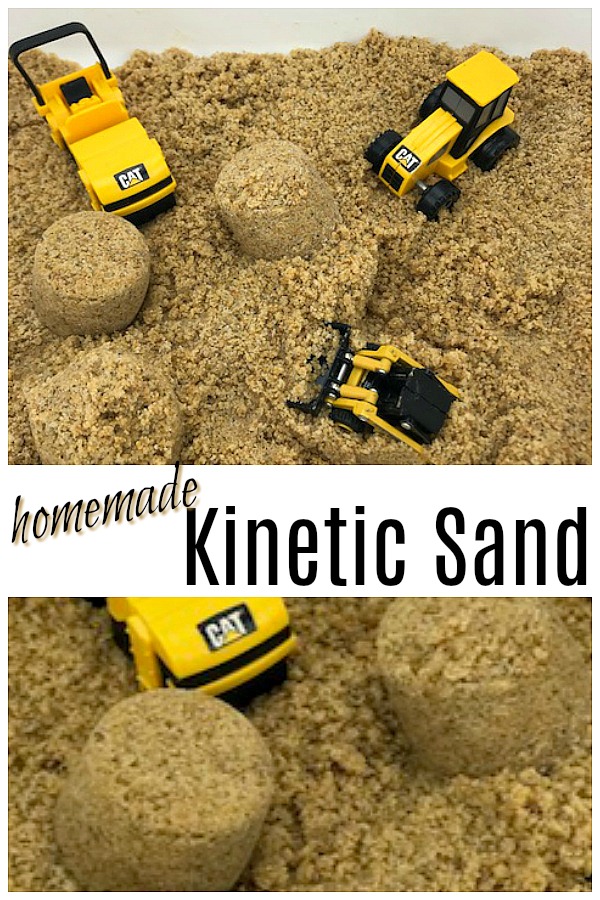
Kinetic sand is such a neat sensory experience for kids. It is fun to play with, sparks creativity, and offers great sensory input. I don’t know if you’ve noticed or not, but the kinetic sand in stores is expensive.
Once your kids play with the kinetic sand for a while (particularly if it’s in a classroom or day care and multiple children have their hands in it), it can get dirty. That means it needs to be thrown out. Which means you need to buy more. That’s why homemade kinetic sand is such a great option. You won’t believe how easy this recipe is to make!
What is Kinetic Sand?
Kinetic sand is sand that has had ingredients added to it so that it becomes mouldable like clay. It continues to have the grainy properties of sand, creating an interesting texture experience.
Yet it sticks to itself, much like wet sand at the beach. When you are on the shore making sand castles or sand sculptures, you need to add water to keep the structures from becoming too dry and crumbling. This is essentially the idea behind kinetic sand.
DIY Kinetic Sand Recipe
Ingredients:
- 4 cups sand
- 2 1/2 cups flour
- 3/4 cup vegetable oil
How To Make Kinetic Sand:
- Measure out the sand and flour and add to a large bowl.
- Mix the sand and flour together.
- Stir in the oil. Combine well.
Now you have your own homemade kinetic sand to play with!
This recipe is included in our Sensory Play Recipes eBook. It includes more than 25 easy to make recipes for awesome sensory activity options. If you’d like a sample that includes 5 recipes from the book, just pop your email into the box below.
Does Kinetic Sand Dry Out?
If the sand begins to dry out after a few weeks, you can mix in a few drops more of vegetable oil and give it a good stir. 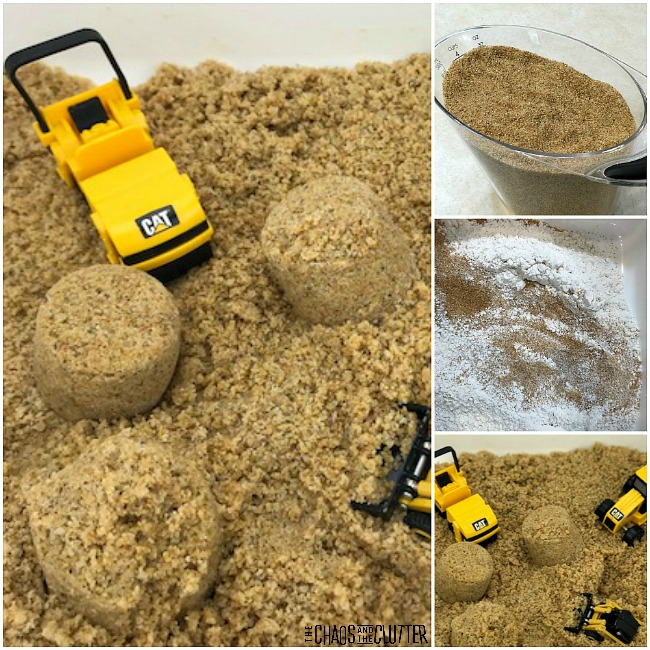
Homemade kinetic sand is wonderful for playing with and such an easy recipe to make. You can buy enough sand to make large quantities of your own kinetic sand for the same cost as one pack of store bought variety.
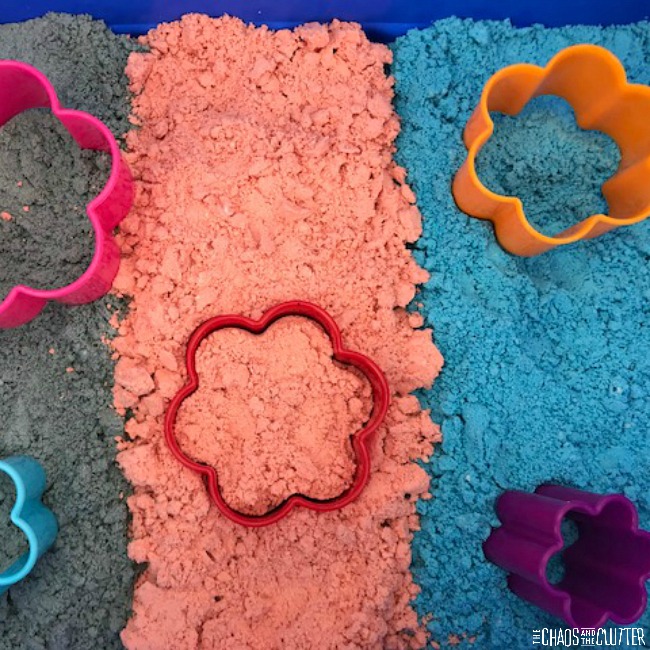
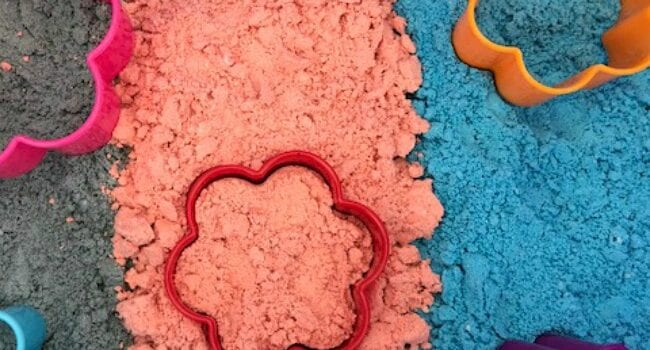
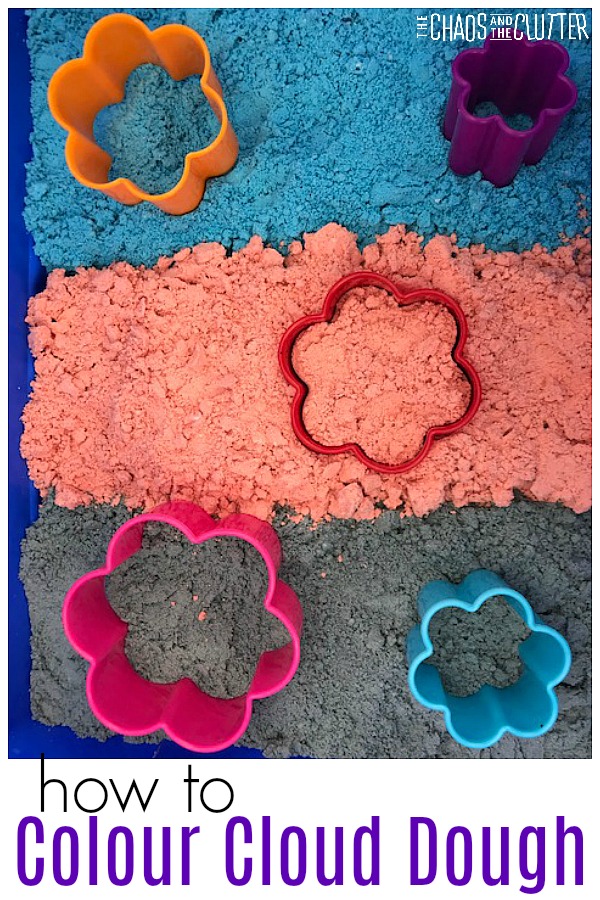
You can also purchase sand in cool colours. This allows you to make coloured kinetic sand.
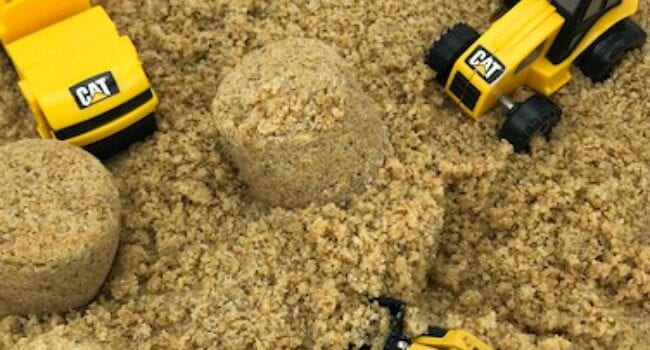
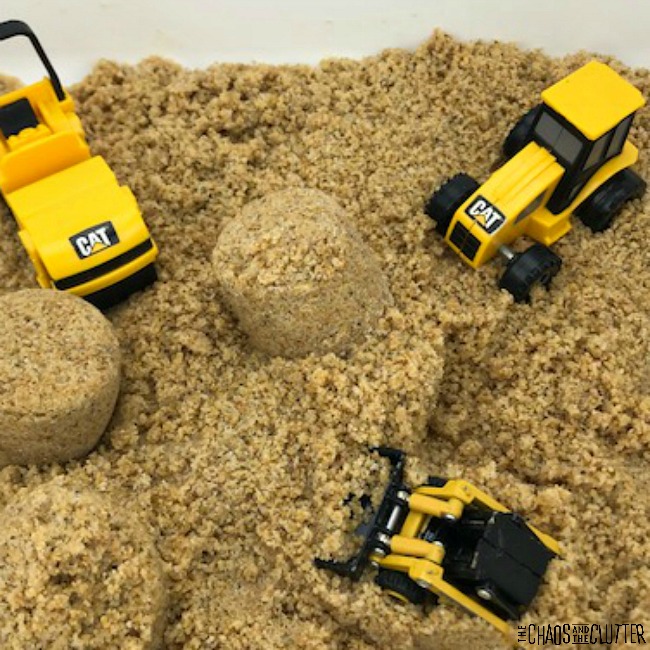
I put the kinetic sand in a sensory bin and added some small construction vehicles and a scoop. This created a sensory bin that encouraged imaginative play. Even my teens enjoyed playing with this one. They especially liked packing it into small cups and creating mounds and then pushing them over with the toy steamroller.
One of my sons couldn’t seem to get enough of squishing this in his fists and then releasing it to feel it fall through his fingers.
Other Play Ideas
You could also use this play material to create a beach sensory bin with seashells, small sand toys, glass beads, and rocks.
Or you could simply dump it in a kinetic sand tray and let your child’s imagination lead the way. They can stamp in this sensory play material with cookie cutters or stamps. Kids can experiment with creating shapes. They can add small toys to create a small world. There are so many options.
For therapists, this is an interesting material to use in sand trays. The proprioceptive sensory feedback kids receive from squishing and squeezing the sand can create a calming effect. You can still have the child add toys and play out scenes.
Once you know how to make kinetic sand at home and realize how easy it is, you’ll never need to buy it again!
 Since everything in this play recipe is edible, this moon dough is taste safe. This makes it a good sensory play option to use with babies and toddlers. Of course, adult supervision should always be used.
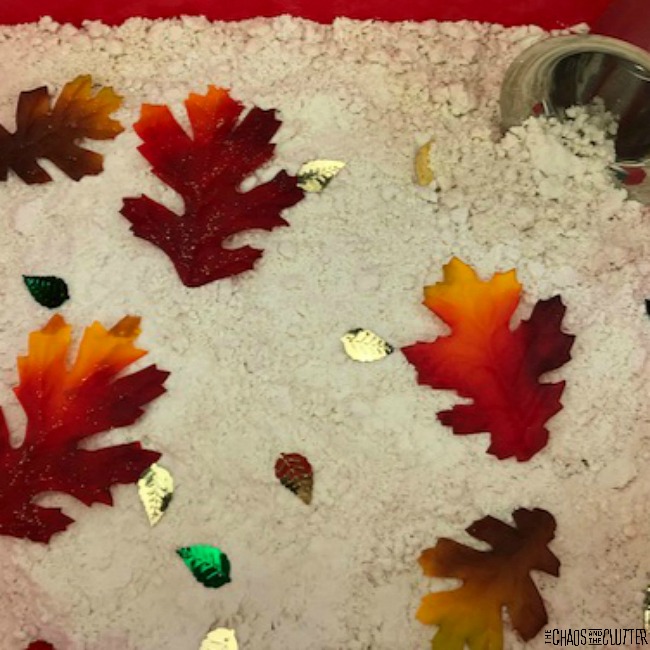 Moon dough can be messy. Messy play is great for kids, but not always as fun for parents!
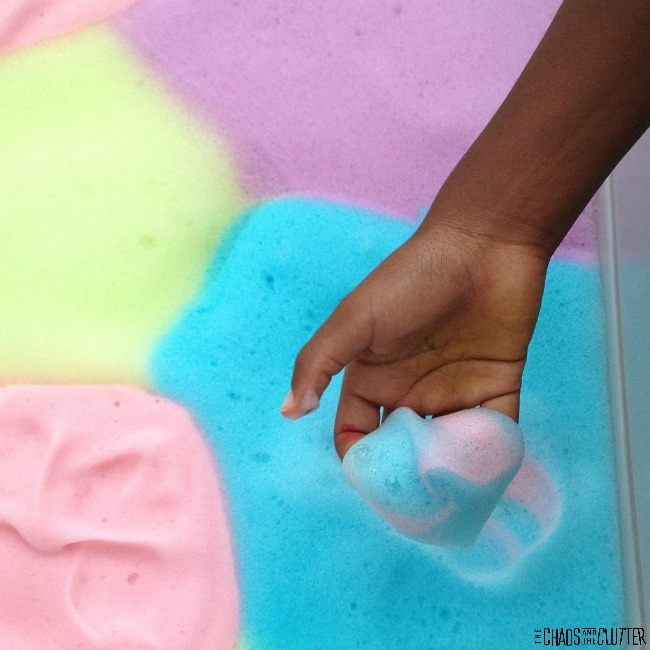
 I love the silky soft feel of moon dough. The texture is hard to beat. It is messy sensory play at its best. It is easy to make. Moon dough uses common ingredients that are already in most people’s kitchens.
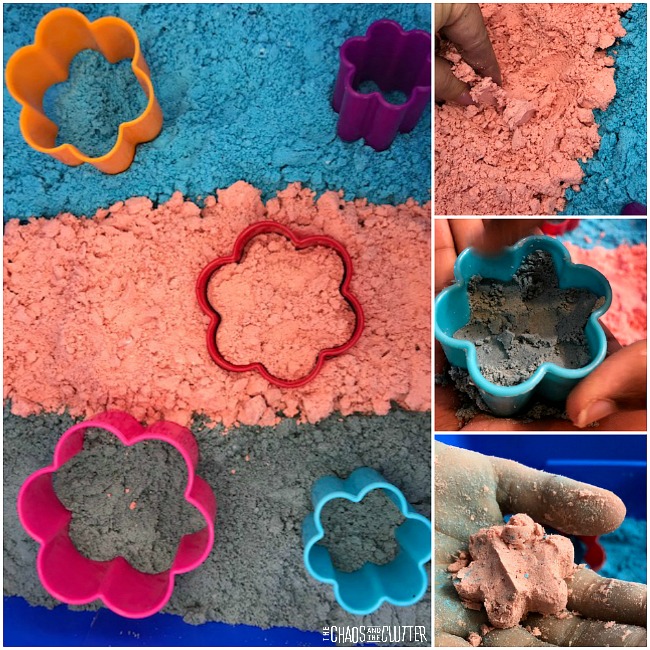 My favourite recipe is one that uses baby oil, but I wanted this recipe to be taste safe for it to be baby safe, so I have used an edible oil in this one instead.

 Adult supervision should always be used when making slime.
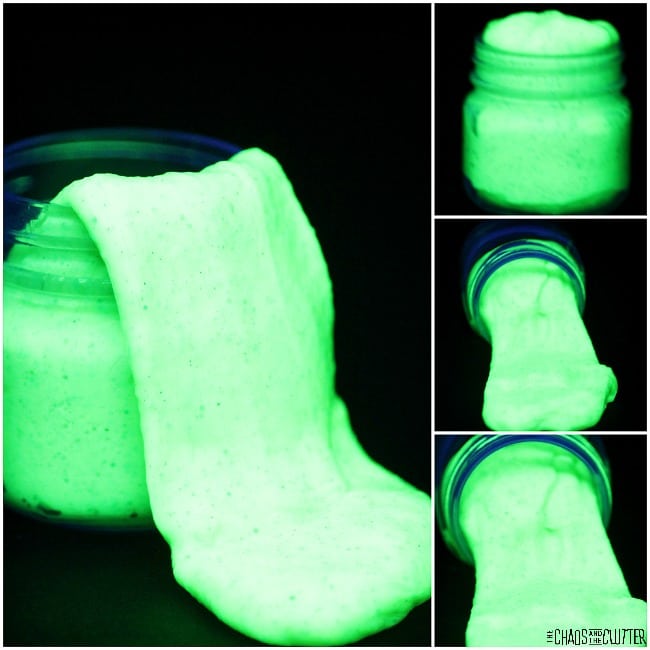 Instructions:
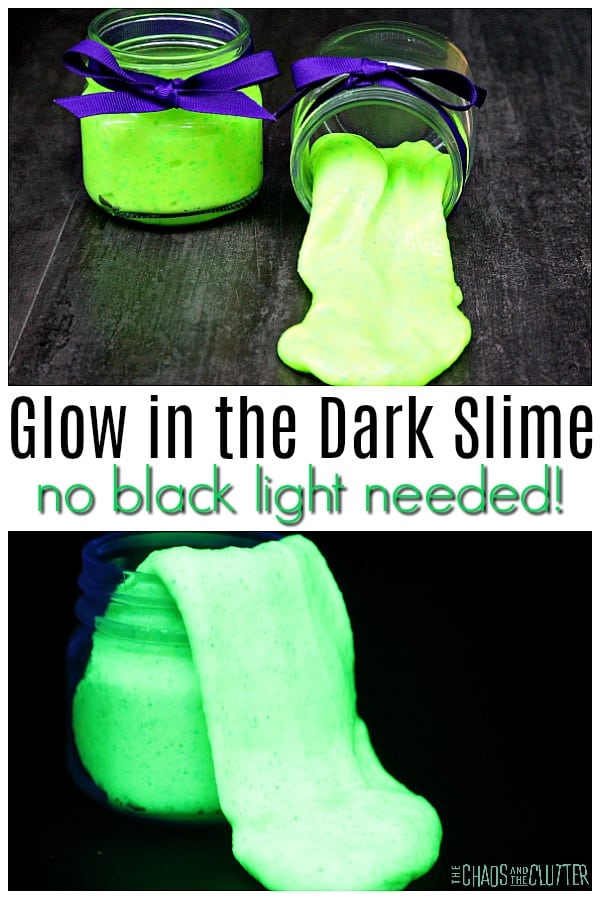
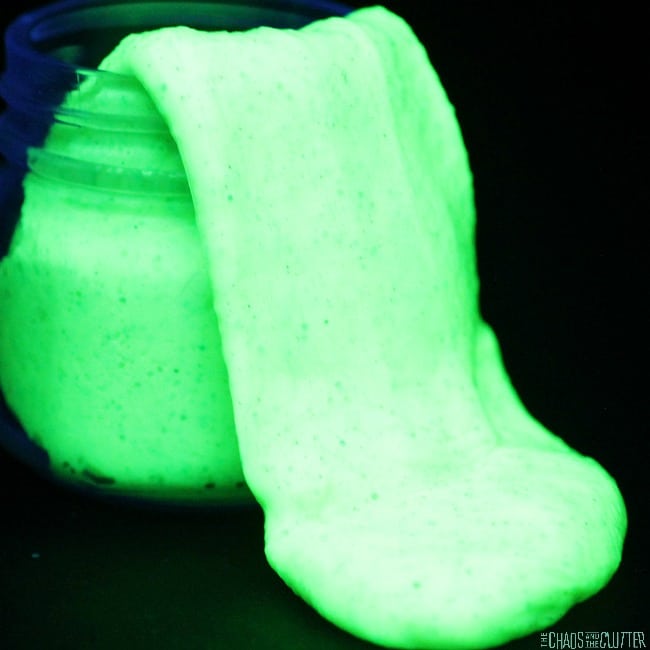 Store the glow in the dark slime in an airtight container or plastic bag. If stored properly, this slime will keep for a long time.
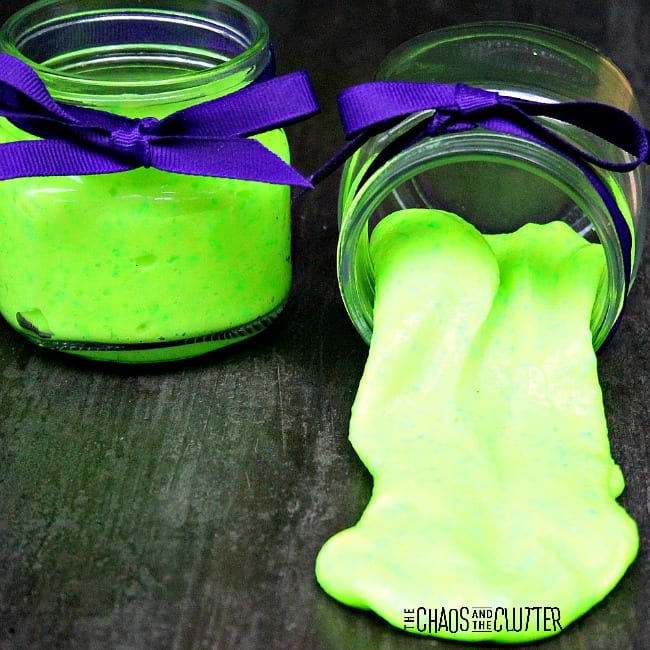 If you want to give it out as party favours, you can use baby food jars as containers wrapped with purple ribbon around the top.
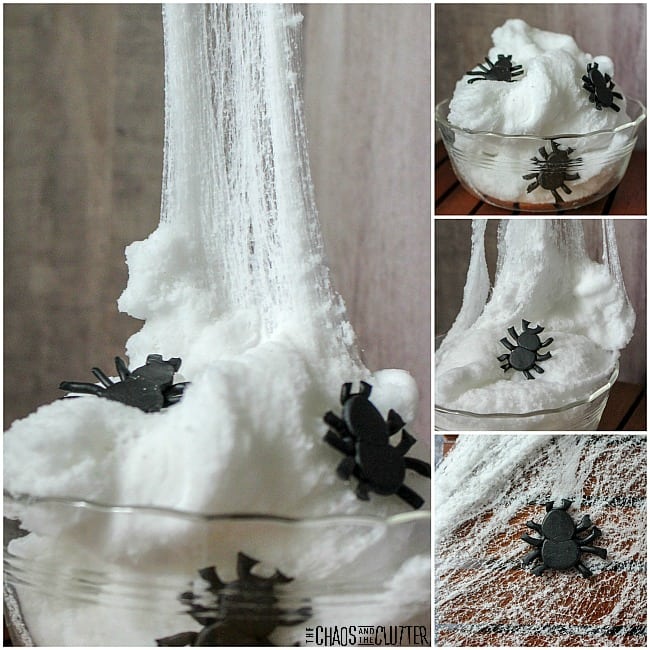
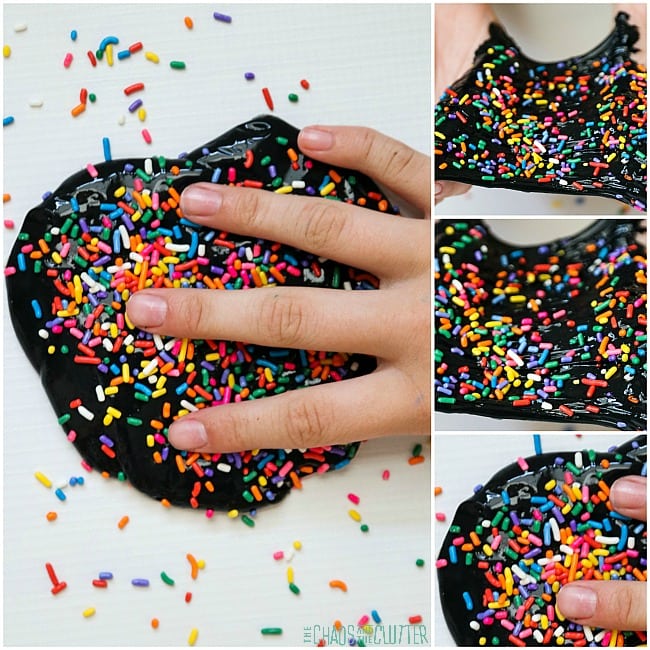
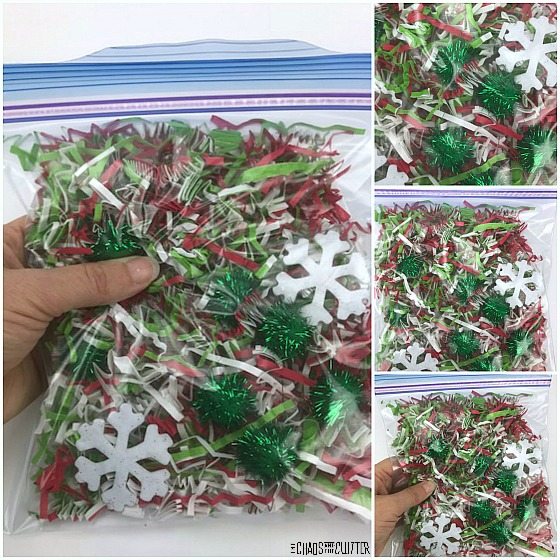
 Sensory bags engage the senses while containing the mess.
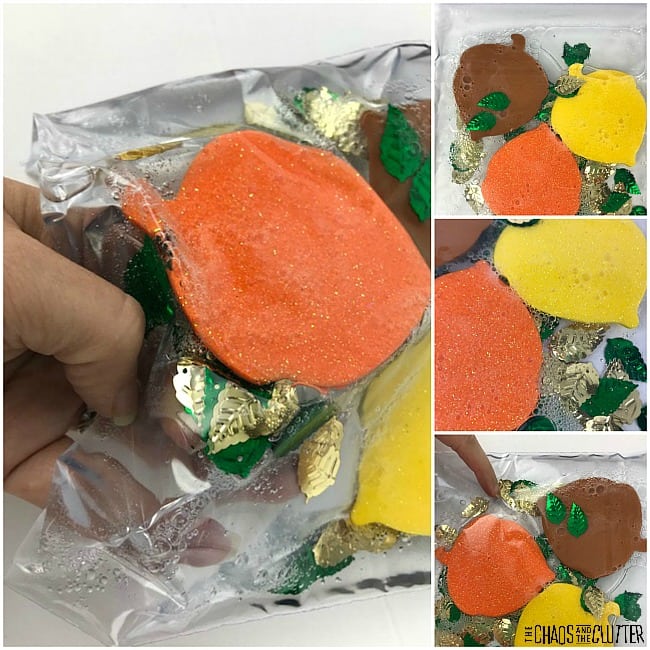 If you’re using the sensory bag with babies, toddlers, or preschoolers, I recommend sealing the bag with duct tape. Fold duct tape over all sides of the bag. You can find all kinds of fun coordinating prints and colours.
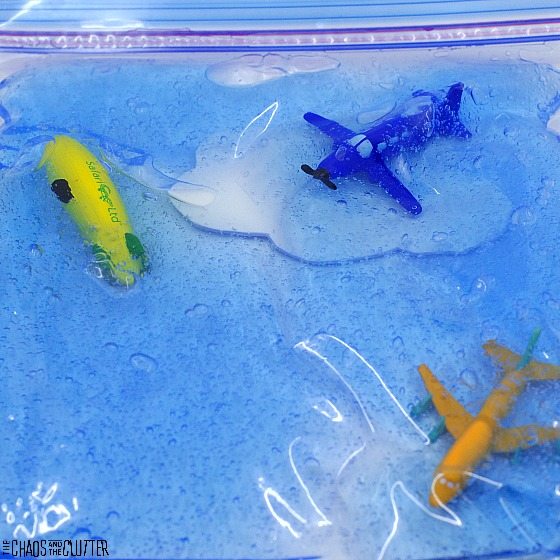

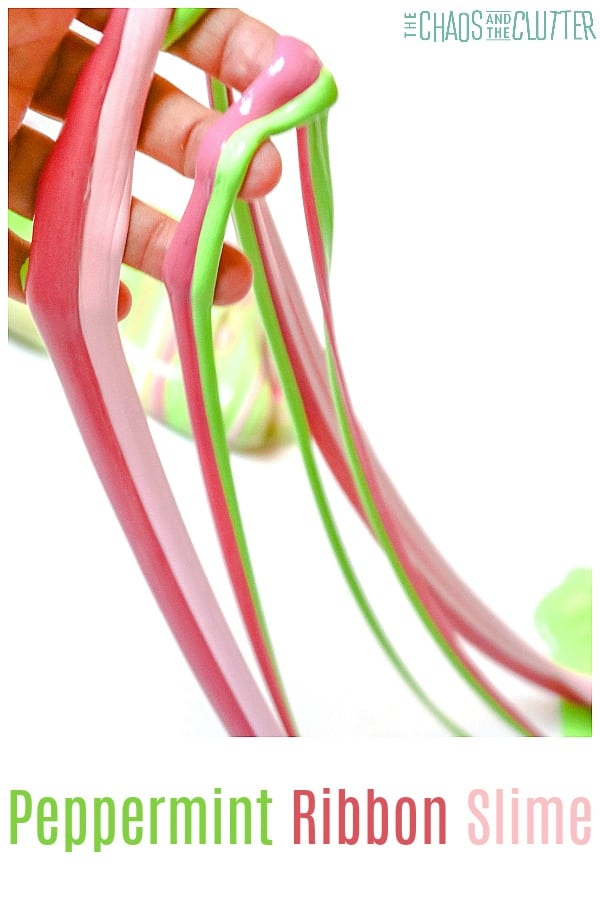
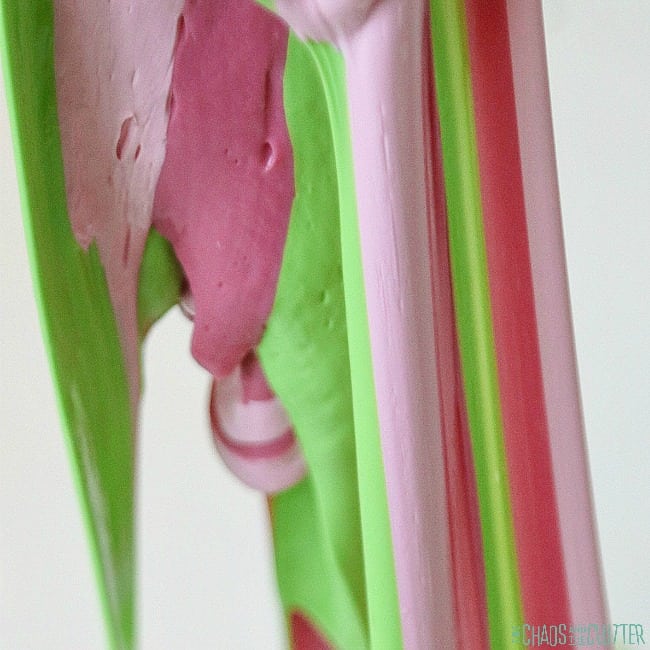
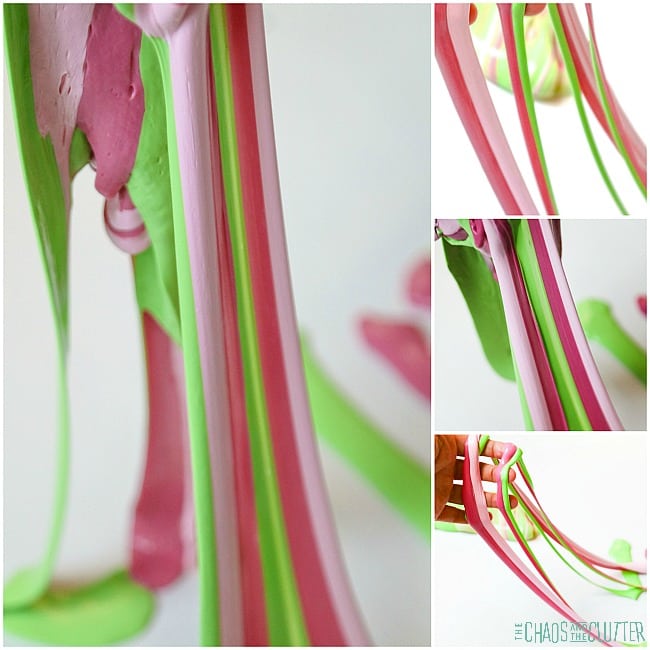 Knead each one separately until it becomes the consistency of slime.
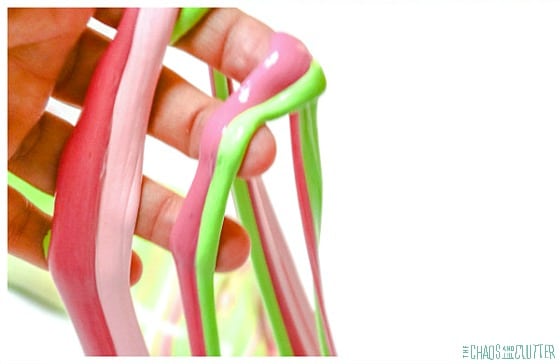 Just a little note to add: once you start playing with all three colours together, they will eventually mix. The colours don’t stay magically separated!