These adorable popsicle themed emotions printable sets for August are great for helping kids express themselves. These printables are free to download and use with your child or students.  I’m a big believer in giving kids a strong emotional vocabulary to help them advocate for what they need and feel empowered and comfortable in managing their own emotions. These worksheets can be a tool towards that.
August Printables for Kids:
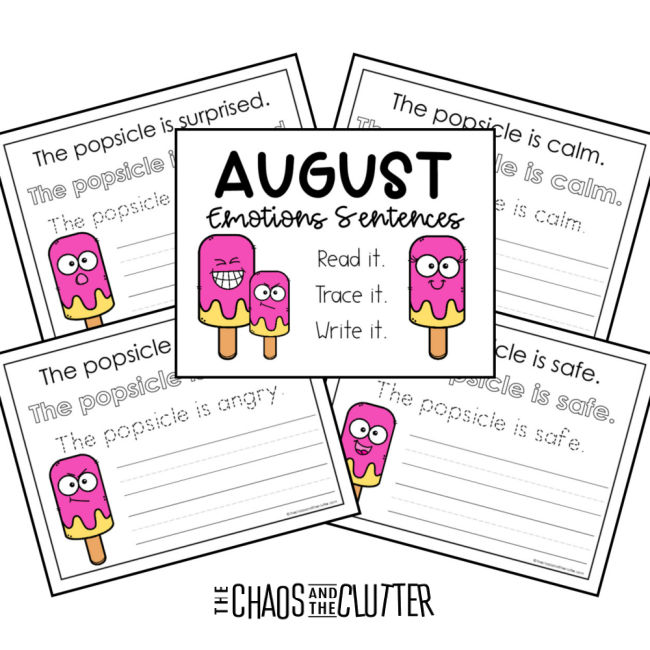
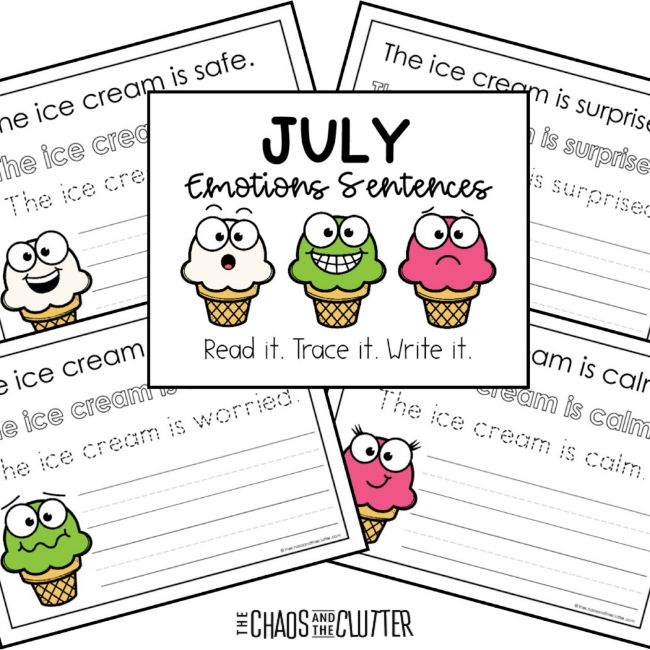
August Copywork Emotions Sentences:
Supplies needed:
- August Emotions Printable pages (download Emotions pages here)
- pen or pencil OR
- plastic sleeve AND dry erase marker
If you want sheets to be reusable, simply laminate the pages or slip them into a plastic page protector. Students can then use a dry erase marker to do the tracing and writing themselves. Or they can write directly on the pages with a pen, pencil, marker, or coloured pencils.
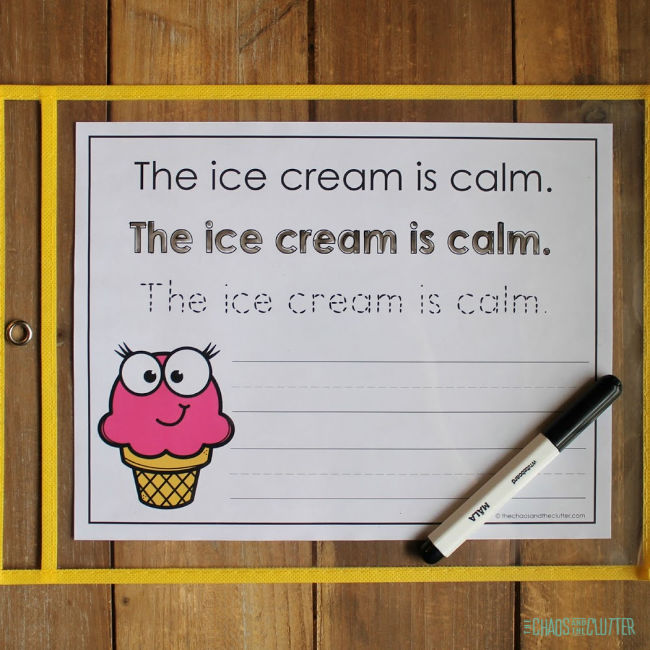
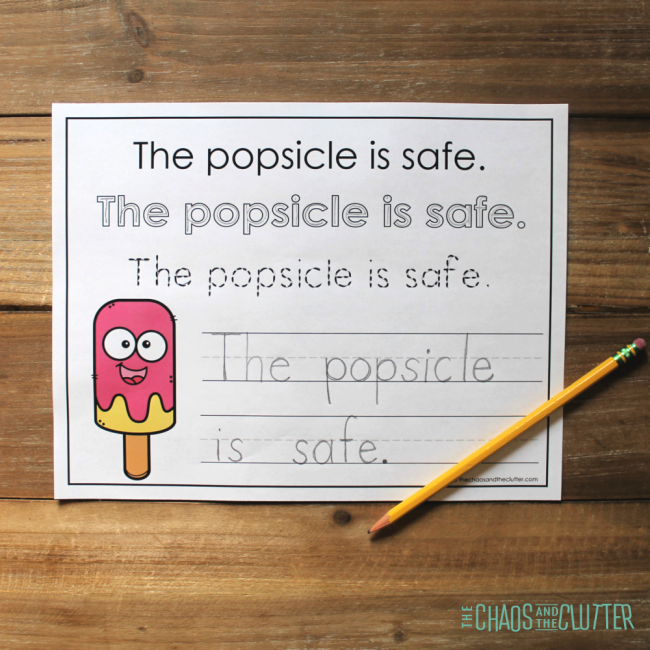 Copywork Sentences Instructions for the child:
- Read the sentence.
- Fill in the outline.
- Trace the dotted words.
- Write the sentence on the lines provided.
- Discuss the various emotions.
While copying out sentences may not seem that significant, these sentences do more than simply help a child practise their penmanship! Copying out sentences about feelings can be a good launching off place for discussions and they help create a culture where it’s normal to hear about and talk about their own feelings.
You can also expand this by having your child talk about a particular time or situation in their life where they felt that emotion and how that was for them.
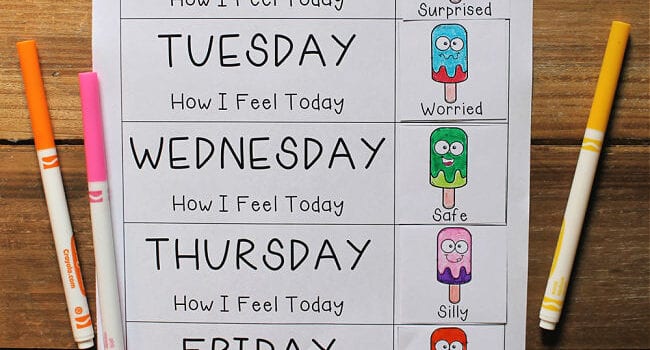
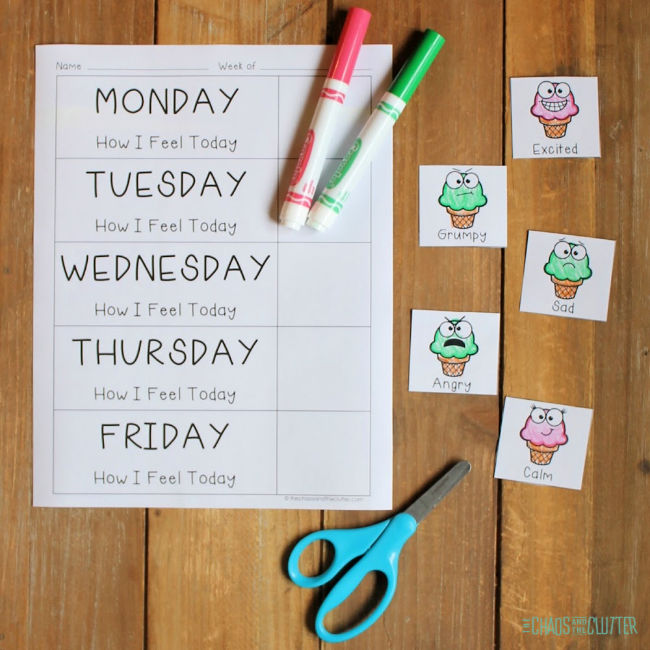
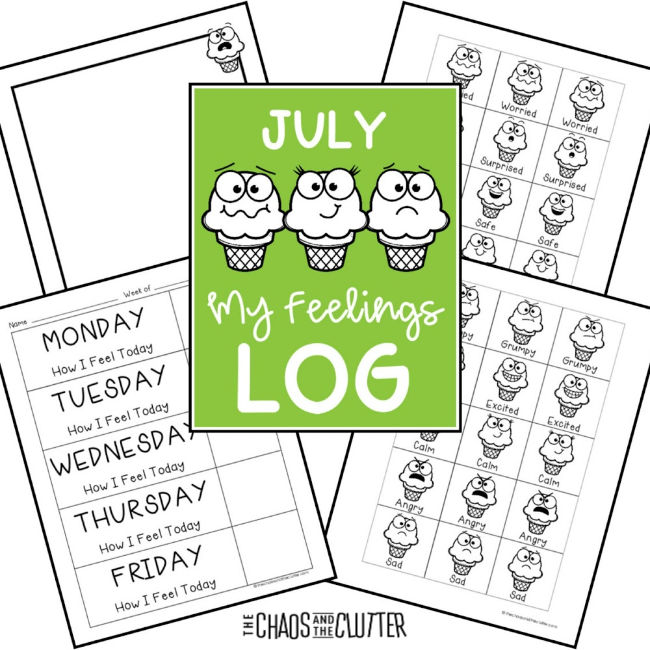
August My Feelings Log:
Supplies needed:
- printed Feelings Log (download Emotions pages here)
- scissors
- glue stick
- markers, pencil crayons (coloured pencils), or crayons
- pen or pencil
My Feelings Log Instructions for the child:
- Choose one popsicle icon each day to colour, cut, and paste into your log to represent how you are feeling at that time.
- At the end of the month, you’ll be able to look back and see all the different emotions you felt.
- Discuss your feelings with a parent or trusted adult.
 This month’s Feeling Logs focus on feelings about going to a new place. This can relate to going to a new school, new classroom, new vacation spot, or any other place that is new for your child.
These cute popsicle visuals can be a tool to help your child better identify and then work through their own emotions. You can sit down together and have them show you which they have chosen.
Once you see HOW they are feeling that day, you can help them dig into the WHY behind those feelings. Be sure to explain to them that it’s normal to have more than one emotion in the course of a day and that there are no “right” or “wrong” feelings.
After figuring out what their feelings are and the root of them, you can work together with your child on strategies for better managing how they deal with that emotion.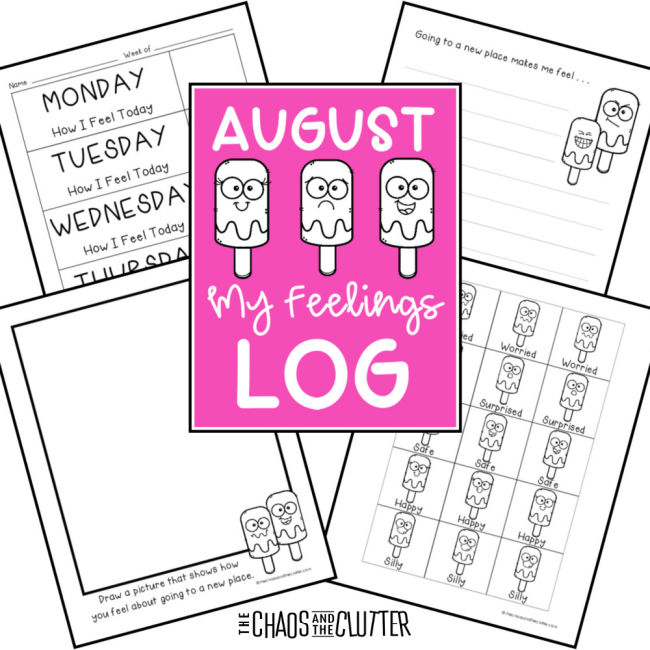
Enter your email in the box below to download your August Emotions Printable Worksheets. You can then easily print them off to use at home with your child or with your students.
You may also be interested in:
 Enter your email in the box below to download the July Emotions Printable Worksheets. Print them off to use at home with your child or with your students.
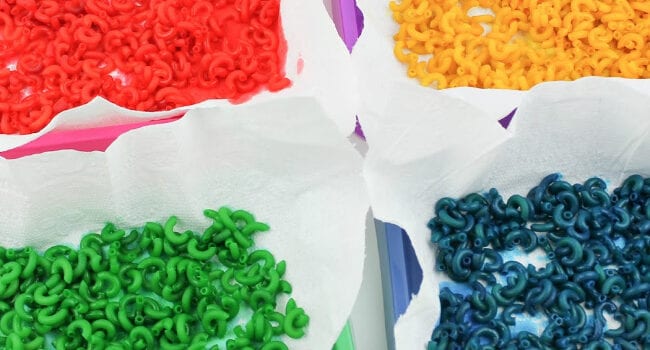
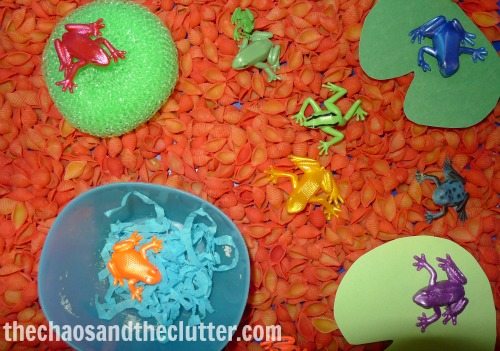
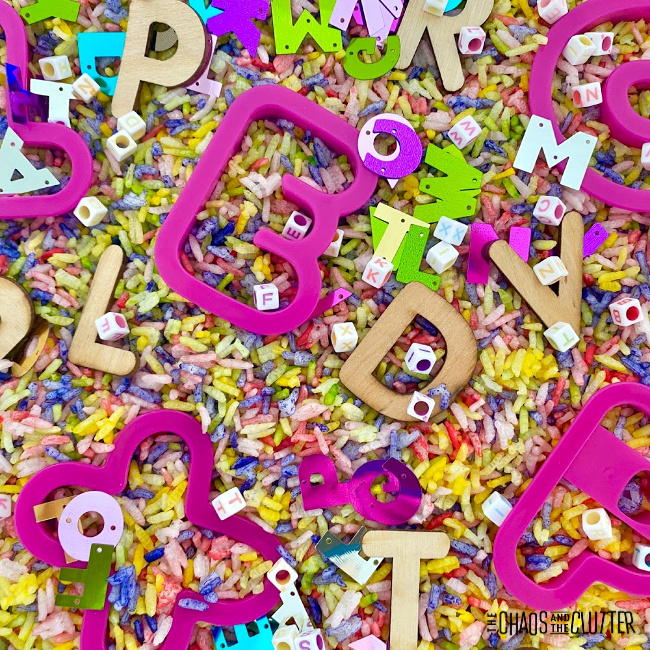
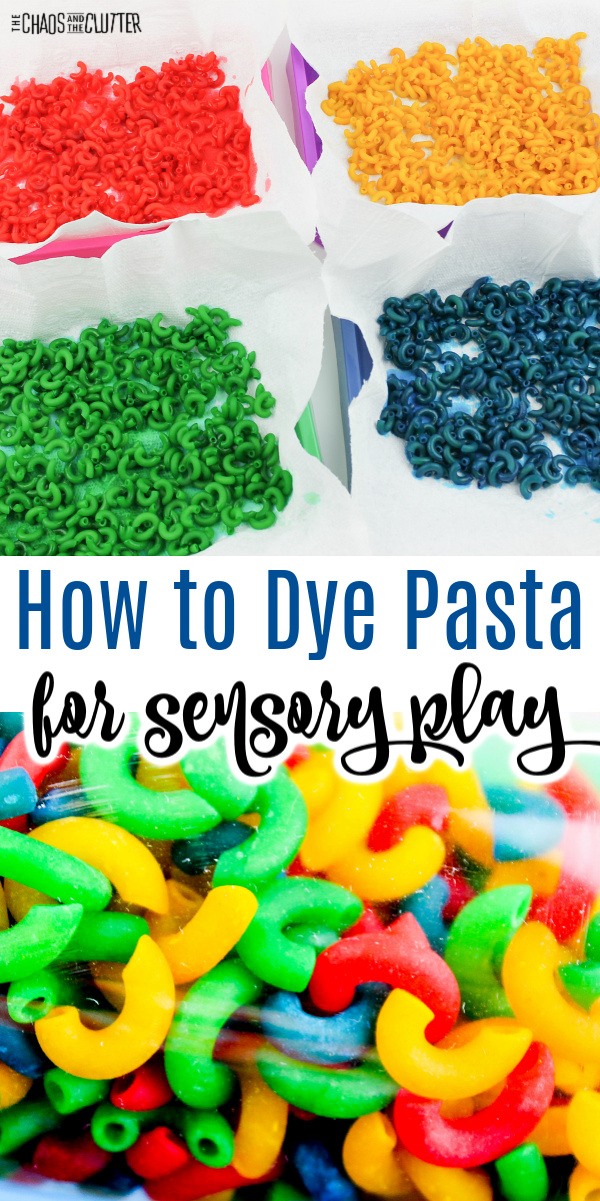 In our house, we do a lot of sensory play. I keep a variety of materials on hand for this including dyed noodles and dyed rice. Read our instructions on
 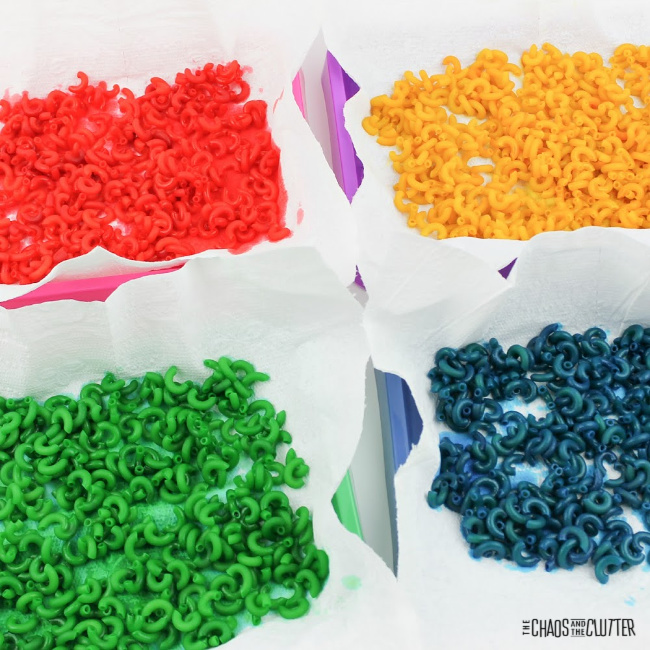 Directions:
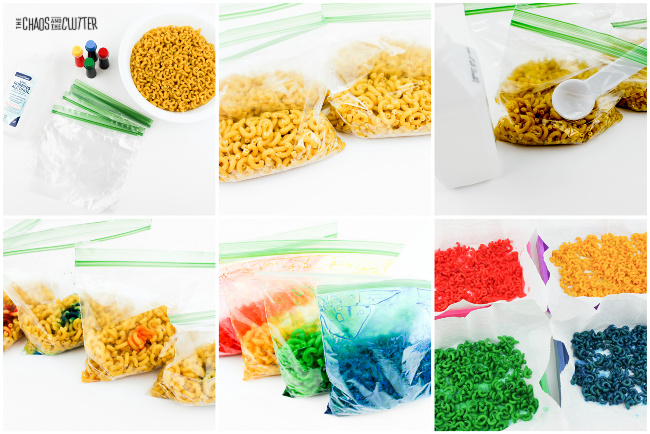 You can now use your brightly coloured noodles for art activities, preschool crafts, stringing onto yarn to make a necklace, or all kinds of sensory play. Dyed noodles make a great
 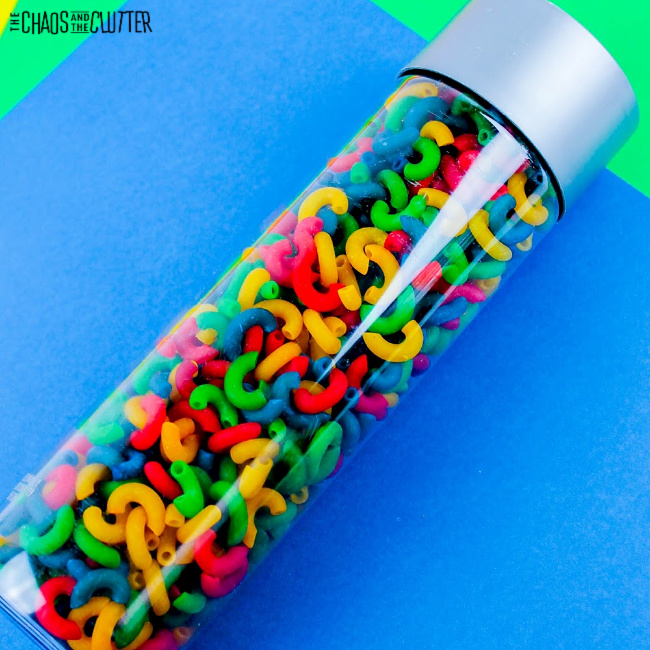 This method can be used to dye pasta of any shape. For larger noodles, you may find that you need slightly more food colouring. I find that you get the best colour results from using small pastas such as orzo, mini shells, Alphabet noodles, and macaroni.
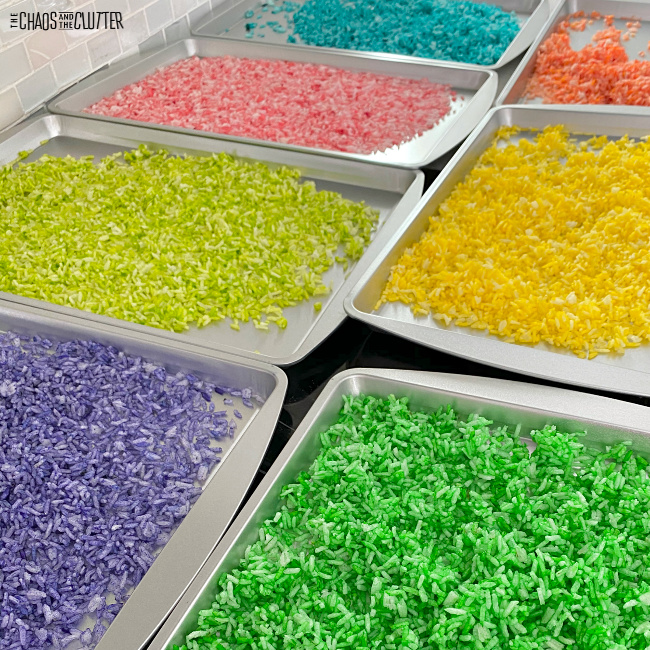

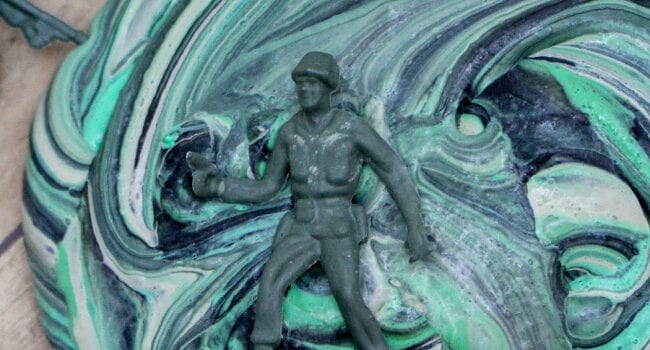
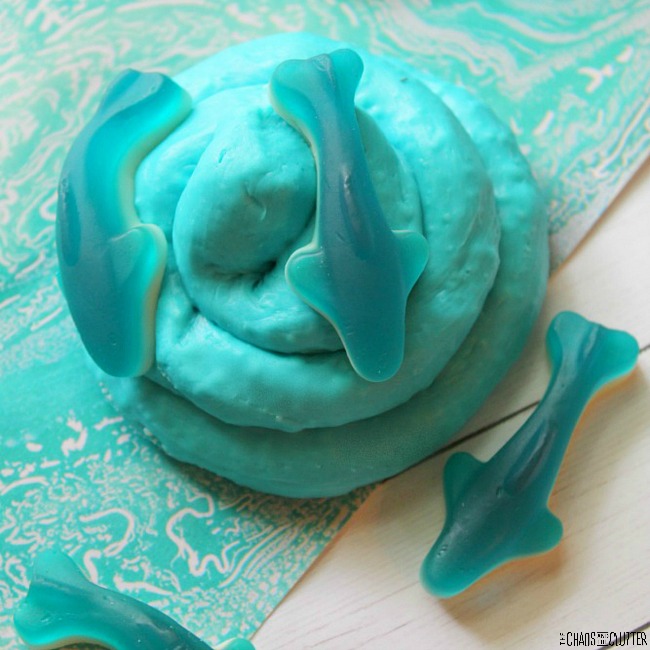
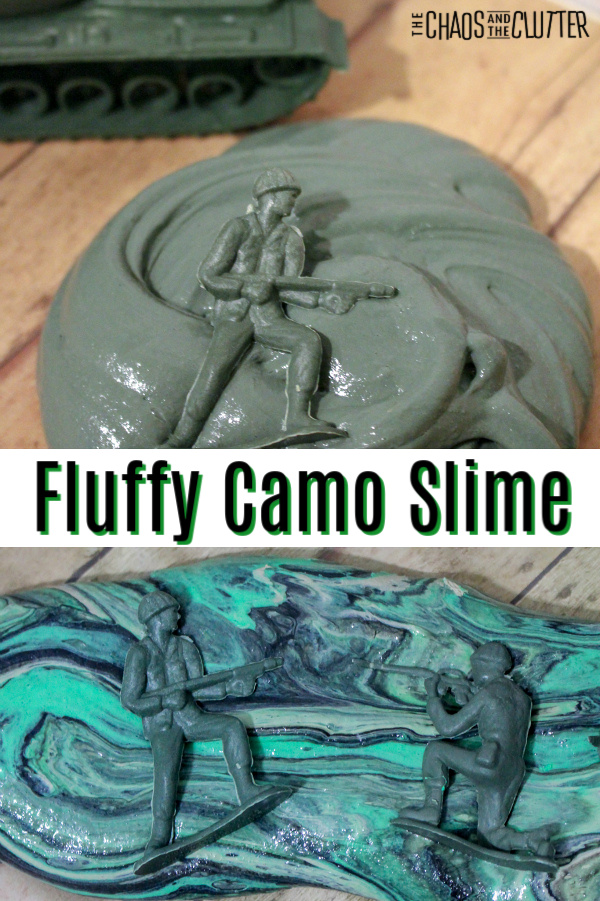 There are so many fun play options with this camo fluffy slime recipe. It also makes a great party favour for birthday parties too. When my middle son was younger, he had an army theme birthday party and I wish I’d had this recipe back then.
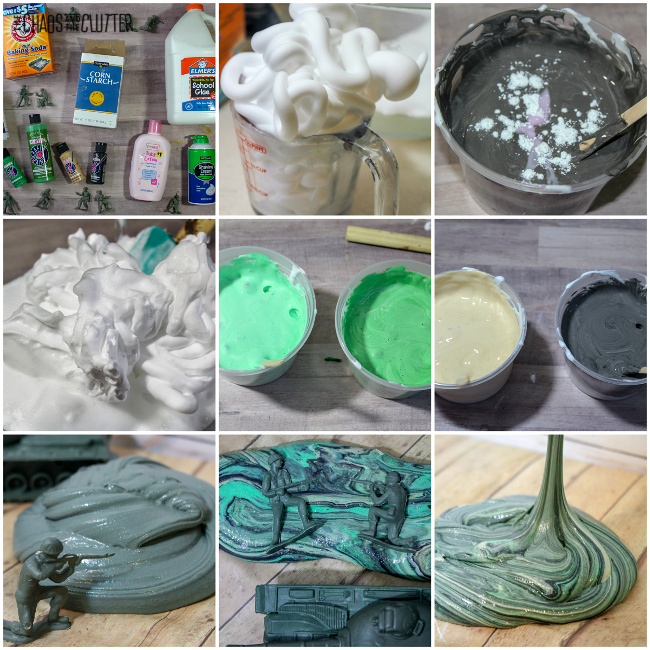 At first, the slime will have that marbled camouflage look but of course, eventually with play, the colours will combine. When this happens, your slime should turn an army green which is also a lot of fun.
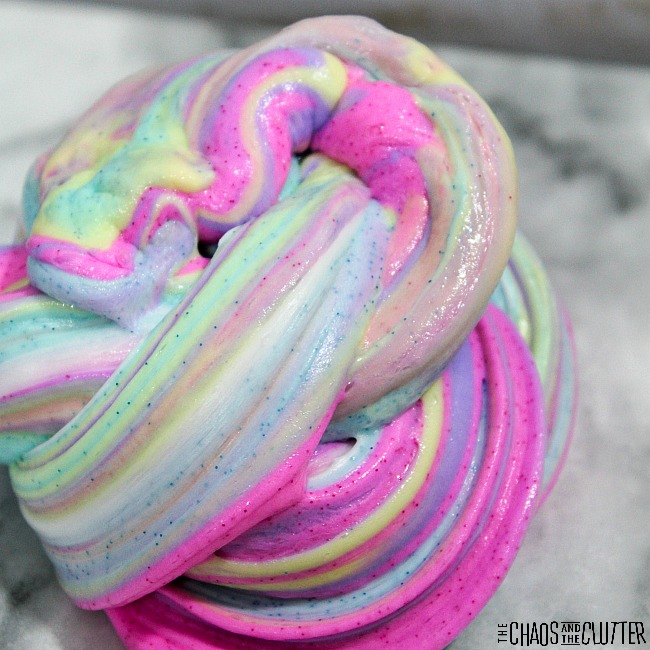

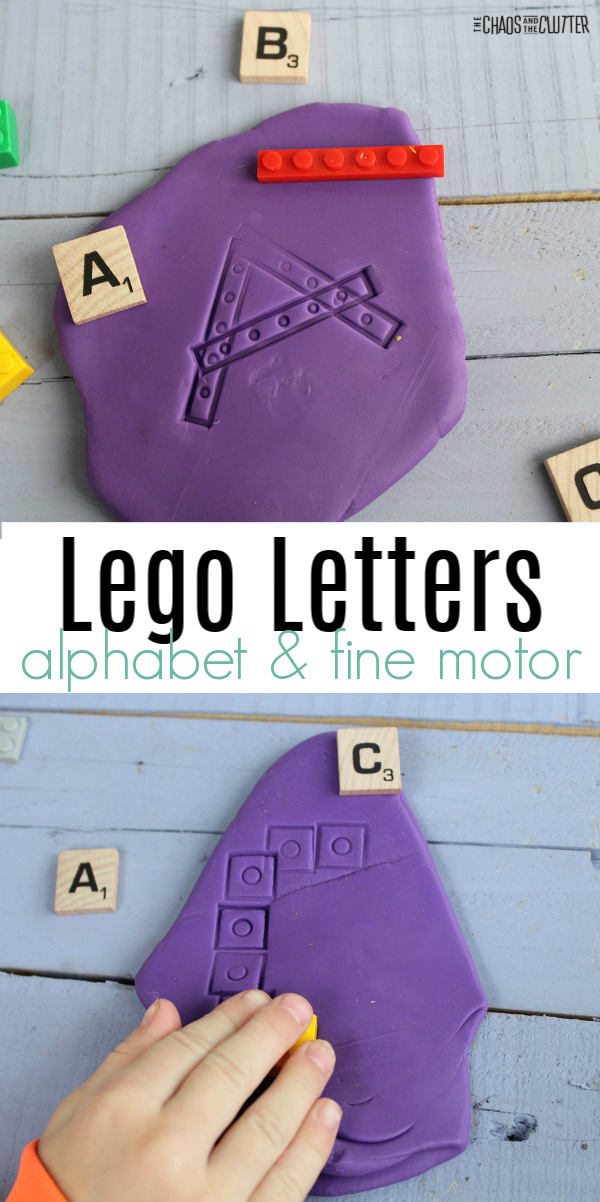
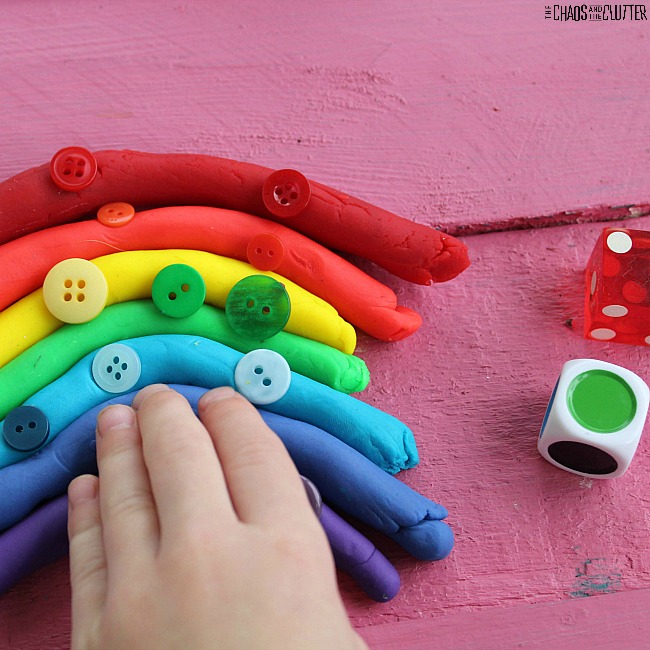
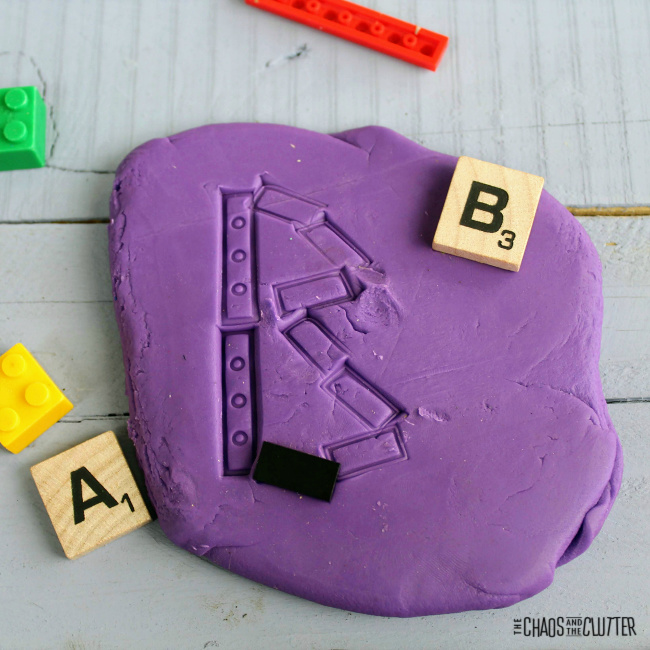 Directions:
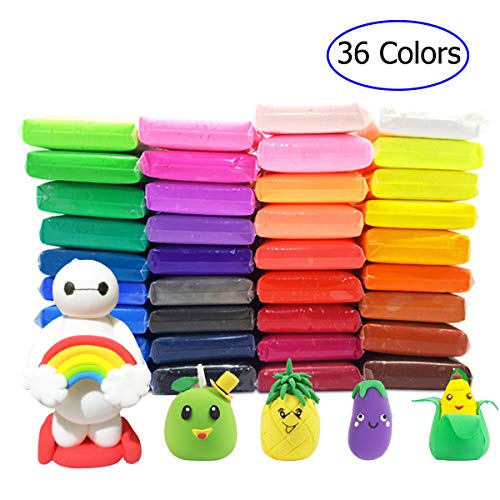
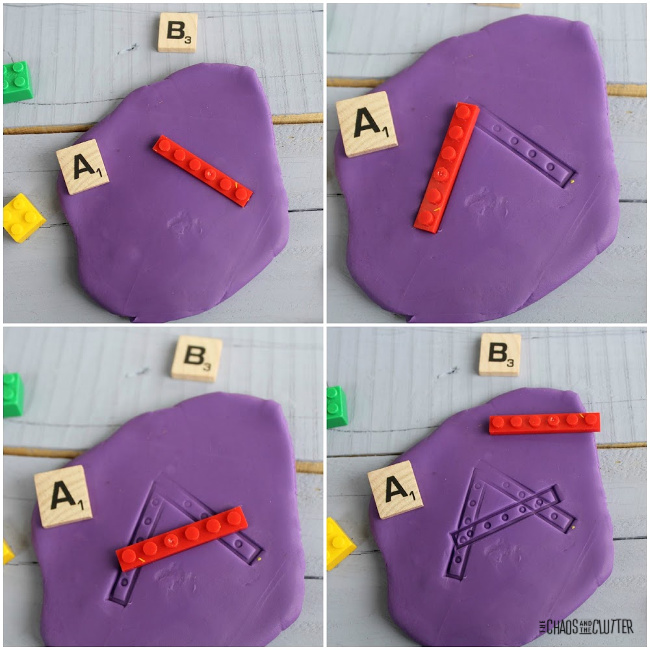 It can be helpful to start this activity with letters your child is most familiar with such as the letter their first name starts with.
 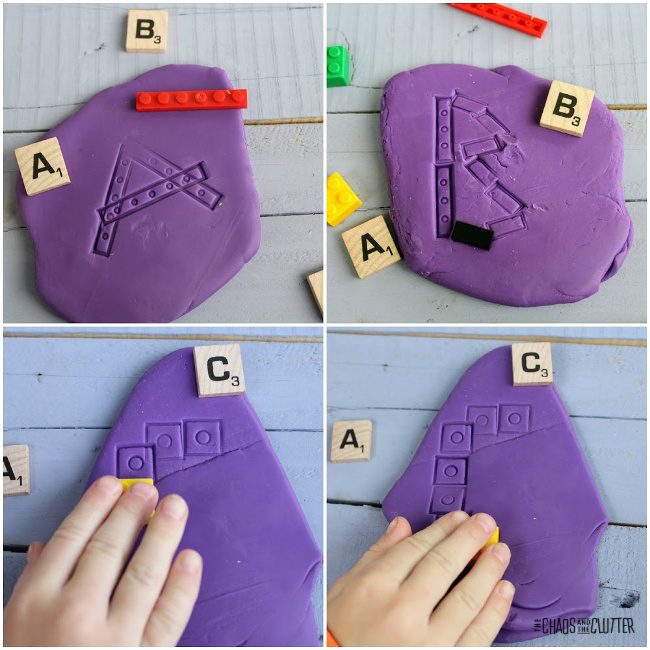 Be sure to allow your child to come up with their own way to stamp the letter in the playdough. As long as they get the basic shape of the letter, there is no “right” or “wrong” way to create it. It can be tempting to step in and show them and you may need to show them how to do one as an example, but once they get the idea, step back and allow them to create.


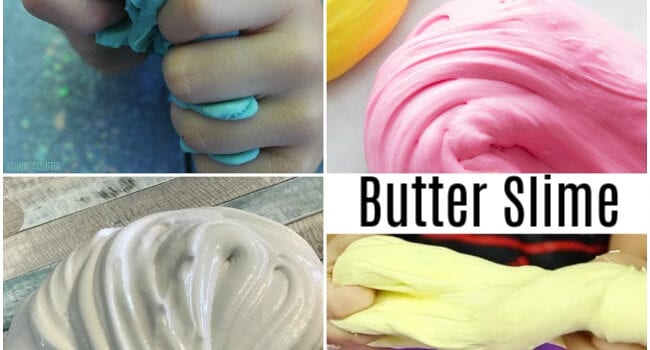
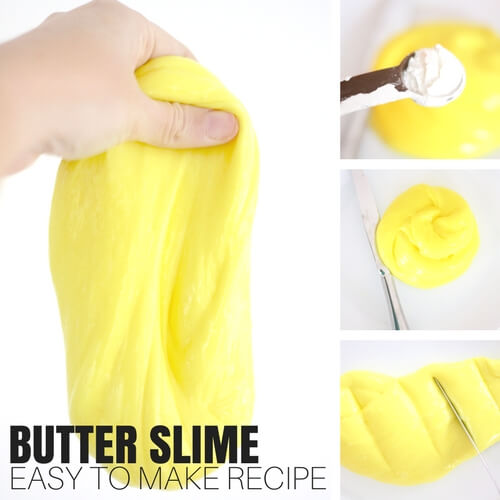
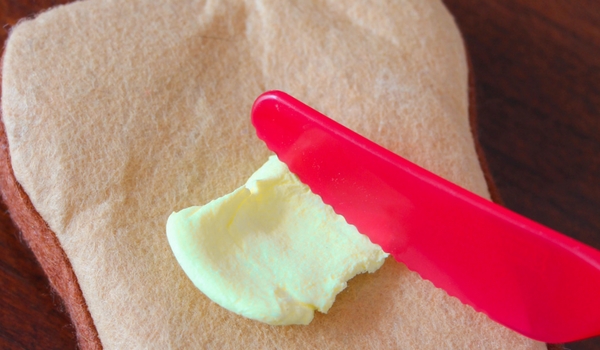
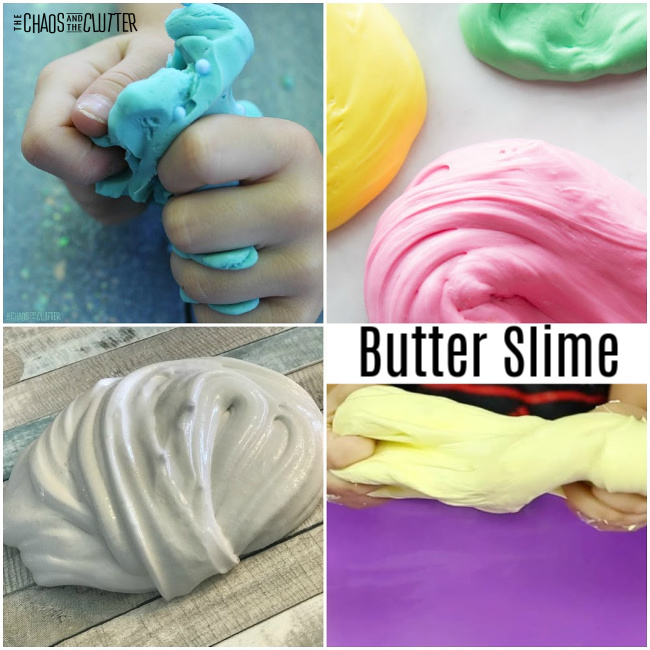
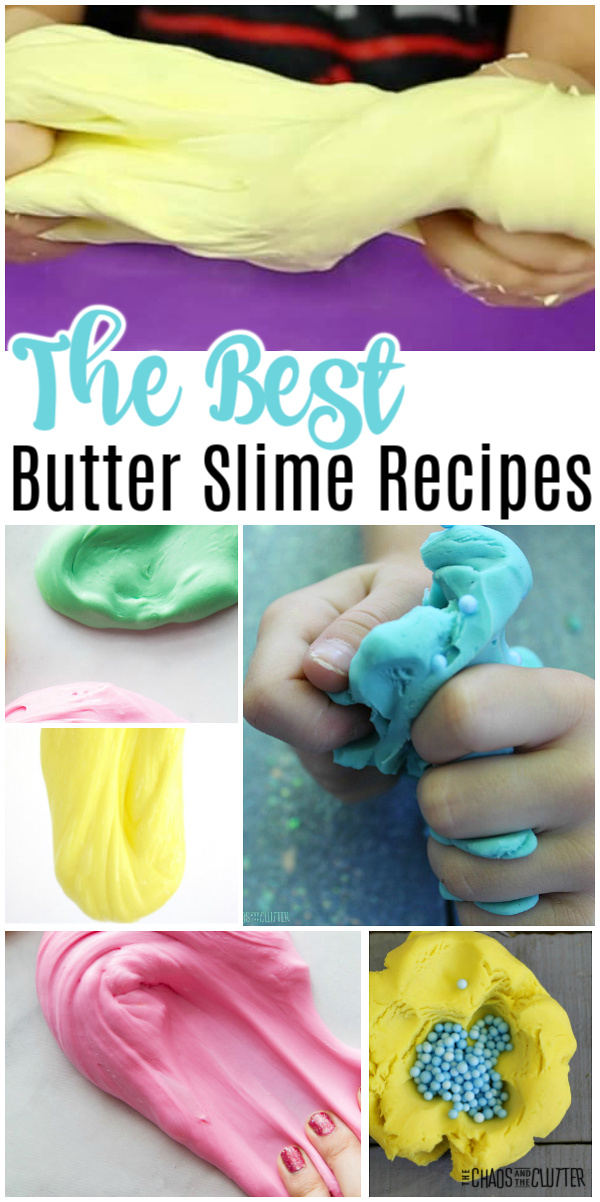 I thought it might be helpful for those who are looking to try this kind of sensory fun if I put together a list of the best recipes out there for this type of slime. If you’re feeling really ambitious, you may even want to make several of the recipes and see which one is your favourite.
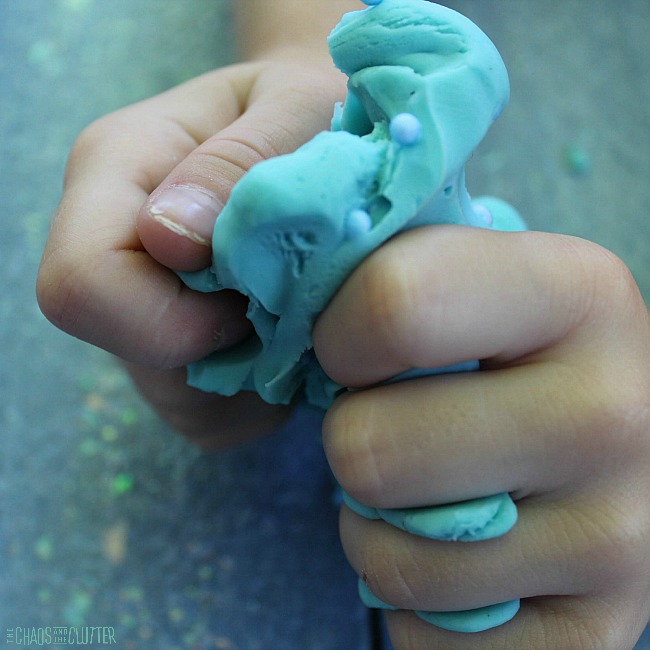
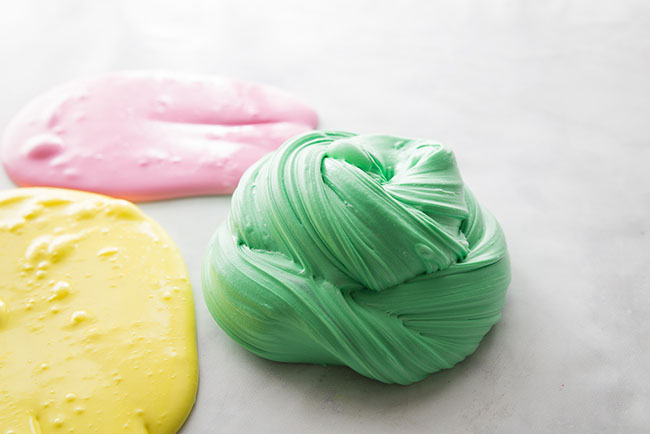

 Now that you’re armed with ideas to make this smooth, stretchy slime, you’ll have to give it a try and see what you think!