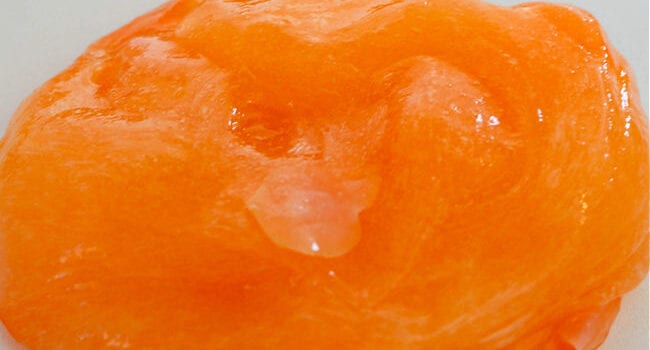
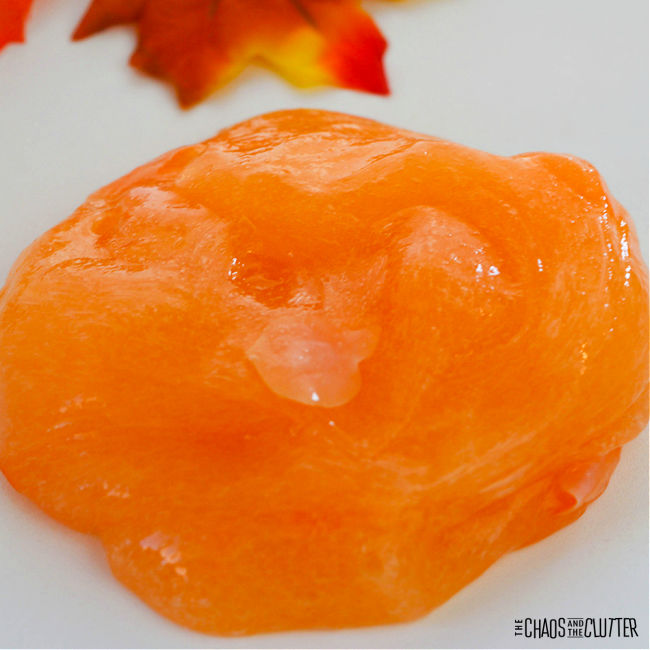
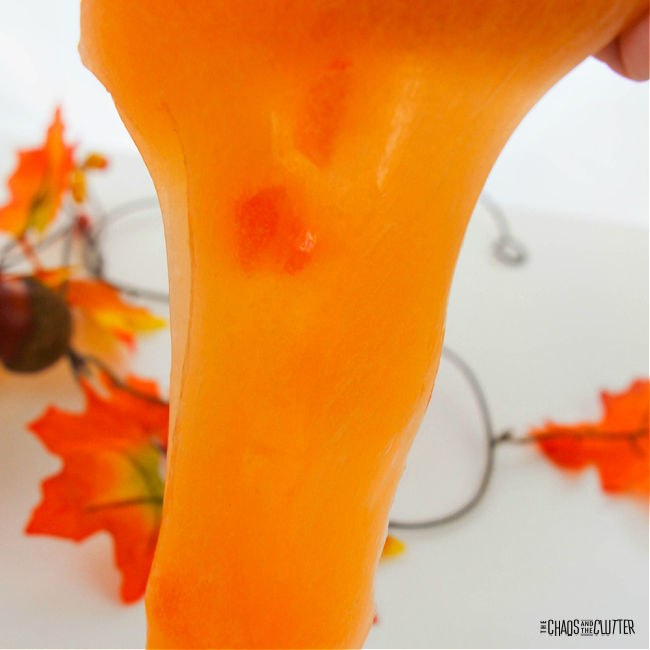
If you’re looking to make a Hallowe’en slime that’s not too scary, this pumpkin slime is a great choice. It’s festive and fun but still good for preschoolers. Once you learn how to make pumpkin slime, you’ll be able to easily make it anytime.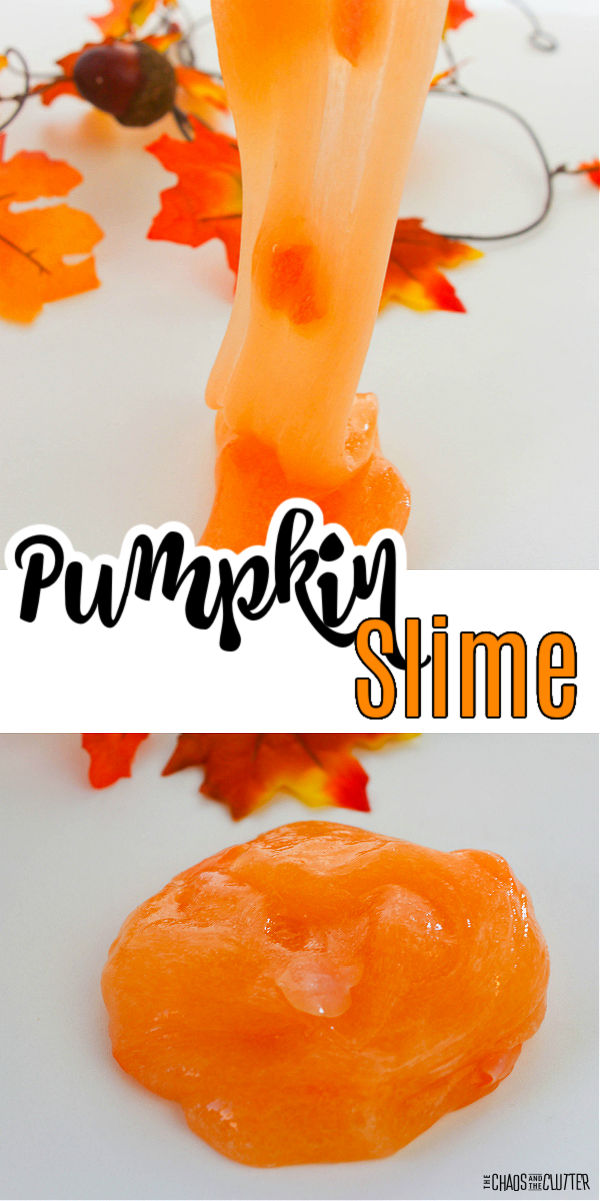
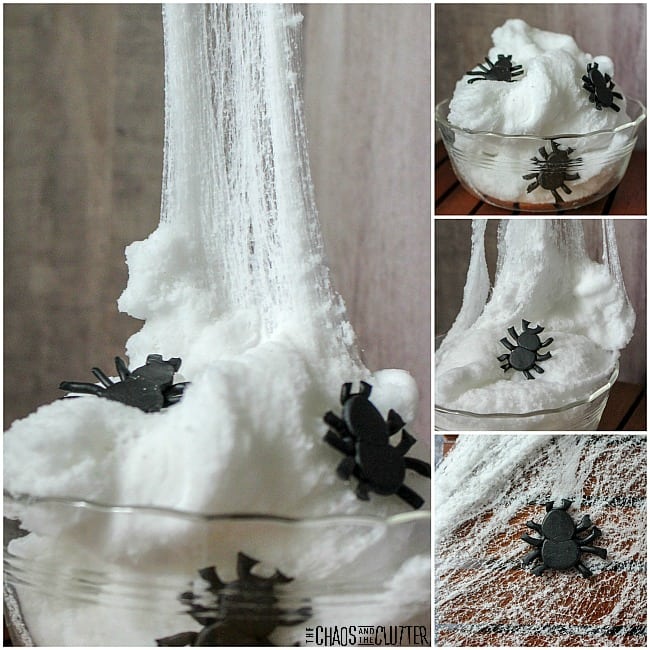
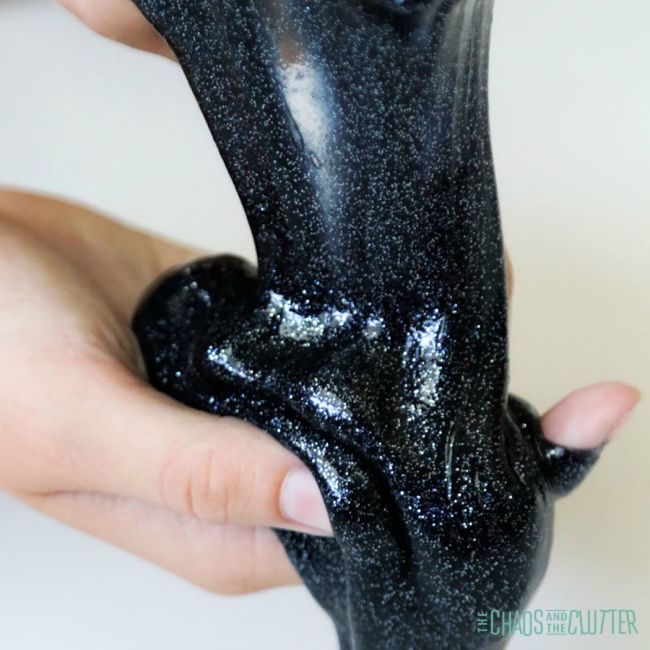
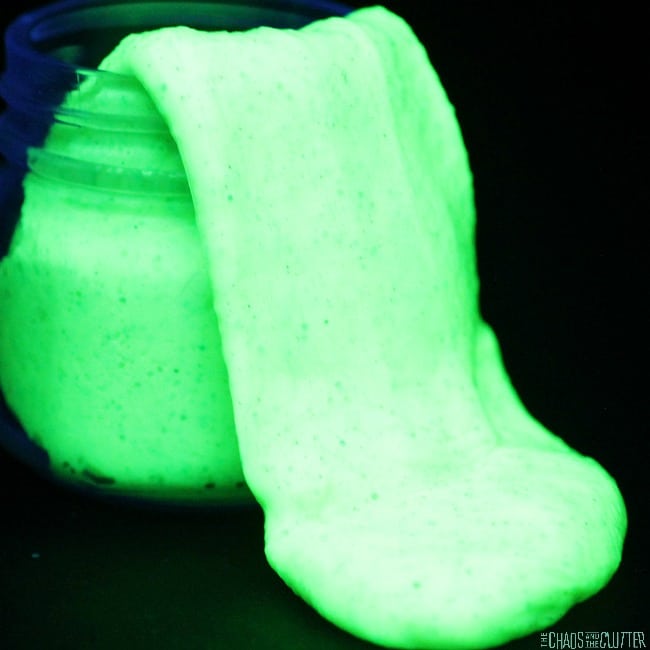
Looking for a creepier version of Hallowe’en slime? You might want to check out our spider web slime or make some glow-in-the-dark slime. Slime is a great addition to a classroom party or an October gathering. 
Pumpkin Slime Recipe:
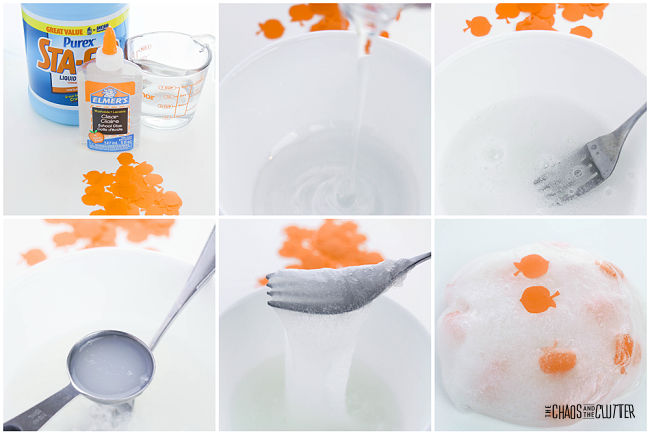
Supplies needed:
- 1 6 oz. bottle Elmer’s clear glue*
- 1/4 to 1/2 cup warm water, as needed
- 1/4 to 1/2 cup liquid starch, as needed
- orange food dye
- pumpkin confetti
*Note: You can use other brands of clear glue, but in my experience, Elmer’s washable clear school glue gives the best results for slime.
 Directions:
- Pour the bottle of clear glue into a medium-sized bowl.
- Stir in 1/4 cup warm water using a fork.
- Add 1/4 cup liquid starch. Stir well for 2 minutes or so.
- Mix in a drop or two of orange food dye.
- If the slime is too stiff, add more water. If it’s too sticky, add more liquid starch.
- Continue stirring until the slime forms into a ball.
- Knead for about 2 minutes, adding more water or liquid starch if necessary to reach the desired consistency.
- Once the slime is stretchy and no longer sticky, knead in the pumpkin confetti.
 Slime should be stored in an airtight container or sealed bag when it’s not being played with. Be sure to wash hands thoroughly after handling slime.
Variations of pumpkin slime:
- Instead of pumpkin confetti, mix in actual pumpkin seeds.
- Skip the orange food dye and keep the slime clear. Depending on which confetti you use, it may dye the slime orange over time anyway.
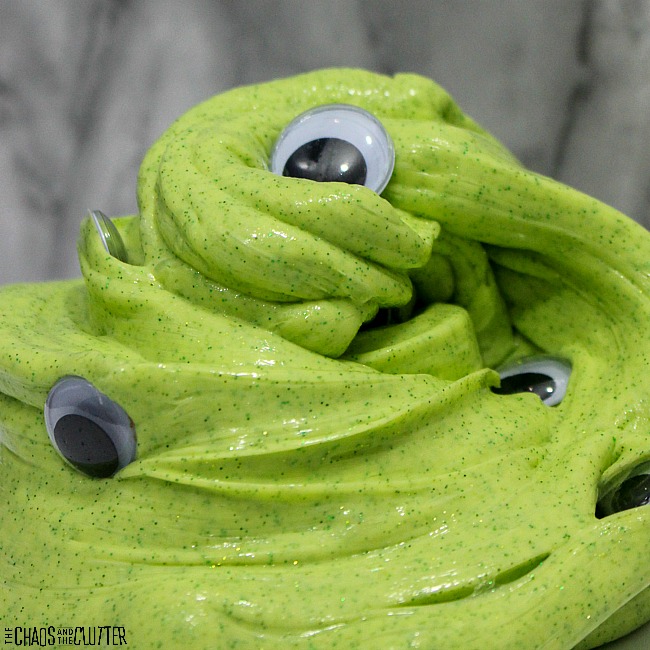
- The stretchy pumpkin slime is a good one to use for our Halloween sensory game.
 As with all sensory play recipes, adult supervision is recommended.
Looking for other easy sensory play recipes to make with your kids? Join us for a five day email series on Sensory Activities and Solutions and get a free sample of our Sensory Play Recipes eBook.
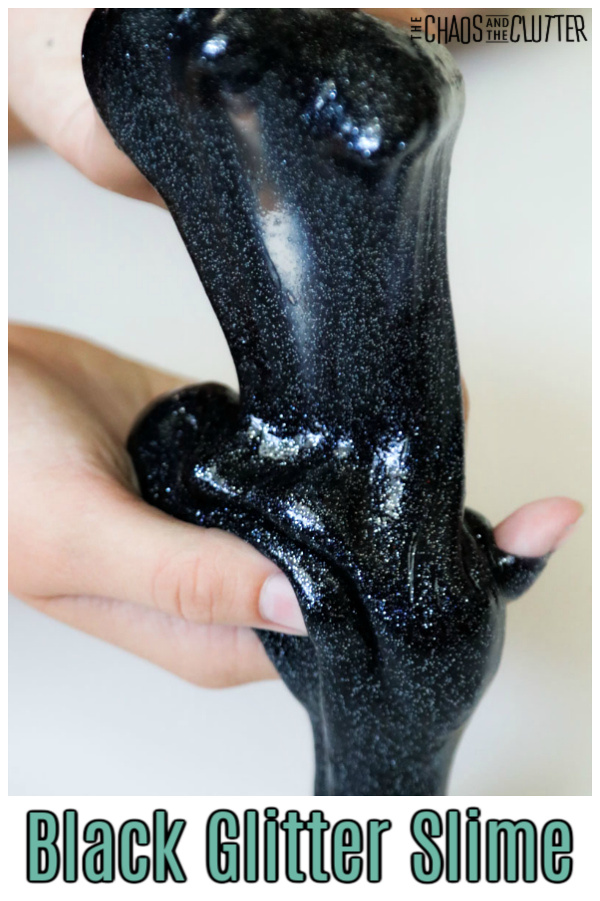
Check out these other Hallowe’en slimes:

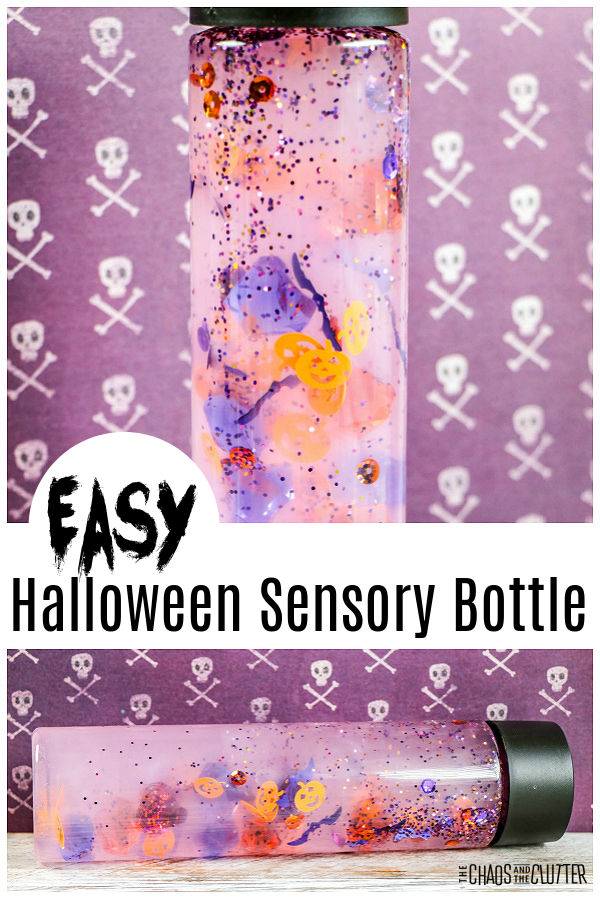 This is a simple activity to do in a preschool class or at home. Because the glitter and confetti travel slowly through the glue and water, it makes a great calm down bottle for kids to observe when their emotions get too big.
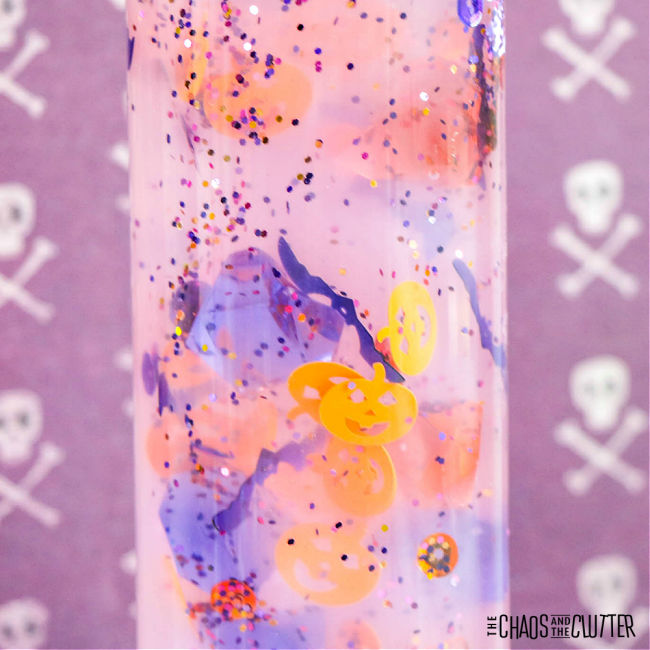 Directions:
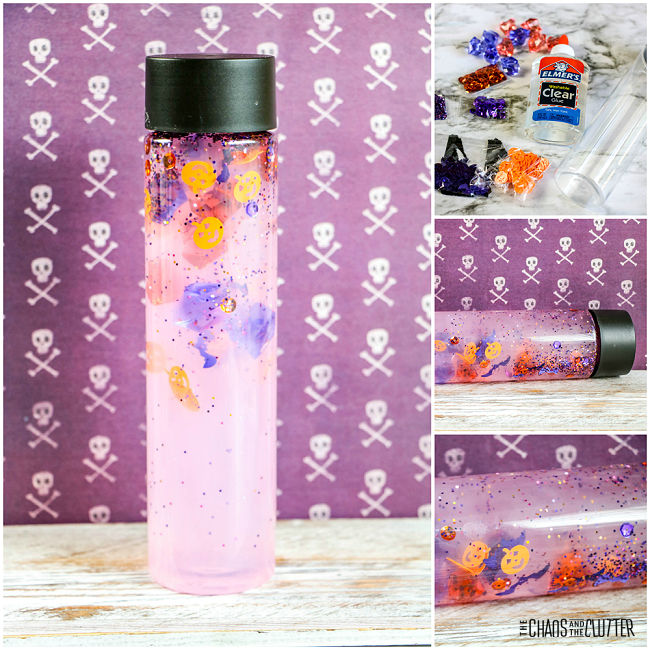 Are you looking for more easy sensory play ideas? Join us for a five day email series on Sensory Activities and Solutions and get a free sample of our Sensory Play Recipes eBook.
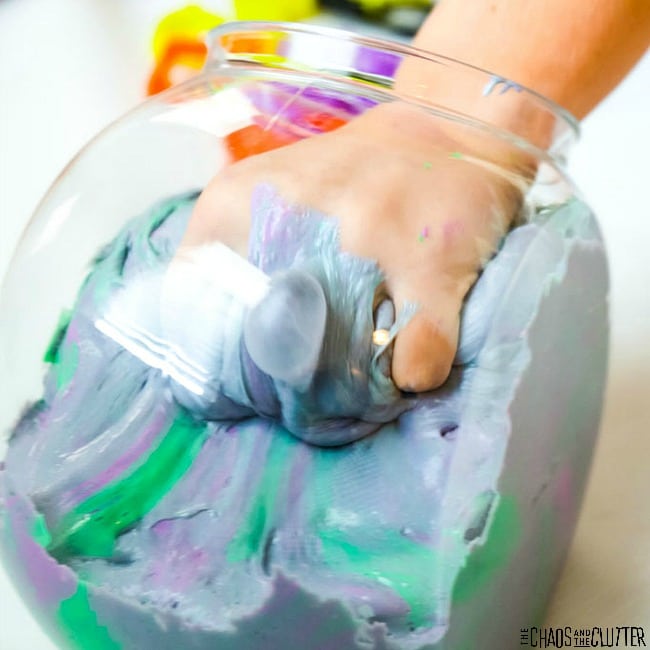

 If you’re looking for a fun Hallowe’en activity that uses slime, check out our
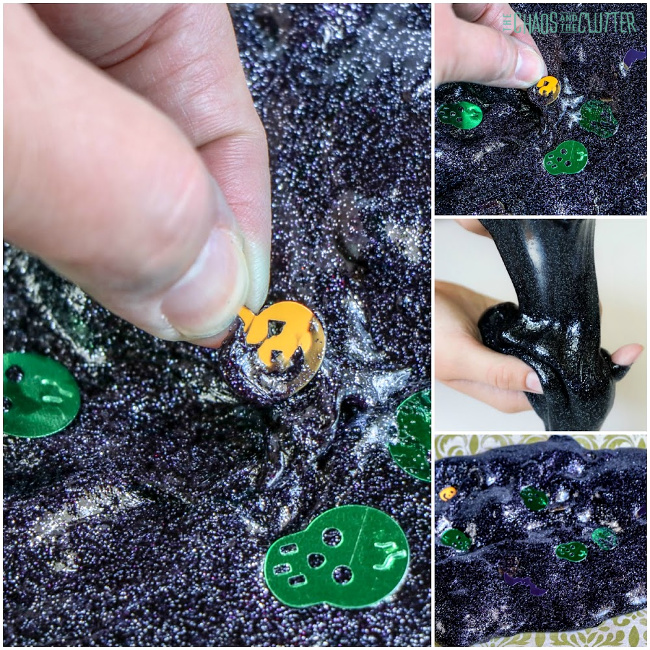


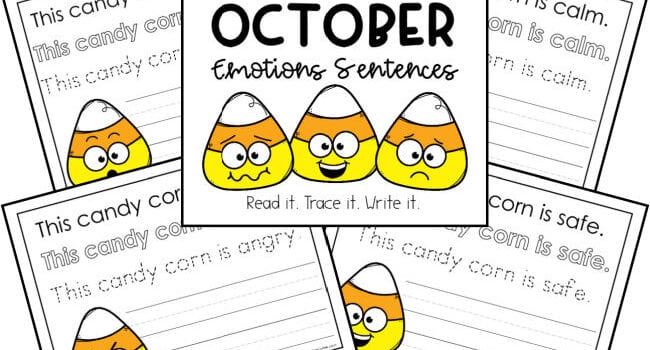
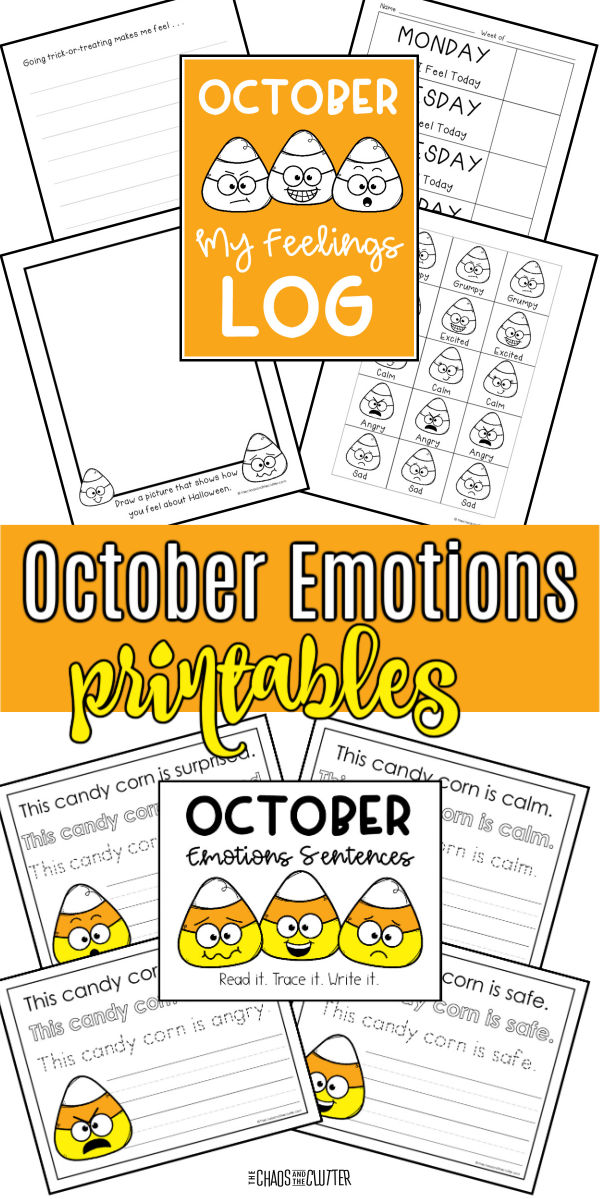
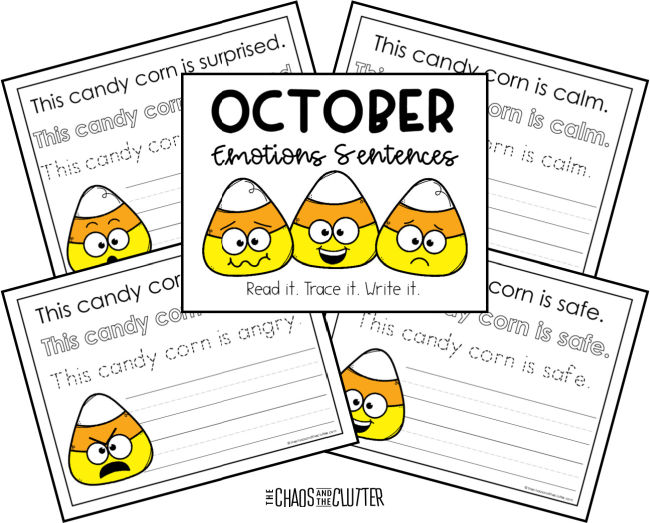
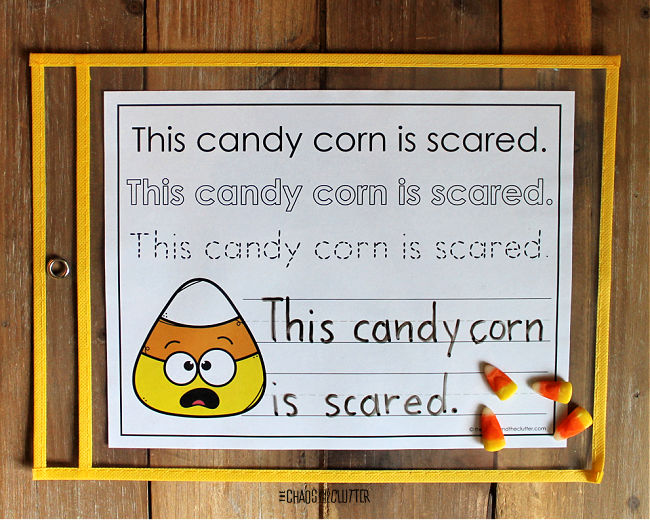
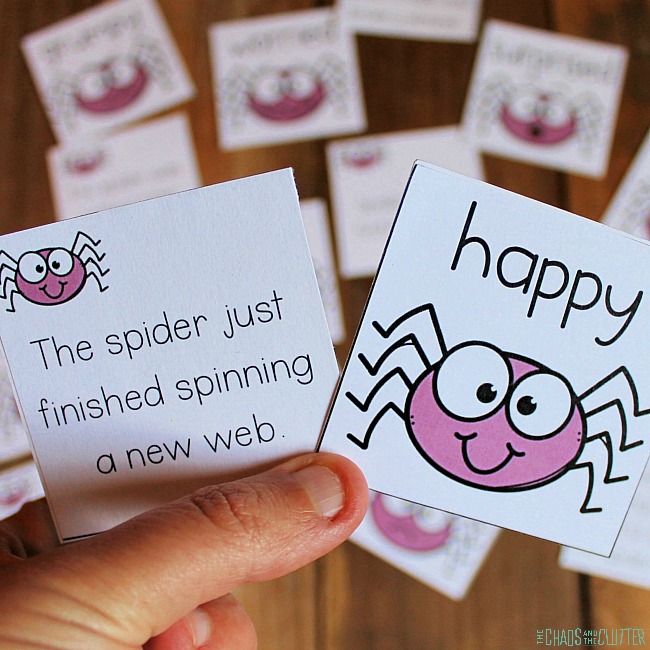
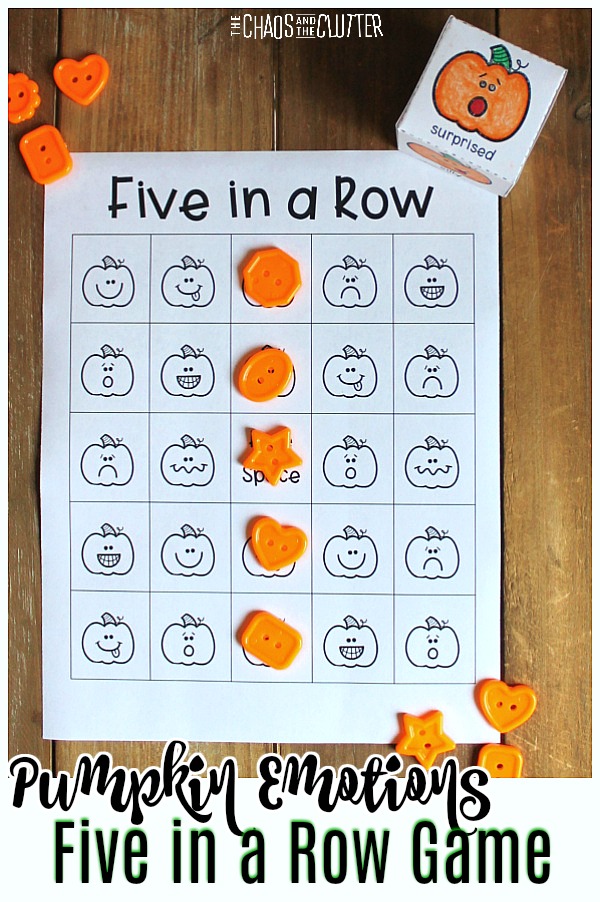
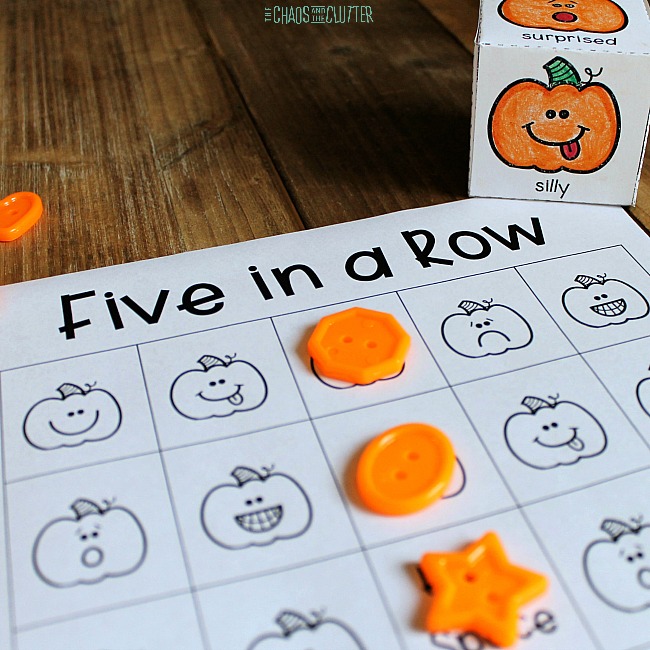
 My Feelings Log Instructions for the child:
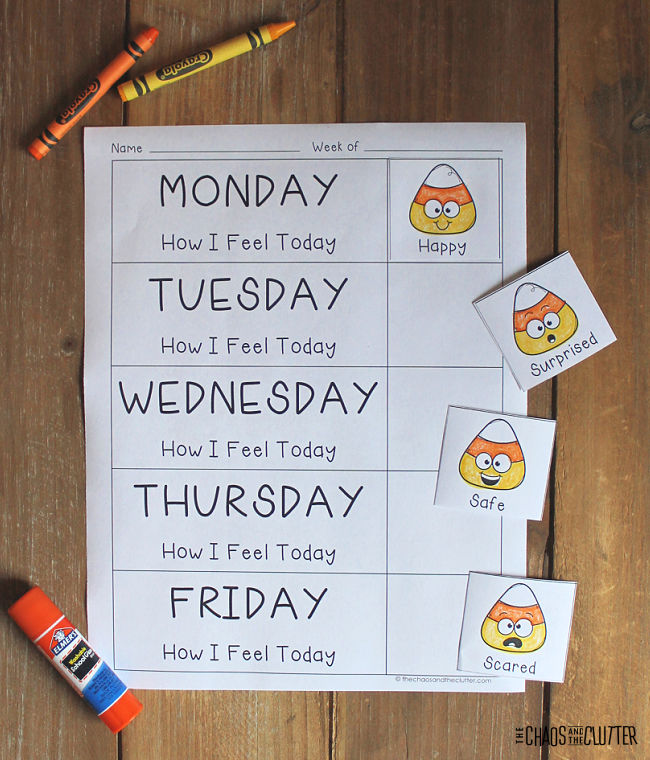 Use the Feelings Log as a jumping off point for discussions about the different feelings your child is experiencing and what is underneath those emotions. This is also a good way to help them manage their emotions in healthy ways.
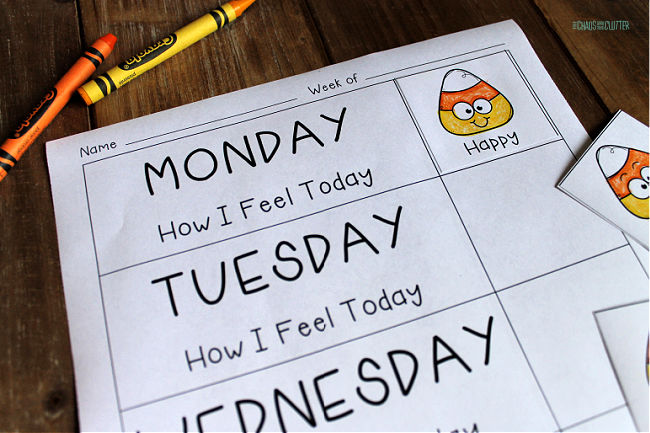

 Supplies needed:
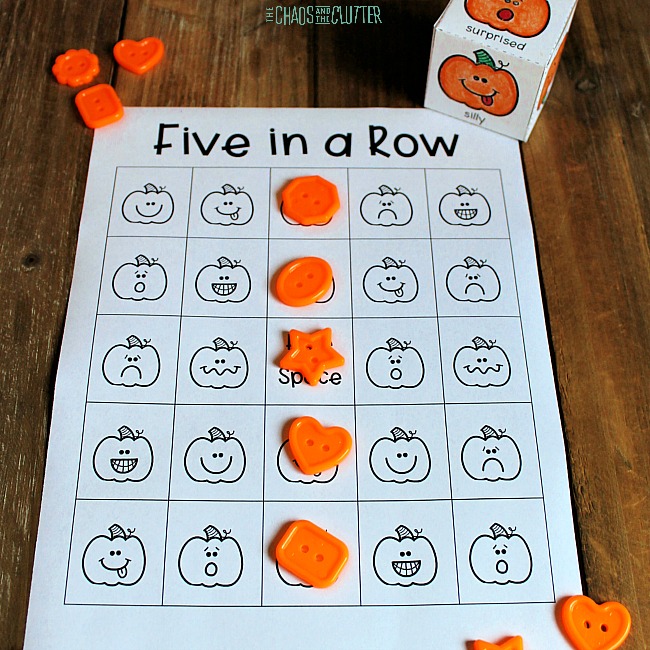 Game Play:
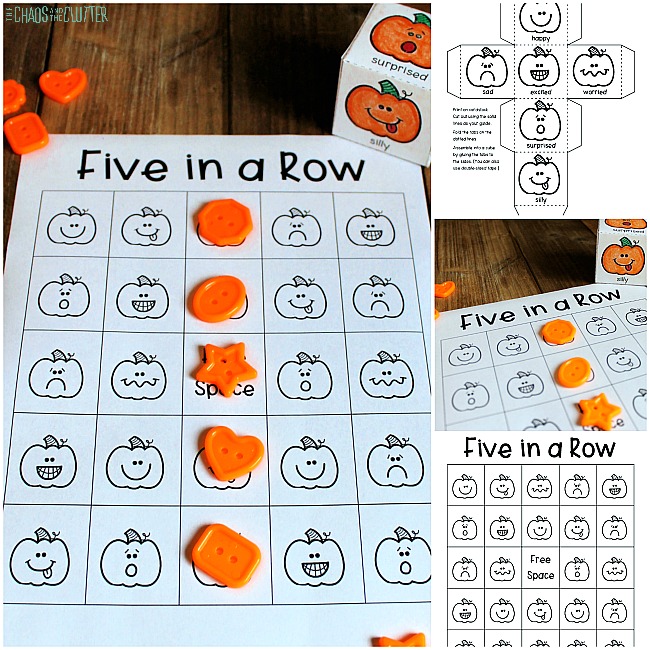 Some children may find it more challenging than others to think of scenarios when they have felt a particular emotion. It’s okay for you to step in and give them verbal prompts to help them or to share one of your own examples.
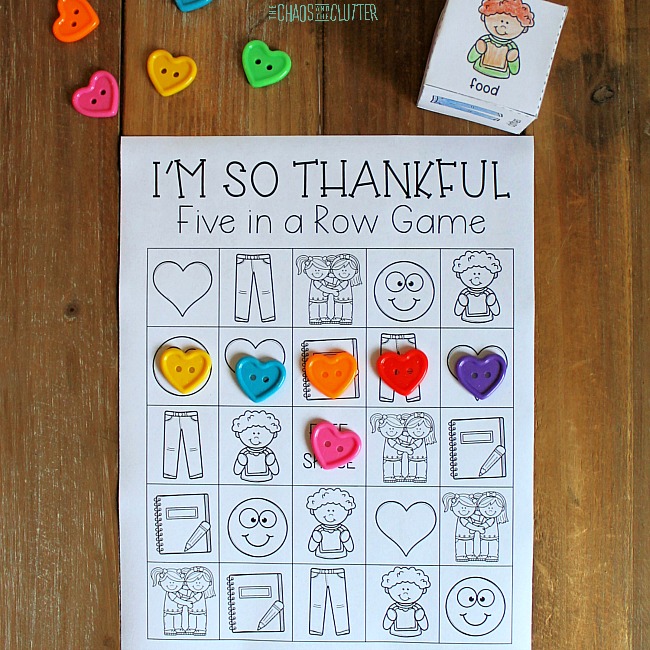

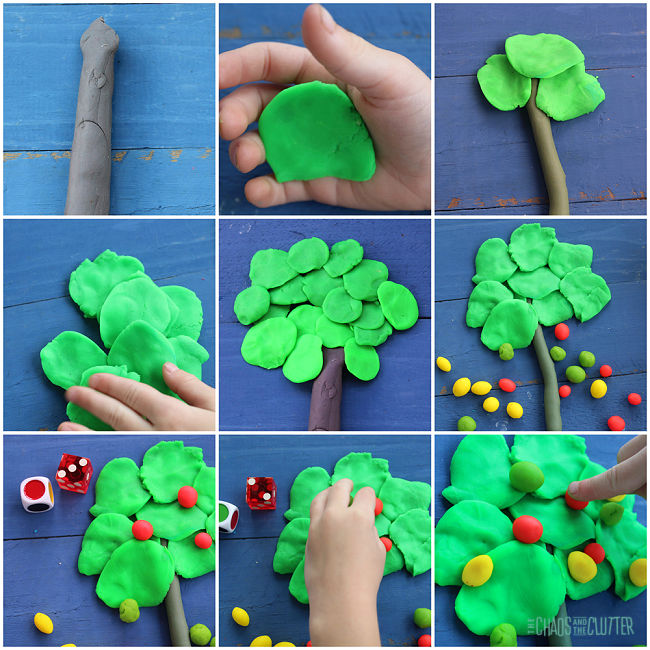
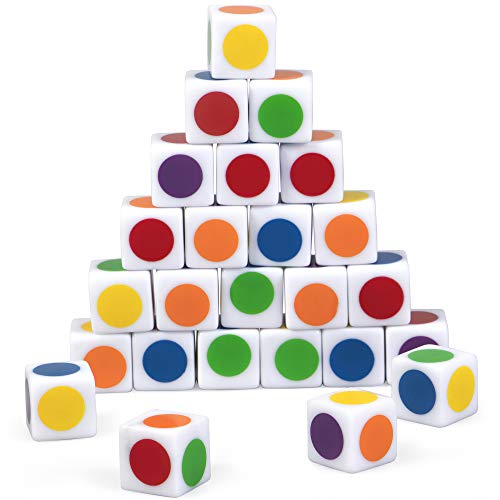
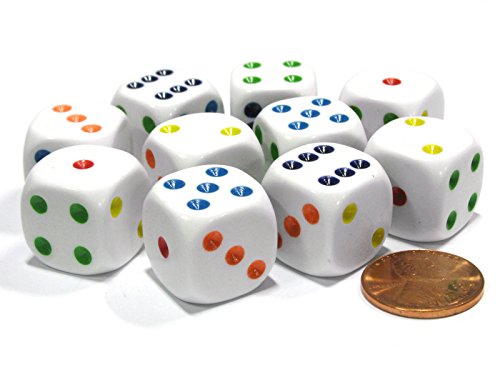
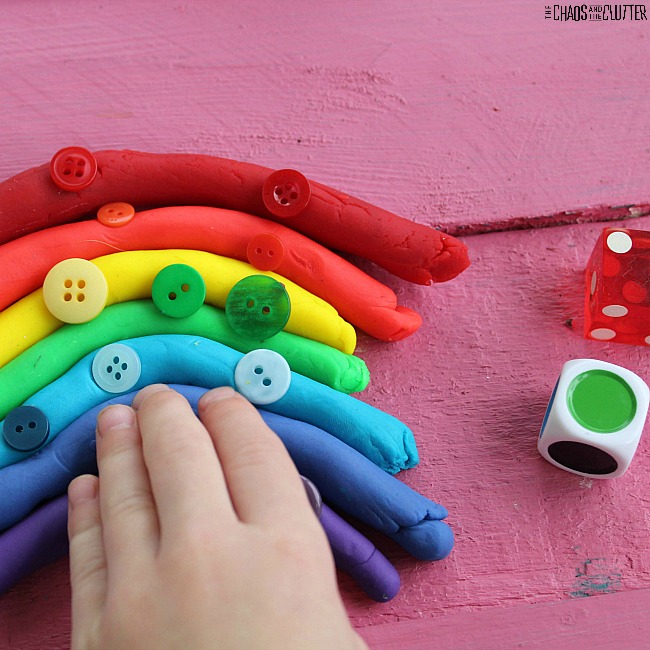
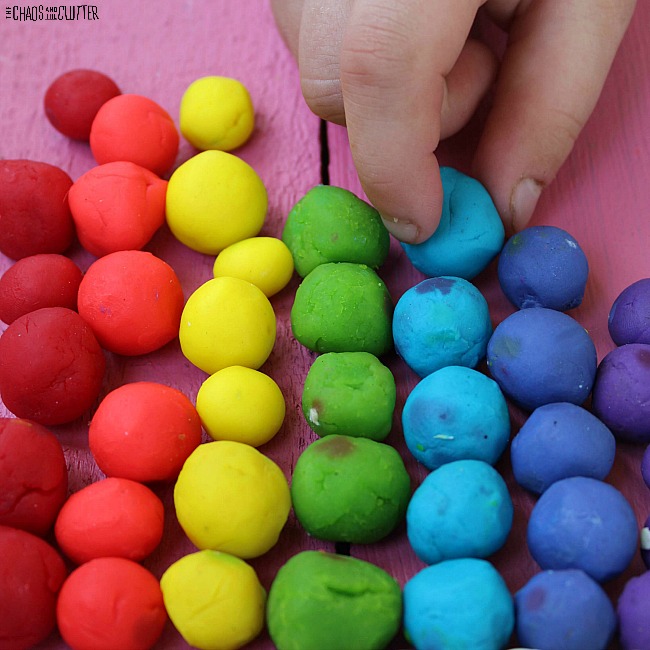
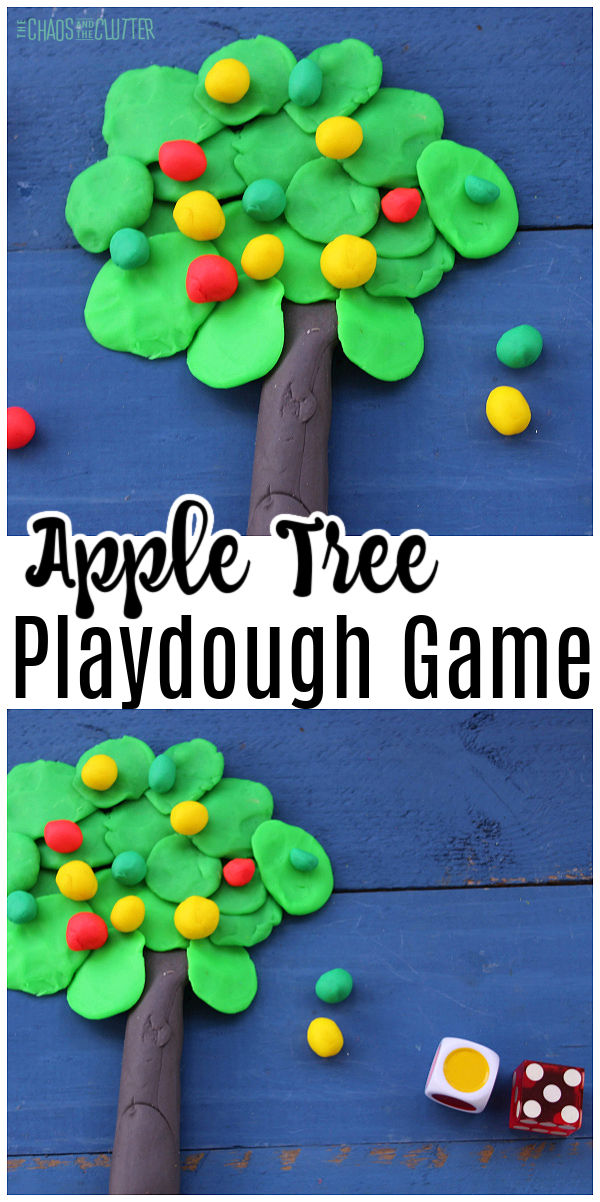 This easy activity is suitable for preschoolers who are just learning these concepts or even for children in Kindergarten or early elementary to help reenforce colour and counting concepts.
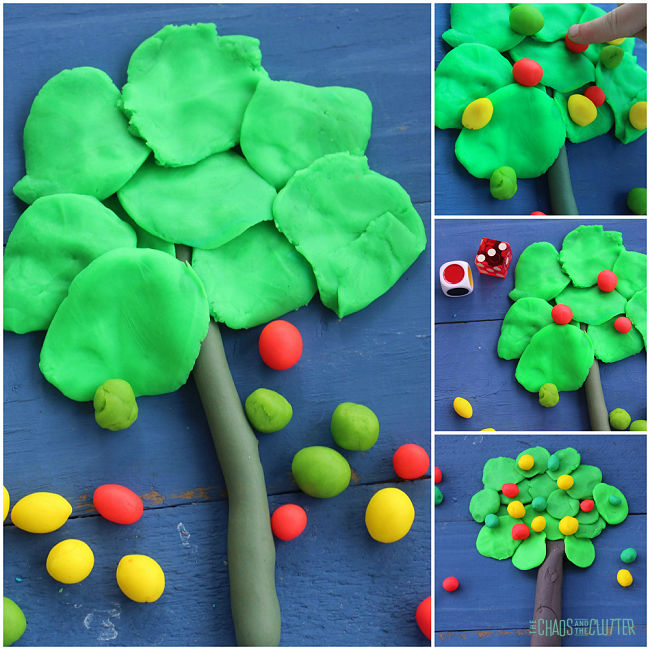 Directions: