• Skip to primary navigation
  • Skip to main content
  • Skip to primary sidebar
  • Home
  • About
  • Contact
  • Privacy + Terms
  • Affiliates

The Chaos and the Clutter

  • Facebook
  • Twitter
  • Pinterest
  • Google Plus
  • RSS
  • Email
  • School at Home
  • Sensory
    • Sensory Processing Disorder
    • Awesome Sensory Play Activities
      • Sensory Bins
      • Sensory Bottles
      • Sensory Bags
  • Family Games
    • Minute to Win It Games
  • Special Needs Parenting
    • Childhood Anxiety
    • Reactive Attachment Disorder
    • Sensory Processing Disorder
  • Store
  • Course Login

Sharla Kostelyk

Opposite Day Ideas

clothes backwards, shoes on wrong feet, printed pages, and egg muffin breakfast

By Sharla Kostelyk

Opposite Day or Backwards Day is a fun theme idea to do with your kids or in your school or classroom. I wanted to share with you ideas of activities, food, and even some hidden learning opportunities for your theme day.photos of shoes on wrong feet, clothes on backwards, bingo. Text reads "Opposite Day ideas"
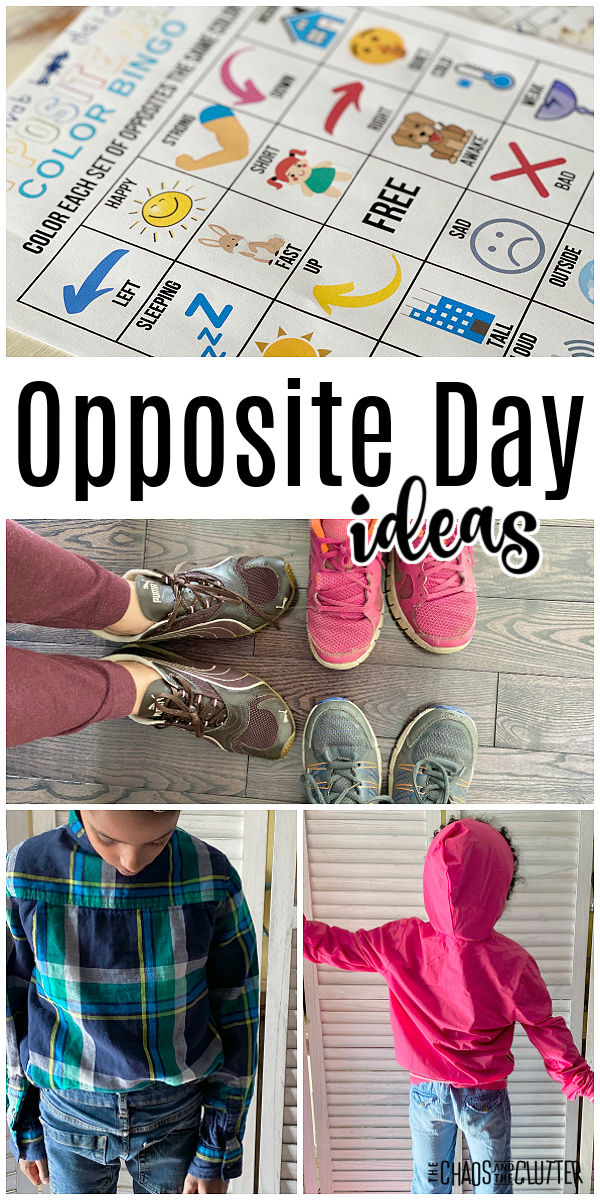
The official Opposite Day is January 25, but you can celebrate it just for fun any day you wish. Some people choose April 1st (April Fools Day) to celebrate.

My kids have loved our Backwards Days. In fact, sometimes when they were younger, if everyone was super grouchy, I would just declare it was Backwards Day and the mood immediately shifted.

There are so many silly things you can do. Even small changes like having spaghetti for breakfast and pancakes for supper is something kids find so fun.clothes backwards, shoes on wrong feet, printed pages, and egg muffin breakfast

Opposite Day Ideas:

  • Have supper for breakfast and breakfast for supper.
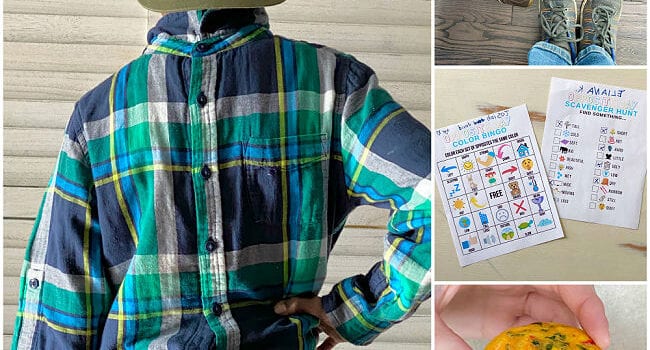
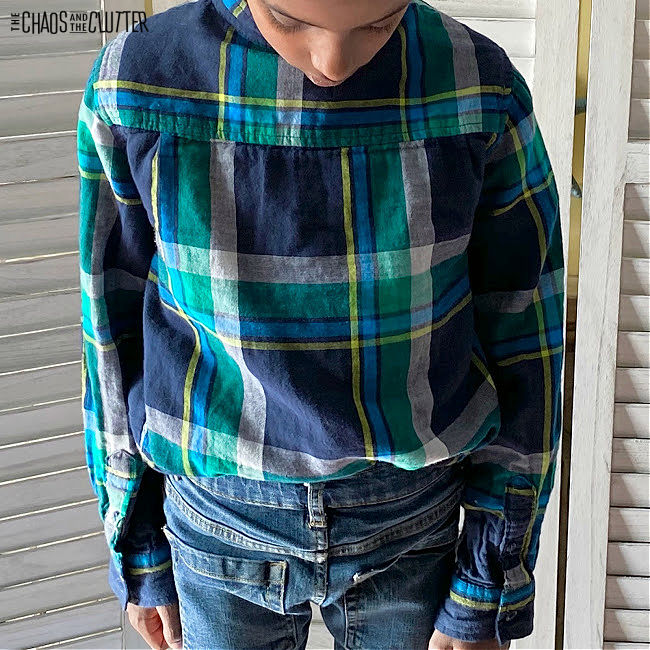
  • Wear your clothes inside out or backwards.
  • Wear your shoes on the opposite feet.
  • Put socks on your hands instead of your feet.
  • Wear pyjamas during the day and day clothes to bed.
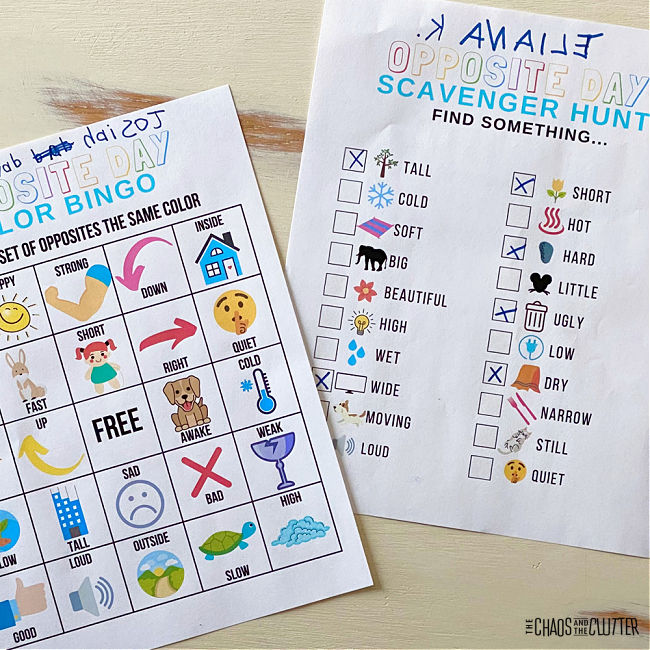
  • Have an Opposite Day Scavenger Hunt.
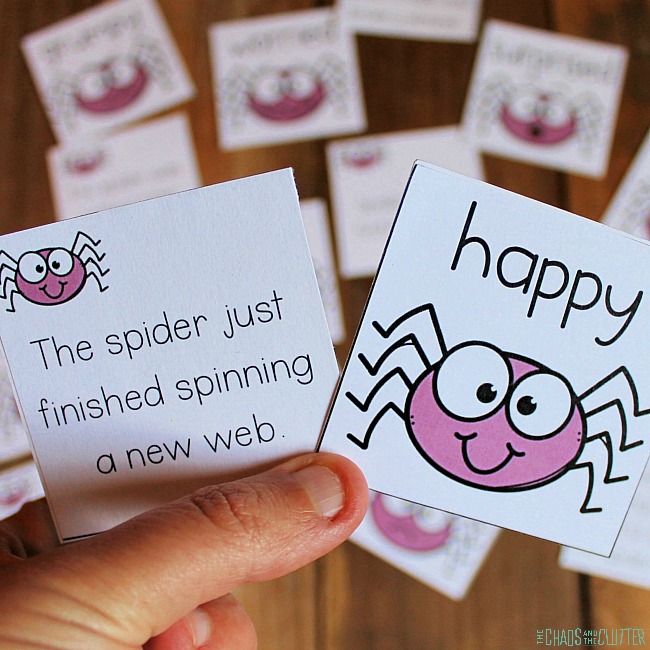
  • Play Opposite Day Bingo.colourful Bingo and scavenger hunt sheets
  • Speak in opposites (“bad” for “good”, “yes” for “no”, etc.)
  • Eat dessert first.
  • Walk backwards.
  • Do everything with your non-dominant hand so lefties use their right hand and righties use their left hand. 
  • Write your name backwards.
  • Draw upside down.
  • Try a role reversal where the teacher gets to be the student for awhile the parent gets to be the child once in awhile. 
  • Sing song backwards.
  • Say the alphabet from Z to A.
  • Read a book backwards starting from the back to the front. 
  • Hang pictures or artwork upside down. 
  • Practise some mirror writing.
  • Call people by their last name first.
  • Any type of play backwards like backwards skipping, skating, or soccer.
  • Do an egg and spoon race or three-legged race but walking backwards.
  • Play backwards limbo (jump over the stick rather than going under).
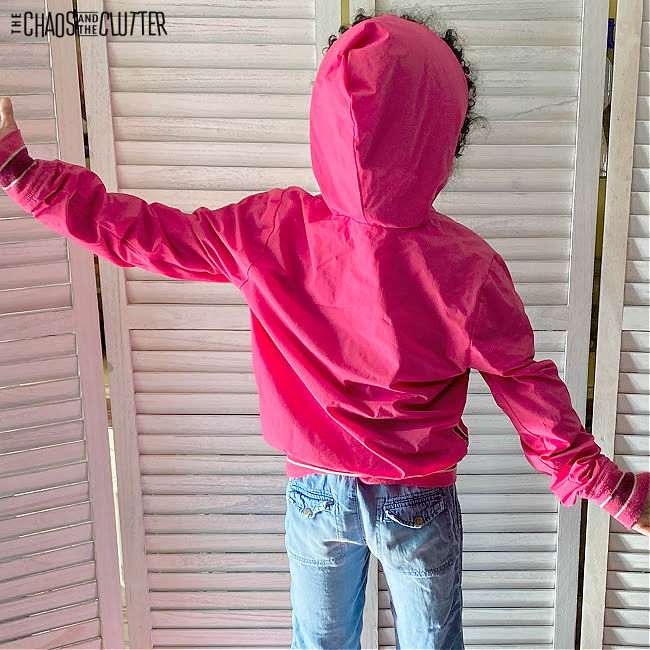
  • Take pictures with the subject’s back to the camera.girl in pink hoodie and jeans facing away from the camera
  • Make upside down cupcakes with icing on the bottom. 
  • Place an ice cream scoop on a plate and a cone on top of that to create an upside down ice cream cone.
  • Make sandwiches with the bread or bun on the inside.
  • Talk about antonyms. 
  • Write a poem using antonyms.
  • Teach the kids palindromes. 
  • Sleep with your head at the foot of the bed.

I hope your kids or students enjoy the silliness of this day as much as my kids always have!

Find other fun theme day ideas to use in your home or school.

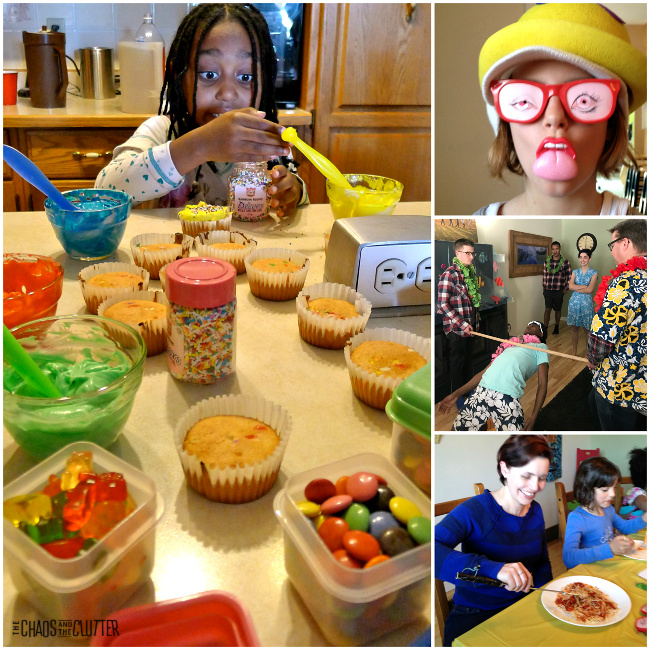
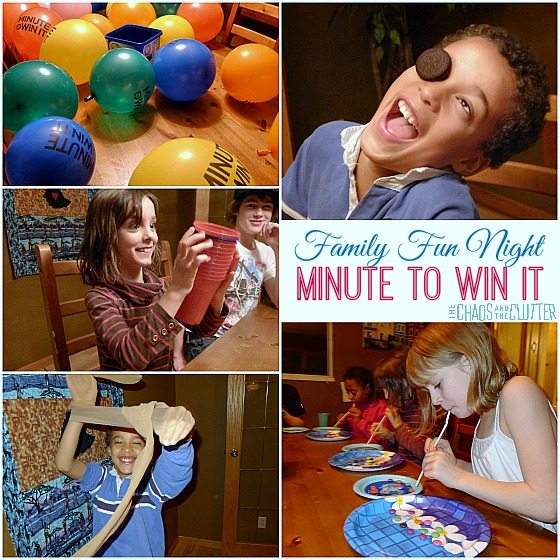
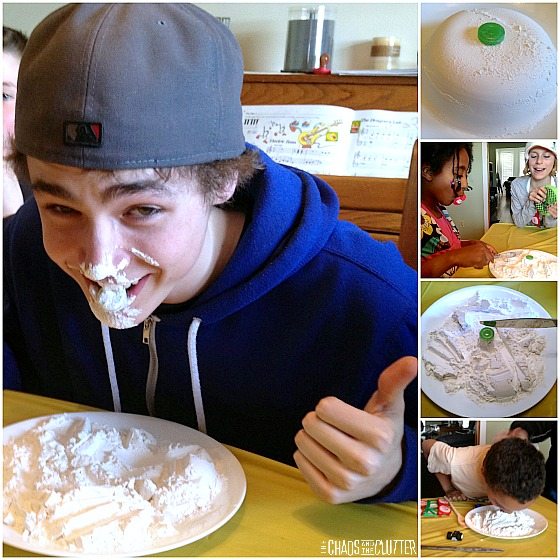
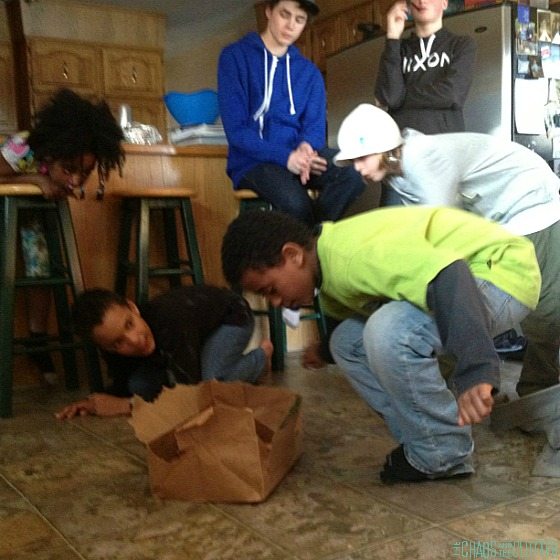
Check out some other fun games and activities for kids:

Minute to Win It Games

The Flour Game

The Bag Game

Filed Under: Family Games

Basic Homemade Playdough Recipe

balls of playdough in 6 colours stacked on top of each other

By Sharla Kostelyk

Homemade playdough is so much better than store bought. It’s softer, less crumbly, easier to play with, and it lasts far longer. Making your own is easier than you might expect. 6 different colours of playdough balls stacked on top of each other. Text reads "Homemade Playdough Recipe"
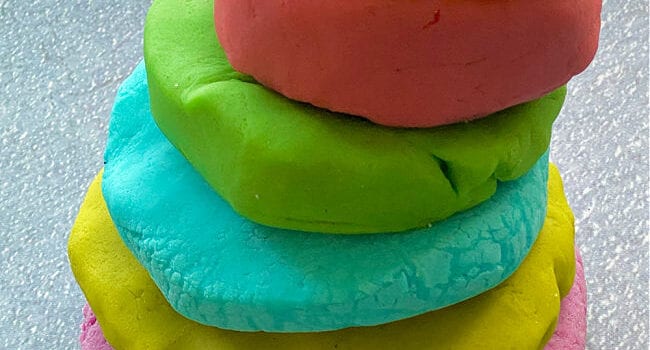
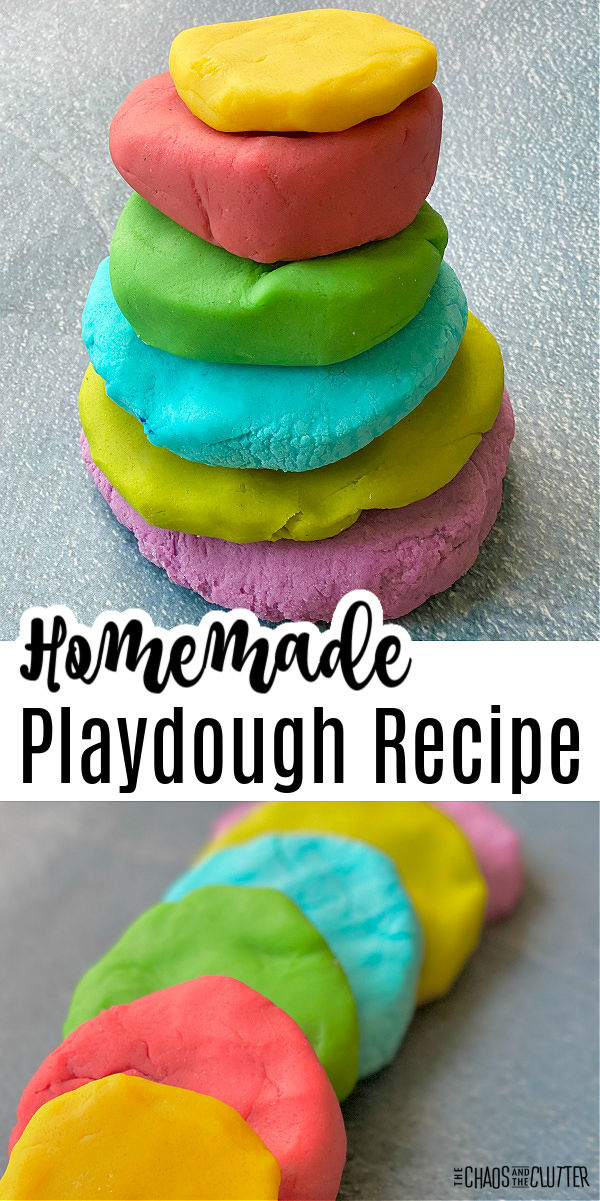
When I was growing up, my mom made homemade playdough. For some reason, our playdough was always green. I’m not sure why she never made it another colour, but when I think of homemade playdough, a certain shade of green is what comes to mind!

My mom used a recipe she got from my Auntie Barb. When I became a mom myself,  I started with that same recipe. 

I’ve adapted it slightly, but this is essentially just a good old-fashioned homemade playdough recipe.

Of course, when I discovered that playdough could be made in the KitchenAid and I could avoid sore arms from all the stirring, I never went back to the stovetop method again. 

I’m including instructions for both the KitchenAid and stovetop methods below, but if you have a KitchenAid, that’s the method I recommend. 

Basic Homemade Playdough Recipe using a KitchenAid:

Supplies needed:

  • 1 cup flour
  • 1/2 cup salt
  • 2 Tbsp. cream of tartar
  • 1 Tbsp. cooking oil
  • food gel or food colouring 
  • 1 cup boiling water
  • optional: glitter

Directions:

  1. Put dry ingredients (flour, salt, and cream of tartar) in the KitchenAid mixer. 
  2. Add the oil and food colour and begin mixing using the flat beater. 
  3. As it is mixing on the lowest setting, pour in the boiling water. 
  4. If you want to add glitter, add it at this point.
  5. Continue mixing until the playdough forms a ball and is the right texture.
  6. It is now ready to be played with. When not in use, store in a resealable bag or airtight container.collage of photos of child playing with playdough

Basic Homemade Playdough Stovetop Recipe: 

Supplies needed:

  • 1 cup flour
  • 1/2 cup salt
  • 2 Tbsp. cream of tartar
  • 1 Tbsp. cooking oil
  • food gel or food colouring 
  • 1 cup water
  • optional: glitter

Directions:

  1. Mix the dry ingredients together with the oil, food colour, and water in a pot on the stovetop.
  2. Stir over medium heat with a wooden spoon.
  3. Scrape the sides and bottom, stirring constantly.
  4. Keep stirring!
  5. Cook until the dough forms a ball.
  6. Remove from heat. 
  7. Place the dough on a piece of wax paper. 
  8. Knead. If you’re adding glitter, mix it in at this point.
  9. Allow to cool.
  10. When playdough isn’t being played with, store in an airtight container or resealable bag.

As with all sensory play activities, adult supervision should be used. Consuming large quantities of salt is dangerous for children so this playdough should not be eaten. balls of playdough in 6 colours stacked on top of each other

How to scent playdough:

There are several ways that you can add smell to playdough. You can add a few drops of essential oil, spices, or extracts. Scents are either alerting or calming, so you’ll want to choose a scent accordingly.

If you’re wanting to add it to a calm down kit, you’ll want to choose a calming scent whereas if you’re making playdough for a learning activity, you’ll want to add an alerting scent.

Essential oils to add:

  • lavender
  • peppermint
  • lemon
  • lime
  • wild orange
  • grapefruit
  • chamomile
  • frankincense
  • eucalyptus 

Extracts to add:

  • vanilla
  • peppermint
  • almond
  • caramel
  • coconut

Spices to add:

  • pumpkin spice
  • cinnamon
  • cloves
  • ginger

Add only one type of scent to each batch of playdough. Be sure to be mindful of allergies. 

There are so many ways to play with playdough that go so far beyond play. Kids can work on their fine motor skills, hand-eye coordination, communication, shapes, colours, sensory input, and cognitive skills. child's hands press a dog bone shaped cookie cutter into blue playdough

Ways to play with playdough:

  • Use printable playdough mats.
  • Roll it into ropes and use plastic scissors to cut the ropes to practise cutting skills.
  • Play stuck in the mud (especially popular with little boys!).
  • Use cookie cutters to shape it. 
  • Squish it, pull it, scrunch it, knead it. (great for proprioceptive sensory input)
  • Apple Tree Game (for counting and colours)
  • Rainbow Colour and Counting Game
  • Alphabet Stamping using Lego
  • Dinosaur Fossils
  • Rainbow Fine Motor Activity
  • Add a few drops of essential oil to create an olfactory (smell) sensory experience.
  • Set out an invitation to play.
  • Seashell Fossils
  • Make playdough cupcakes.
  • Use spaghetti and cereal to practise fine motor.
  • Playdough letter mazes are great for letter recognition and hand-eye coordination.
  • Make faces.
  • Demonstrate the layers of the Earth.
  • Press household items into it to create prints. 
  • Make playdough Mr. Potato Heads.
  • Use leftover playdough to make butter slime.

child's hands press a star shaped cookie cutter into purple playdoughGet an entire set of printable transportation alphabet playdough mats free by entering your email address below. You’ll also be signed up to receive our email series Sensory Activities and Solutions.

Filed Under: Crafts and Activities, Sensory Tagged With: sensory play

Winter Bucket List for Families

icons and text depicting ideas for seasonal winter fun ideas

By Sharla Kostelyk

Creating memories together is an important part of family connection. With this Winter Bucket List, you can check off simple, fun ideas that will capture moments and make the most of the winter months.

icons of different seasonal activities. Text reads "Winter Bucket List for Families"
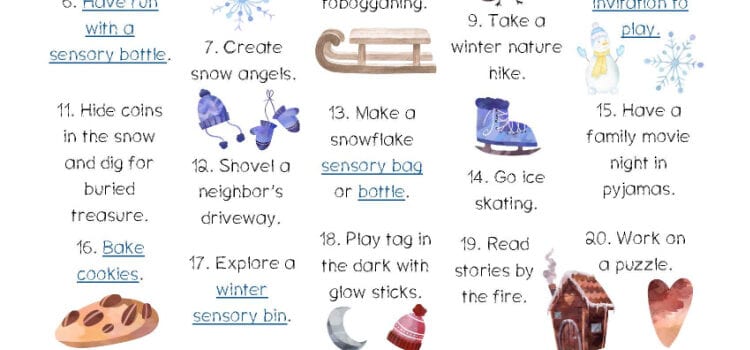
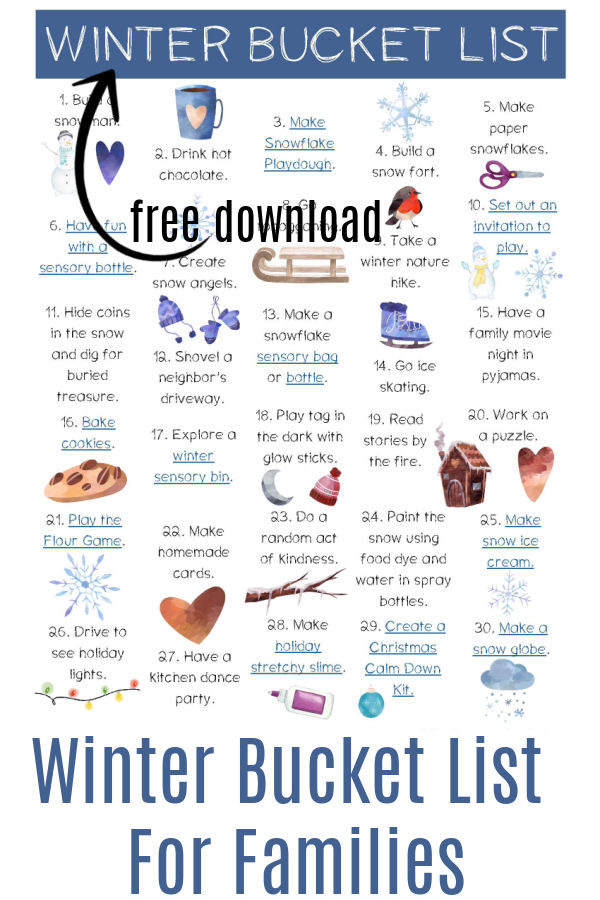
I chose things for the list that were simple and were either free or cost very little. You can download and print off the bucket list to keep on your fridge or bulletin board.

As you finish items, you can cross them off. You can do them in order or choose the order that works best for your family.

Things don’t have to go perfectly or be planned out far in advance. The most important thing is to really be in the moment together.

Winter Bucket List Ideas:

  1. Build a snowman.
  2. Drink hot chocolate.
  3. Make snowflake playdough. 
  4. Build a snow fort.
  5. Make paper snowflakes.
  6. Have fun with a sensory bottle. 
  7. Create snow angels.
  8. Go tobogganing. 
  9. Take a winter nature hike.
  10. Set out an invitation to play.
  11. Hide coins in the snow and dig for buried treasure.
  12. Shovel a neighbour’s driveway.
  13. Make a snowflake sensory bag or bottle.
  14. Go ice skating.
  15. Have a family movie night in pyjamas.
  16. Bake cookies.
  17. Explore a winter sensory bin. 
  18. Play tag in the dark with glow sticks.
  19. Read stories by the fire.
  20. Work on a puzzle.
  21. Play The Flour Game. 
  22. Make homemade cards.
  23. Do a random act of kindness.
  24. Paint the snow using food dye and water in spray bottles.
  25. Make snow ice cream. 
  26. Go for a drive to look at holiday lights.
  27. Have a kitchen dance party.
  28. Make holiday stretchy slime.
  29. Create a Christmas Calm Down Kit.
  30. Make a paper snow globe.

icons and text depicting ideas for seasonal winter fun ideas
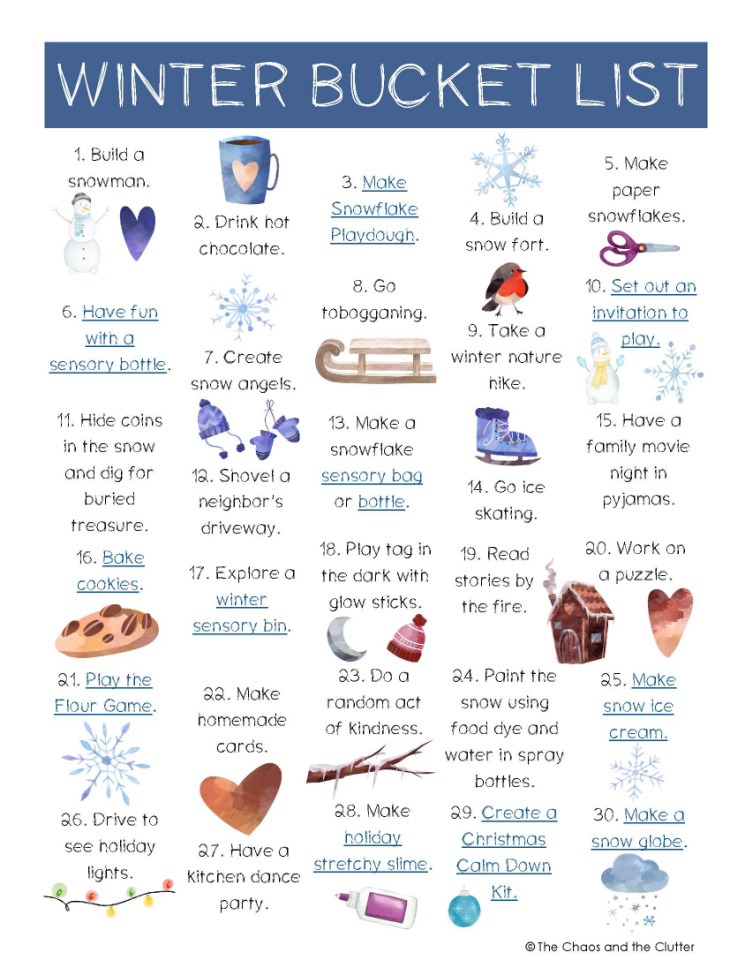
Note that if you live in a climate where there isn’t snow, many of these ideas can be adapted. For example, “build a snow fort” can simply become “build a blanket fort”. 

Download your Winter Bucket List today and you’ll also get our free email series 5 Secrets to Powerful Family Connection. 

Filed Under: Crafts and Activities, Printables

Frog Life Cycle Sensory Bin and Activities

a hand holds a small toy frog on a plastic lily pad set on blue water beads

By Sharla Kostelyk

A frog life cycle sensory bin is a great addition to your child or students’ science studies. Kids can explore and discover using their sense of touch and sight.blue water beads with foam lily pads, rocks, and frogs. Text reads "Frog Life Cycle Sensory Bin"

When you can add a hands-on component to any unit study, it increases retention of the information and interest in the topic. 

Frog Life Cycle Sensory Bin:

Supplies needed:

  • plastic container
  • blue and green water beads
  • frog life cycle pack
  • frog figurines
  • rocks
  • plastic lily pads
  • plastic leaves

little hands holding a frog in a sensory binDirections:

  1. Place the water beads in a plastic container.
  2. Add water. 
  3. Allow time for the water beads to expand.
  4. Make an area in a corner of the bin by pushing away some of the water beads and set out the rocks. This will be the land where frogs can sit.
  5. Add in the frogs, lily pads, and leaves.
  6. Invite kids to explore.

collage of photos of a frog sensory bin using water beads

Life Stages of the Frog:

  1. A frog lays eggs. It takes one to three weeks for the eggs to hatch.
  2. A tadpole hatches from each egg. Tadpoles live exclusively in water. They use gills to breathe. This stage lasts 9-12 weeks.
  3. The tadpole then grows into a froglet that looks more like a frog but has a tail. It has legs and lungs, so it is able to walk and hop on land. 
  4. 12-16 weeks after the egg first hatched, the frog is fully formed and is an adult. 

small green toy frog on rocks and water beads

Ideas to Expand Your Frog Life Cycle Unit Study:

  • Set out a variety of books on frogs.
  • Go on a nature hike to a pond and observe frogs or tadpoles in person. Draw what you see in a notebook. Watching frogs in real life is the most effective way to learn about them. 
  • Download and print the Frog Life Cycle Hat. Students can colour it, cut it out, and even wear it while they play in the sensory bin!
  • Use the Frog Emotions Printable Pack.
  • Learn this cute song about metamorphosis. 
  • Watch a video about frogs.
  • Fill out a worksheet to help remember the stages. 

a hand holds a small toy frog on a plastic lily pad set on blue water beads

Resources for Learning about Frogs:

Insect Lore Frog Life Cycle StagesInsect Lore Frog Life Cycle StagesInsect Lore Frog Life Cycle StagesTadpole to Frog Growing Kit with 2 Live TadpolesTadpole to Frog Growing Kit with 2 Live TadpolesTadpole to Frog Growing Kit with 2 Live TadpolesFrog Emotions Printable PackFrog Emotions Printable PackBUY NOWLife Cycle of a Frog Montessori PuzzleLife Cycle of a Frog Montessori PuzzleLife Cycle of a Frog Montessori PuzzleLife Cycle of a Frog Learning ChartLife Cycle of a Frog Learning ChartLife Cycle of a Frog Learning ChartFrog Life Cycle Hand PuppetFrog Life Cycle Hand PuppetFrog Life Cycle Hand PuppetAnd the Bullfrogs Sing: A Life Cycle BeginsAnd the Bullfrogs Sing: A Life Cycle BeginsAnd the Bullfrogs Sing: A Life Cycle BeginsFrom Tadpole to FrogFrom Tadpole to FrogFrom Tadpole to FrogNational Geographic Readers: Tadpole to FrogNational Geographic Readers: Tadpole to FrogNational Geographic Readers: Tadpole to Frog


This sensory bin contains small parts and water beads. Adult supervision should be used at all times when kids are participating in sensory play. 

Download your free printable Frog Life Cycle Hat. You’ll also be entered in our email series 5 Days to Better Family Connection. 

Check out our other life cycle sensory bins:

Bee Life Cycle Sensory Bin

Praying Mantis Life Cycle Sensory Bin

Chicken Life Cycle Sensory Bin

Filed Under: Homeschooling, Printables, Sensory Bins

My Winter Feelings Mini Book for Kids

colouring pages depicting winter scenes on a wood floor

By Sharla Kostelyk

This mini book allows kids the opportunity to process their thoughts and feelings about different winter happenings. When children practise talking about and writing about their emotions, they are better able to manage them. 

a coloured page sits on a wood floor. Text reads "Winter My Emotions Mini Book"
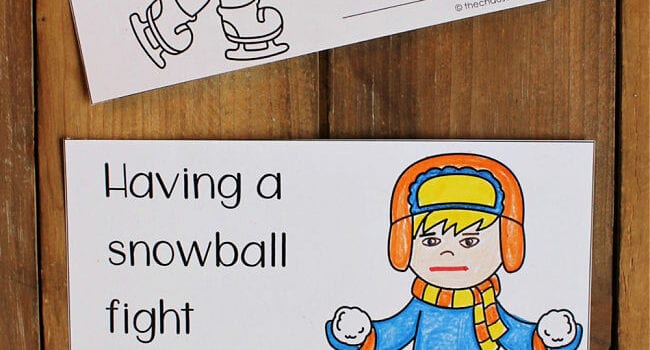
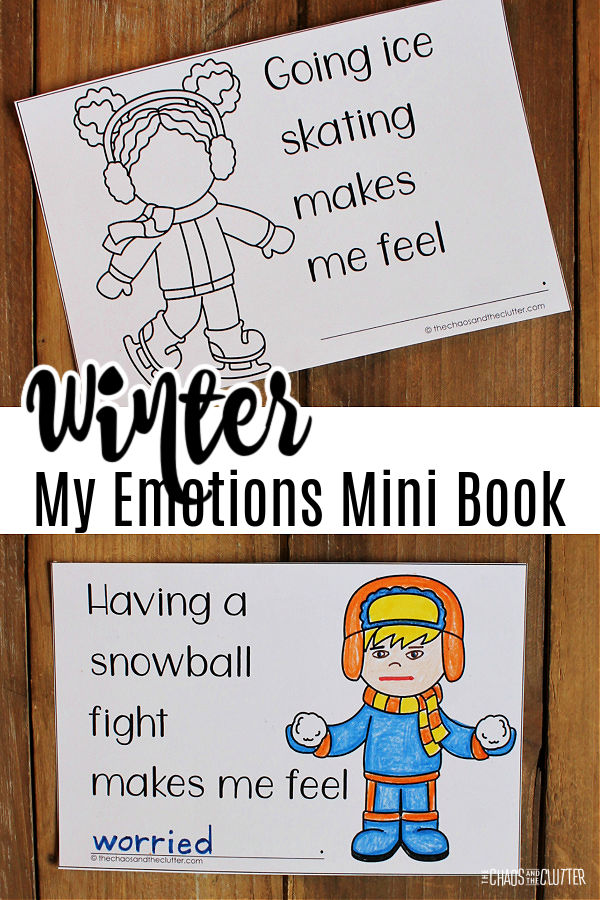
The pages include some common winter things such as drinking hot chocolate, going sledding, ice skating, building a snowman, and experiencing winter weather.

It also gives students the chance to express what they like about winter and what they don’t like about winter. colouring pages depicting winter scenes on a wood floor
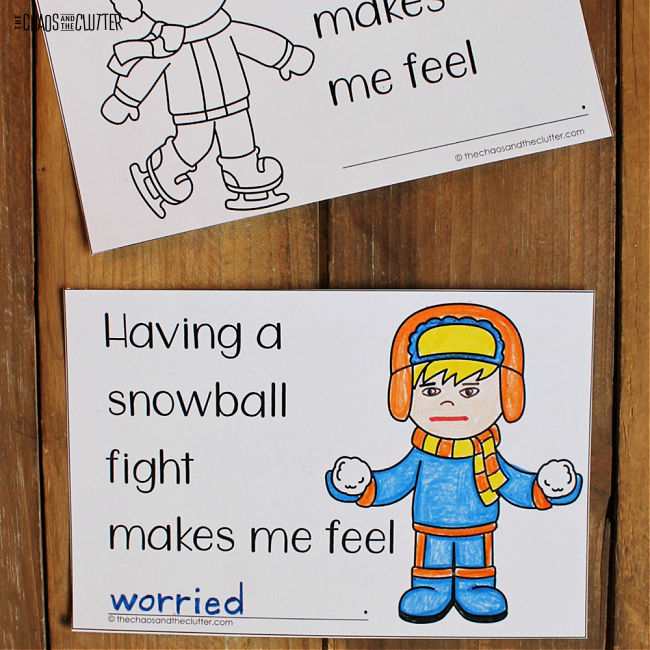
For some students, it may be easy to think of things they like about winter and they may need some prompting. For others, it may be their favourite season and they may need help to come up with things they don’t like!

My Winter Feelings Mini Book:

Supplies needed:

    • My Winter Feelings mini book printable pages. (download here)
    • scissors
    • pencil or pen
    • markers, crayons, or pencil crayons
    • stapler and staples

Instructions:

  1. Download the My Winter Feelings mini book.
  2. Print the pages.
  3. Cut apart the booklet pages.
  4. Let your student decide how he or she feels about each winter activity and draw a corresponding face on the child on that page. Your student can use the Emotions Word Bank for ideas (for words to use and for faces to draw).
  5. When your student has completed the book, stack the pages together with the cover on top and staple on the left side to create a little book.

collage of different printed winter mini book pages
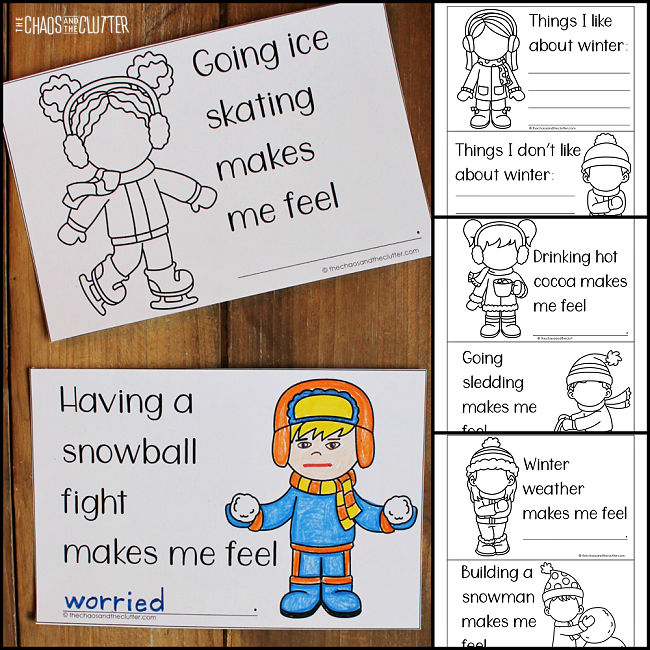
Once your child or student has filled out their booklet, you can also sit with them and debrief. If there are some winter scenarios that seem to have potential to cause them some distress, brainstorm ways to help them manage those feelings or better navigate those scenarios if they arise. 

Download your free printable mini book for kids and be signed up for our sensory solutions and activities emails. 

Check out these other emotions printables for kids:

Pirate Emotions Playdough MatsPumpkin Emotions Gamepaper with pumpkin pictures and orange buttons set on top

Filed Under: Homeschooling, Printables

November Emotions Printables for Kids

By Sharla Kostelyk

Thanksgiving is a time for family and friends. It’s about getting together, eating great food, and making memories. But for some kids, any holiday or change in routine can bring with it a variety of feelings. These November Emotions Printables invite kids to explore their emotions about Thanksgiving, visiting relatives, and the day to day.

display of printed worksheets with orange pumpkins. Text reads "November Emotions printables"

November Copywork Emotions Sentences:

I firmly believe that teaching emotions is even more important than teaching reading, writing, and arithmetic. Children need to develop a real understanding of emotions and know how to express their own. These November emotions printing practise worksheets allow kids to work on their printing while learning about emotions.

These copywork pages allow students to explore emotion words and associate the images with the corresponding feeling. This expands their emotional vocabulary.

Supplies needed:

  • November Emotions printables
  • pen or pencil OR
  • plastic sleeve AND dry erase marker

Download the printable pages. If you want to make them reusable, laminate the pages or slip them into a plastic page protector. Students can then use a dry erase marker to complete the tracing and writing.

If these are for a one time use, give the student a pencil, crayons, coloured pencils, or markers and the printed papers.

Instructions for the student:

  1. Read the sentence.
  2. Fill in the outline.
  3. Trace the dotted words.
  4. Write the sentence on the lines provided.
  5. Discuss the various emotions.

These worksheets can be the jumping off point for a class discussion or one-on-one talk about different emotions.

November Feelings Log:

Keeping a daily log of feelings helps kids to examine their emotions. It also allows them and their teacher or parents to analyze any patterns they see emerging when looking back through the log.

Doing this quick daily exercise is also a great jumping off point to help kids to talk about their emotions and most importantly, get to the root of why they are feeling the way they are.

I believe in teaching emotions with as much zeal and intention as we teach reading, writing, and math. It is with that belief that I create opportunities for children to learn about emotions and to put that into practise.

I’ve put together a special Feelings Log for November (please note that it does contain two questions about Thanksgiving, so if you’re Canadian, this may be more appropriate to use with your child or student in October). It includes a writing prompt, a drawing prompt, and weekly tracking sheet of “Today I feel” along with adorable pumpkin faces to use to help them express their emotions.

Supplies needed:

  • printed Feelings Log pages (download here)
  • scissors
  • markers, pencil crayons, or crayons
  • pencil or pen

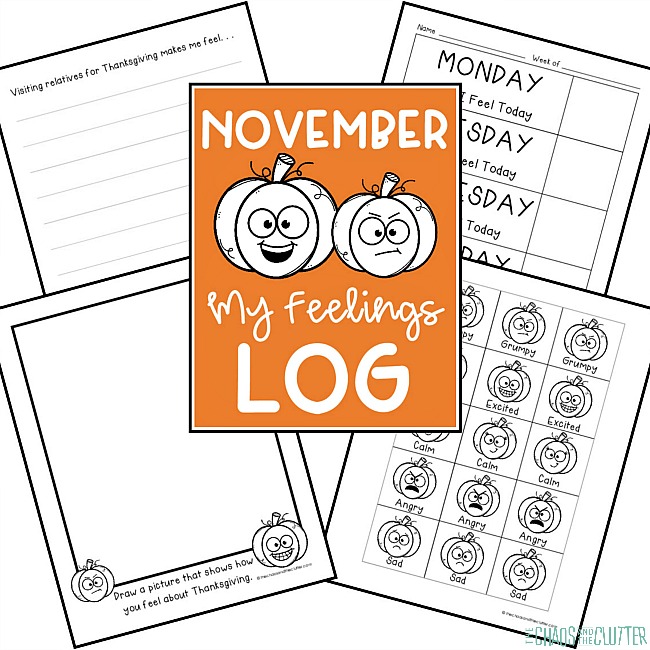
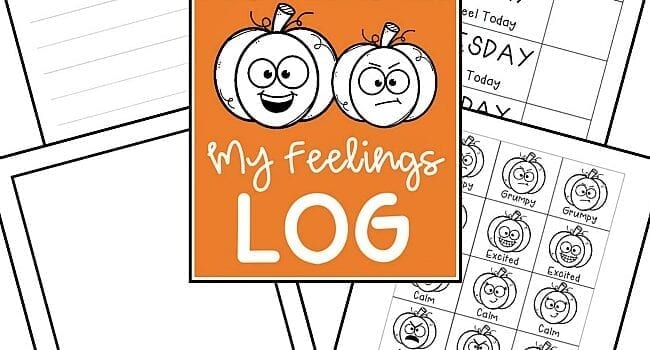
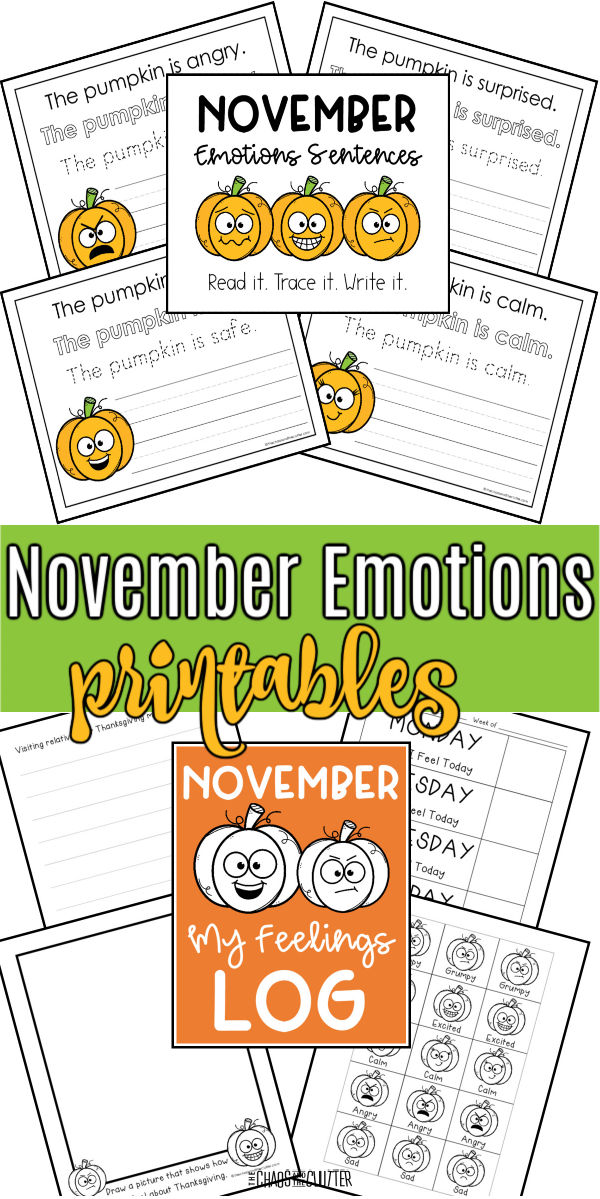
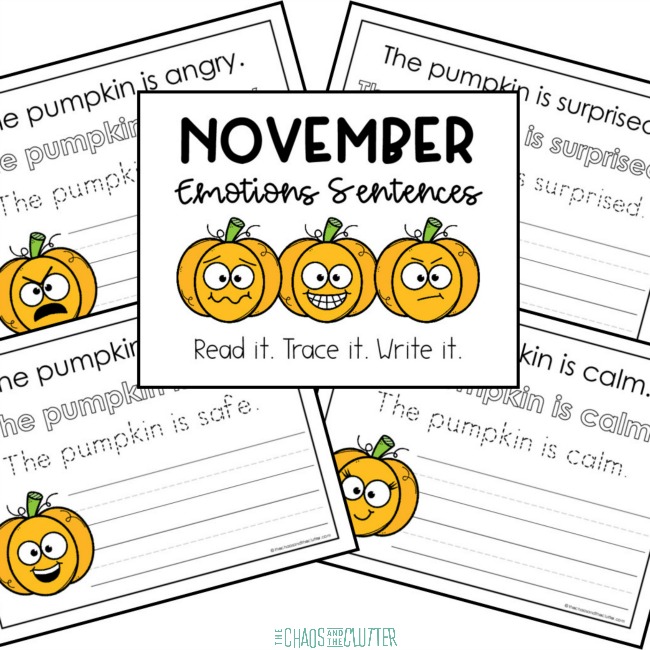
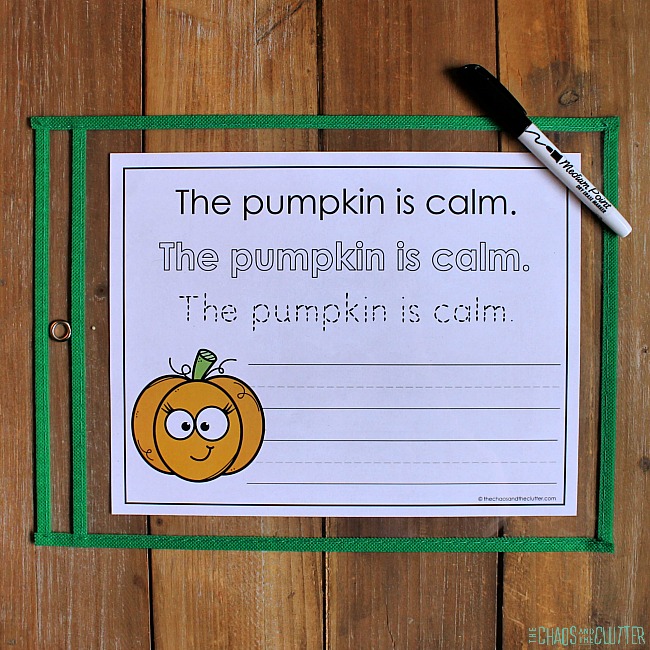
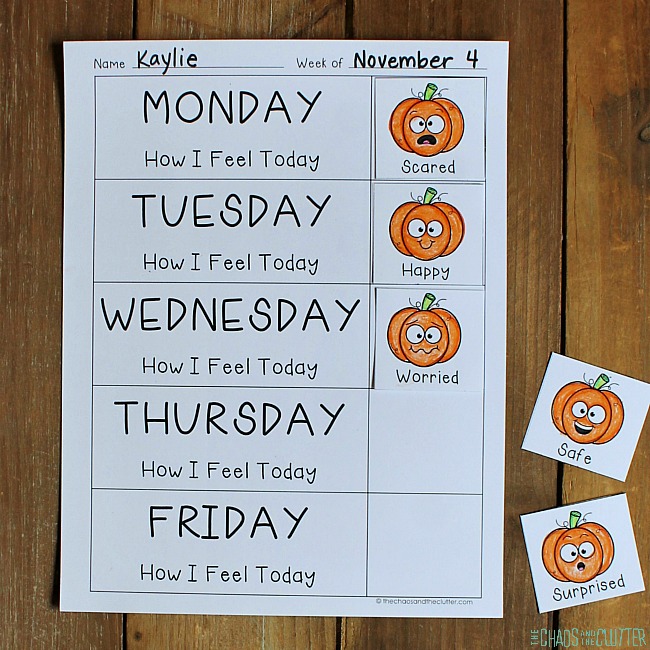
Simply enter your email below to download these November Emotions Printables. You can use this with your child at home or print it off to use with your students in the classroom.

You may also be interested in these resources for helping kids with their emotions:

Spider Emotions Matching Game

Make Your Own Emoji Squishies

Pirate Emotions Playdough Mats

Filed Under: Parenting in the Chaos, Printables

  • « Go to Previous Page
  • Page 1
  • Interim pages omitted …
  • Page 14
  • Page 15
  • Page 16
  • Page 17
  • Page 18
  • Interim pages omitted …
  • Page 128
  • Go to Next Page »

Primary Sidebar

Categories

We are a participant in the Amazon Services LLC Associates Program, an affiliate advertising program designed to provide a means for us to earn fees by linking to Amazon.com and affiliated sites.

Copyright © 2026 • The Chaos and the Clutter • Site Design by Jeni @ The Blog Maven

Return to top of page

Copyright © 2026 · Chaos and the Clutter 2.0 on Genesis Framework · WordPress · Log in