• Skip to primary navigation
  • Skip to main content
  • Skip to primary sidebar
  • Home
  • About
  • Contact
  • Privacy + Terms
  • Affiliates

The Chaos and the Clutter

  • Facebook
  • Twitter
  • Pinterest
  • Google Plus
  • RSS
  • Email
  • School at Home
  • Sensory
    • Sensory Processing Disorder
    • Awesome Sensory Play Activities
      • Sensory Bins
      • Sensory Bottles
      • Sensory Bags
  • Family Games
    • Minute to Win It Games
  • Special Needs Parenting
    • Childhood Anxiety
    • Reactive Attachment Disorder
    • Sensory Processing Disorder
  • Store
  • Course Login

Sharla Kostelyk

Fluffy Fish Slime

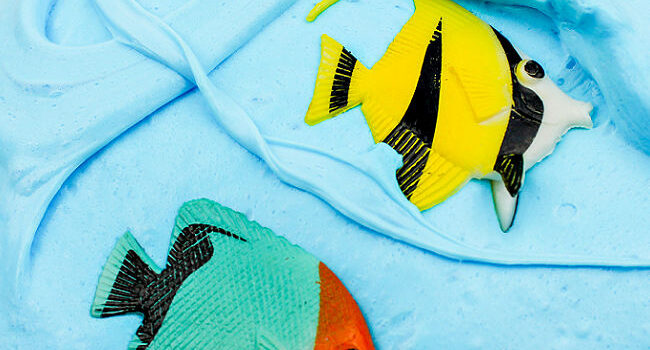
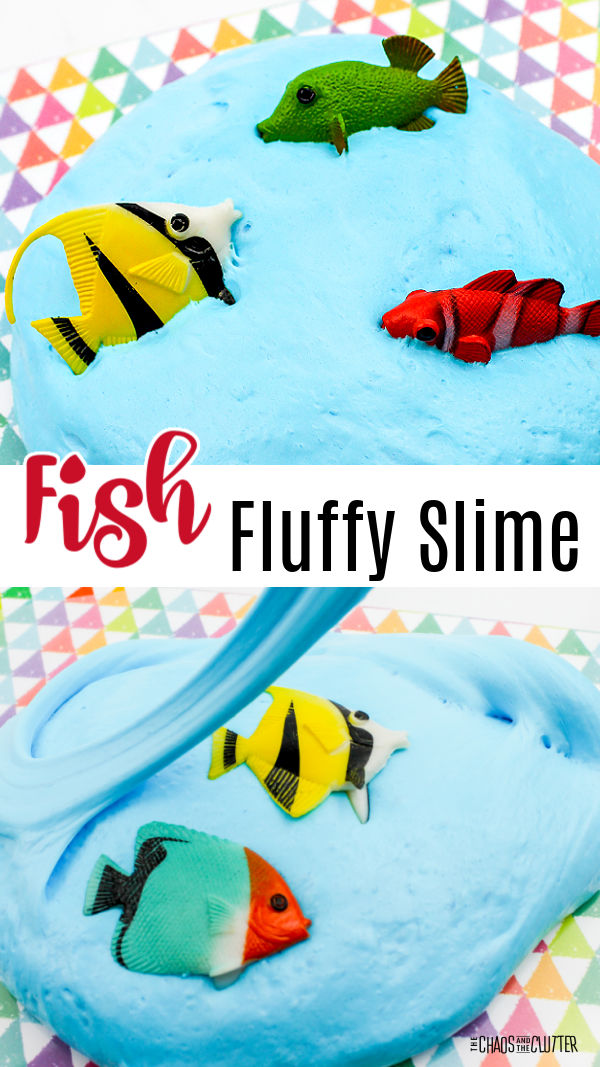
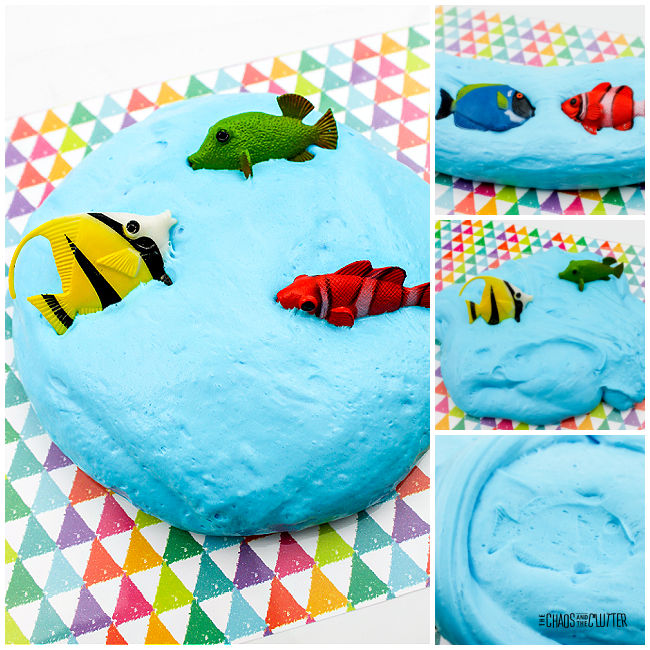
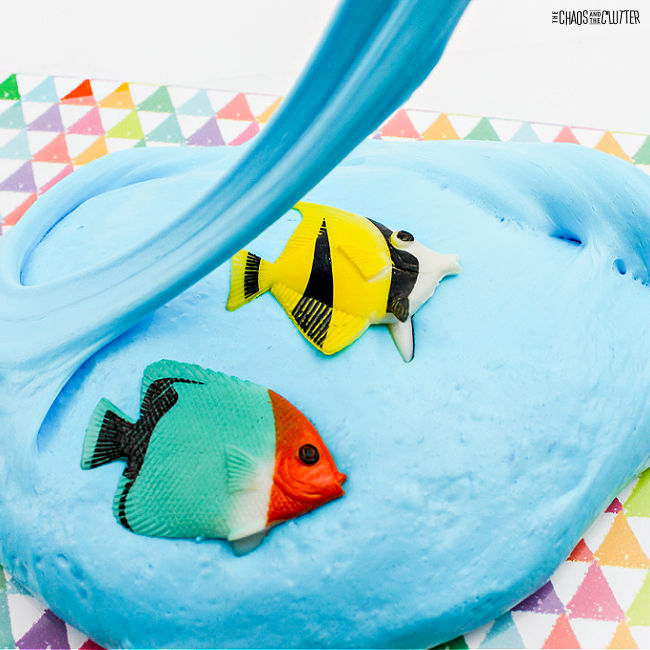
blue slime with a yellow toy fish and a green and red toy fish in it

By Sharla Kostelyk

  • Total7
  • Facebook0
  • Twitter4
  • Pinterest3
  • Mix
  • Yummly0

Pretend you’re playing underwater with this fluffy fish slime. The consistency of this fluffy slime lends itself well to imaginary play and the fish add another adorable element.blue blob with three bright coloured toy fish in it. Text reads "Fish Fluffy Slime"Slime is pretty popular in our house and fluffy slime is the favourite. Everyone loves the texture that the shaving cream gives to it. Plus, it’s got that really nice stretch to it.
Fluffy Fish Slime Recipe:

Supplies needed:

  • ⅔ cup white Elmer’s School Glue
  • 1 1/2 Tbsp. contact solution containing boric acid and sodium borate
  • ¼ cup water
  • ½ tsp. baking soda
  • 3 cups foaming shaving cream
  • 10 drops neon blue food colouring
  • mixing bowl
  • mixing spoon
  • fish toys
  • baby oil (optional)

blue slime with a yellow toy fish and a green and red toy fish in itDirections:

  1. Pour the glue into a large mixing bowl.
  2. Add in the water and mix well with a spoon (we find that a wooden spoon works well).
  3. Drop in the baking soda. Mix.
  4. Spoon in the shaving cream. Fold into the mixture and mix.
  5. Add the blue food colouring drops. Stir well until the slime is blue all over.
  6. Slowly add in the contact solution and stir.
  7. Continue to stir to get a fluffy slime consistency.
  8. Finish by kneading the slime with your hands. The slime is going to feel sticky at first. But don’t give up. Keep kneading! If you like, you can use a small amount of baby oil on your hands to keep the slime from sticking to you.
  9. After kneading for several minutes, the slime should be nice and fluffy!
  10. Add the fish toys and fold them into the slime.

collage of four photos of fluffy blue slime with toy fish in itAdult supervision should be used with this and all other sensory play activities. 
This engages the visual, proprioceptive, and tactile sensory systems, making it a great sensory play idea. You can find more easy ideas in our Sensory Play Recipes eBook.

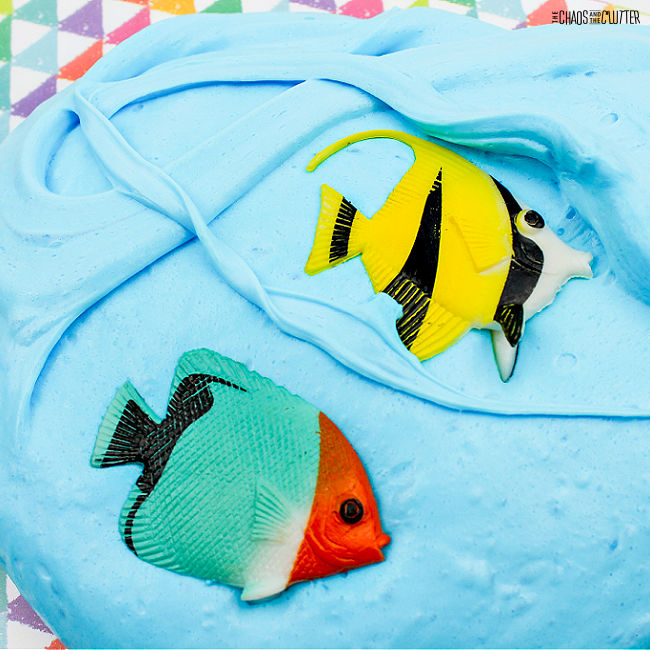
blue slime stretching up a bit with two toy fish in itBe sure to check out some of our other fluffy slime recipes. These ones are our favourites:
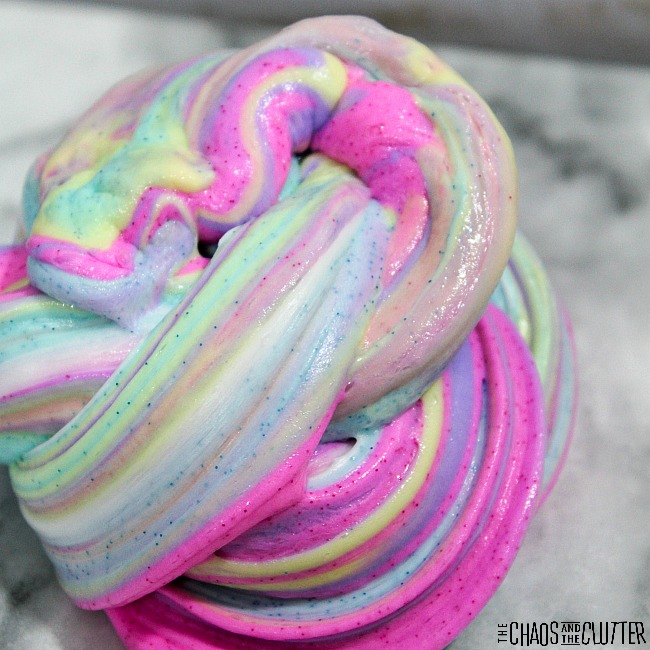
Unicorn Fluffy Slime

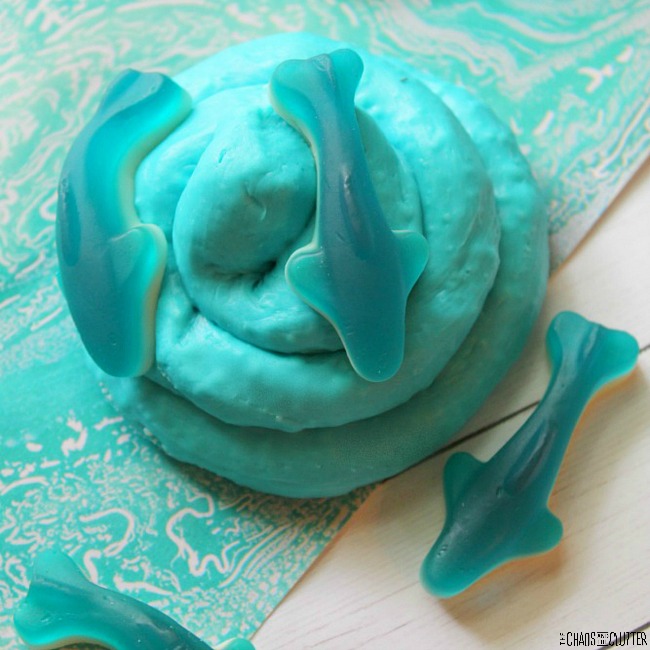
Edible Shark Fluffy Slime

Heart Fluffy Slime

  • Total7
  • Facebook0
  • Twitter4
  • Pinterest3
  • Mix
  • Yummly0

Filed Under: Crafts and Activities Tagged With: sensory play, slime

Replacing Teen’s Negative Self Talk Using Affirmations

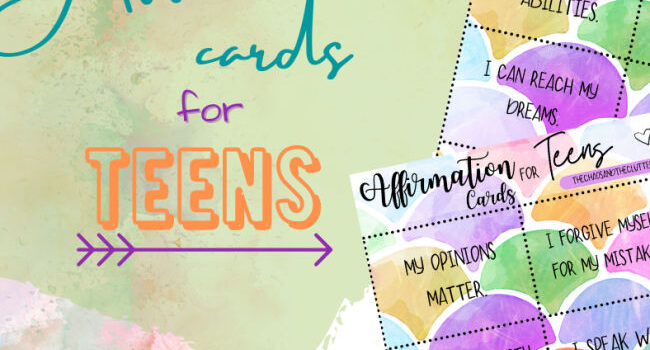
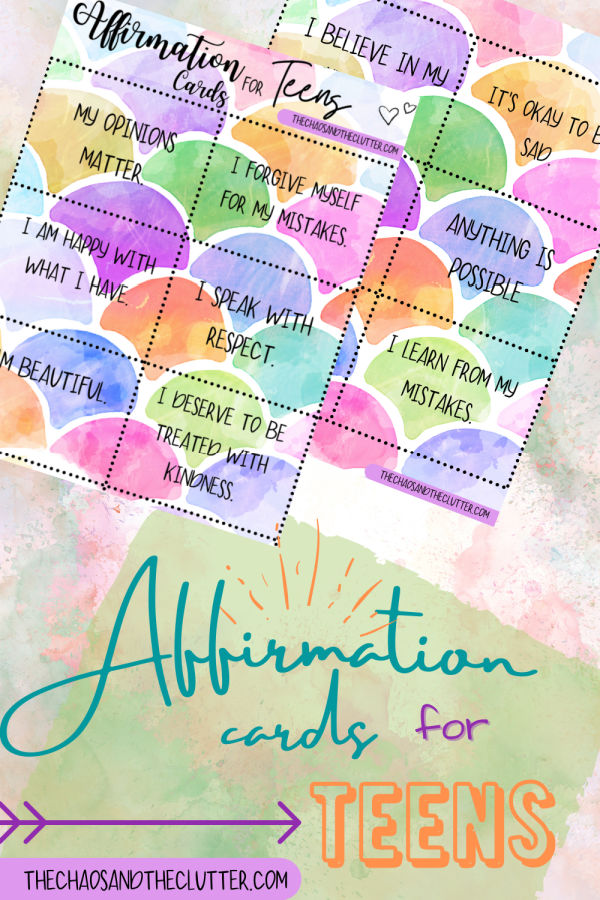
bright colours with positive inspirational messages written on cards

By Sharla Kostelyk

  • Total50
  • Facebook0
  • Twitter15
  • Pinterest35
  • Mix
  • Yummly0

Teens are under more pressure than ever before. The teen years have always been a time of rapid change. They carry with them the pressures of sports, part-time jobs, keeping up with family obligations, chores, and school while adulthood and the decision of what to “do with their life” looms ever closer. But teens are now also dealing with the challenges of social media and having every choice, outfit, and word live on forever online.bright cheerful colours displaying affirmation cards for teens The stresses are real. Teens often struggle with negative self-talk which can be a contributing factor towards low self-esteem and even depression. 
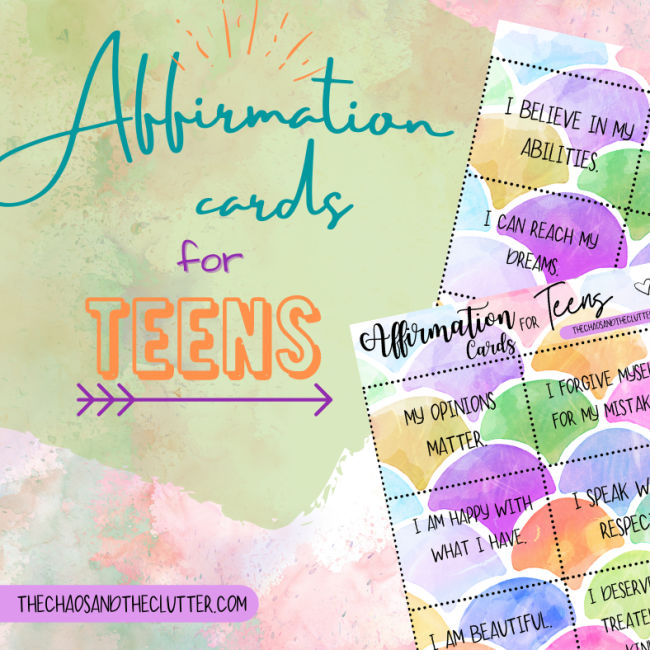
Affirmations can be centering and help encourage and inspire. 

They are not an automatic fix, but they can help change their mindset over time, especially when positive self-talk becomes a habit and begins to drown out the negative internal voices.

Speaking positivity into your child and teaching them to speak positivity into themselves can lead to more confidence and improved self-esteem.

Why use positive affirmations with teens?

Positive affirmations can also help to reframe negative self-talk into positive self-talk. For example the card, “I forgive myself for my mistakes,” can help someone who devolves into self-loathing and negative self-talk when confronted with a mistake. It can also help your perfectionist child work on opening themselves up to learning from their mistakes instead of working triple hard to avoid every mistake.

Affirmations can also help your child build their self-confidence. As they practice speaking these affirmations to themselves, they are reminding themselves that there is room for growth and that they are always changing, growing, and improving.

If your child is reluctant to use the affirmation cards, try modelling using the affirmations yourself. Let them hear you speaking them to yourself. You can also tape them up on bathroom mirrors, inside of kitchen cabinets, bedroom walls, and anywhere else your child can’t help but see them.bright colours with positive inspirational messages written on cardsAffirmations work with continuous practice over time, so the sooner they can get on board, the quicker they will see the changes in themselves.
You’ll find that these cards also help foster a growth mindset. 

Affirmations can help your child rework their negative self-talk and help them to build self-confidence to conquer all the challenges that they face in their walk through adolescence.

Today, I’m sharing these downloadable affirmations cards. They can be used with teens or for older children or even adults.

Get your free affirmation cards for teens. Simply enter your email in the box below. 

You may also be interested in reading:

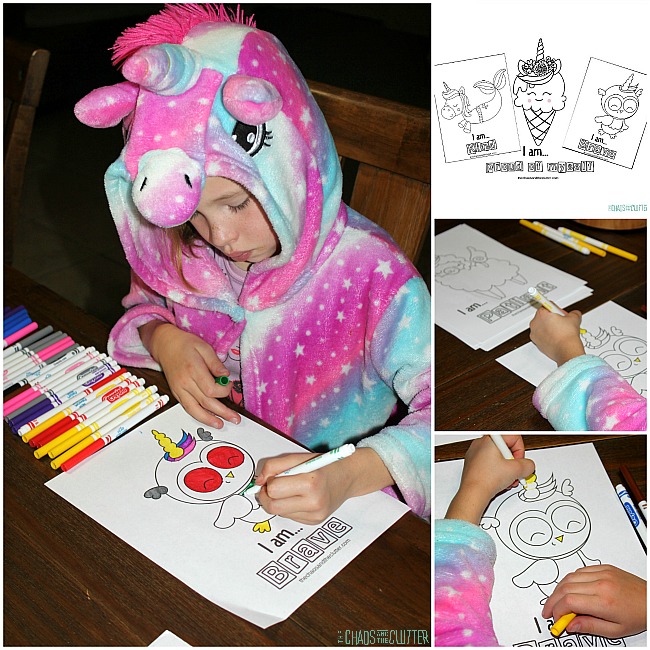
Unicorn Affirmation Colouring Pages for Kids (free!)Why Kids Need Positive Affirmations

  • Total50
  • Facebook0
  • Twitter15
  • Pinterest35
  • Mix
  • Yummly0

Filed Under: Parenting in the Chaos, Printables

Fun Alphabet Scavenger Hunt

icons and words next to checkboxes

By Sharla Kostelyk

  • Total12
  • Facebook0
  • Twitter4
  • Pinterest8
  • Mix
  • Yummly0

While worksheets and books are a great way to help your kids learn the alphabet, all that busy work can quickly get boring. That’s why it’s important to incorporate interactive learning into your curriculum. Active games are a great way to help your kids learn and play at the same time. With this fun alphabet scavenger hunt, your kids can practice reading letters and words while playing an entertaining game.icons with images and checkboxes next to themThis is such a fun way to learn! Our family has always enjoyed scavenger hunts. You can find all our favourites here. 

Alphabet Scavenger Hunt

Supplies needed:

  • Printable scavenger hunt pages
  • Pencil or dry erase marker
  • optional: plastic sheet protector or laminator if using a dry erase marker

Instructions:

  1. Download the printable scavenger hunt and print out the pages.
  2. Ask your child to find the items on the list.
  3. When they find an item, they can mark it off by putting a check or X in the box next to it.

Alphabet Scavenger Hunt Printable

This printable alphabet scavenger hunt is perfect for preschoolers who are just beginning to learn their letters or beginning readers in kindergarten. The printable scavenger hunt features each letter of the alphabet, along with a simple word and picture to correspond with each letter:

  • A for art
  • B for book
  • C for clothes
  • D for door
  • E for empty
  • F for furniture
  • G for gift
  • H for hard
  • I for ice
  • J for jar
  • K for kitchen
  • L for letter
  • M for move
  • N for nine
  • O for orange
  • P for pencil
  • Q for quiet
  • R for ring
  • S for soft
  • T for toy
  • U for up
  • V for vegetable
  • W for water
  • X for exit
  • Y for yard
  • Z for zipper

As they play, preschoolers can identify each letter and say the sound that it makes. After that, they can use the pictures as clues to help them determine what they need to find for each letter.

And Kindergarteners can read the letter and the word next to it to find each item on the list. The pictures next to each letter and word can provide context clues to help them figure out what each word says.

After identifying the letter and word they need to search for, your kids can start looking around their surroundings to find the different things on the list. When they find something, they can mark it off the list using the blank box next to each letter. After all the boxes are checked, the game is over. icons and words next to checkboxes

Scavenger Hunt Ideas

After printing out your scavenger hunt pages, your kids can have a blast learning and playing! Try these tips to ensure your kids make the most of their printable worksheets.

Laminate the pages to reuse them. Your kids can play the game over and over again if you laminate the pages. After printing the scavenger hunt, laminate each page. Then, let your kids use dry erase markers to check off the items when they find them. After the game is over, simply erase the marks so the pages can be used again.

Use a page protector. If you don’t have a laminator at home, you can still preserve the sheets for future use. Just place the pages in a plastic page protector. Your kids can use dry erase markers to check off each box. And you can erase the marks when they’re finished playing.

Discuss each letter and word before you start. When your kids start playing the game, they may get too excited to listen and think about the words on the page. Before you send your kids off the begin their search, it’s a good idea to go through each letter and word so they understand what they need to do. Give them a chance to read the letter and word, as well as look at the picture next to it. Then discuss different things they could search for that go along with the word and where they might be able to find those items.

Encourage creativity. This open-ended game is perfect for encouraging creativity with your kids. Make sure they know that the words for each letter can be interpreted differently, allowing them to find a variety of different items for each letter. The word art, for example, could be a picture, painting, or even an art supply.

Include older kids. While this game at a glance is for preschoolers and early readers, older kids can get involved so that the whole family can play. With older kids, just encourage them to think outside the box. Be creative. 

Take the hunt outside your home. There’s no reason your kids need to restrict their search to your home. You can take the printable hunt with you as you’re out and about. Try taking the pages to these places to give your kids a chance to search for new items on the list:

  • library
  • in the car
  • grocery store
  • doctor or dentist’s office
  • a walk around the neighbourhood

Change up the game each time. After your kids have played this scavenger hunt game once, you might think there’s no use in keeping the printable sheets and using them again. But there is a simple way to keep the game fresh each time you use it and challenge your children to think outside the box. Just tell them they can’t use the same item more than once. So, if they found their bedroom door for the letter D last time they played, that door is now off limits for the next round! This easy tactic will make the game more challenging each time your kids play, forcing them to use their critical thinking skills during each round.

Sign up below to get your free printable Alphabet Scavenger Hunt. 

Check out some of our other scavenger hunts:

  • Family Bundle of Scavenger Hunts
  • Road Trip Scavenger Hunt
  • Outdoor Sensory Scavenger Hunt
  • Backyard Photo Scavenger Hunt
  • The Put Away Scavenger Hunt

collage of photos where one item in each picture is in the wrong place

  • Total12
  • Facebook0
  • Twitter4
  • Pinterest8
  • Mix
  • Yummly0

Filed Under: Homeschooling, Printables

Simple Bugs Fun Hand Soap for Kids

soap dispenser with clear soap and blue and green plastic bugs in it

By Sharla Kostelyk

  • Total17
  • Facebook0
  • Twitter12
  • Pinterest5
  • Mix
  • Yummly0

By now, we all know how important hand washing is for our health. But getting your kids to wash their hands often is sometimes easier said than done. Instead of constantly reminding your kids to wash their hands, why not make handwashing fun? This fun bugs hand soap for kids will keep your kids engaged as they wash, ensuring they never forget to wash their hands again.clear dispenser with plastic toy bugs in it and clear hand soapIf your kids are struggling with some of the pandemic protocols such as wearing masks and frequent hand washing, this fun soap can make it a bit easier for them (and for you).

Bugs Hand Soap for Kids

Supplies needed:

  • clear container with push dispenser
  • clear liquid hand soap
  • plastic bugs
  • small blue and white beads

blue beads, hand soap dispensers, and plastic bugs

Instructions:

  1. Fill the clear container with hand soap, leaving around one inch of space at the top of the bottle to make room for the bugs and beads.
  2. Push the bugs into the bottle, then add the beads to the top.
  3. Place the lid on the bottle and tighten it to keep the soap from leaking out. Turn the bottle upside down to mix up the beads and bugs inside.

collage of photos showing putting plastic bugs in hand soap dispenser

Handwashing Tips

Placing this fun soap for kids near the bathroom sink is a great way to remind your kids to wash their hands more frequently. They’ll have a blast squirting bug soap on their hands!soap dispenser with clear soap and blue and green plastic bugs in it

And since we know how important having clean hands is to our health, it’s always a good idea to remind your kids about proper hand washing techniques. After you make your bugs soap, give your kids a quick lesson in hand washing so they wash their hands the right way every time:

Follow five simple steps. Start by teaching your kids the five steps, then demonstrate the best method for getting their hands clean. There are five basic steps for handwashing:

  1. Wet
  2. Lather
  3. Scrub
  4. Rinse
  5. Dry

Wash for 20 seconds. They key to killing germs is to wash your hands for at least 20 seconds. One fun way to count down the time while scrubbing is to sing a song. Singing Happy Birthday twice is a simple tune your kids are sure to know. Or you can make up your own hand washing song.

Scrub everywhere. Another important lesson to teach your kids is to scrub all over as they wash, including between each finger, along the top and bottom of the hand, and under the fingernails.

When should kids wash their hands? After learning how to wash their hands, your kids may be wondering when they should take the time to use their bug soap. The best answer is simply whenever their hands feel dirty. But if they’re still unsure, remind your kids that it’s always important to wash their hands:

  • after using the bathroom
  • before and after eating
  • after touching a pet
  • after coughing, sneezing, or wiping their nose

You might also like these fun bug sensory activities:

  • Bugs Sensory Bottle
  • Bugs Sensory Bin
  • Bug Action Cards for Kids
  • Total17
  • Facebook0
  • Twitter12
  • Pinterest5
  • Mix
  • Yummly0

Filed Under: Crafts and Activities Tagged With: sensory play

Printable Road Trip Scavenger Hunt

checkboxes and image icons for a road trip scavenger hunt

By Sharla Kostelyk

  • Total34
  • Facebook0
  • Twitter13
  • Pinterest21
  • Mix
  • Yummly0

When you’re headed on a road trip with your family, finding ways to keep your kids entertained in the car is essential. And one of our favourite ways to pass the time as we’re driving is by playing games. Car games are fun and educational because they keep your kids thinking on their toes, allowing them to use their critical thinking skills while having fun.checkboxes and image icons. Text reads "Printable Road Trip Scavenger Hunt"

As you’re planning your next road trip and finding activities for the car ride, don’t forget to grab this free printable road trip scavenger hunt for your kids to play while you drive.

Road Trip Scavenger Hunt Ideas

With this road trip scavenger hunt, you can create a fun game to keep your kids entertained during a car ride. In addition to providing your little ones with a fun way to pass the time, they’ll be learning as they play!

Since it features both words and pictures, this cute printable is great for kids of any age. Young children can check the boxes next to the pictures when they see something along the road. And older kids can practice reading as they look for items on their scavenger hunt list.

The list includes a variety of different things your kids will see as you travel. Whether you’re on a long road trip or just taking a drive to the grocery store, your little ones will love looking for different things along the road as they’re riding in the car.

This printed scavenger hunt is also great for including in a road trip gift basket. My brother and his family gave us a special gift basket before we went on our 22 day road trip across part of Canada and the United States with 6 of our kids in two. After that adventure, I would say that we are definitely road trip veterans!

The scavenger hunt printable includes 16 different common roadside elements for your kids to search for, including:

  • Road sign
  • License plates from three places
  • Cow
  • Bumper sticker
  • Bus
  • Billboard with a phone number
  • Barn
  • Tunnel
  • Bridge
  • Construction
  • Train
  • Fast Food Sign
  • Gas Station
  • Rest stop
  • Roof rack
  • Park

On top of keeping your kids off their screens for a little while, the best part about this fun car ride activity is that you can easily turn the game into a learning experience. Using the road trip scavenger hunt printable, you can help your kids practice their:

  • Observation skills. As your kids play, they’ll each be forced to look more closely at the world around them to find exactly what they’re looking for on their list. That can give your kids a chance to be more observant and aware of the things around them as you’re driving along the road.
  • Teamwork. Instead of playing individually, why not ask your kids to play together to find each item on the list? When your kids work together to find the items on the hunt, they can practice working as a team to accomplish a goal.
  • Memory skills. To quickly finish the game, your kids will need to remember a list of things to look for. As they mark items off their list, they will use their memory to recall other items they need to look for as you’re driving.
  • Reading and matching. Young readers will get a chance to practice their reading skills as they read through the clues on the list. But even if your kids aren’t old enough to read, they can practice their matching skills by matching the pictures on the list to the things they see out in the real world.

How Do You Do a Driving Scavenger Hunt?

A scavenger hunt is a fun adventure wherever you are. But if you’re driving in a car, you may be wondering how a scavenger hunt would work. When on a traditional scavenger hunt, you typically look around in different areas to find the items on your list. But when you’re doing a driving scavenger hunt, you simply stay in your car and mark things off your list as you see them.

One great way to play this fun game with your kids while you’re on a road trip is to print out a list of things to find, then let your kids check each item off as you’re driving. The game can be a competition among everyone playing to see who fills out all their check boxes first. Or it could be a group effort, allowing all your kids to work together to find everything on the list.checkboxes and image icons for a road trip scavenger hunt

Road Trip Scavenger Hunt

Supplies Needed:

  • Printable scavenger hunt for each child (download here)
  • Laminator or page protector
  • Dry erase markers

Instructions:

  1. Print out one scavenger hunt sheet for each child that will be riding in the car.
  2. Laminate each page or put each piece of paper in a plastic page protector so it can be used more than once.
  3. Pass out dry erase markers to each child in the car.
  4. As you’re driving, let the kids search for items on the list. When someone finds something on their page, they can place an X or checkmark in the box next to it.
  5. The first person to mark off everything on their list wins.
  6. If no one is able to finish their list by the time you reach your destination, the person with the most checkmarks on their page is the winner.

Enter your email below to get your free printable road trip scavenger hunt. 

You might also be interested in:

Road Trip Gift Basket

Minute to Win It Build Edition (LEGO Challenge)mother and daughter's hands play with building blocks

Opposite Day Ideascolourful Bingo and scavenger hunt sheets


  • Total34
  • Facebook0
  • Twitter13
  • Pinterest21
  • Mix
  • Yummly0

Filed Under: Parenting in the Chaos, Printables

Easy Easter Slime Recipe

slime that has coloured mini beads and small bunny toys in it

By Sharla Kostelyk

  • Total45
  • Facebook0
  • Twitter0
  • Pinterest45
  • Mix
  • Yummly0

Slime is fun to play with regardless of the occasion. Pull, stretch, knead, push, and play using this easy Easter slime recipe. This provides great sensory feedback while having fun.

hand stretches out white slime with bunnies. Text reads "Easter stretchy slime"Homemade slime is great for any occasion. In the video below, you’ll see just how easy it is to make this slime at home.

Easy Easter Slime Recipe:

Supplies Needed:

  • 1 cup Elmer’s Clear School glue
  • 2-3 Tbsp. contact lens saline solution
  • 1/2 tsp. baking soda
  • purple/pink, blue, and green metallic mini beads
  • Easter bunny erasers

supplies such as baking soda, clear glue, and saline solution for making slimeInstructions:

  1. Pour the glue into a large mixing bowl and stir the baking soda into it.
  2. Begin to add the contact lens solution a few drops at a time as you stir.
  3. When the mixture begins to pull away from the bowl, begin kneading.
  4. Add the beads. Continue kneading.
  5. Fold in some of the bunny erasers or offer them to your child to add to their sensory play.
  6. If the slime is still too sticky, add one or two drops more of contact solution and continue to knead.
  7. When you’re not playing with it, store it in an airtight container.

collage of photos of whitish slime with toy bunnies in itBe sure to use adult supervision with this or any other sensory play activity.

The slime created with this recipe is nice and stretchy. This activity offers tactile, proprioceptive, and visual sensory feedback. slime that has coloured mini beads and small bunny toys in it

Easter Slime Gift:

If you want, you can make this slime recipe as a gift. It’s great for adding to an Easter egg hunt or Easter basket. All you need to do is put the slime inside a medium or large size plastic egg and close it.

Check out some of our other Easter sensory activities:

  • Easter Fluffy Slime
  • Christ Centered Easter Sensory Bin
  • Easter Sensory Bottle
  • Easter Oobleck
  • Nature Inspired Easter Sensory Bin
  • Eggs and Carrots Easter Sensory Bin
  • Sensory Sound Eggs
  • Bubble Wrap Easter Eggs
  • Total45
  • Facebook0
  • Twitter0
  • Pinterest45
  • Mix
  • Yummly0

Filed Under: Crafts and Activities Tagged With: sensory play, slime

  • « Go to Previous Page
  • Go to page 1
  • Interim pages omitted …
  • Go to page 3
  • Go to page 4
  • Go to page 5
  • Go to page 6
  • Go to page 7
  • Interim pages omitted …
  • Go to page 164
  • Go to Next Page »

Primary Sidebar

Categories

We are a participant in the Amazon Services LLC Associates Program, an affiliate advertising program designed to provide a means for us to earn fees by linking to Amazon.com and affiliated sites.

Copyright © 2023 • The Chaos and the Clutter • Site Design by Jeni @ The Blog Maven

Return to top of page

Copyright © 2023 · Chaos and the Clutter 2.0 on Genesis Framework · WordPress · Log in