If you are looking for a fun and easy ocean craft you can do with household supplies you already have, try bubble painting a fish and a turtle with your kids. This exciting process art activity engages your kids in a rich sensory experience that also inspires creativity. It’s simple to do and works for all ages, as long as the artist can blow through a straw.

A win-win activity, bubble painting provides gustatory (oral) sensory feedback, helps increase fine motor skills and hand-eye coordination, stimulates the imagination, while delighting your kids at the same time. When finished, your child will have a unique work of art to enjoy.
Supplies for the Bubble Painting Fish and Turtle
- Small Cups. Disposable cups make clean-up easier.
- Bubble Solution. You can use a store-bought mix or make homemade bubble solution (leave out the essential oils from this recipe for this activity.)
- Green and Blue Food Coloring.
- Straws.
- Thick White Paper. The kind meant for watercolor or mixed media would be good.
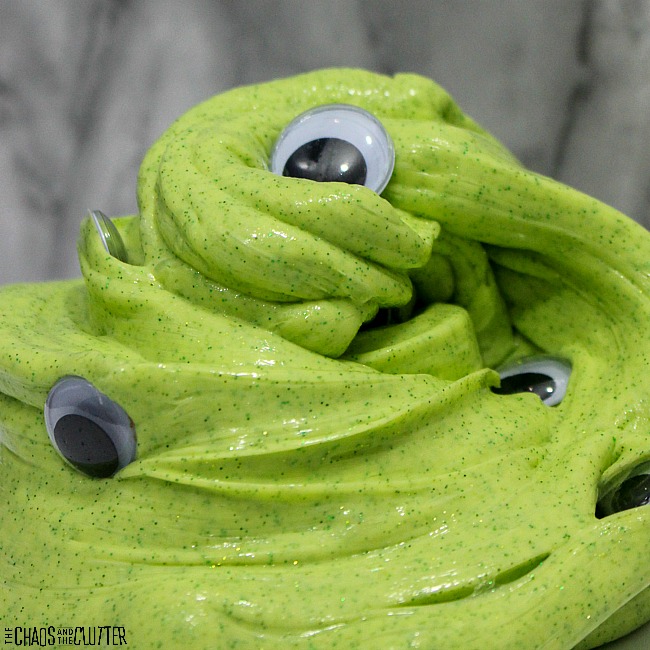
- Googly Eyes or Stickers. Googly eyes that have a sticker backing are just as great for fine motor skills as the type you have to glue, and are a little less aggravating.
- Markers or Crayons.
- Scissors. To cut out the fish after you are finished. You could then make it into a magnet, use it it as a gift tag, etc.
- Art Tray. I love these handy trays to keep all the mess contained. You can also use a plastic tablecloth, old newspapers, etc.
Instructions to make a Bubble Painting Fish or Turtle
- Fill cups 1⁄2 way with bubble solution
- Add 3-5 drops food coloring into each cup
- Place cardstock into tray
- Hold cup with bubbles over the paper
- Blow into each cup through a straw, allowing bubbles to spill over the cup and onto the paper
- Immediately pat dry.
- Once dry, add googly eyes.
- Color the outlines of the animals using markers or crayons.

Tips for the Best Bubble Painting Experience
I’ve been doing bubble painting with my kiddos since my oldest were little, and I have some tips to make things easier and better all around.
Do not use paint with younger kids. Use food coloring, because it is taste safe in the event this mouth-centered activity goes a little awry.
Throw the mess away. I recommend using disposable straws, and not a reuseable straw since it will be tricky to get the paint washed out.
Thin as needed. If the bubble solution is to thick to blow easily, just add a little water at a time till you get the perfect viscosity.
Wear old clothes. Because you need to use food coloring, getting stains out of clothing might be tricky. You probably will be able to get stains out, but it might be more trouble than it is worth if you can find paint clothes that don’t matter.
Take it outside. The easiest way to contain the mess is to do the whole project outside where it can be washed away when you are finished.
Poke a hole. If you make a hole or slit in the straw about one inch below the top, it will help prevent sucking the liquid up into the mouth. This is not foolproof, but it helps.
Important Note: Only do this activity with kids who are able to blow through a straw without sucking up the bubble mixture.
Variations for this Activity
Experiment with paints and colors. If you have older kids with little to no risk, you can experiment with different types of non-toxic paints for a more intense color and different effects. You can combine different colors and see what happens if bubbles are dipped into two different colors.
Different Tools. The size of the straw can change up the results. Your child might also enjoy using a bubble wand instead of a straw.
Use different bubble solutions. Each bubble solution is different. Some make big bubbles and some make tiny bubbles. Some make super strong bubbles and some are just normal. You can find all kinds of recipes on the internet to try, or you can just buy a bottle at the local store.
Make it a print. Instead of overflowing bubbles onto the paper like we did, you can instead fill up your art tray with bubbles and then press paper down onto the bubbles to make a print.
Try the blowover method. Take the paper outside and blow the bubbles onto the paper using a bubble wand.

What to Do With Your Bubble Paintings
Once you have the little fishies or turtles painted and drawn, you can cut them out. Then, you can glue magnets on the back to make refrigerator magnets or a magnet fishing game. You can use them on notecards. They can be hung on a mobile or straight on a wall. Fish and turtles can be used to decorate containers, classrooms, posters, and more! They could even be turned into ornaments.
Frequently Asked Questions
I have a toddler. Can we enjoy bubble painting?
Yes. As long as your child can blow through a straw and isn’t likely to suck through the straw, you can have fun with this activity. Your toddler will be captivated by all of the swirling, poppable color.
I have a tween. Is bubble painting worth it?
Yes. Older kids and adults will enjoy experimenting with different techniques, effects, and ideas to come up with even more creative bubble art.
Why should I care about doing process art with my kids?
Process art is all about the experience. Its not about the end result at all — there is no judgement. Your child is free to explore and become captivated by the experience without fear.


 This sensory experience inspired by the unique world of Beetlejuice would also be a great addition to your classroom or party. It’s made with simple items that can often be purchased at a dollar store such as the Dollar Tree.