• Skip to primary navigation
  • Skip to main content
  • Skip to primary sidebar
  • Home
  • About
  • Contact
  • Privacy + Terms
  • Affiliates

The Chaos and the Clutter

  • Facebook
  • Twitter
  • Pinterest
  • Google Plus
  • RSS
  • Email
  • School at Home
  • Sensory
    • Sensory Processing Disorder
    • Awesome Sensory Play Activities
      • Sensory Bins
      • Sensory Bottles
      • Sensory Bags
  • Family Games
    • Minute to Win It Games
  • Special Needs Parenting
    • Childhood Anxiety
    • Reactive Attachment Disorder
    • Sensory Processing Disorder
  • Store
  • Course Login

Sharla Kostelyk

Garden Sensory Bin

By Sharla Kostelyk

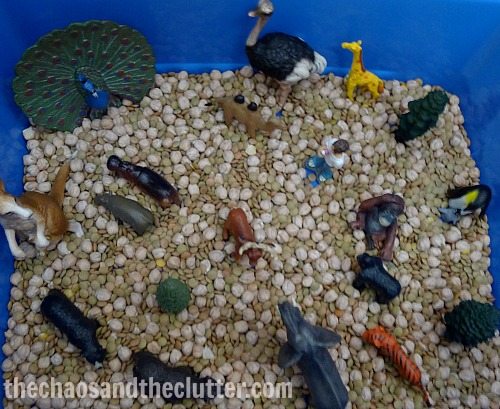
The kids are interested in learning about gardening right now because we are reading The Secret Garden and they are fascinated by it. Their current interest has been further peaked by Snuggle Puppy’s science fair project on plants. Given this, I thought this would be a good week to make a Garden Sensory Bin.

garden sensory bin in pail

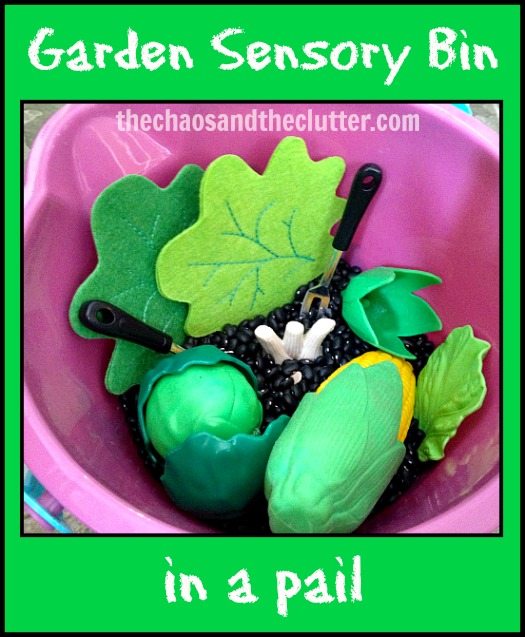
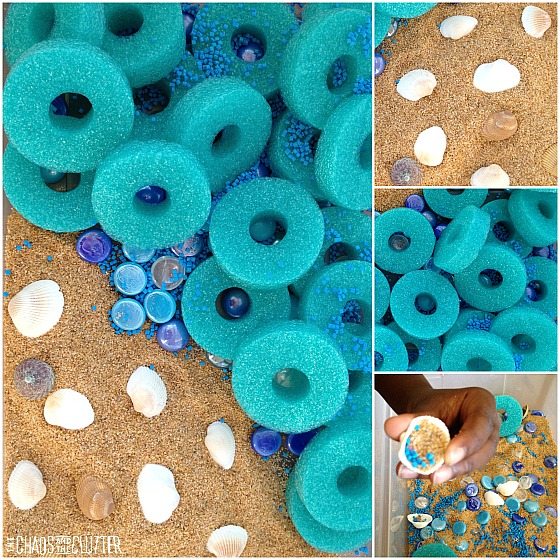
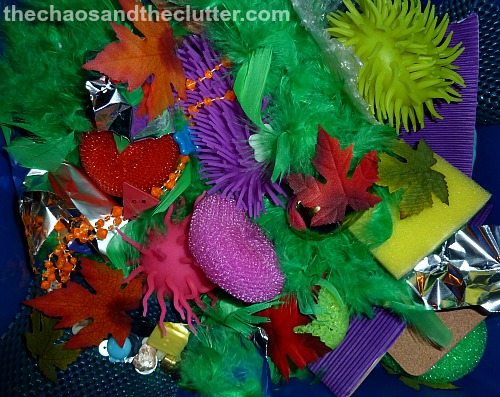
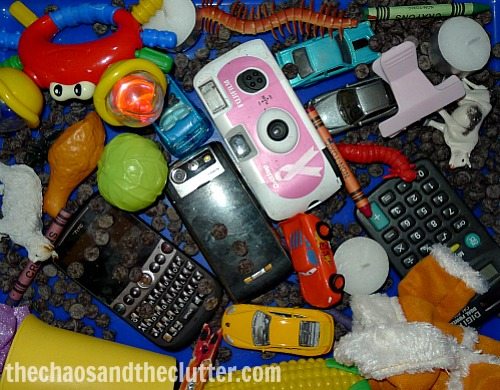
I used only what I had around the house although I had so many ideas of what could have gone into this (gardening gloves, seed packets, mini watering can, etc.). What I ended up using was a pail filled with dry black beans to look like dirt, a few small utensils for scooping and digging, and some felt and plastic vegetables. A little tip: because the pail was deep, I wadded up a few paper towels and put them at the bottom so that I wouldn’t have to use so many black beans.

IMG_1221

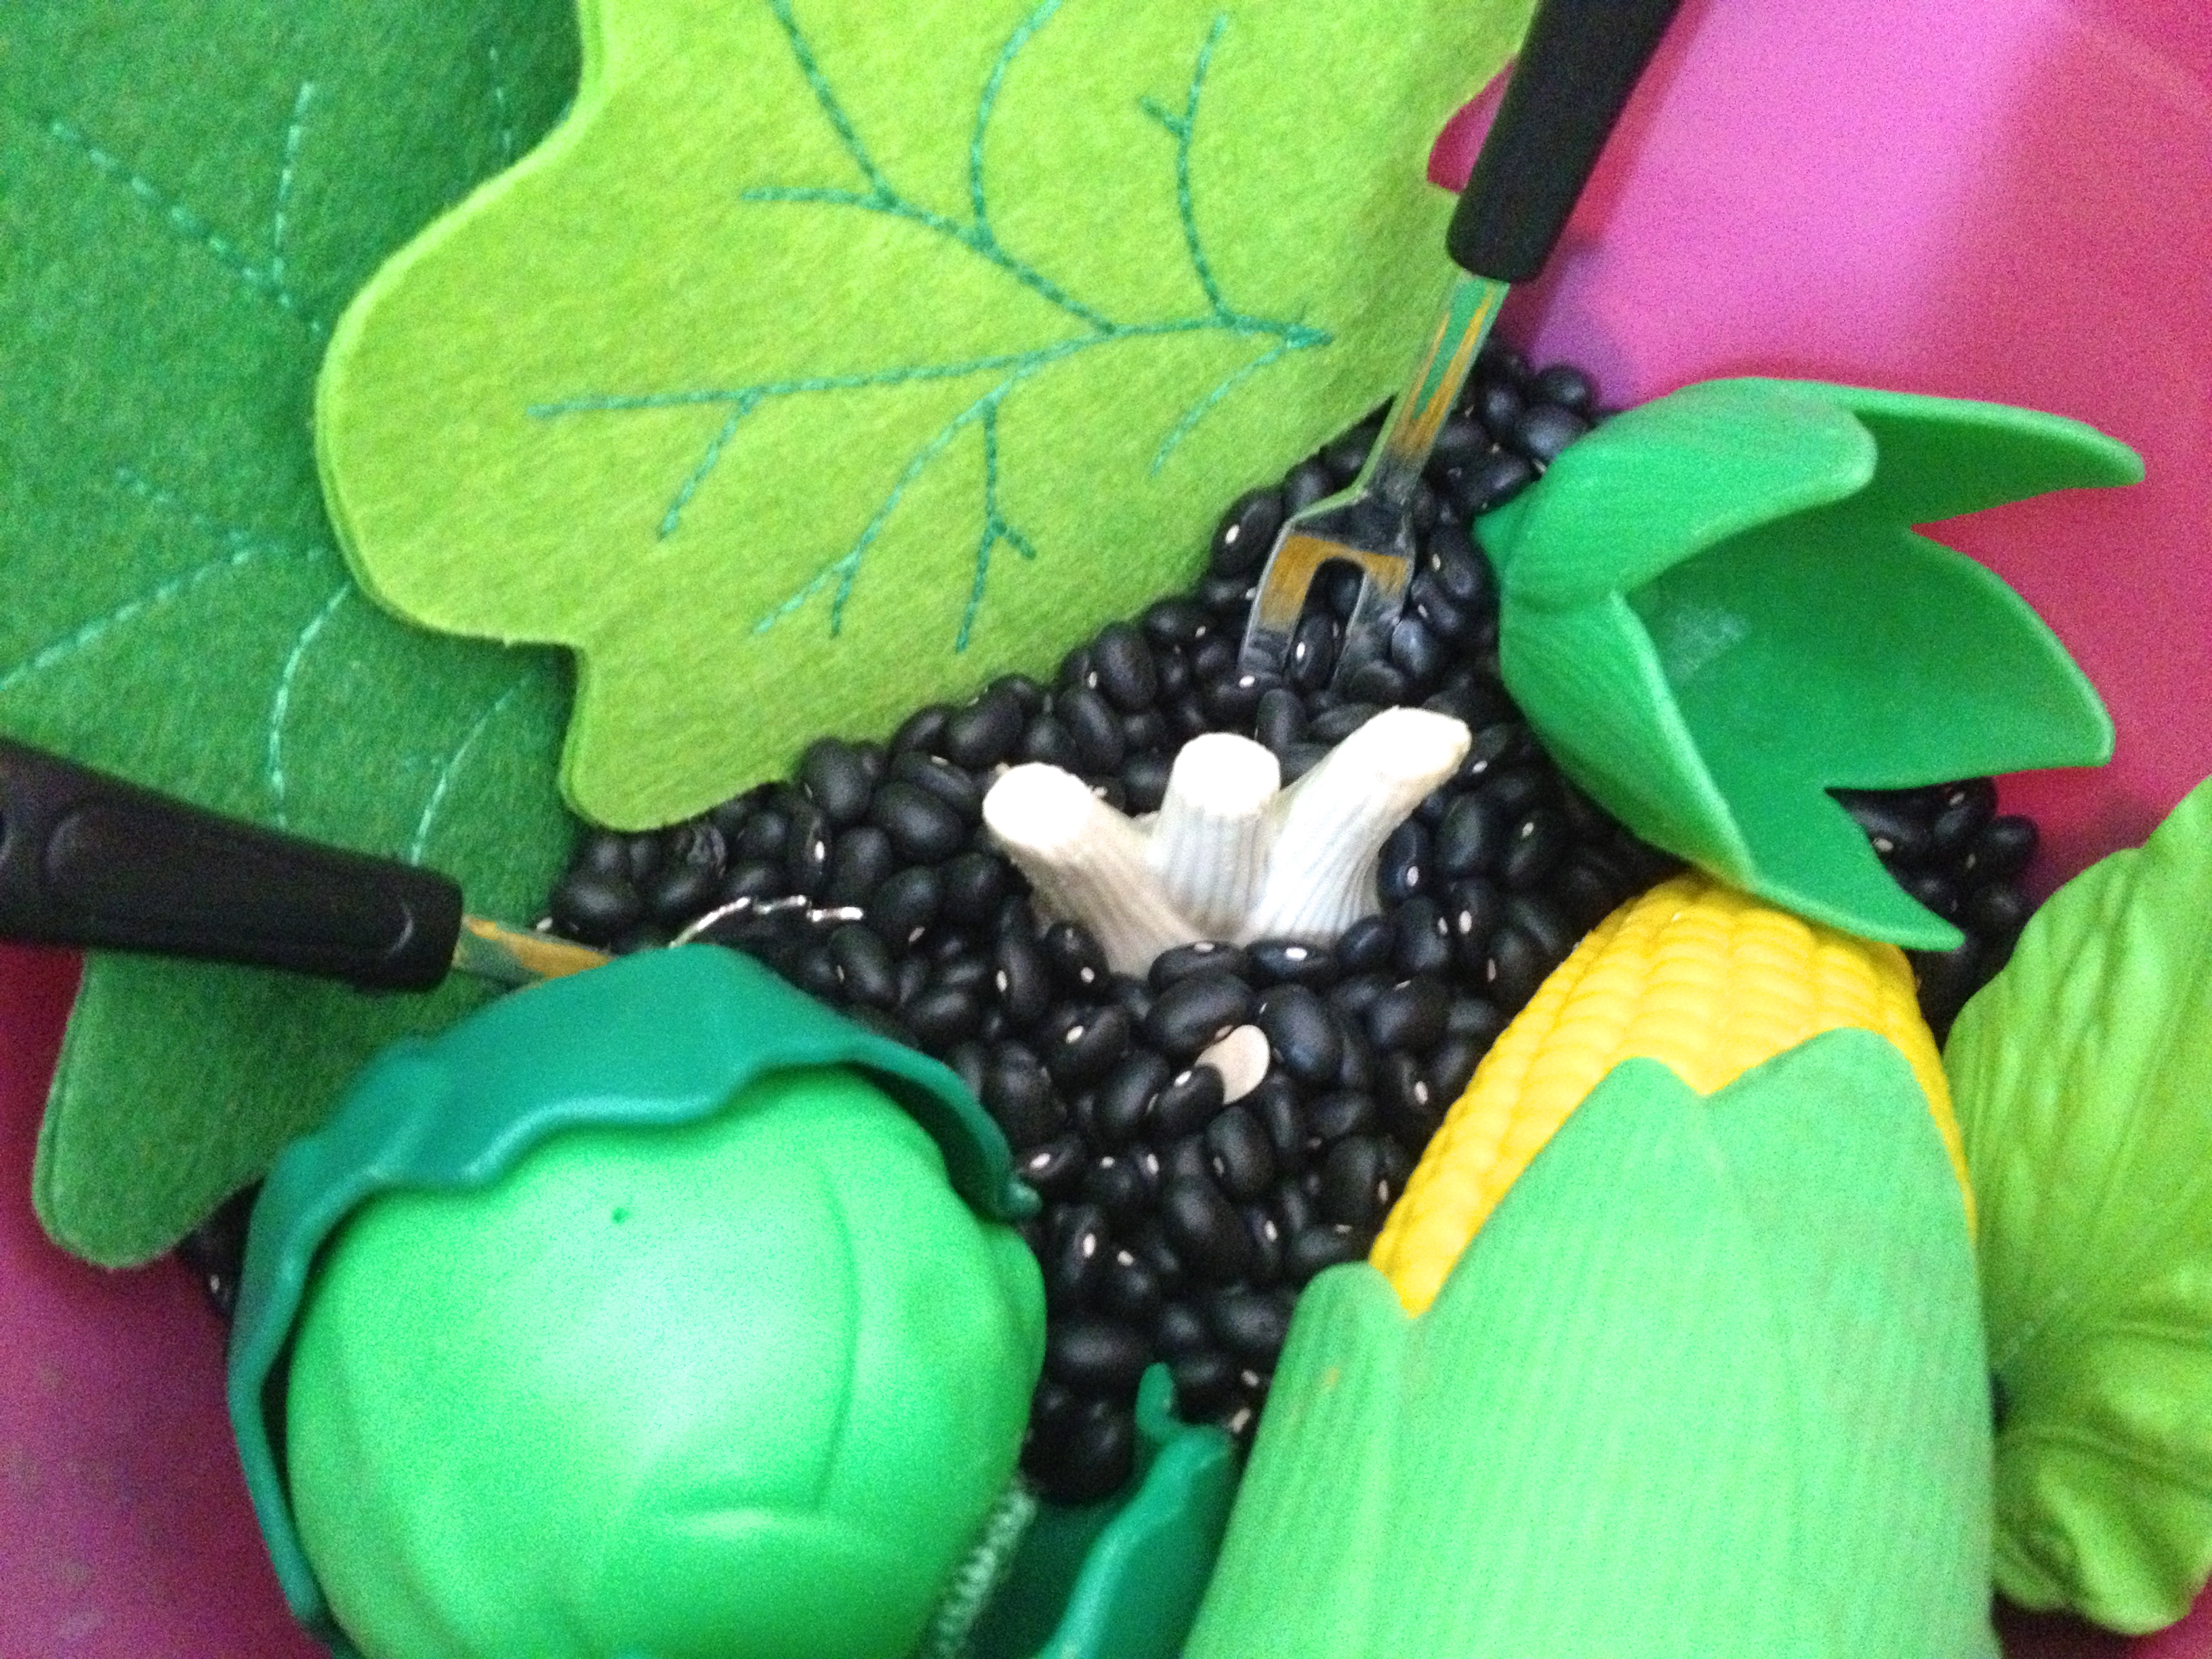
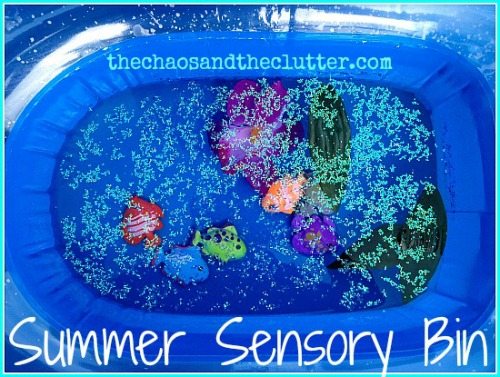
The reason I chose to make this bin in a bucket is that I thought it would be fun for the kids to be able to bring it out on the deck on warmer days to play with it out there. The kids are excited to dig in!

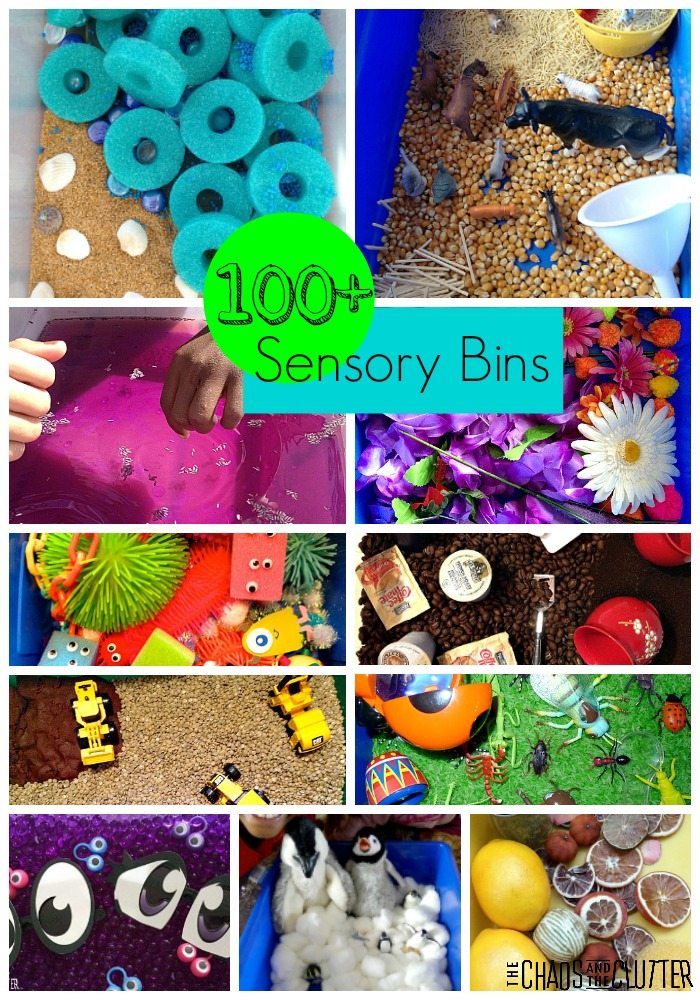
If you are looking for more sensory ideas or information, you may be interested in my book and by following my Sensory Bins board on Pinterest.

The Ultimate Guide to Sensory Bins

Filed Under: Sensory, Sensory Bins Tagged With: sensory bin, sensory play

Family Fun Night- Just for Laughs

By Sharla Kostelyk

Family Fun Night for Laughs - the Bag Game, the Flour Game and a very creative way to eat spaghetti!

Our family fun nights are such a huge hit with the kids! They are great for encouraging bonding and for creating lasting memories. We’ve had quite a number of Family Fun Nights over the years and I never thought any I could create would ever top our Minute to Win It Family Fun Night, but I was wrong! This one was even more fun and got us all laughing. It also was about half the work to prepare!

Most of this fun night can be put together with things you already have around the house. There are a few extras that I bought that added to the goofiness factor, but the activities could be done without spending any money.

Decorations. I used a bright plastic tablecloth that I could easily wrap all the garbage in and throw out at the end of the night. I knew that the activities were messy and it was worth it to buy the tablecloth to avoid the clean-up!

For the centerpiece, I used a clown hat and a whoopee cushion. They both got a fair amount of use later in the evening and in the days to come!

fun party table

I also set lip pops and goofy glasses at each place setting and set out a trick drink for everyone (I explain how to make those below).

fun party place setting

For The Husband, I set out a really funny pair of glasses with wind-up moving eyebrows and moustache. We also gave The Husband stick-on sideburns! The funniest part was that his hair is so light so the black sideburns looked really out of place!

funny husband

Food. I made trick drinks by filling clear plastic cups with red jello and inserting a bendy straw into each before the jello set. They look just like juice ready to drink and they fooled almost everyone! They tried awfully hard to suck up their juice.

trick drinks

I made coloured popcorn for a snack but it was a flop. I followed the recipe but it was a soggy ball of yuck!

For supper, I made spaghetti because I needed a messy meal to pull off the next activity…

Activities. I put all of these utensils in a bag:

IMG_1045

I then wrote silly names on index cards like “the Forkinator”, “Whirlwind”, “Double Trouble” that pertained to each one. When I read the names, people chose the one they wanted and I reached into the bag and handed them the utensil they had to eat supper with! In other words, there were no forks at dinner. Everyone had to eat their spaghetti with their utensil.

creative spaghetti eating

The Flour Game. This game is perfect for playing with a group with wide age ranges. Toddlers could play and so could grandparents, so it would be great for family reunions or holiday parties.

All you need for this is flour, a bowl, a lifesaver or coin and knife.

Pack a bowl with flour. Stick a plate on top of the bowl and carefully tip it upside-down so that you create a mound of flour. Put a lifesaver (or coin) on the top. Everyone takes a turn cutting the flour until the lifesaver falls. The person that knocks the lifesaver off has to retrieve it with their mouth.

The Flour Game

The Bag Game. My neighbour Christie taught us this fun game. This time we played it with a bit of a variation though. For the bag game, all you need is a large brown paper bag (or you can use an empty cereal box) and a willingness to play.

Standing on one foot, you must retrieve the bag with your mouth. You then have to tear off the bit of the bag that your mouth touched so that slowly, the bag gets lower and lower to the ground. Since we have a variety of ages in our family, we gave the littlest ones three strikes per turn and the rest of us had three strikes that carried through from round to round. After a long and hilarious competition, Einstein came out victorious!

The Bag Game

Extras. I had made some videos on JibJab starring members of our family and we sat down and watched the videos and laughed as comedic versions of ourselves danced, skied, sung, and rollerskated on the screen! I gave everyone funny glasses (with attached noses) to watch the videos with. After we tucked the younger kids into bed, we played a card game (Canasta) with The Ferrari and Fred and had some more laughs.

If you are looking for other ideas of things to do to create those lasting memories, here are some of our other family fun nights:

Red Carpet Premiere
Titanic Dinner
Minute to Win It

Filed Under: Crafts and Activities

10 Steps in Advocating for Your Child

little girl reaching out her hand

By Sharla Kostelyk

Parenting a child who is ill or who has special needs is a difficult job.  One of the most important parts of that job is advocacy.

Advocating for your child’s medical, educational or emotional needs is critical in order to get them the best treatment and quality of life possible. Children with a disability or illness need someone in their corner who is able to give them a voice and as their parent, this has to fall to you. Here are TEN important factors in child advocacy:

how to advocate for your child

How to Advocate for Your Child:

Research.

Finding out that your child is sick or having them diagnosed with a disability is overwhelming for any parent. Once you are over the initial feelings of shock, sadness, anger, and helplessness, it is important that you arm yourself with knowledge. Knowledge is power. The feeling of helplessness will lessen if you are doing something to help your child and research is the first step.

Get to know the language surrounding your child’s condition. There is nothing scarier than hearing professionals discuss your child and not being able to understand what they are saying. Learning the vocabulary will not only help you understand them, but will also enable them to share more with you and involve you in your child’s case.

In researching your child’s condition, the internet can be a tool, but it is important to note that not everything you read on the internet is true. Anyone can write anything on the internet. Be sure to cross reference what you learn on the internet with medical journals, books in the library, and with your child’s physician.

Misinformation can be scary, so be sure that what you learn is accurate. Many parents are afraid of what they will find if they research their child’s diagnosis and therefore skip this step, but you cannot advocate effectively for your child unless you understand as much as possible about their condition, the treatment, and anything else that could affect the outcome.

Choose a good doctor. 

When our daughter Miss Optimism’s health started to decline a number of years ago, after doing some initial research about her condition, I began searching for the best doctor possible. I asked friends of mine who were nurses. Then asked people who knew people who had children with similar conditions. I asked other doctors. I researched online.

One name kept coming up everywhere and I knew that he was the doctor we wanted in our corner. Now, years later, I have never regretted that decision. My only regret was in not actively looking for the best doctor specializing in her condition sooner. She spent two years with a Specialist who was not the best and who did not truly care, and it caused additional stress in an already stressful situation.

If you are not happy with the quality of care your child is receiving, do not be afraid to look for another physician. Also NEVER BE AFRAID TO ASK FOR A SECOND OPINION!

Ask questions.

Don’t be afraid to ask questions. If there is something in the plan for your child that you do not understand, ask. Ask about side effects of any medications or treatments. Inquire about alternative treatments. Ask about the research behind things and the reasoning behind decisions.

Stay current.

Continue to research as medical breakthroughs are occurring all the time. Stay abreast of the latest research.

One caution here though is to pick and choose which of those you present to your child’s physician. If you are coming into the doctor’s office every week with a new alternative treatment that you want them to try, you will quickly be dismissed.

If, however, you sift carefully through all the information that you uncover and present what you consider to be the very best ideas, you will be given more respect and taken more seriously.

Remember that what works for one child does not always work for another. 

Keep important documents with you at all times.

Each child’s situation is unique and the documents will differ, but you should always keep a list of the medications your child is on as well as the dosage for each, important contact information for their physician, emergency contact numbers, and copies of any papers that outline the child’s condition. You may also need to carry things such as insurance papers.

You may not think that you need to carry these lists as you know your child’s medications, but if there were ever to be an accident and you were unconscious while your child were being transported to the hospital, this information could save your child’s life. Also, in situations of extreme distress such as if your child were to stop breathing, it may be impossible for you to remember the dosages of their medications.

In our daughter’s case, I have a letter from her Specialist that I carry with me everywhere. As her condition is rare, I have had to take this letter out several times at the hospital when they were going to release her as they did not understand the seriousness of the condition.

As her mother, I was trying to advocate for her, but doctors tend to assume that parents overreact and were in the habit of not listening to me until her Specialist provided me with this letter. Once I pull that letter out, action is taken immediately and apologies are usually made. Her physician is so highly respected that his name alone carries weight and his instructions are taken very seriously. Having this letter saved our daughter’s life just last year.

We also have a letter that we carry with us when we travel and I carry insurance papers and a list of her medications. I did not used to carry the list of medications, but last year when we had a bad scare, I was so panicked that I could not remember even the most basic things in the Emergency room.

Follow your gut.

Doctors and nurses have years of medical training, but you know your child best. If you know that something is not right, follow your intuition as a parent. If you are turned away or dismissed, continue to pursue it. Many children’s lives have been saved thanks to a parent who followed their instincts. I cannot stress this one enough. You are truly the expert when it comes to your child.

Ask the doctors “what would you do if this were your child?”  

When faced with making a decision about treatment options for your child, do as much research as you can, but also ask this question of the people treating your child. Their answer may help you determine what to do.

Never be afraid to stand up for your child.

There is likely no one on this Earth who loves your child as much as you do. Your child needs you in their corner ensuring that all is being done to care for them in the best and most effective way possible. If you are not happy with something, never be afraid to speak up.

The stakes are high. Remember that any parent in your position would fight to see that their child was cared for.

Take care of yourself.

Caring for a sick child or a child with a disability is exhausting and time consuming, all consuming really. If you do not take care of yourself though, you will not be able to take care of your child. If you get run down and sick, things for your child will only get worse.

Give yourself permission to pamper yourself even with little things such as a hot cup of tea. As living under the strain of a chronically ill, terminally ill, disabled, or special needs child is emotionally taxing, consider therapy for yourself.

If therapy is not something you can afford financially or with the time it will require, even just journalling your feelings will help. Acknowledge to yourself that the position you are in is a difficult one and try to make time for things that bring you pleasure.

Our free self-care plan can help you determine which things work best for you. You can complete it and hang it somewhere you will see often. Then even when you have one minute to yourself, you will be reminded of the things you can do in that minute that help refresh you.

printed sheet on a fridge held by magnets

Ask for help.

No one should ever do this alone. There may be friends and relatives who are standing by feeling helpless about the situation. People want to help. It will make them feel like they are actually doing something if you give them suggestions.

Ask for people to bring meals to your family, to help with your other children, to do housework, yard work, or anything else that will free up your time and energy to be able to better care for your sick child. If your family is failing financially under the weight of medical expenses, ask someone close to you to organize a fundraiser.

Parenting is a challenging job already but parenting a child with medical needs or other special needs can put too much strain on any family. Ask for help. If you do not have family or friends living close-by, reach out to your church or community agencies and ask what help they may be able to provide.

It may help to send them our suggestions of how to help a family whose child is in the hospital.

Join me for a free 5 part email series, Little Hearts, Big Worries offering resources and hope for parents.

Filed Under: Special Needs Parenting

Our Best Sensory Bins

Our Best Sensory Bins

By Sharla Kostelyk

Sensory bins are a wonderful tool for use not only with special needs children, but also with toddlers, preschoolers and school aged kids. They can be used at home, in daycares, preschools, camps, homeschools, and classrooms. They can even be created to be portable and taken on trips.

Sensory bins need not be expensive or time consuming to make. So much learning, discovery and excitement can take place as a result of allowing your child or student to explore them.

Sensory bins are a big part of things for us around here. I thought it might be helpful for you if I put all of our most successful sensory bins in one place so that it’s easy to access. I will continue to add the kids’ new favourites as we make them.

Our Best Sensory Bins

For instructions on how to create a sensory bin, information about why they are so beneficial for children, relevant recipes, printable idea lists and more, get your copy of my ebook Sensory Bins: the What, the How & the Why.

You can click on any of the pictures or titles to go to each specific post and get details on what is in each bin and how I put them together.

Our Best Sensory Bins:

Seaside Sensory Bin using cut up pool noodles and a base of sand 


Dollar Store Sensory Bin and ideas for other inexpensive sensory items

dollar store sensory bin

Penguin Sensory Bin made especially for Granola Girl’s love of penguins

penguin sensory bin

Christ-centered Easter sensory bin featuring Resurrection Eggs

Christ-centered Easter sensory bin

The Calming Lavender Sensory Bin is simple and wonderful.Lavender Sensory Bin

Our Coffee Sensory Bin uses actual coffee ground and beans to create an olfactory experience. coffee sensory bin

Valentine’s sensory bin in red, white and pink

Valentine's sensory bin
Winter sensory bin with many textures

Winter sensory bin

Zoo sensory bin using dry chickpeas and lentils as a base

Zoo Sensory Bin

Thanksgiving sensory bin including scented candle

Thanksgiving sensory bin

Puzzle sensory bin for Autism Awareness Day

puzzle sensory bin

Birthday party sensory bin for our birthday theme unit

Rainbow sensory bin which was obviously colourful and was one of the kids’ all-time favourites!

rainbow sensory bin

Pirate sensory bin complete with eye patch

pirate sensory bin

Spring sensory bin with rice dyed green as a base

Spring sensory bin

Magnet sensory bin with worksheets

magnet sensory bin

St. Patrick’s Day sensory bin

St. Patrick's Day green sensory bin

Knights and kings sensory bin fit perfectly with our history studies at the time and with the letter “K” theme

knights and kings sensory bin

Ice Cream sensory bin – if I were to do this one again, I would add some pompoms to add some variety in texture, but the kids did have hours of fun with this bin

ice cream sensory bin

Horse sensory bin using hamster shavings

horse sensory bin

Gingerbread sensory table with scented gingerbread play dough

gingerbread sensory station

Fall (autumn) sensory bin made using popcorn seeds as the base

Fall sensory bin

Dinosaur sensory bin with triceratops bones for the kids to assemble

dinosaur sensory bin

Bugs sensory bin made a great introduction to learning about bugs and exploring outside

bugs sensory bin

Sensory bin for the letter “C” using things from around the house including chocolate chips just for fun

sensory bin for letter C

Frog sensory bin using dyed dry pasta as a base

frog sensory bin

I Spy sensory bin using dry black beans as a base with a corresponding list of items for the kids to find

I spy sensory bin

Garden Sensory Bin in a plastic pail

garden sensory bin in a pail

Summer Sensory Bin in a small inflatable boat

Summer Sensory Bin

Frozen Treasure Find made by layering items and water and freezing in batches in an ice cream pail

frozen treasure sensory findMonsters Sensory Bin using pompoms as a base

Colourful Monsters Sensory Bin

For instructions on how to create a sensory bin, information about why they are so beneficial for children, relevant recipes, printable idea lists and more, get your copy of my ebook Sensory Bins: the What, the How & the Why.

Sensory Bins Cover 3D

Join me for a free 5 part email series Sensory Solutions and Activities and get your Sensory System Behaviours Easy Reference Cards.

Looking for more sensory bin ideas? You can find all of our sensory bins (we are constantly adding new ones) here:

More than 100 Sensory Bin ideas to inspire you from The Chaos and The Clutter

Filed Under: Sensory, Sensory Bins Tagged With: sensory bin, sensory play

Super Easy Earth Day Craft

By Sharla Kostelyk

Earth Day is on April 22 this year. We usually try to do something to reflect on our gratitude for this lovely planet we live on. This year, we will be going on a field trip to a greenhouse which I’m sure will be a good way to naturally bring up topics related to Earth Day. A few years ago, we made this Earth Day craft.

This craft is a super easy introduction to the concept of Earth Day. I love crafts that can be done with very few supplies and it’s even better if they are things that you already have around. For this Earth Day craft, all you need is four items that you probably already have on hand.

Easiest Earth Day Craft Ever but it does help encourage kids to think of ways they can help take care of their planet.Materials needed:

  • paper plate
  • markers or pencil crayons
  • blue and green paint
  • paintbrushes

First, I had the kids brainstorm ideas of how we can take care of the earth and write their ideas with markers on the inside of their paper plate. This step is a good way to get to kids to think of ways that they can help take care of their planet. My kids came up with ideas such as “ride your bike to the store”, “plant a tree”, “make a garden”, and “don’t litter”.

Once they had written their ideas on the inside of the plate, each of them painted the earth on the back of the plates using blue and green paints. Easiest Earth Day Craft ever!

Earth Day Craft
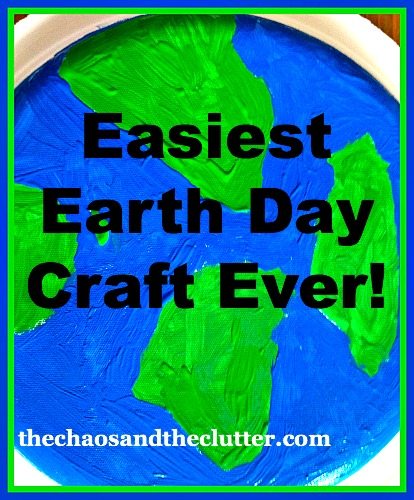
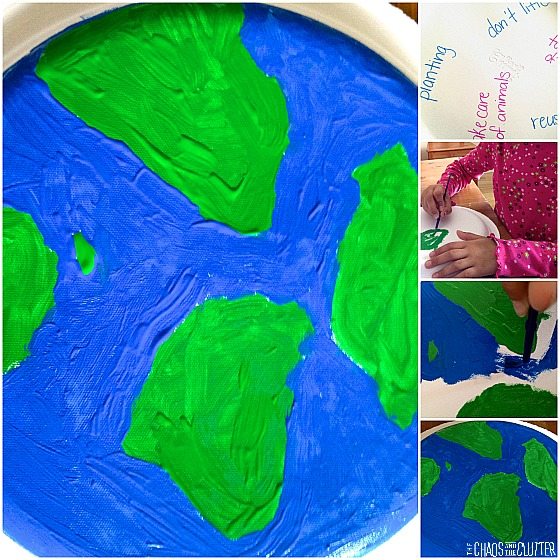
Do you do anything to celebrate Earth Day? If you’re looking for ideas, be sure to check out my Earth Day Pinterest board or follow me on Pinterest.

Filed Under: Crafts and Activities

RAD is like an Arranged Marriage

By Sharla Kostelyk

Our youngest daughter has severe PTSD (post traumatic stress disorder) and RAD (reactive attachment disorder). RAD (Reactive Attachment Disorder) is like an arranged marriage #adoption #RAD #attachmentThe first time that we met with her new psychiatrist about a month ago, he talked about thinking of RAD as being like an arranged marriage in the sense that neither you nor the child chose this circumstance and now you need to learn to love each other.

At first, the words landed, but didn’t quite hit home for me. I understood that obviously my daughter had not asked to be orphaned or to then be adopted, but I had signed up to adopt and had then later even signed papers indicating that I would adopt HER.

I specifically agreed to adopt her after the referral for she and her brother had come to us. I agreed to adopt them. I had seen their pictures. I knew their information (though almost none of what we read, including their ages was accurate) and I agreed to this adoption. Therefore, I did not initially see how this was an arranged marriage on my end.

I also felt a bit defensive at his implication that I would need to learn to love her because of course I already love her. I have to. She is my daughter.

For days after the appointment, his words circulated in my head as I tried to decide how I felt about them and what they meant for me. There was some truth there. I love my daughter and feel bonded to her, but due to the attachment difficulties on her end and what that has looked like in terms of her reaction to that, I have struggled in my attachment to her as well.

Initially, I attached to her easily. When her RAD behaviours came to the forefront and she began actively pushing me away, over time, I did begin to find myself feeling less attached to her.

Although I of course still love her, that love has been tested and is not easy. At times, it has been stretched so thin that I could barely hold onto the thread of it.

That is hard to say. It’s hard to admit and even harder to know that it is the truth.

In regards to the psychiatrist’s statement about RAD being like an arranged marriage, I have come to some conclusions about how that applies to me personally. When I signed up to adopt this child, my daughter, I did not know her history.

I did not know of her trauma and the impact that it had had on her developing brain. I did not know how my own limits and sanity and patience and marriage and beliefs and parenting would be challenged and rocked to the core because of that. I did not know what lay beneath the surface.

In terms of an arranged marriage, it was as if someone had shown me a picture of a very nice looking young man from a neighbouring village and I had agreed to marry him and then on the day of my wedding, I arrived and was presented with the same man but with his face grotesquely disfigured from an accident.

The accident was obviously not his fault and somewhere beneath the scarring, he was still the same man, but it would take time and a lot of work to discover that. That is what living with RAD is like.

The daughter I thought I would have exists underneath another one, one who has been grotesquely disfigured and scarred by trauma and I have to learn to love her and hope that someday I am able to see the girl she really was meant to be.

It will be a long process, a hard process. It will be made harder by the fact that this is like an arranged marriage for her too. She never asked for another mama. She didn’t want to be taken from her culture and everything she knew and brought to this new country, this new family. She has a lot of adjusting to do too. She is scared to trust again, to get hurt again.

It will take time. It will take work. But hopefully in the end, this will be a “marriage” that will grow rich and deep and be filled with a love that is based on each of us choosing the other. She will need to decide to choose to love me and I will need to learn to love her all over again…this time through her scars.

Update: I wrote this years ago when things were still quite raw. We were in the muck of daily behaviours due to RAD and it was hard at that time to see the light. It was interesting today to read back through this. I could recognize the despair I felt at the time, but at the same time, I can see so much hope interspersed between the words I shared. A lot has changed since then. To read an update on how our RAD journey with our daughter is progressing, read this.

If you’re looking for information about Reactive Attachment Disorder:

What I Wish You Knew About Parenting a Child with RAD What I Wish You Knew About being a parent to a child who has RAD (Reactive Attachment Disorder)Recognizing the Signs of Reactive Attachment Disorder Recognizing the Signs of Reactive Attachment Disorder

Filed Under: Adoption

  • « Go to Previous Page
  • Page 1
  • Interim pages omitted …
  • Page 112
  • Page 113
  • Page 114
  • Page 115
  • Page 116
  • Interim pages omitted …
  • Page 128
  • Go to Next Page »

Primary Sidebar

Categories

We are a participant in the Amazon Services LLC Associates Program, an affiliate advertising program designed to provide a means for us to earn fees by linking to Amazon.com and affiliated sites.

Copyright © 2026 • The Chaos and the Clutter • Site Design by Jeni @ The Blog Maven

Return to top of page

Copyright © 2026 · Chaos and the Clutter 2.0 on Genesis Framework · WordPress · Log in