• Skip to primary navigation
  • Skip to main content
  • Skip to primary sidebar
  • Home
  • About
  • Contact
  • Privacy + Terms
  • Affiliates

The Chaos and the Clutter

  • Facebook
  • Twitter
  • Pinterest
  • Google Plus
  • RSS
  • Email
  • School at Home
  • Sensory
    • Sensory Processing Disorder
    • Awesome Sensory Play Activities
      • Sensory Bins
      • Sensory Bottles
      • Sensory Bags
  • Family Games
    • Minute to Win It Games
  • Special Needs Parenting
    • Childhood Anxiety
    • Reactive Attachment Disorder
    • Sensory Processing Disorder
  • Store
  • Course Login

Sharla Kostelyk

My Spring Feelings Mini Book for Kids

two printed pages, one that has been coloured in

By Sharla Kostelyk

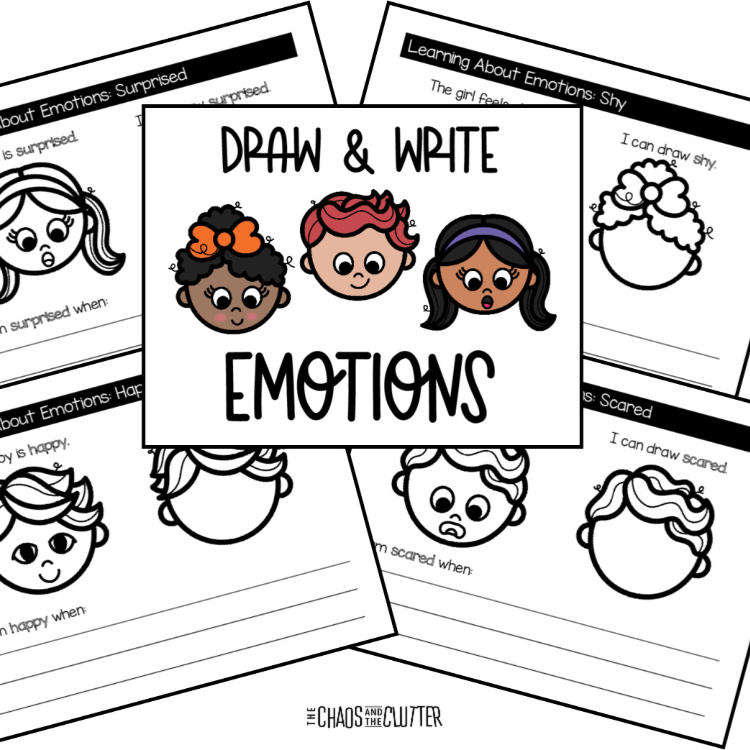
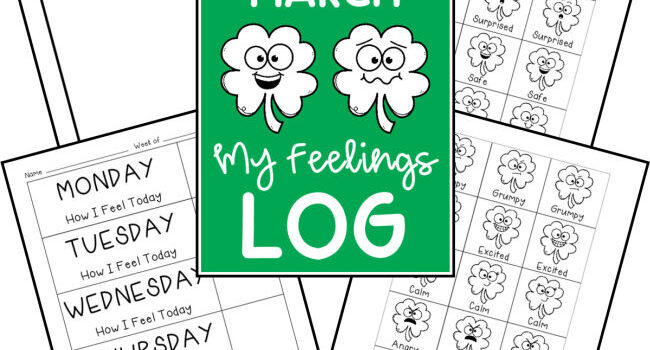
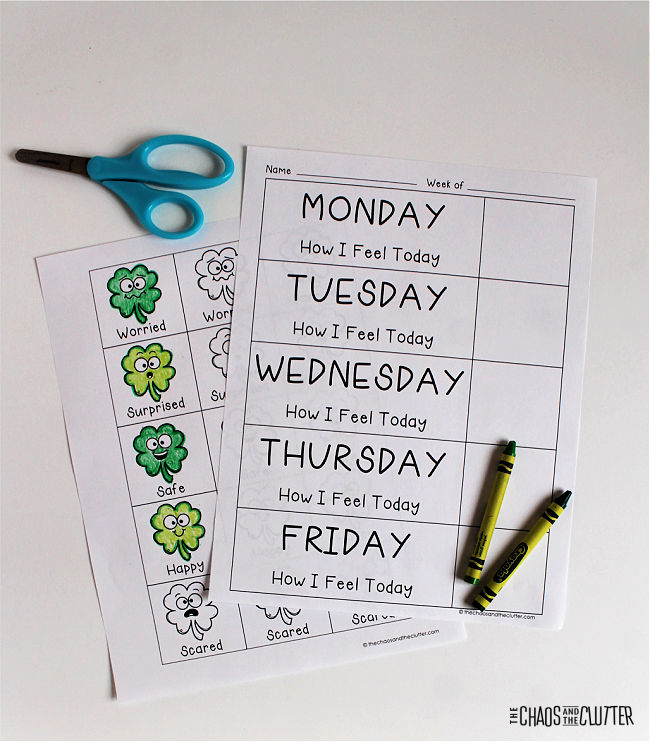
Use this mini book as a tool to help kids talk about their feelings. When children are able to write about and talk about their emotions, they are better able to process and manage them. printed pages with some coloured. Text reads "Spring My Feelings Mini Book"
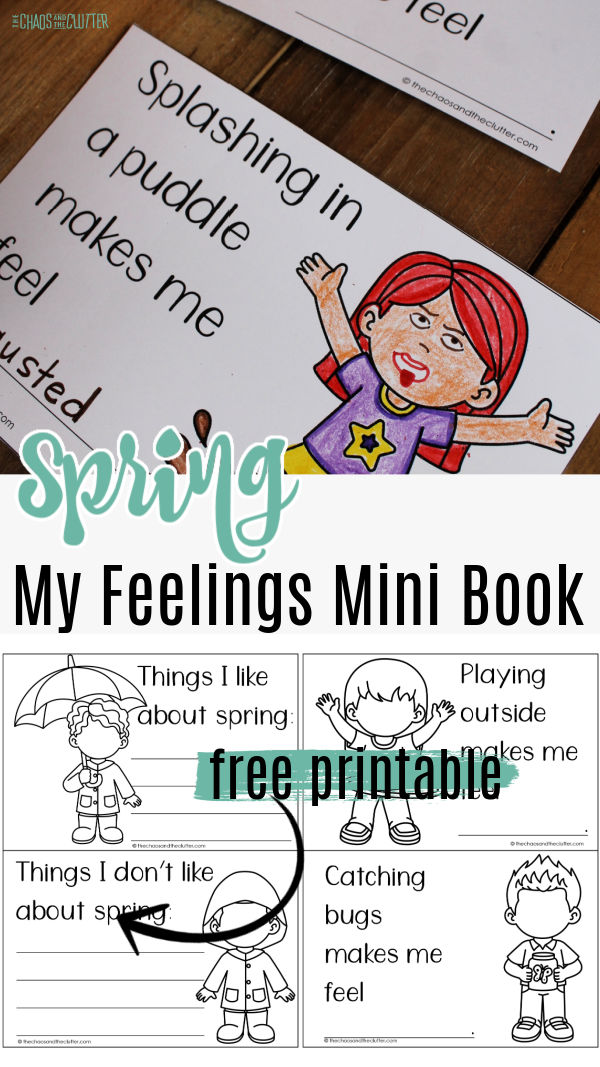
The pages in this Spring themed mini book contain some common seasonal happenings. They are simple enough, but that’s actually the beauty of them. When kids are given the opportunity to talk about how they feel about everyday things, they begin to develop a comfort in speaking about and writing about their emotions in general, which can lead to them sharing about deeper things in the future.

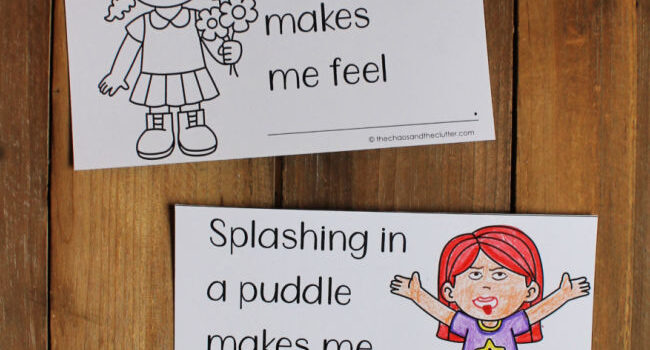
This also allows us to get some insight into our kids or students. While some may delight in splashing in puddles, those with certain sensory issues may feel scared at even the thought of it. Flying a kite may bring along with it happy memories for some students, while for others, it brings sadness as it may be something they have never been able to experience.

My Spring Feelings Mini Book for Kids:

Supplies needed:

  • My Spring Feelings mini book printable pages. (download here)
  • scissors
  • pencil or pen
  • markers, crayons, or pencil crayons
  • stapler and staples

Instructions:

  1. Download the My Spring Feelings mini book.
  2. Print the pages.
  3. Cut apart the booklet pages.
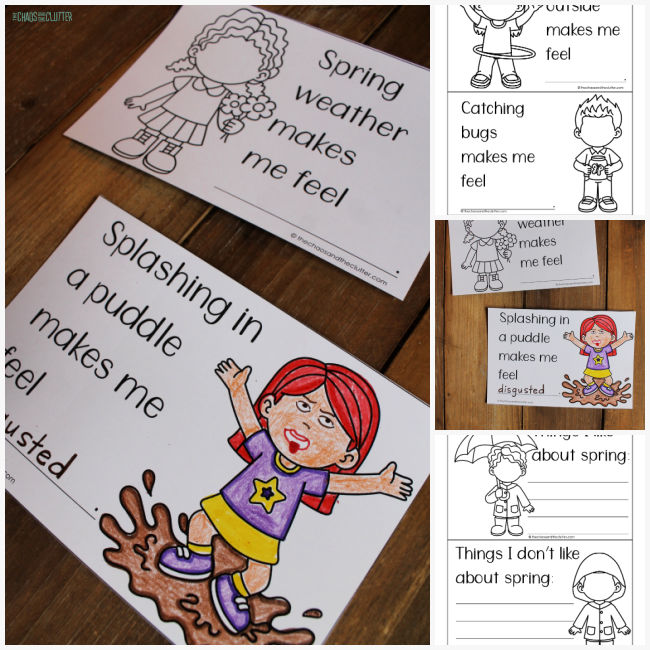
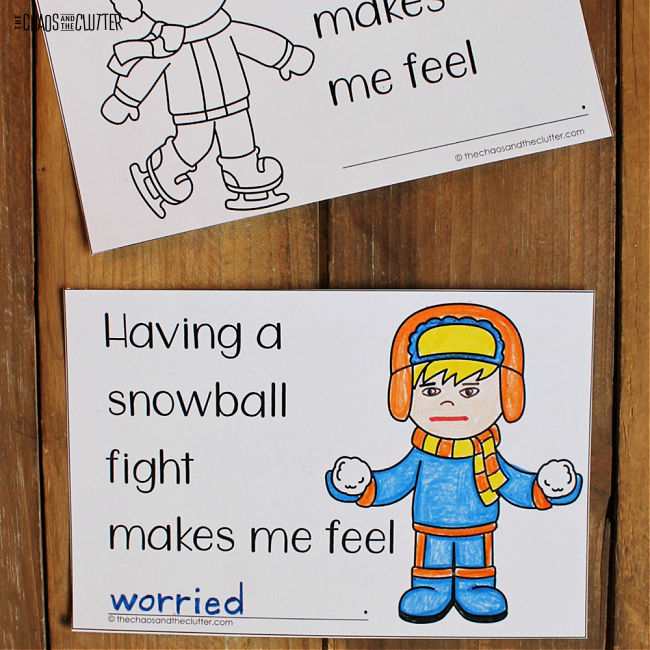
  4. Let your student decide how he or she feels about each seasonal activity and draw a corresponding face on the child on that page. Your student can use the Emotions Word Bank for ideas (for words to use and for faces to draw).
  5. When your student has completed the book, stack the pages together with the cover on top and staple on the left side to create a little book.

collage of photos of printed pages for kids to fill out and colourIt can be helpful for you to sit down and debrief with the child you’re working with after they fill out their book. This will give you a better understanding of their feelings and allow you to ask further clarifying questions to provide you even more insight.

It is also good practise for them in talking about their emotions in a healthy way with those they trust.

Download your free printable Spring mini book and get this activity started with your child or students. 

Check out these other helpful printable tools for helping kids with their emotions:

Pirate Emotions Playdough Mats

Winter My Feelings Mini Bookcolouring pages depicting winter scenes on a wood floor

Draw & Write Emotions

Filed Under: Homeschooling, Printables

Nature Inspired Easter Sensory Bin

plush bunny sits by a sensory bin filled with moss, grass, and toy butterflies

By Sharla Kostelyk

Using nature as inspiration for your sensory bin is a great way to provide your toddler or preschooler with educational interactive fun. And since spring is right around the corner, Easter is the perfect time to create a nature activity for your kids. With this nature inspired Easter sensory bin, your little ones can have some educational fun while exploring nature at home. stuffed bunny, moss, grass, sticks, and toy insects. Text reads "Nature Inspired Easter Sensory Bin"Nature provides your kids with tons of opportunities to explore and meet their sensory needs. From smelling the flowers to touching the soft grass, there are several ways your child can use their senses while playing outside. And that’s why nature is the perfect inspiration for an Easter sensory bin.collage of photos of a hand playing in a Spring sensory bin

Nature Inspired Easter Sensory Bin:

Supplies needed: 

  • plastic tub
  • plush Easter bunny
  • rocks
  • gold gems
  • stones
  • artificial grass
  • Spanish moss 
  • artificial flowers and plants
  • mini birch logs
  • artificial insects like butterflies/dragonflies 

plush bunny sits by a sensory bin filled with moss, grass, and toy butterfliesInstructions: 

  1. Add the Spanish moss to the tray. Add the artificial grass on top. Spread out evenly.
  2. Place the artificial plants, flowers, and mini birch logs around the bin. 
  3. Add the stones, rocks, and gems to the bin. 
  4. Add the butterflies and dragonflies to the bin. 
  5. Set the bunny near the bin. 

collage of photos of creating an Easter sensory bin

Nature Inspired Sensory Bin Activities

Once you have your sensory bin put together, it’s time to let your kids explore.

If you’re looking for ways to encourage your kids to play, try these fun activity suggestions:

  • Play with the bunny in the bin. Encourage pretend play by asking your child to play with the bunny in the bin. They can make the bunny interact with the different elements of the bin and use their imagination as they play.
  • Touch the different elements and compare the textures. Explore their sense of touch by touching each item to see what it feels like. Then, compare the different textures to see which ones are similar, like the rocks and gems, and which ones are different, like the logs and moss.

hand playing in an Easter sensory bin

  • Listen to nature sounds. In addition to invoking your kids’ sense of touch, this nature inspired sensory bin can also let your child use their ears to hear. Figure out what sounds the elements make when rubbed together or moved from spot to spot.
  • Encourage imaginative play. After child plays with the bunny, your child can also use the butterflies and dragonflies for play. Show them how the insects interact with the different elements in the bin, then let them use their imagination to play with the toys.
  • Sort and organize. Practice sorting and organizing the elements in the bin into different categories, like colour, shape, or size.
  • Compare to nature. Take a look at each element in the bin and compare it to items found in nature. Ask your child what each item looks like and then let them guess what it is and where in nature you can find it.

hands holding toy butterflies

Check out some of our other Easter sensory activities for kids:

Easter Fluffy Slime

Eggs and Carrots Easter Sensory Bin

Sensory Sound Eggs

Filed Under: Crafts and Activities, Sensory Bins Tagged With: sensory bin, sensory play

St. Patrick’s Clear Slime

finger presses into an air bubble in shamrock slime to get at a gold coin

By Sharla Kostelyk

Finding fun and educational activities for the holidays is a great way to incorporate the celebration into your learning. And when it comes to St. Patrick’s Day, there’s no better way to learn and play than with clear slime! This quick and easy slime recipe allows you to add in fun holiday-themed elements, making it a great STEAM activity your kids will love. stretched out clear slime with green shamrocks in it. Text reads "St. Patrick's Day clear slime"
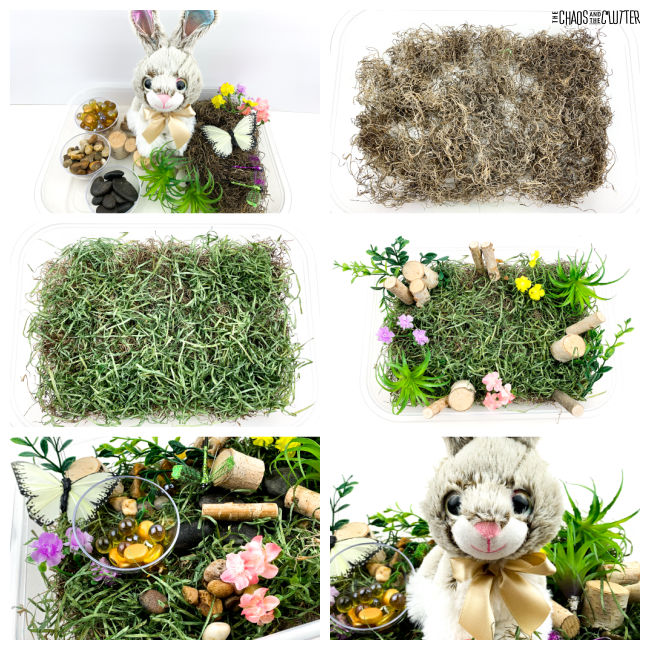
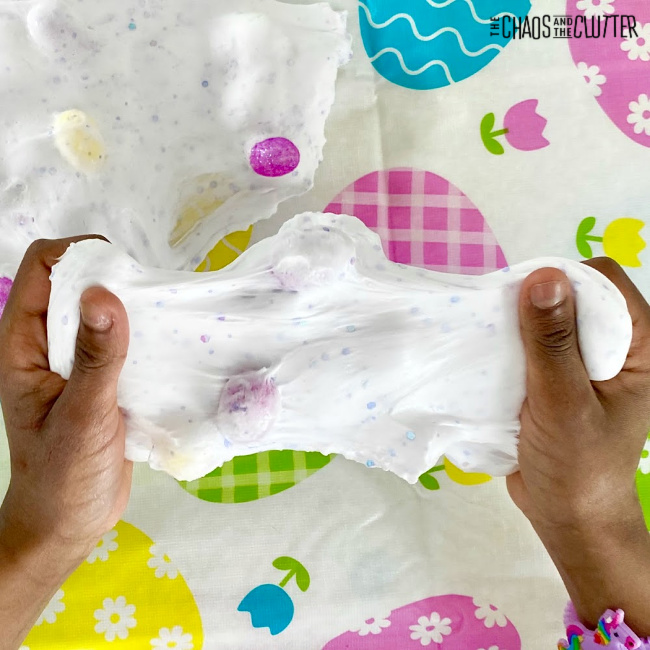
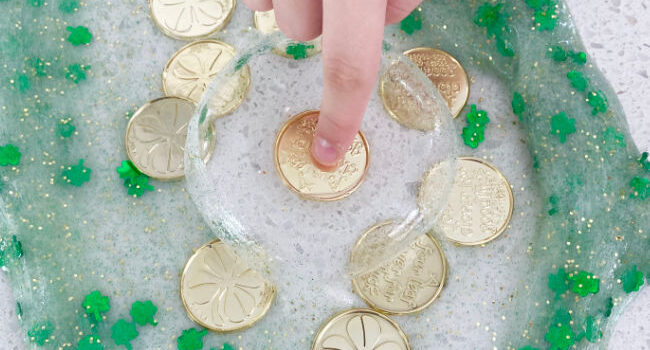
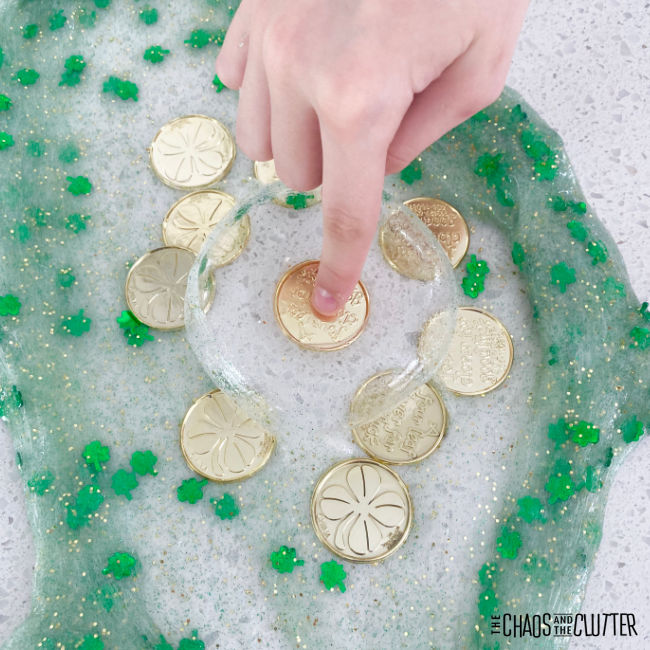
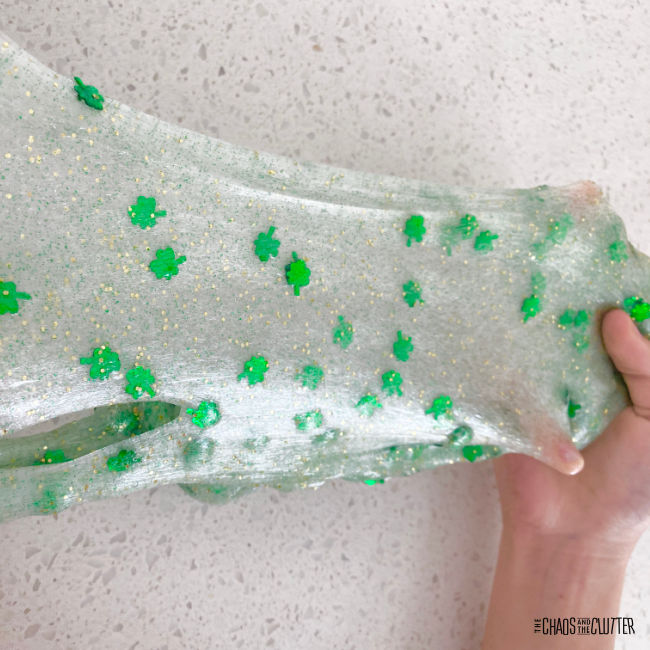
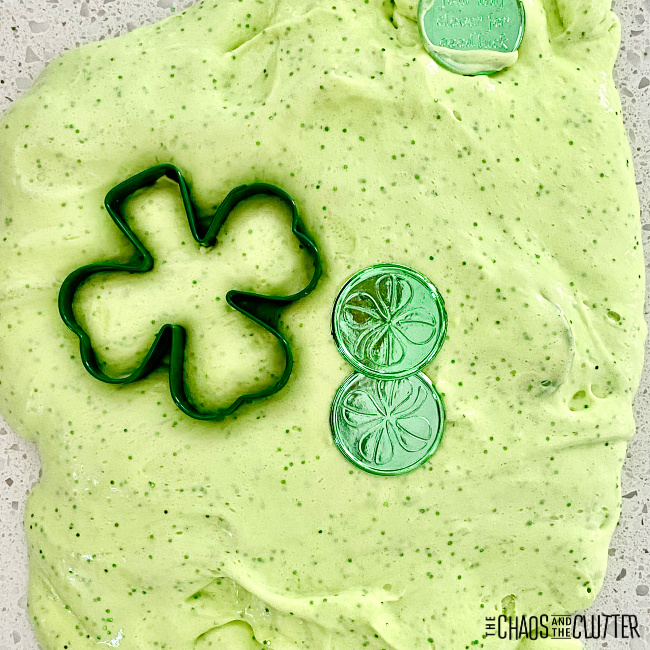
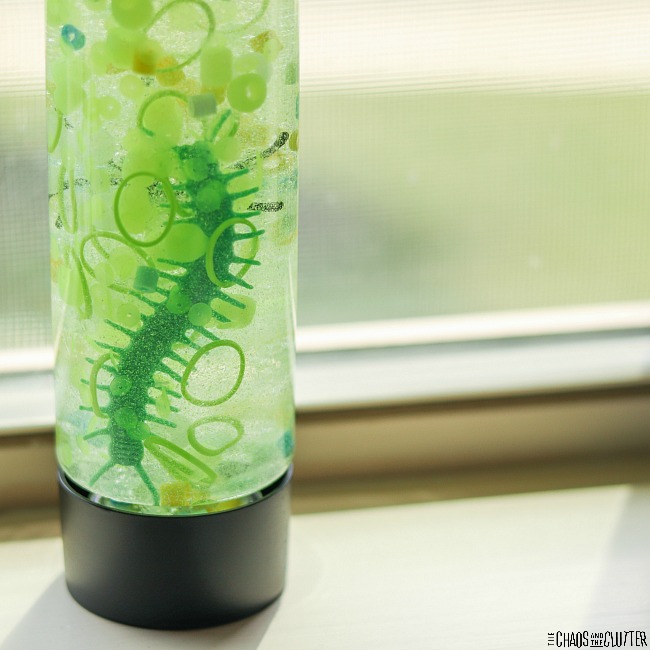
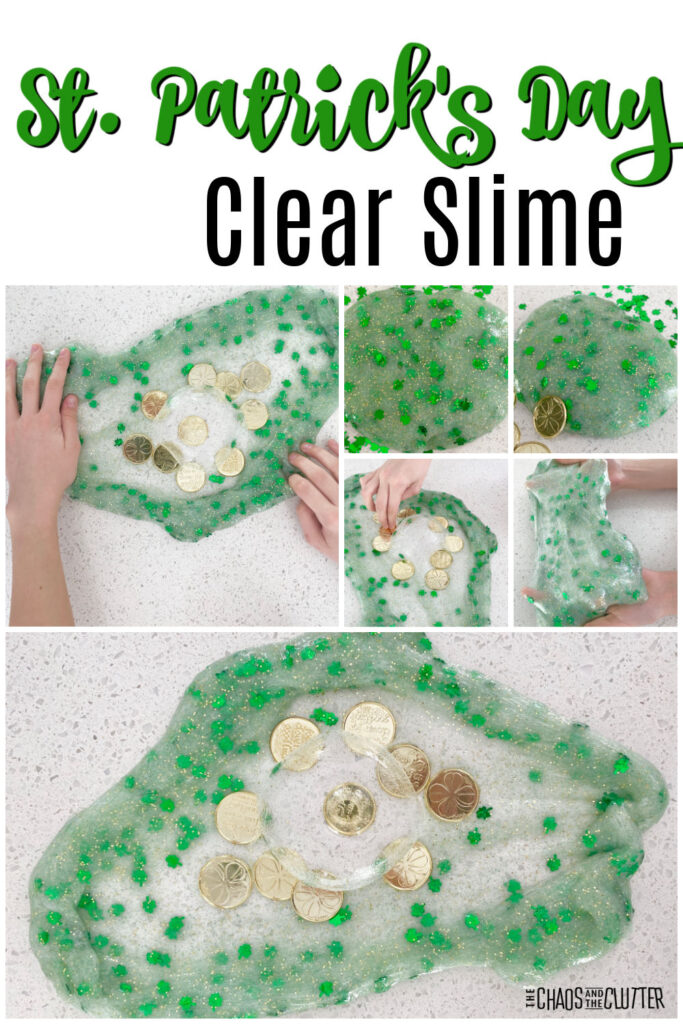
What’s so great about making clear slime is how easily it can be adapted to the holiday season. Use the basic recipe to make the slime, then mix in different elements based on your celebration. To make your own St. Patrick’s Day slime, grab some gold glitter, shamrock confetti, and plastic coins for your kids to incorporate into their homemade recipe.

St. Patrick’s Day Clear Slime Recipe:

Supplies Needed:

  • 1 cup Elmer’s Clear School glue
  • 2-3 Tbsp. contact lens saline solution
  • 1/2 tsp. baking soda
  • gold glitter
  • shamrock confetti
  • plastic gold shamrock coins

Instructions:

  1. Pour the glue into a large mixing bowl and stir the baking soda into it.
  2. Begin to add the contact lens solution a few drops at a time as you stir.
  3. When you find that the mixture begins to pull away from the bowl, it’s time to begin kneading.
  4. Add the glitter and confetti. Continue kneading.
  5. Fold in some of the gold coins or offer them to your child as they begin to play.
  6. If the slime is still too sticky to play with, add one or two more drops of contact solution and knead.

collage of photos of playing with shamrock clear slime

How to Make Perfect Slime

Making great slime doesn’t have to be difficult! And since it’s a messy project anyway, there really isn’t one way particular way to make a batch of slime. But with these simple tips, you and your kids can make perfect clear slime every time you mix up the ingredients, no matter what holiday you’re celebrating:finger presses into an air bubble in shamrock slime to get at a gold coin

You must use your hands.

The most fun part of this project is getting messy, which means your kids can’t be afraid to get their hands dirty. After adding the contact solution to the glue mixture, you’ll see the slime begin to form. At this point, the only way to properly mix the ingredients is to use your hands.

Pick the right glue.

The key to getting a good slime consistency is to use the right glue in your recipe. Most slime makers recommend Elmer’s glue as their glue of choice. But any washable school glue will work for this recipe. The key to getting the best slime is to use a glue that contains Polyvinyl Acetate or PVA, which is a nontoxic additive found in most washable glues.stretching out slime with green shamrocks in it

No Borax needed.

When slime making first became popular, many recipes included Borax. But that ingredient isn’t exactly safe around kids. With this easy St. Patrick’s Day slime recipe, you don’t need Borax to make amazing slime! Instead, you need just three nontoxic ingredients – clear glue, saline solution, and baking soda.

Customize with mix-ins.

Once you have your clear slime made, your kids can have some fun personalizing their holiday creation. There are a variety of mix-ins you could use to create holiday slime, including food colouring, glitter, confetti, sequins, small beads, essential oils, puff balls, foam balls, faux snow, glow in the dark pigments, buttons, and rock salt. Experiment with different mix-ins to have some fun with this basic clear slime recipe.

Check out our other St. Patrick’s Day sensory activities:

St. Patrick’s Day Fluffy SlimeSt. Patrick’s Day Sensory BagSt. Patrick’s Day Sensory Bottle


Filed Under: Crafts and Activities Tagged With: sensory play, slime

March Emotions Printables for Kids

collage of papers with shamrocks with emotion faces

By Sharla Kostelyk

March is the time of year when winter starts to lift and spring is in the air. It may seem like that would be a welcome thing for everyone, but some kids may have mixed feelings about the change.

They may welcome spring or feel sad about losing their favourite season. They may have mixed feelings about spending more time outside. Or they may be excited about what is to come. a collage of printed pages with shamrocks

These March emotions printables can help children to both identify and talk about all those different feelings.

March Copywork Emotions Sentences:

Being able to identify and discuss emotions is an important skill to develop in childhood. Kids need to develop a solid understanding of emotions and learn how to effectively express their own.

These printing practise worksheets allow kids to practise their printing while also normalizing talking about emotions. They have a shamrock theme which is perfect for March.collage of printed pages for the month of March with shamrocks

Supplies needed:

  • March Emotions printables
  • pencil or pen OR
  • plastic sleeve AND dry erase marker

Download the printable pages. To make them reusable, laminate the pages or slip them into a plastic page protector. Students can use a dry erase marker to do the tracing and writing.a paper with sentences is in a plastic sleeve. Green dots scattered around.

If you want to just have them be single use, give the student a pencil, crayons, coloured pencils, or markers and the printed papers.

Instructions for the student:

  1. Read the sentence.
  2. Fill in the outline.
  3. Trace the dotted words.
  4. Write the sentence on the lines provided.
  5. Discuss the different emotions.

These worksheets can be the jumping off point for a discussion with the whole class or one-on-one talk about different emotions. They can be used by teachers, homeschoolers, parents, or therapists.

March Feelings Log:

Keeping a daily log of feelings helps kids to examine their emotions. It also allows them and their teacher or parents to recognize any patterns they see emerging when looking back through the log. This can provide important insight. 

By participating in this daily exercise, kids can normalize talking about their emotions. They may also lay the groundwork that helps get to the root of why they are feeling the way they are.

Doing this at the same time each day can develop a positive habit. 

It may be most helpful to do this in the morning to then be able to adjust activities or expectations based on how the student is feeling or it may be best to do after supper or before bed to reflect on and analyze the day.collage of papers with shamrocks with emotion faces

Teaching emotions is such a powerful lifelong tool to gift your kids with. 

I’ve created a Feelings Log for March that includes a writing prompt and drawing prompt about spending time in nature and going outside to play, and weekly tracking sheet of “Today I feel” along with sweet little shamrock faces to use to help them better express their emotions.

Supplies needed:

  • printed March Feelings Log pages (download here)
  • scissors
  • markers, pencil crayons, or crayons
  • pencil or pen

two printed papers partially coloured in with green crayons. Scissors nearby.
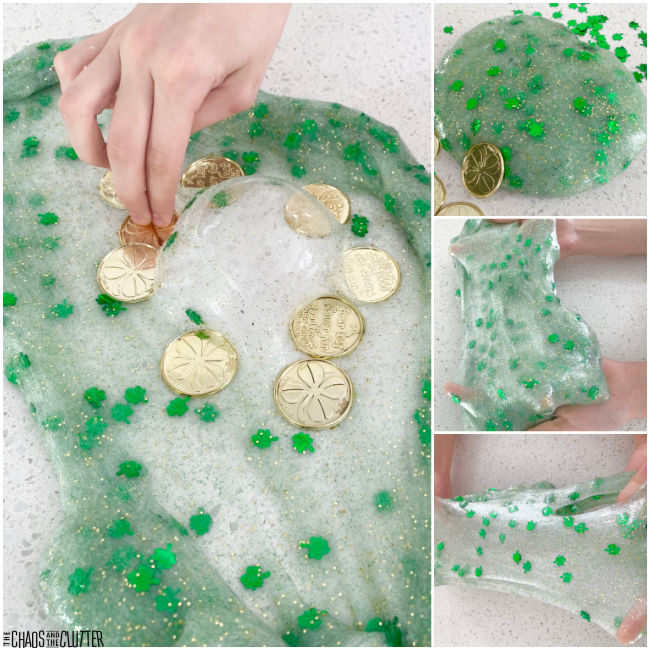
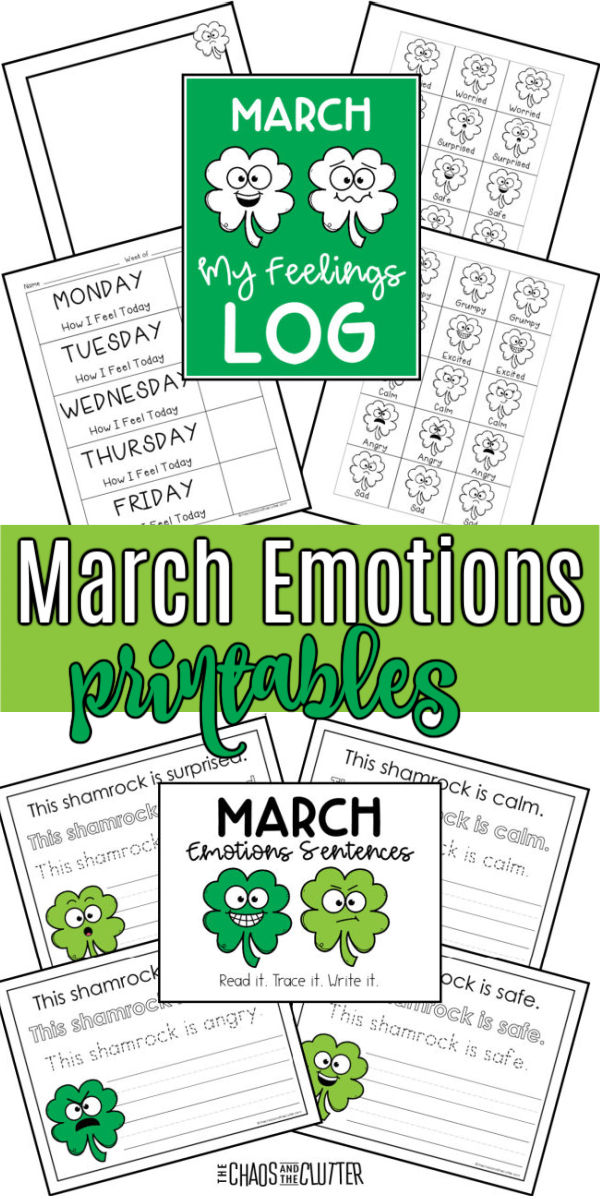
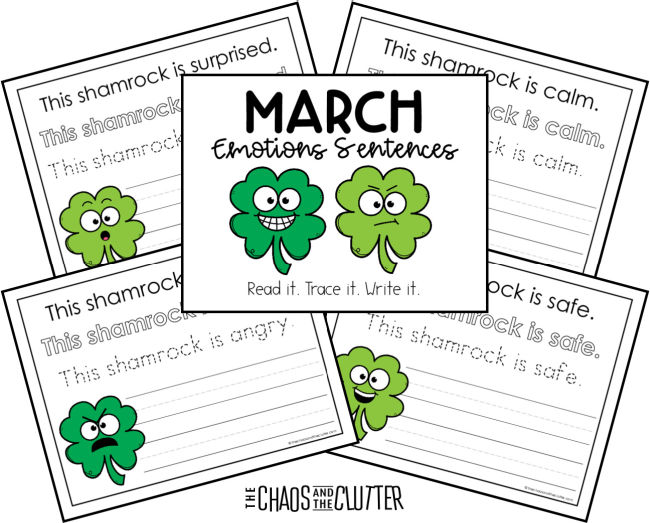
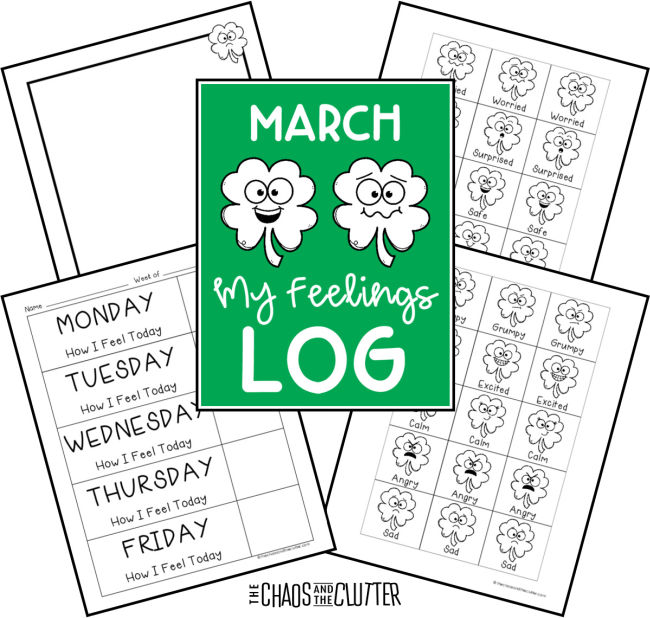
Enter your email below to get your free March Emotions Printables bundle. You can use this with your child at home or print it off to use with your students in the classroom. 

Our other monthly emotions printables:

  • February Emotions Printables
  • April Emotions Printables
  • May Emotions Printables
  • June Emotions Printables
  • July Emotions Printables
  • August Emotions Printables
  • September Emotions Printables
  • October Emotions Printables
  • November Emotions Printables
  • December Emotions Printables

Filed Under: Homeschooling, Printables

I Spy Birds Sensory Bottle

clear bottle on its side filled with dry rice and colourful bird buttons

By Sharla Kostelyk

Kids can work on their visual perception while playing with this I Spy Birds Sensory Bottle. It is simple to create at home or for the classroom. clear plastic bottle filled with dry white rice and tiny toy birds
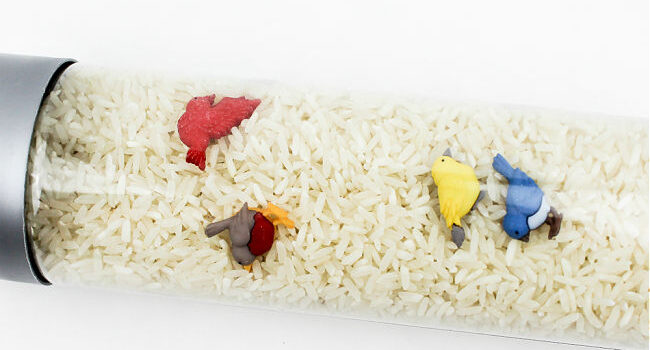
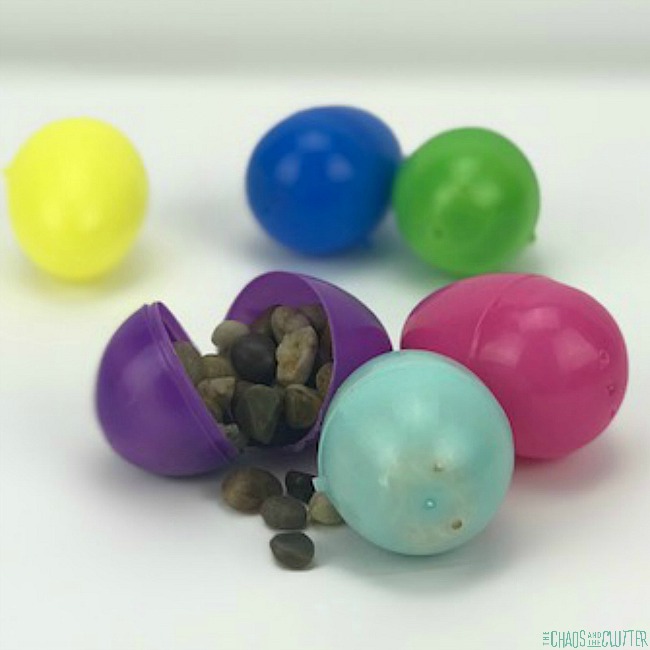
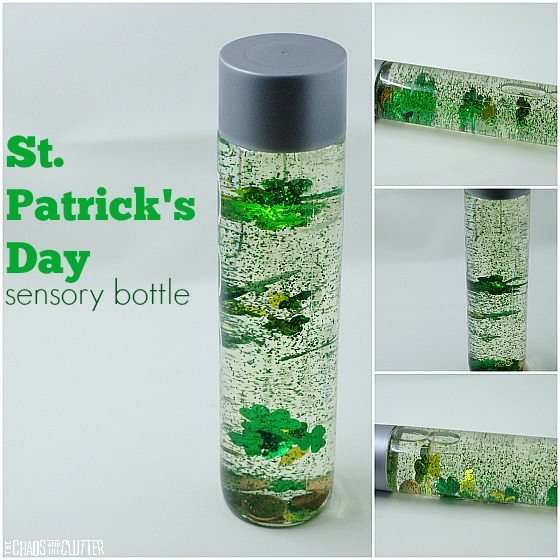
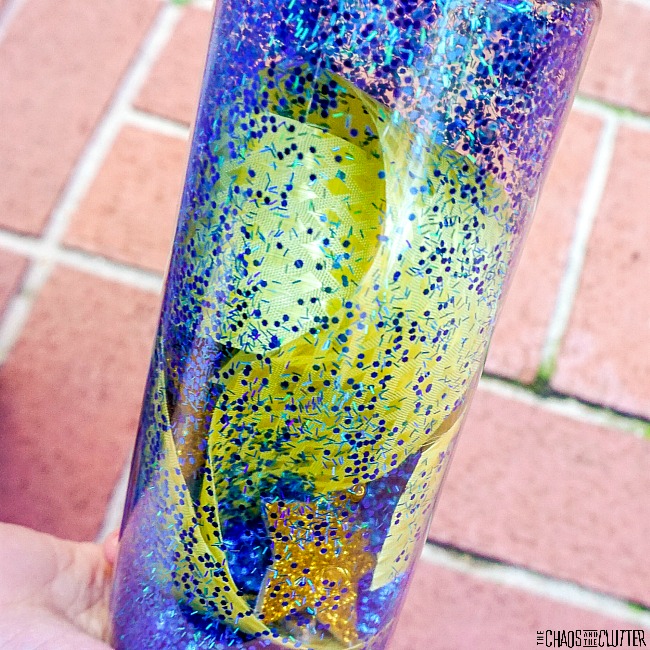
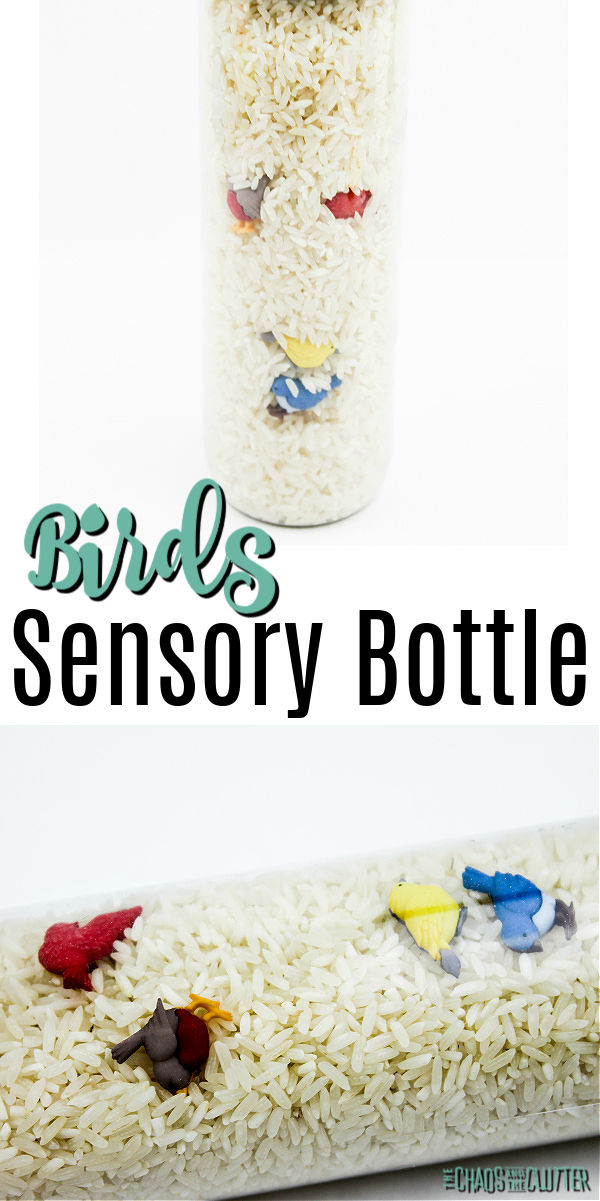
This sensory bottle creates opportunity for kids to use their tactile, visual, and proprioceptive sensory systems. Sensory input is an important part of child development and emotional regulation. 

I Spy Birds Sensory Bottle:

Supplies needed:

    • 16.9 oz. bottle (you can use a sensory bottle or Voss type water bottle)
    • white rice
    • funnel
    • bird buttons 
    • optional: hot glue

Directions:

  1. Using a funnel, add a small amount of rice to the bottom of the bottle.
  2. Place a bird button inside the bottle.
  3. Repeat the above steps until all the birds are placed inside the bottle. By layering the rice and birds, you can ensure they won’t all be in the same place. 
  4. Fill the remainder of the bottle with rice, but leave some space for the rice to move around. You can empty out rice if you feel the rice doesn’t move enough to allow the animals to be seen.
  5. Replace the lid on the bottle.
  6. If you want to secure the bottle, you can secure the lid with a hot glue gun.
  7. Give the sensory bottle to your child or students to explore.
  8. If you want, you can write a list of the birds for them to find.

collage of photos of making a sensory bottle with white rice and bird buttons
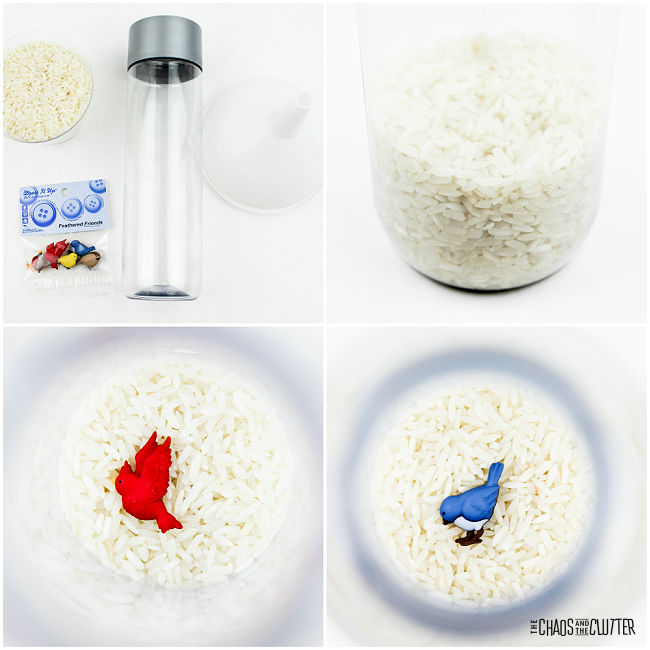
Allow the child to move and shake the rice around until they find all of the birds. They can even expand the activity by researching what type of birds they are.

This activity would go well with a unit study on birds.clear bottle on its side filled with dry rice and colourful bird buttons

Expanding your study on birds:

  • Go for a nature walk to observe birds and listen to their songs.
  • Create bird notebooking pages.
  • Set out books on birds. 
  • Make a bird feeder and watch as birds come to eat.
  • Complete some bird worksheets.
  • Play the Birds of North America game.

a collage of four photos of a clear bottle filled with white rice and colourful bird buttons
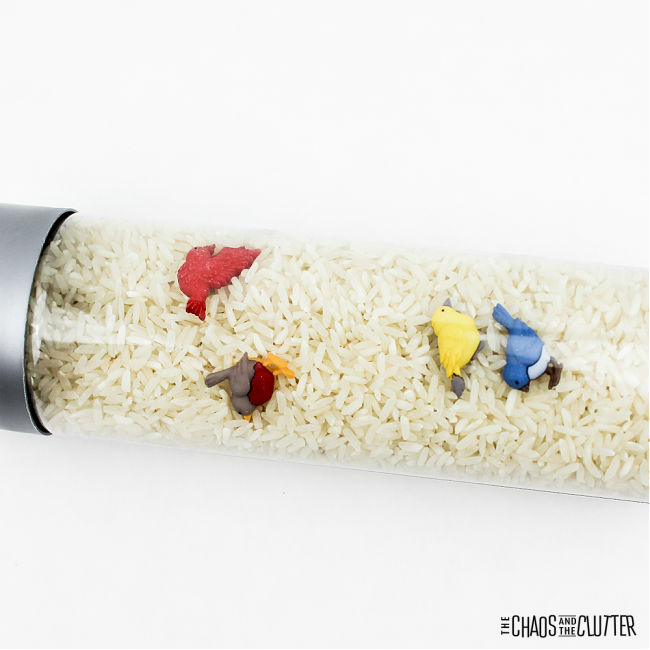
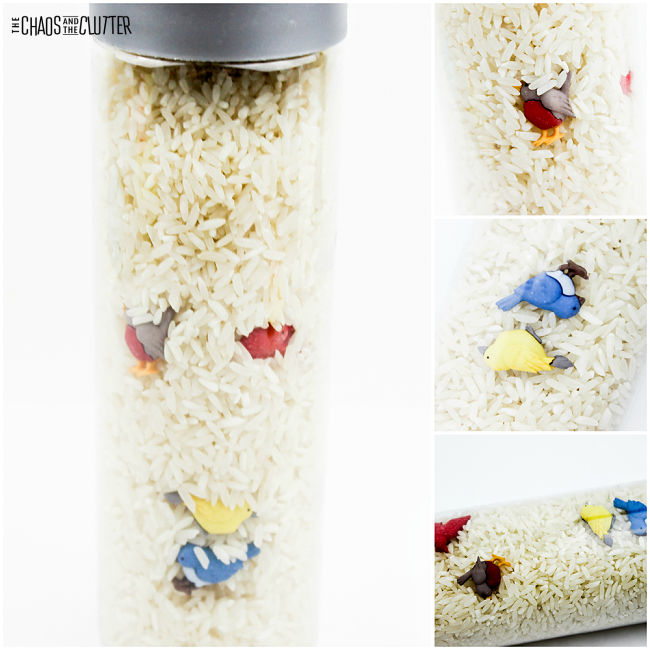
As with all sensory play activities, adult supervision should be used at all times. Even if you have secured the lid with glue, it is still possible to get it open and the bottle contains small parts which are choking hazards for children.

Are you looking for more easy sensory play ideas to make for your child or students? Join us for a five day email series on Sensory Activities and Solutions and get a free sample of our Sensory Play Recipes eBook.

Check out some of our other sensory bottles:

Dinosaur Sensory Bottle

Bugs Sensory Bottle

Van Gogh Starry Night Inspired Sensory Bottle

Filed Under: Crafts and Activities Tagged With: sensory bottles, sensory play

Ladybug Life Cycle Sensory Bin and Activities

small hands hold a plastic ladybug and leaves

By Sharla Kostelyk

This adorable ladybug life cycle sensory bin is a great addition to an insect study, ladybug study, or preschool classroom. You can set it up for your child at home or students in the classroom and invite them to explore. dyed green rice, magnifying glass, and toy ladybugs. Text reads "Ladybug Life Cycle Sensory Bin"
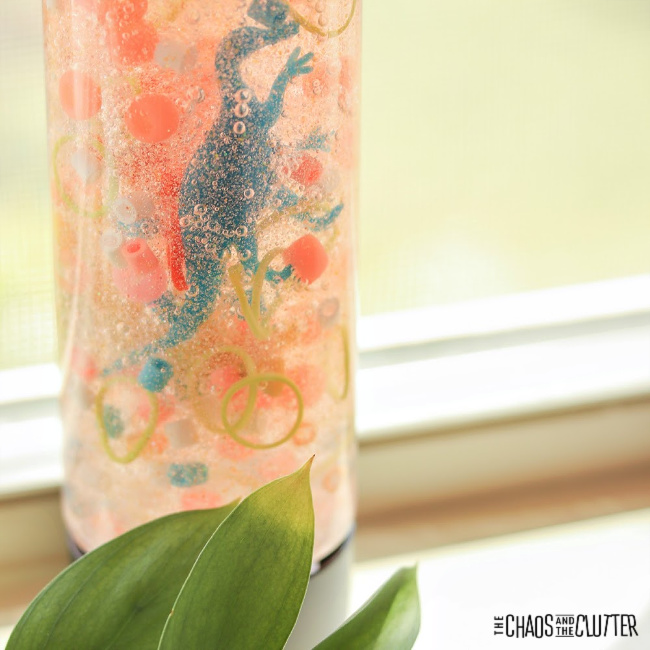
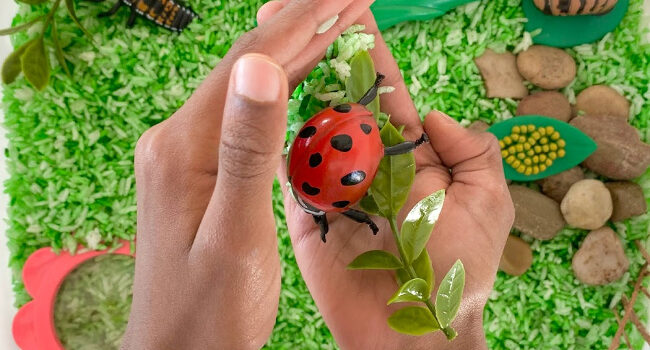
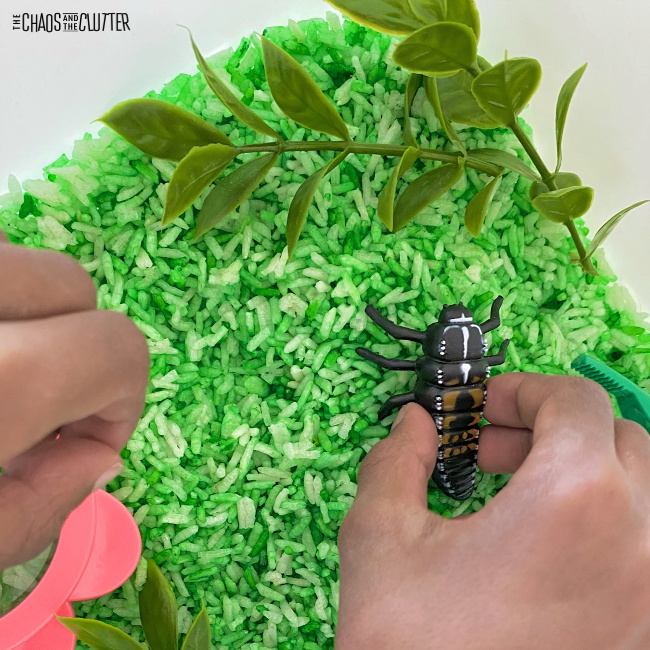
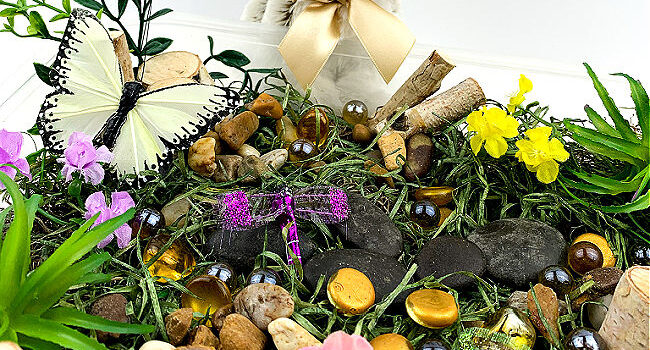
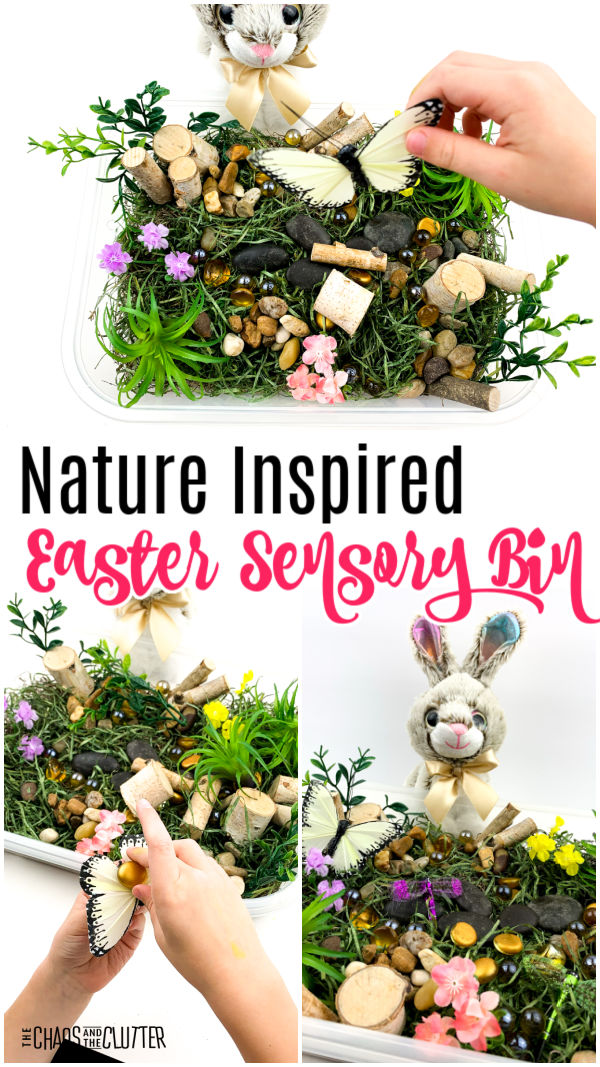
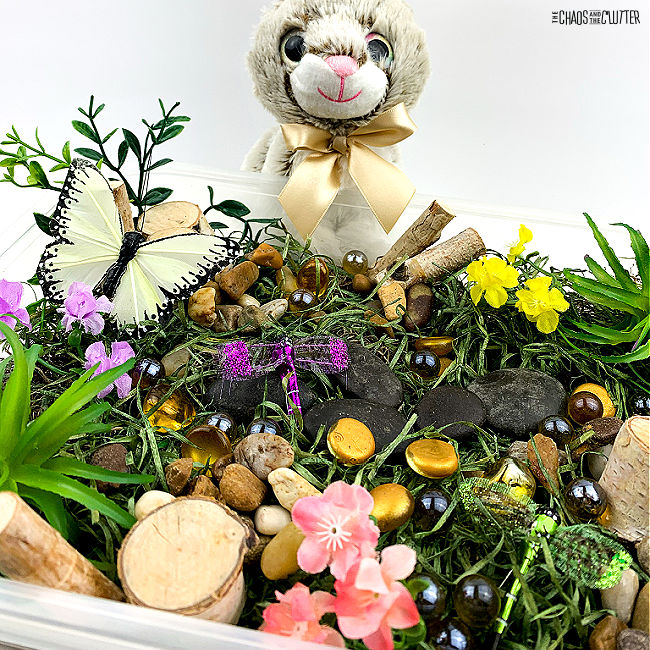
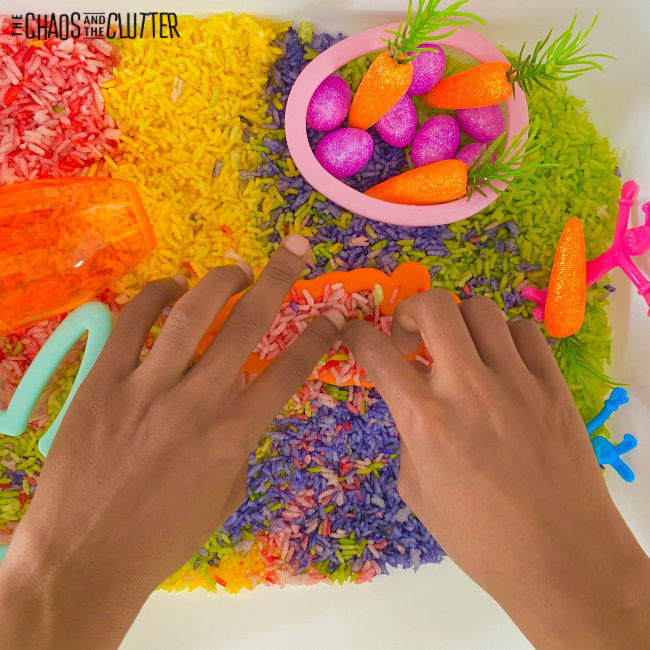
Whenever you can add a sensory activity into learning, it increases the amount of information children can retain. Sensory bins are a simple way to do this and as kids discover through their senses, they can ask questions which will increase their learning.
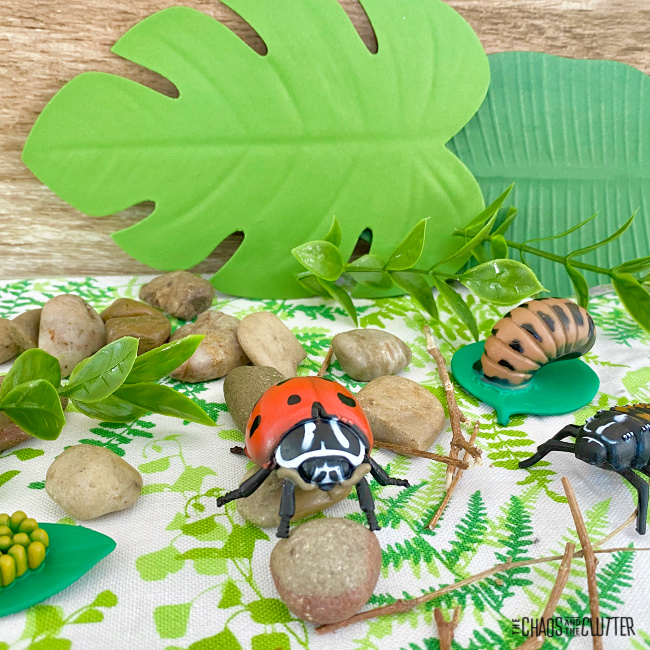
Ladybug Life Cycle Sensory Bin:

Supplies needed:

    • plastic bin
    • rice dyed green >> read how to dye rice for sensory play
    • ladybug life cycle pack
    • rocks
    • sticks
    • plastic leaves
    • magnifying glass

toy leaves and ladybugs next to rocksInstructions:

  1. Dye the rice (read the full instructions here) and let it dry overnight.
  2. Pour the green rice into a plastic bin.
  3. Place the other items into the bin.
  4. Invite your child or students to play and discover.

collage of photos of a sensory bin of green rice and ladybug toys
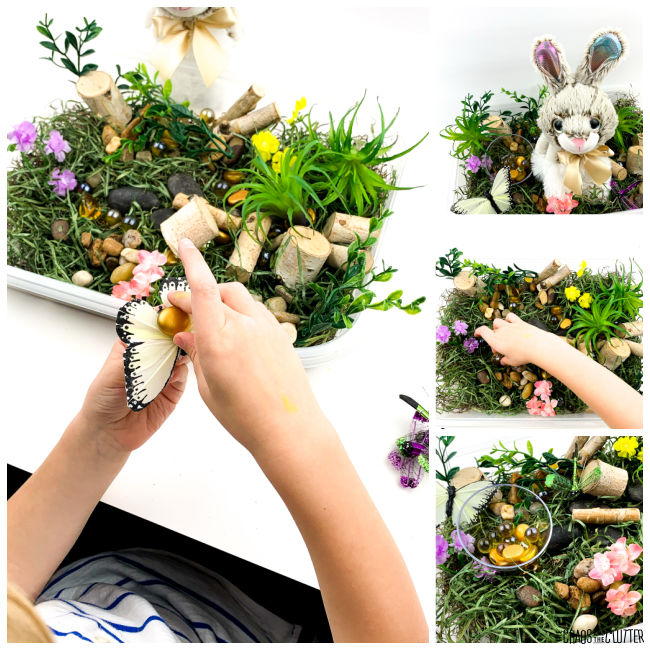
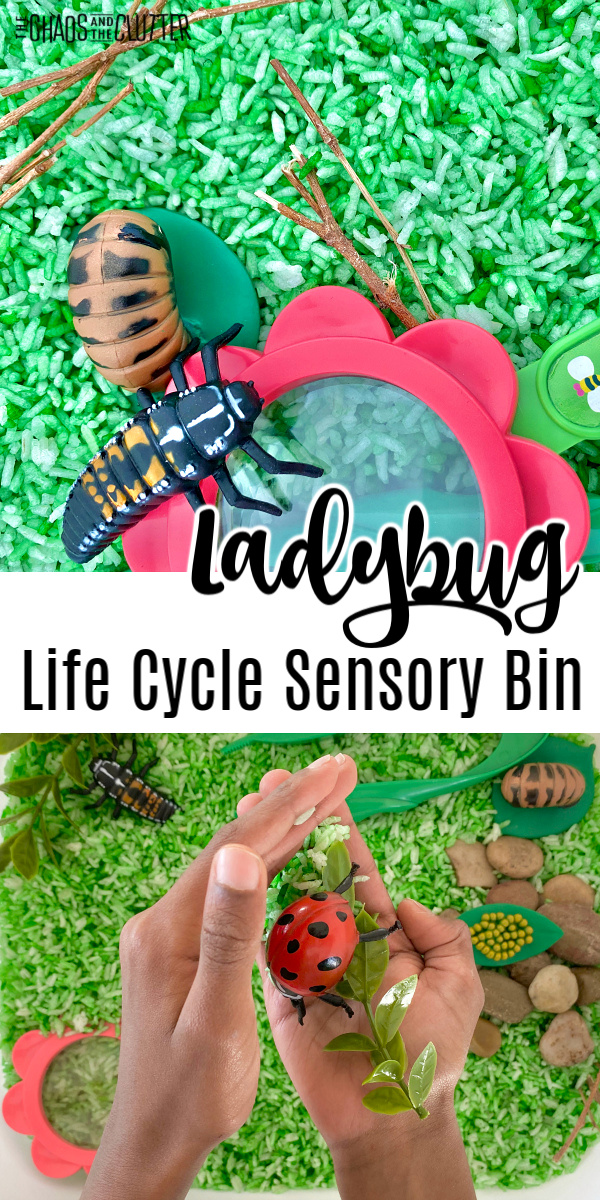
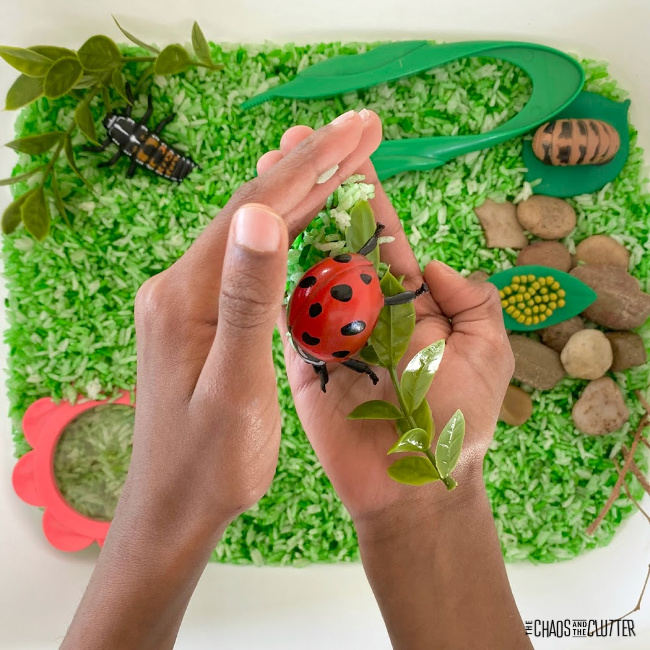
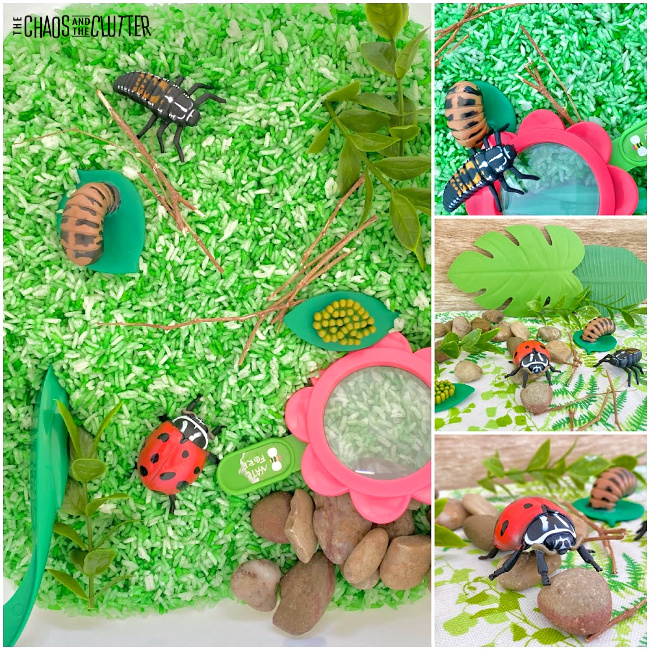
This sensory bin contains small parts. Adult supervision should always be used when kids play.

Life Stages of a Ladybug:

  1. egg
  2. larva
  3. pupa
  4. adult ladybugtoys of the life stages of ladybugs sitting on dry green rice

Activities to Expand on Your Ladybug Study:

  • Observe ladybugs in nature.
  • Download and print off this ladybug life cycle printable.
  • Set out books about ladybugs and other insects.
  • Make and hang suncatcher decorations to go along with your theme.
  • Create a craft out of a paper plate.
  • Use these life cycle sequencing cards.
  • Print and colour these ladybug life cycle pages.

small hands hold a plastic ladybug and leaves
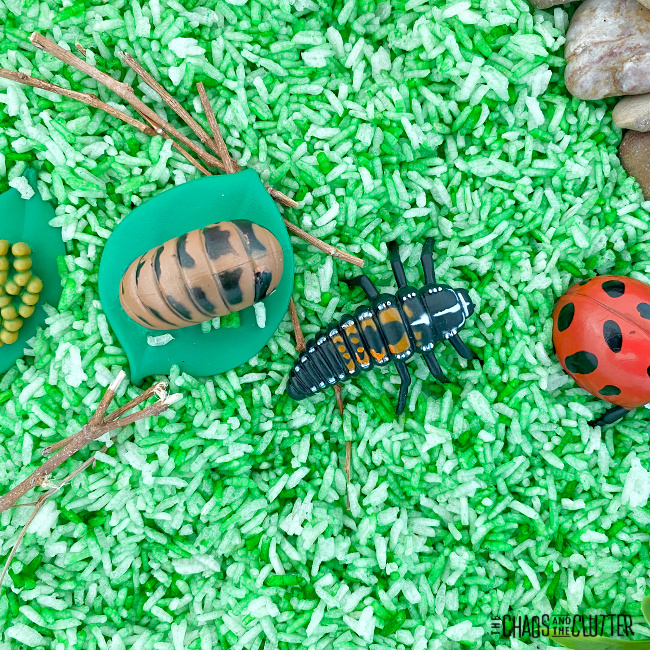
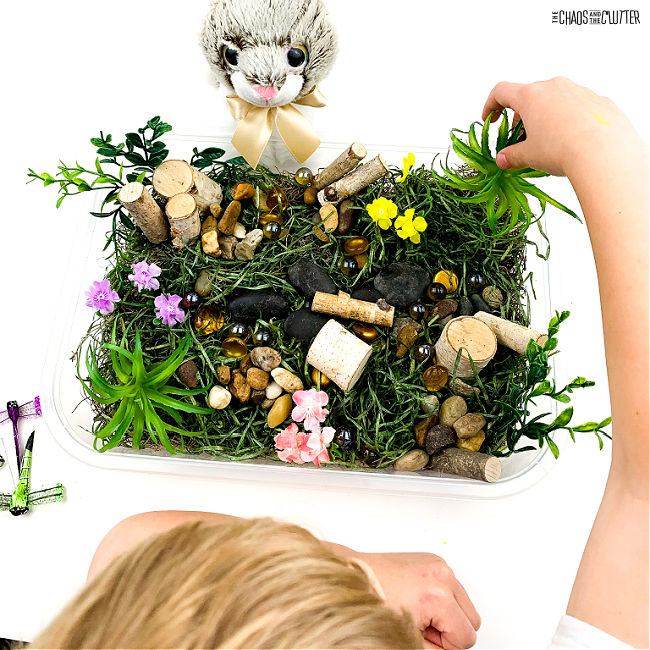
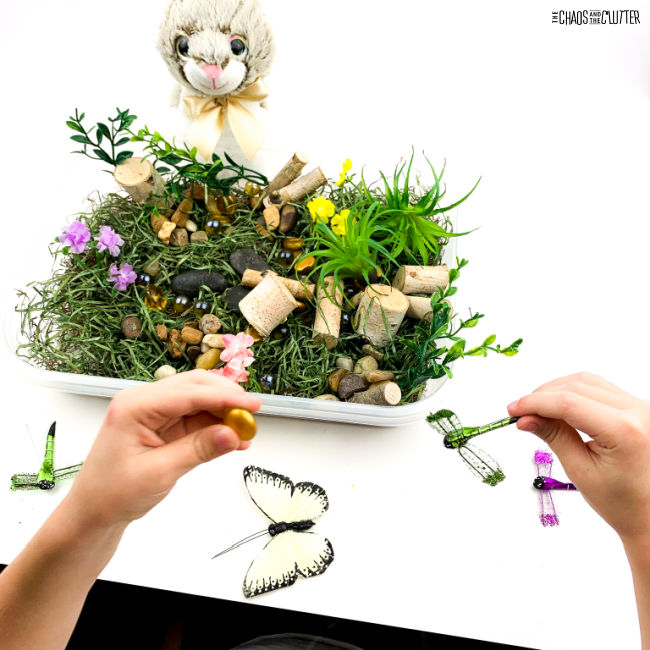
Kids will engage their visual, tactile, and proprioceptive sensory systems by playing in this sensory bin. You can also add something for the olfactory (smell) system by scenting the rice using essential oil.small hand holds a ladybug pupa in dyed green rice

Resources for Learning About Ladybugs:

Ladybug Life Cycle PackLadybug Life Cycle PackLadybug Life Cycle PackLadybug Life Cycle Reversible Hand PuppetLadybug Life Cycle Reversible Hand PuppetLadybug Life Cycle Reversible Hand PuppetLadybug Land with Live LarvaeLadybug Land with Live LarvaeLadybug Land with Live LarvaeThe Grouchy Ladybug by Eric CarleThe Grouchy Ladybug by Eric CarleThe Grouchy Ladybug by Eric CarleLife Story of a LadybugLife Story of a LadybugLife Story of a LadybugColor the Life Cycle of a Ladybug, Cricket, Butterfly, Honey Bee, and a FrogColor the Life Cycle of a Ladybug, Cricket, Butterfly, Honey Bee, and a FrogColor the Life Cycle of a Ladybug, Cricket, Butterfly, Honey Bee, and a FrogLadybugsLadybugsLadybugs


You might also want to check out our other life cycle sensory bins:

  • Frog Life Cycle Sensory Bin
  • Praying Mantis Life Cycle Sensory Bin
  • Chicken Life Cycle Sensory Bin
  • Life Cycle of a Bee Sensory Bin
  • Life Cycle of a Sea Turtle Sensory Bin

Filed Under: Homeschooling, Printables, Sensory Bins

  • « Go to Previous Page
  • Page 1
  • Interim pages omitted …
  • Page 10
  • Page 11
  • Page 12
  • Page 13
  • Page 14
  • Interim pages omitted …
  • Page 128
  • Go to Next Page »

Primary Sidebar

Categories

We are a participant in the Amazon Services LLC Associates Program, an affiliate advertising program designed to provide a means for us to earn fees by linking to Amazon.com and affiliated sites.

Copyright © 2026 • The Chaos and the Clutter • Site Design by Jeni @ The Blog Maven

Return to top of page

Copyright © 2026 · Chaos and the Clutter 2.0 on Genesis Framework · WordPress · Log in