I love when you can combine learning and fun! This colour mixing sensory bottle does just that. It brings science and the wonder of discovery to sensory play.
 This activity is effective for teaching the science concepts of colour (for younger children) and density (for older children. By using different densities, the two colours are able to mix to form a new colour and then separate again.
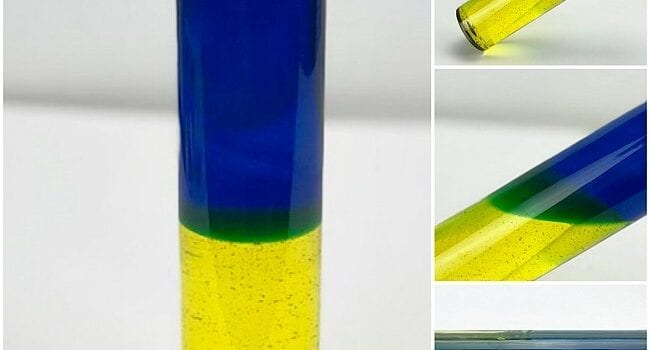
When held up to the light or sunlight, the colours created in this colour mixing sensory bottle are beautiful.
Even I was surprised at how cool this simple science activity was. I wasn’t sure if it would work and was delighted when it did. My kids were even more delighted!
Due to the weight of the corn syrup, these sensory bottles are on the heavy side, making this a wonderful activity for proprioceptive sensory input. These also of course involve the visual sensory system as children use their eyes to explore the colours changing.
How to Make Colour Mixing Sensory Bottles:
Materials needed:
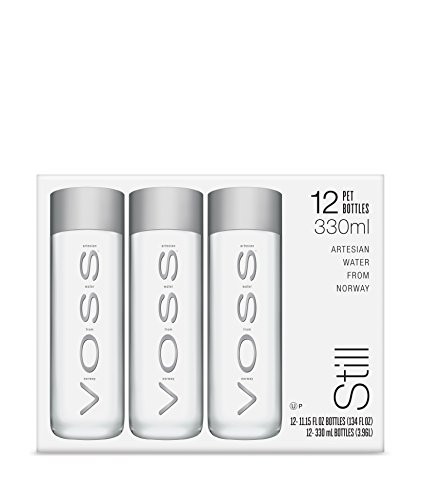
- empty plastic water bottle (330 mL/11 oz. size)
- clear corn syrup
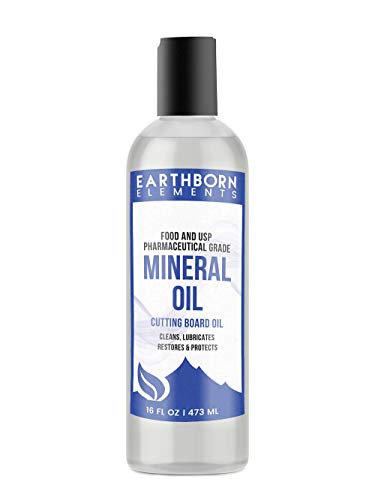
- mineral oil
- food colouring
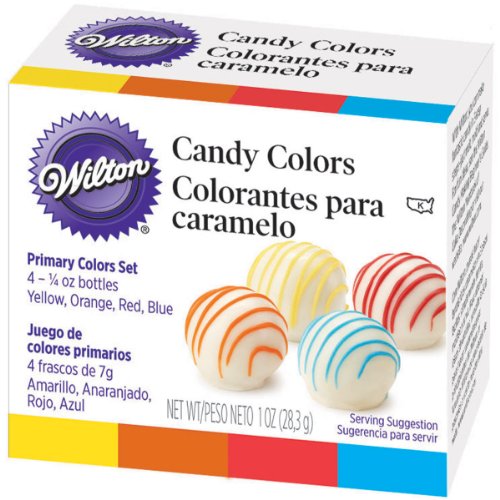
- Wilton oil-based candy colour in primary colours*
- funnels or measuring cups with a spout
- plastic or glass containers of similar size
- spatula
White Corn Syrup Wilton Oil Based Primary Colors SetVOSS Plastic BottlesMineral Oil
Directions:
- In a glass or clear plastic container that is similar in size to the empty water bottle, add clear corn syrup and a few drops of yellow food colouring. Mix well.
- In another glass or clear plastic container that is similar in size to the empty water bottle, add mineral oil and a small bit of blue food colouring paste*. Mix well. Add a very small amount of the dye as you can always add more once you see the colour. You don’t want the blue to be too dark.
- Pour the yellow corn syrup mixture into the empty water bottle to about the halfway point. You may need to use a spatula to get it all transferred.
- Next, pour the blue mineral oil to nearly the top.
- Top with the lid. If you want to secure the lid, you can do so using a hot glue gun.
*It is important that you use an oil based food colouring in this step. Water based dyes will not work.
 The yellow and blue should stay separated when the bottle is upright. If you tilt the bottle, you will begin the see the colours combine to form green.
You can create other colour mixing sensory bottles by adding yellow and red which when combined will make orange and blue and red which will form purple when mixed.
Note: It works best to have the lighter colour be the one that is mixed with the corn syrup.
What makes the colours separate?
The difference in densities between the corn syrup and mineral oil is what keeps the colours separate. They sit on top of each other unless tipped. The colours will then mix to form a new colour, but when brought upright again, the colours will separate because of the density of the liquid they are in. 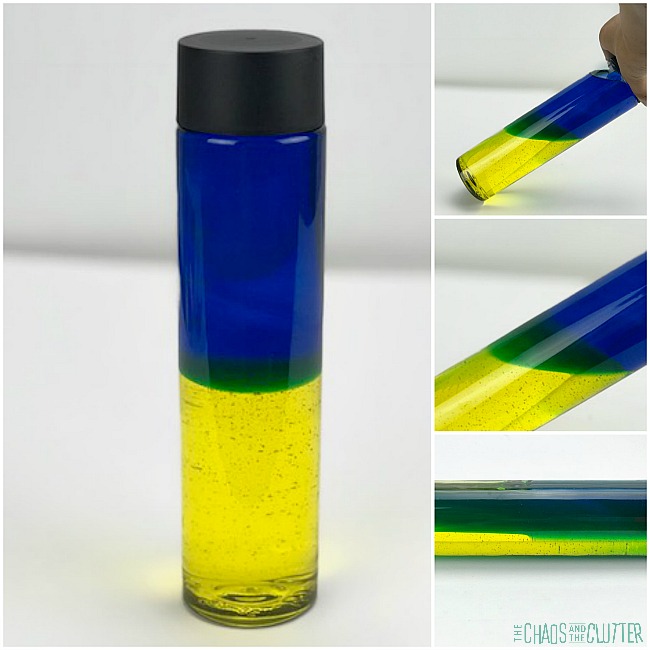 For younger children, give a simple explanation on density, but focus most of the science lesson on the colour mixing.
For older children, use this science experiment as a way to introduce density. Follow up with this video that helps further explain density. You can then expand the discussion from there.
More sensory science:
This activity appears in the Colours section of The Sensory Science Book Volume 1. In it, you can find other incredible activities to help children discover the world around them. 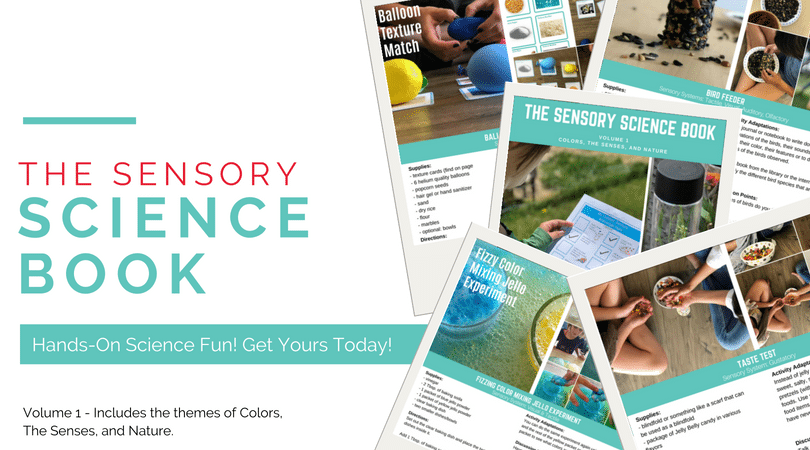
Experiment with other colour mixing examples.
Colour Mixing Jello Experiment
If you’re looking for more fun ideas for your child, get a free sample of our Sensory Play Recipes eBook.
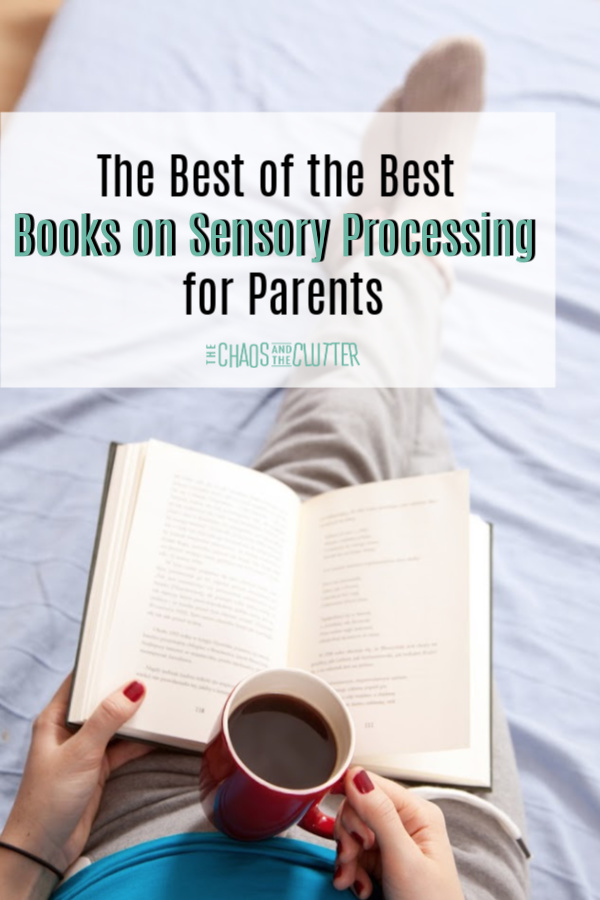 I devoured everything I could get my hands on. Unfortunately, a lot of the books I could find at that time were geared towards Occupational Therapists and other professionals. Sometimes, I felt like I needed a dictionary beside me to understand what I was reading.


 The conversation continued on to other things, but that statement stuck with me. I played it over and over in my head after she left.
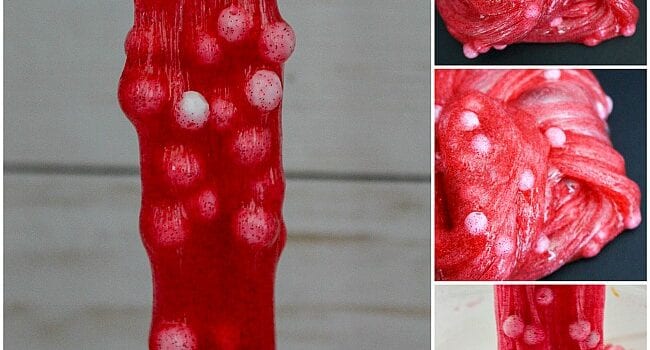
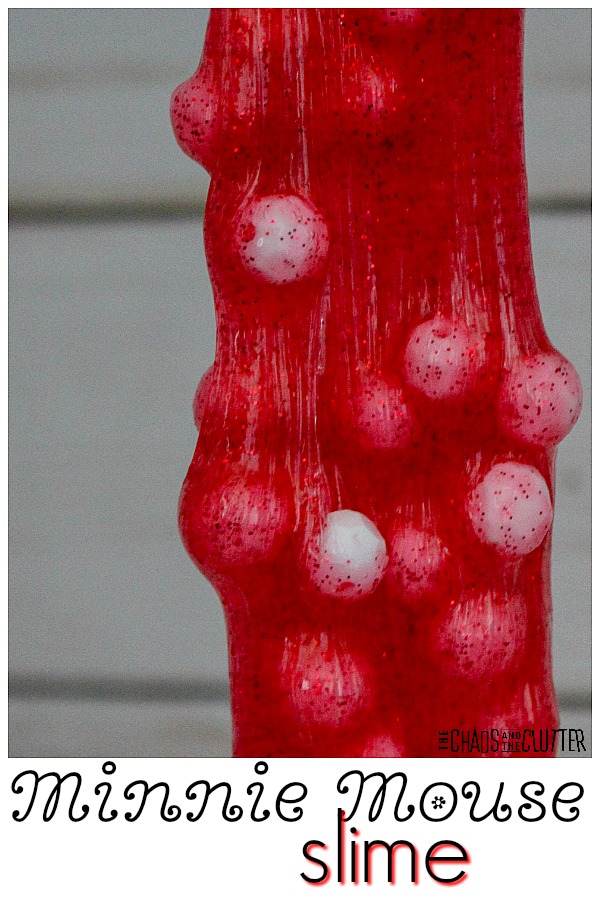
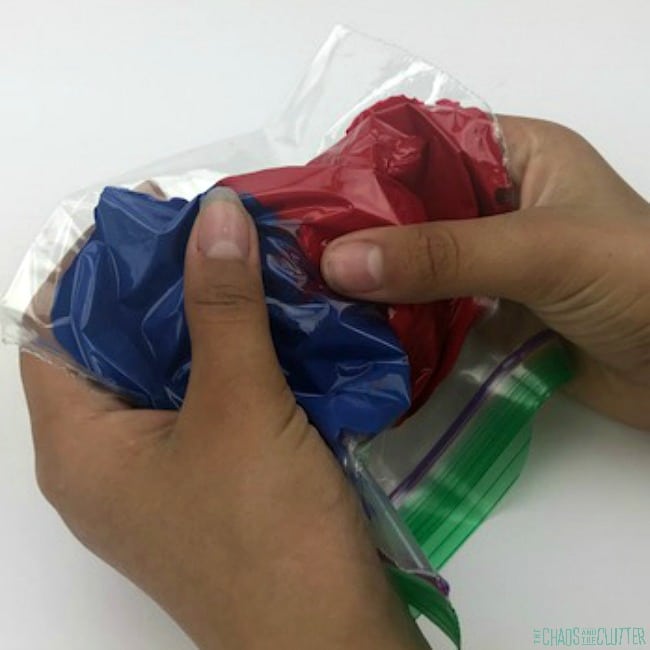
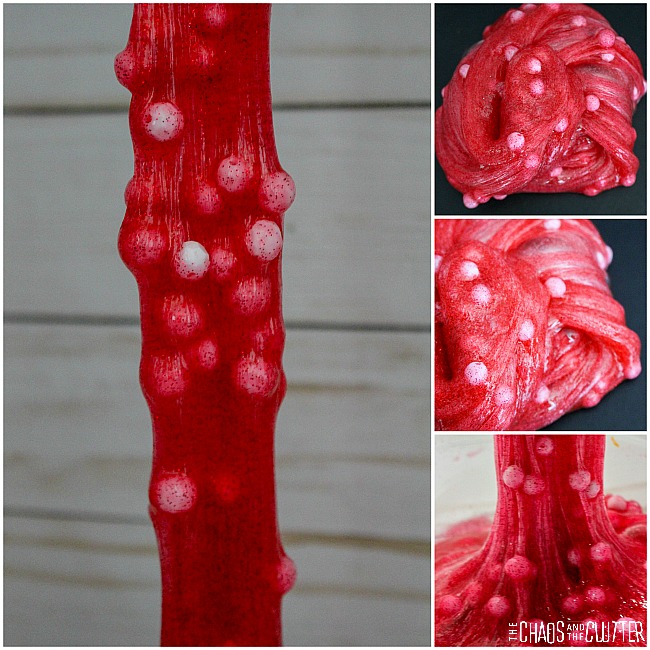 How to make Minnie Mouse Slime:
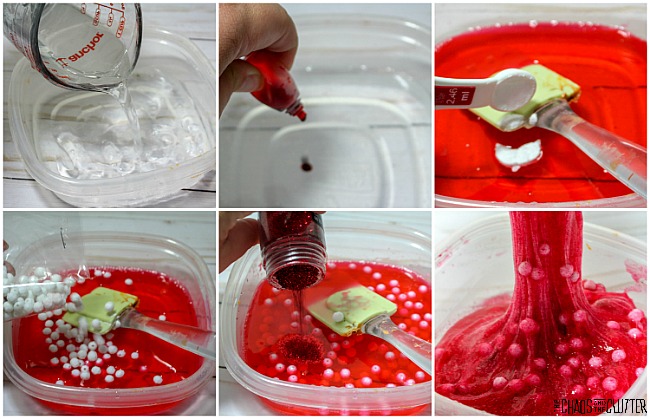 Creating a Minnie Mouse inspired slime was so simple. By adding the red colouring, red glitter, and the white beads, the finished slime is reminiscent of my favourite cartoon character. The beads become the polka dots.
 Besides the obvious appeal of this particular slime for me, I also like the sensory input it provides. All slime is good for proprioceptive input. When kids knead, pull, stretch, and squish, they are getting much needed proprioceptive input. This can help in emotional regulation and mood.
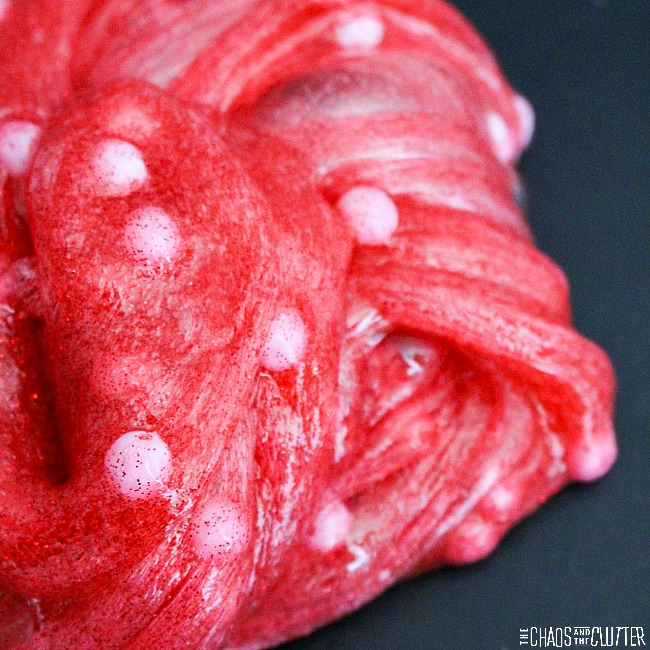 Find other sensory play recipes by grabbing a free sample of our Sensory Play Recipes eBook. Simple enter your email below and you’ll be on your way!
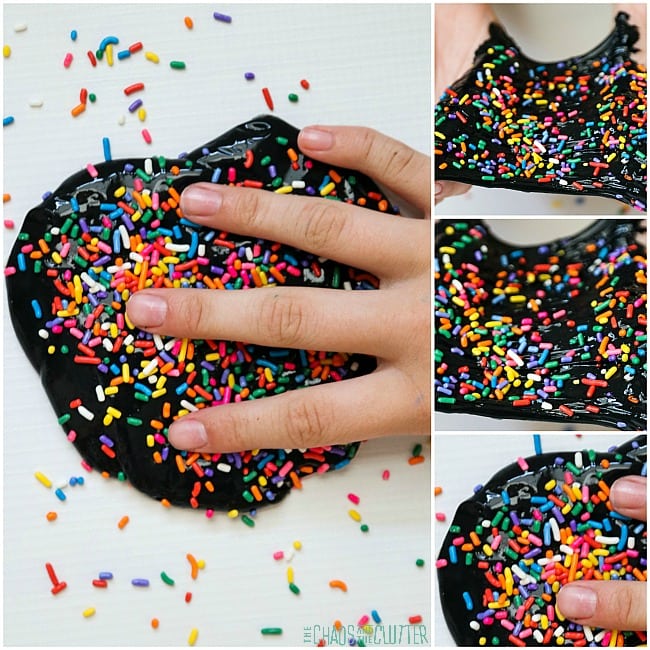
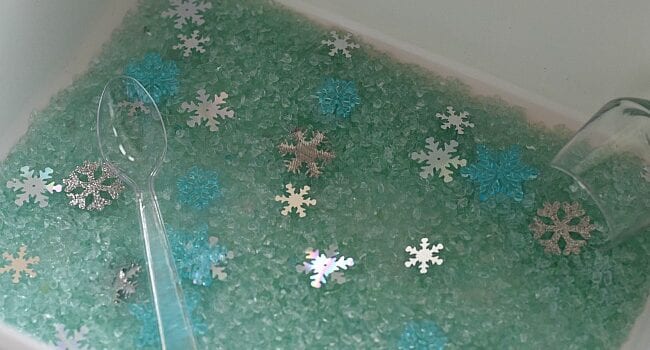
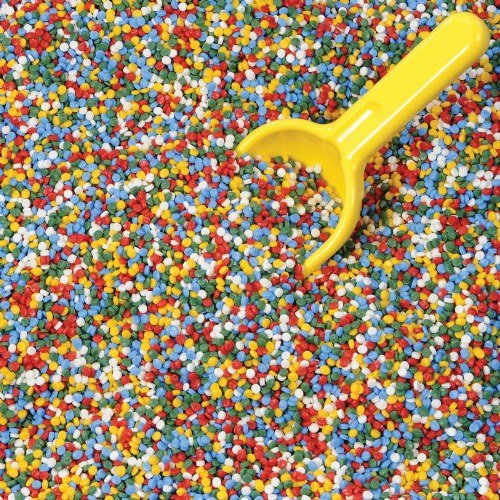
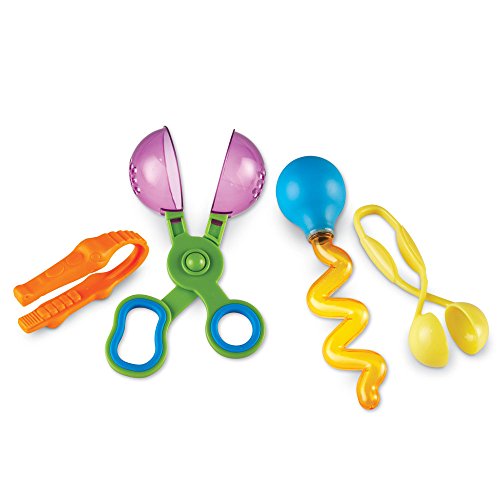
 You can use this in a preschool classroom or at home. It encourages scooping and pouring and hands-on discovery.
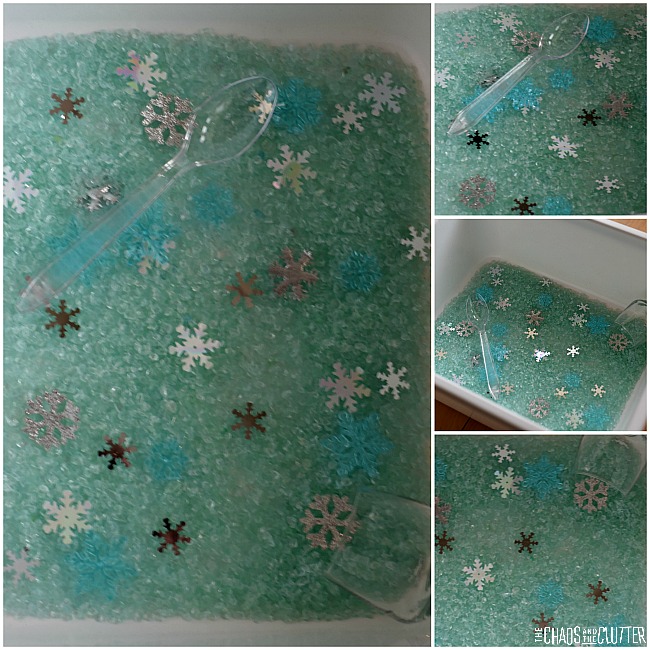 This bin is a cute way to bring a bit of winter indoors.
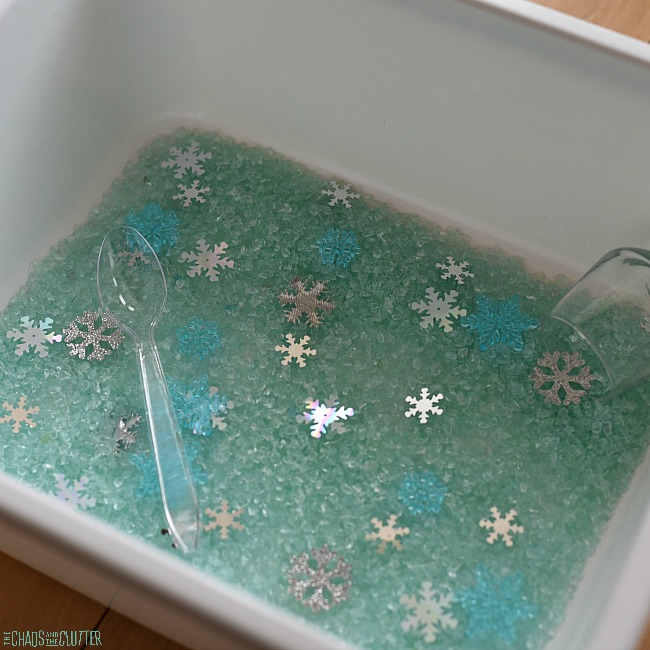 My kids really liked the sound the glitter gravel made when they scooped it. They also loved the soothing colours.

 Sensory bins are kind of my go-to sensory activity. They allow kids to really explore through their senses and discover the world around them. Kids from toddlers to teens can benefit from this method of exploration.