Slimes are a great sensory activity for kids. There are many slime recipes out there. I wanted to showcase some of the most unique slime recipes. I’m sure you will find these as cool as your kids will find them!
 My kids, in particular my girls, are always on the lookout for cool slime recipes. Our kitchen now has so many plastic containers and resealable bags full of different types of slime!
My girls scour the internet and Pinterest searching for the latest and greatest slime ideas, which is one of the reasons that I decided to put this list together and have all the types of slime in one place.
Unique Types Of Slime
Unique Slime Ingredients
Edible Fluffy Slime
This taste safe slime uses all edible ingredients. It is borax free and has no contact lens solution, so it’s completely safe for toddlers and little ones who might still be putting things in their mouths.
Textured Butter Slime
This very unique slime actually uses old playdough that’s started to dry up as one of its ingredients. So not only does it have an awesome buttery texture, it also makes use of something you might otherwise have just thrown away.
Diaper Slime
This recipe from Sugar, Spice and Glitter has got to be one of the most unique slime ideas out there. It gets its fluffiness from the crystals in disposable diapers!
Cornstarch Slime
STEAM Powered Kids has tested out 3 different cornstarch slime recipes and provides detailed instructions as well as revealing which one is their favourite of the bunch.
Super Stretchy No Borax Slime
What makes this type of slime from STEAM Powered Kids so different is that it doesn’t use Borax, liquid starch or detergent.
Sand Slime
This slime idea by Little Bins for Little Hands uses real sand to create a fun sensory slime.
Unicorn Slime
Our unicorn slime contains both shaving cream and foaming hand wash as well as other ingredients, giving it a unique consistency.
Crunchy Slime
The add-ins in our Frozen Inspired Elsa Slime make it crunchy. This texture contrasts the squishiness of the slime making it a truly unique experience.
Halloween Slime
Spider Web Slime
There’s a “secret” slime ingredient in this one that makes it look like a spider web.
Hallowe’en Slime
I love the look of this glittery slime. It’s simple, but still very cool.
Rainbow or Glitter Slime
Glow in the Dark Slime
Anything glow in the dark is just plain fun, and then add glitter!
Rainbow Slime
I love the contrast of colours in this simple rainbow slime recipe with a twist. It’s one we really like.
Rainbow Glitter Slime
This glittery rainbow slime from MomDot is perfect for St. Patrick’s Day or Spring.
Science Slime
Magnetic Slime Recipe
This magnetic slime recipe (yes, really!) from Frugal Fun for Boys and Girls is part sensory, part science and all fun!
Heat Sensitive Colour Changing Slime
Another science lesson with slime can be found in this colour changing slime by Left Brain Craft Brain.
Galaxy Slime
This gorgeous galaxy slime from Two Daloo is super cool!
Slime With Clear Glue
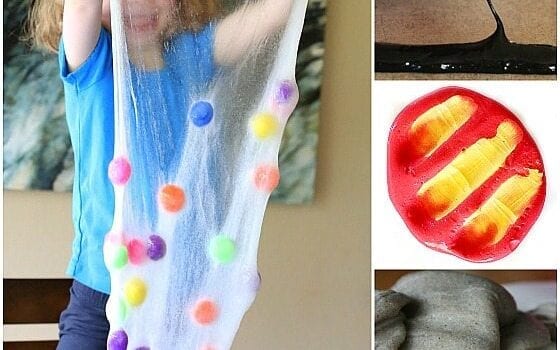
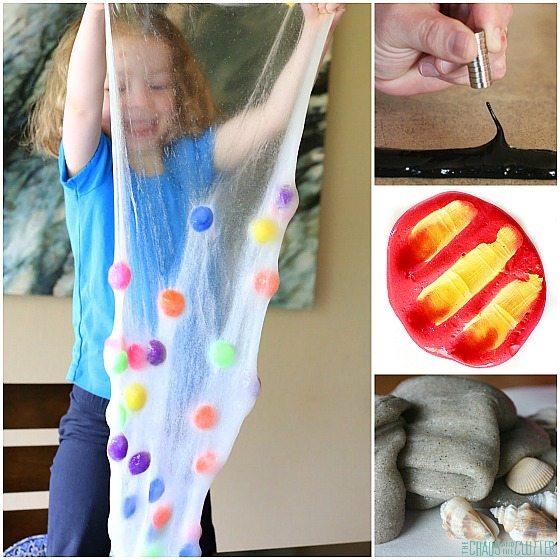
Polka Dot Slime
Fun at Home with Kids’ polka dot slime is the first slime recipe I ever tried to make and it turned out wonderfully. The key is to use the clear glue.
 Stretchy Christmas Tree Slime
This slime is extremely stretchy. That makes it fun to play with. Like all slimes, it’s also pretty fun to make.
Fall Leaves Slime
This simple recipe is a great way to welcome autumn and bring some colour and texture to sensory play.
Minnie Mouse Slime
I’m a huge Minnie Mouse fan, so this Minnie Mouse slime was kind of an inevitability! It turned out to be super cute.
Edible Slime
Baby Safe Edible Slime
Wildflower Ramblings came up with this safe slime recipe that even little ones can play with.
Slime Drawing
Slime Drawings
Who would have ever thought to use slime for artwork?! I love this idea from Left Brain Craft Brain.
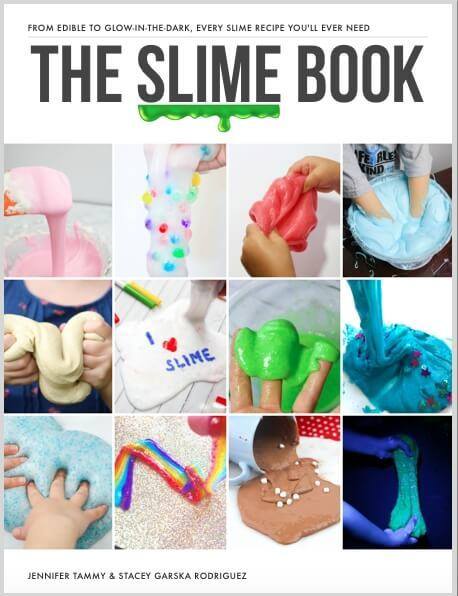
For more awesome slime recipes at your fingertips, check out The Slime Book –
From Edible to Glow-in-the-Dark Slime – it’s got it all!
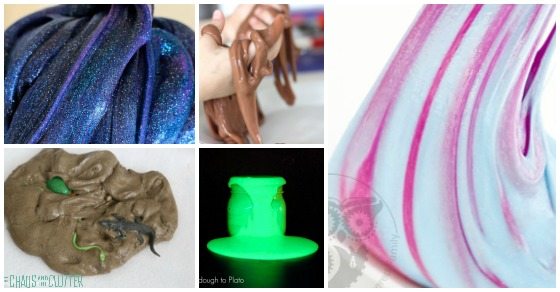
Easy Gold Slime – I’m amazed at the way this slime from Fun a Day sparkles.
Chocolate Slime – Even though this chocolate slime invented by Little Bins for Little Hands is not edible, I’ll bet it smells delicious!
Glow in the Dark Slime – Playdough to Plato created this slime recipe that glows in the dark.
Mud Slime – This ooey-gooey slime from Frugal Fun for Boys and Girls is like elevating a mud pie.
 The only question now is what cool slime recipe are you going to try first?!
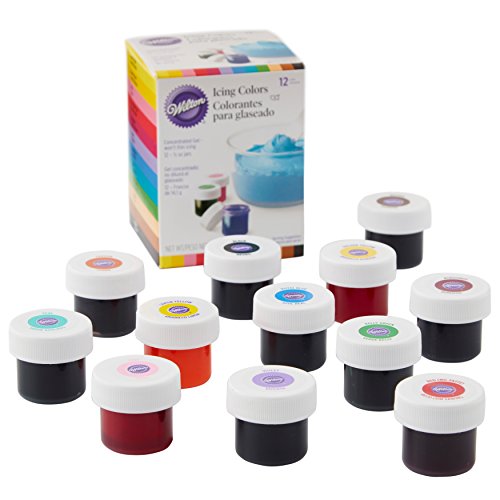
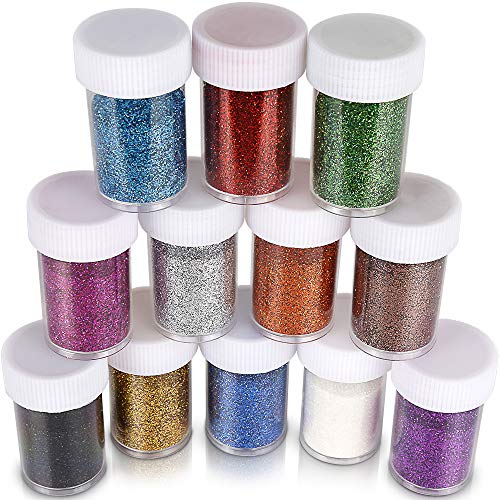
Common slime ingredients:
Elmer’s White School Glue Saline SolutionWilton ColorsFine Glitter
Join me for a free 5 part email series Sensory Solutions and Activities (just pop your email into the box below) and get a free sample of our Sensory Play Recipes eBook.
If you are looking for other slime ideas, you can find our list of the Cool Slime Recipes here.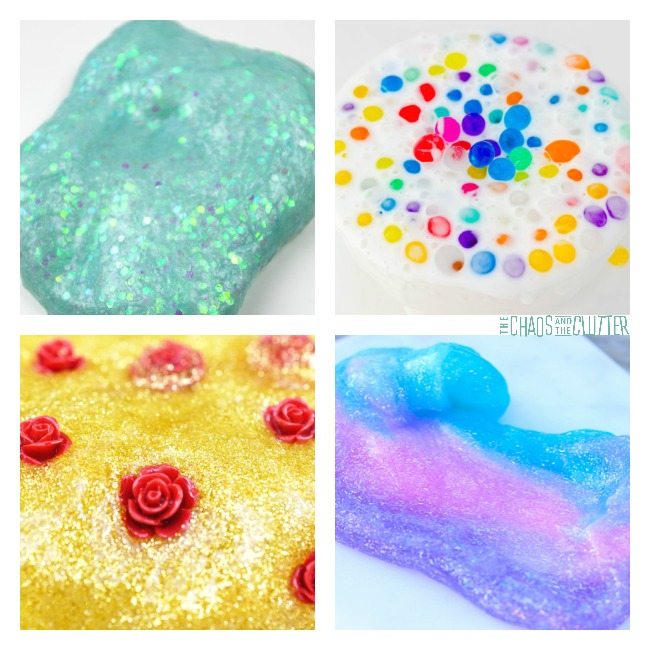
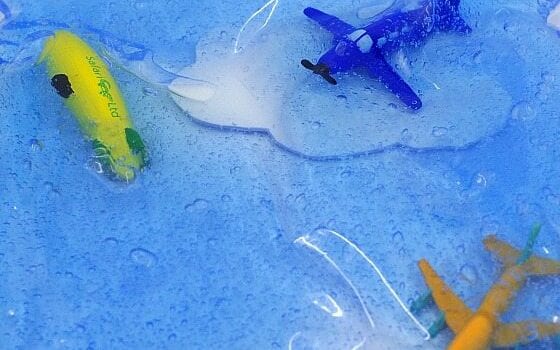
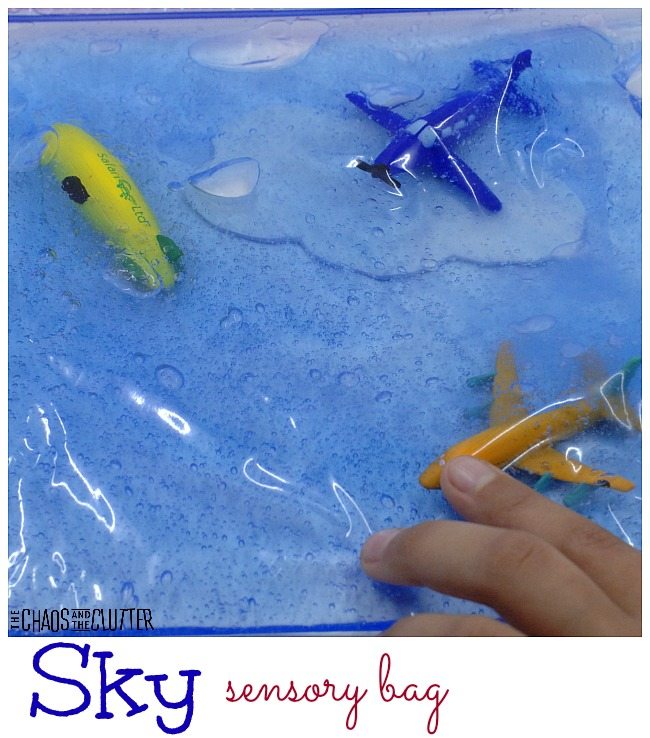 Materials needed:
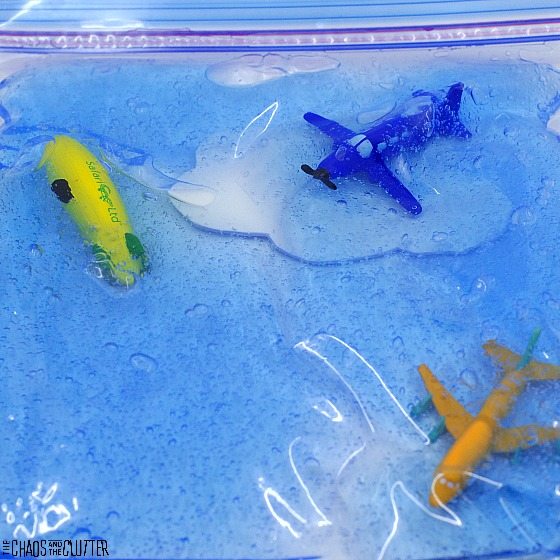 If you’re using these sky sensory bags with younger children, you can secure the opening of the bag by folding strong clear packing tape or duct tape over the top of the bag. You can also do this to all sides of the bag for extra durability.
 I used the same In the Sky toob to make a
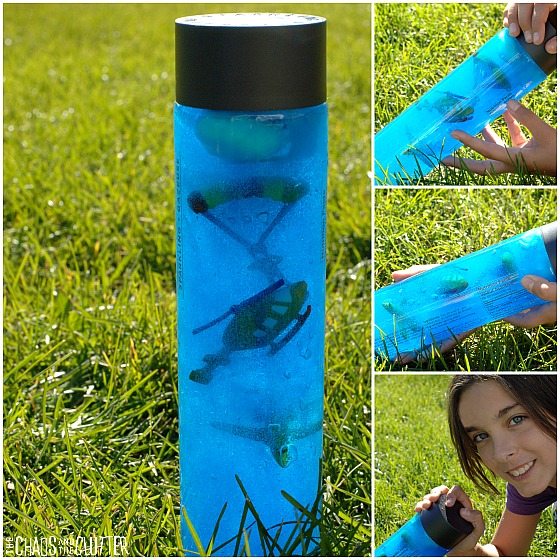
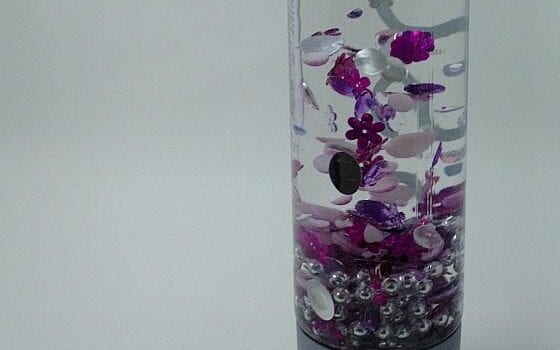
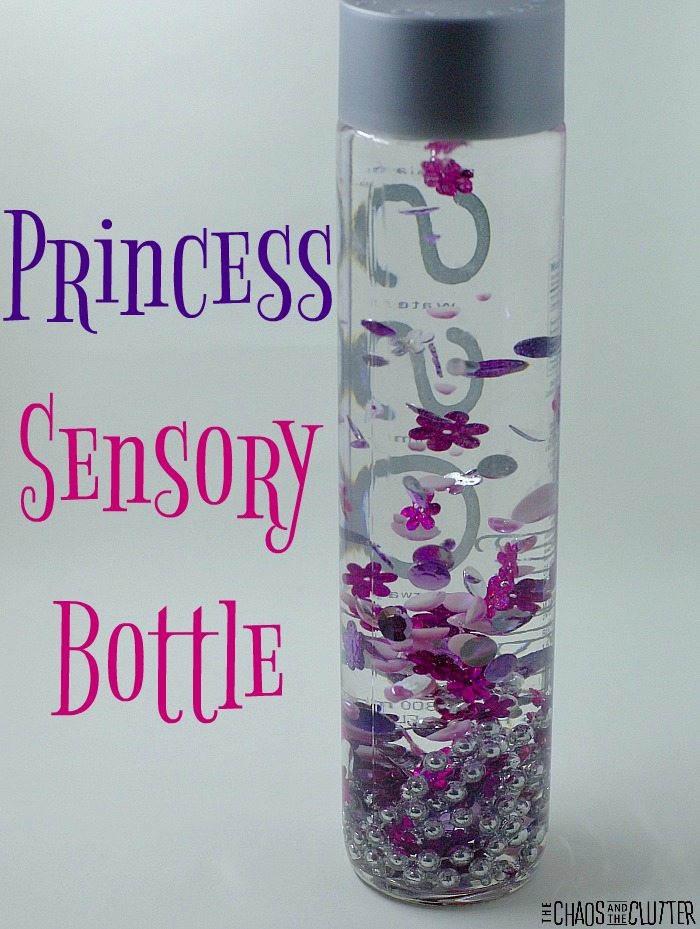 My girls liked listening to the beads and watching the gems and confetti sink down. They also liked how pretty this sensory bottle was.
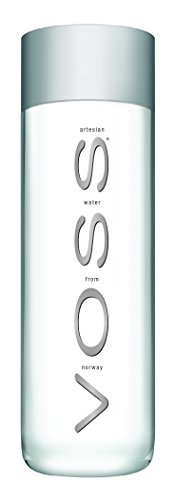
 Pour out about a quarter of the water in a water bottle. Place the
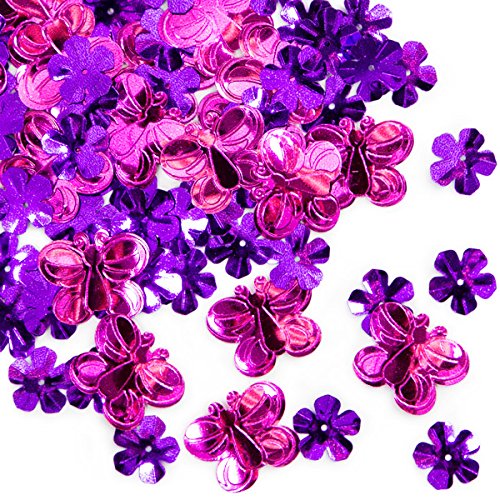
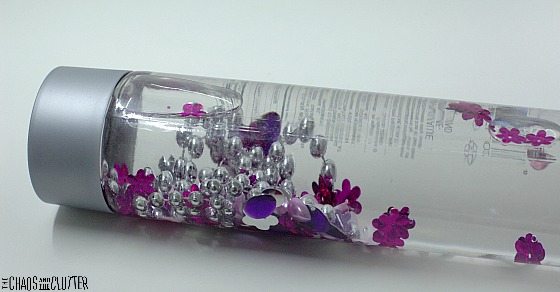 If you want to, you can add some pink or purple glitter before you add the water and give the sensory bottle a good shake.
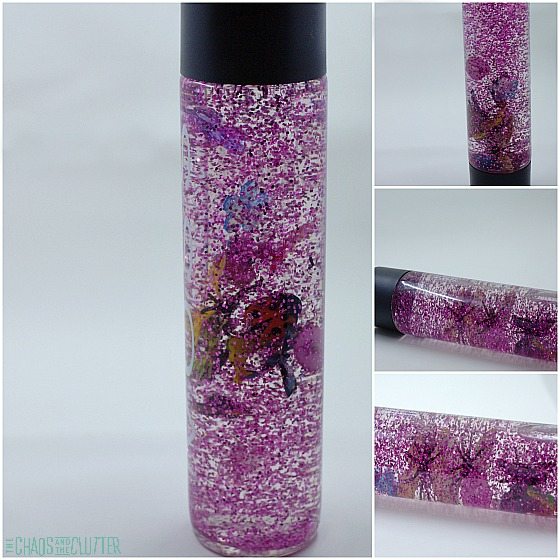
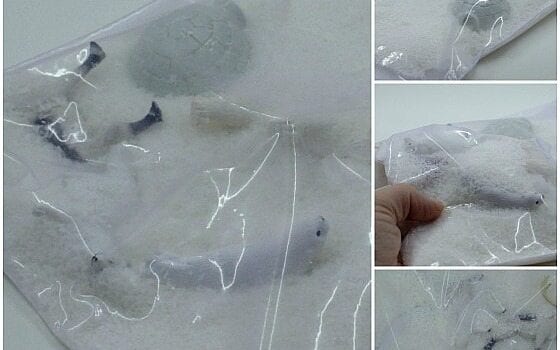
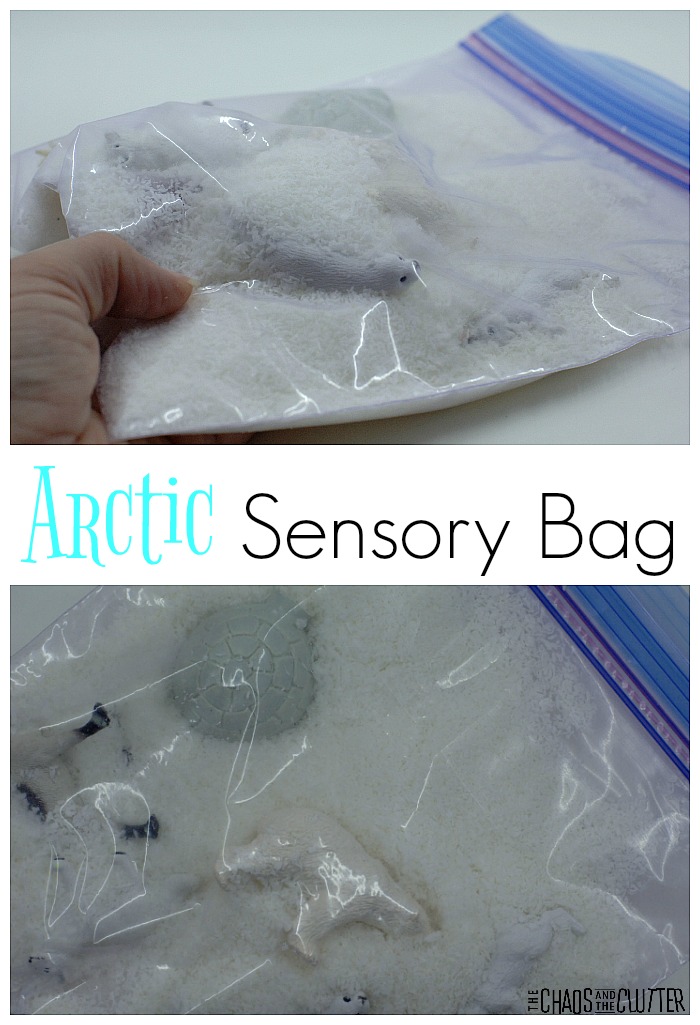 This sensory bag is particularly easy to make because it requires very few materials.
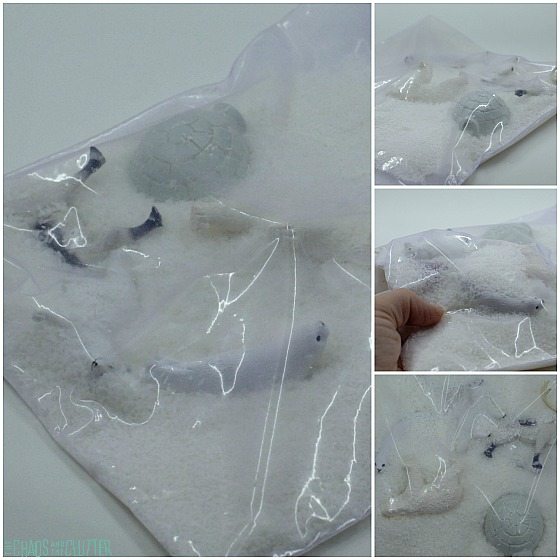 If you are creating this sensory bag for younger children, you will want to seal the bag with duct tape or heavy, clear packing tape after closing it so that they aren’t able to open it. You may also want to fold the tape over the other sides of the bag as well to reinforce it. I choose to use good quality freezer bags for
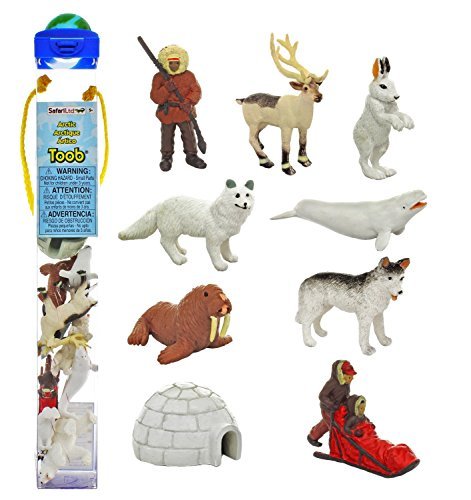
 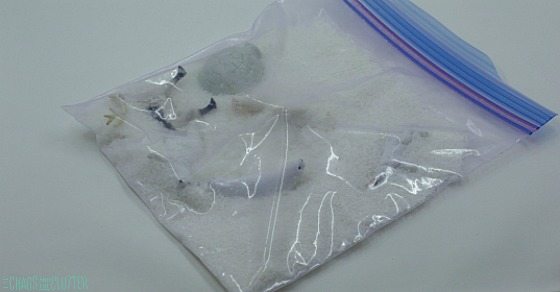 This arctic sensory bag and
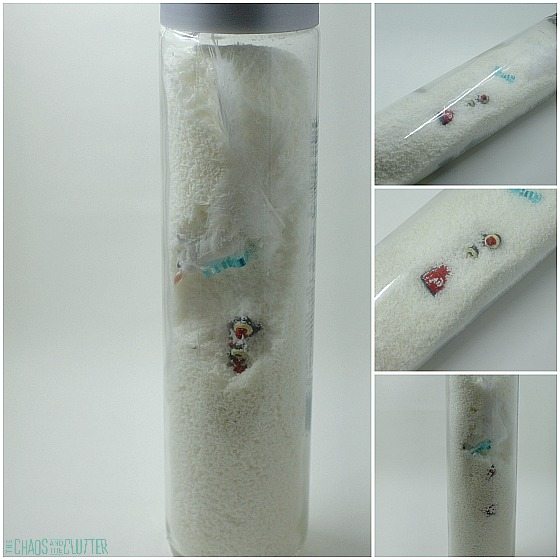

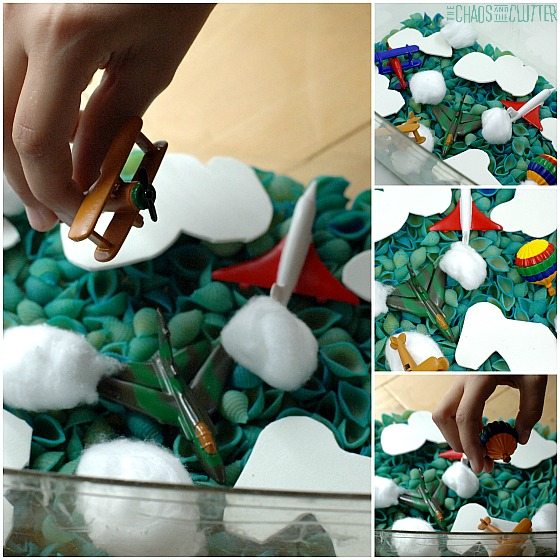
 For my sensory bags, I use the medium size freezer bags because they are slightly larger and much more durable than sandwich baggies.
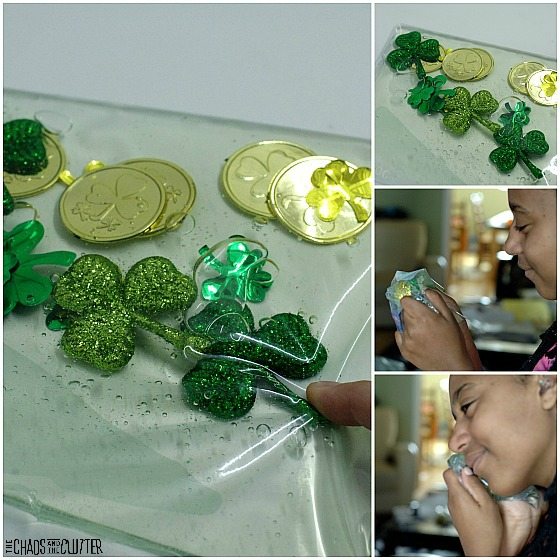 One of my daughters loved the squishy feeling of this sensory bag (as you can see from the pictures above!)
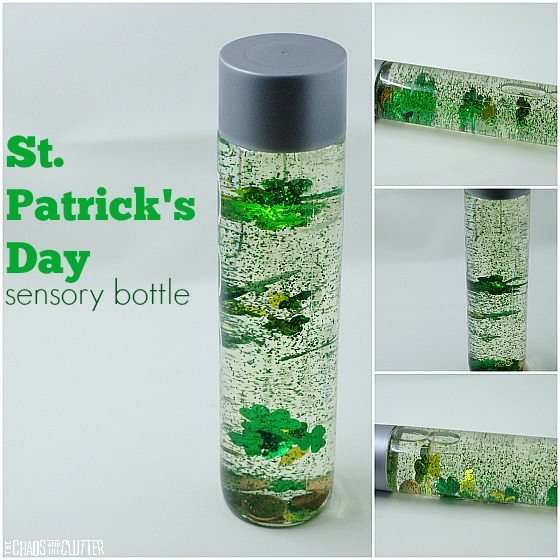
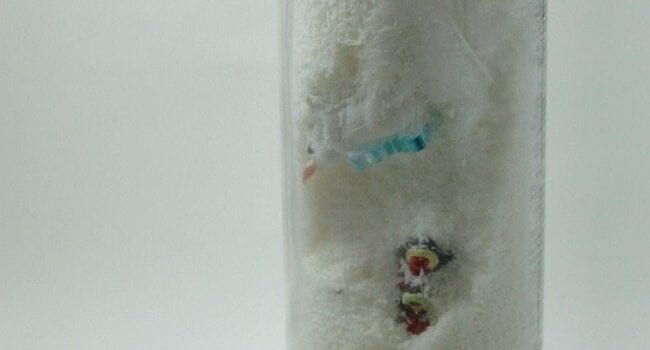
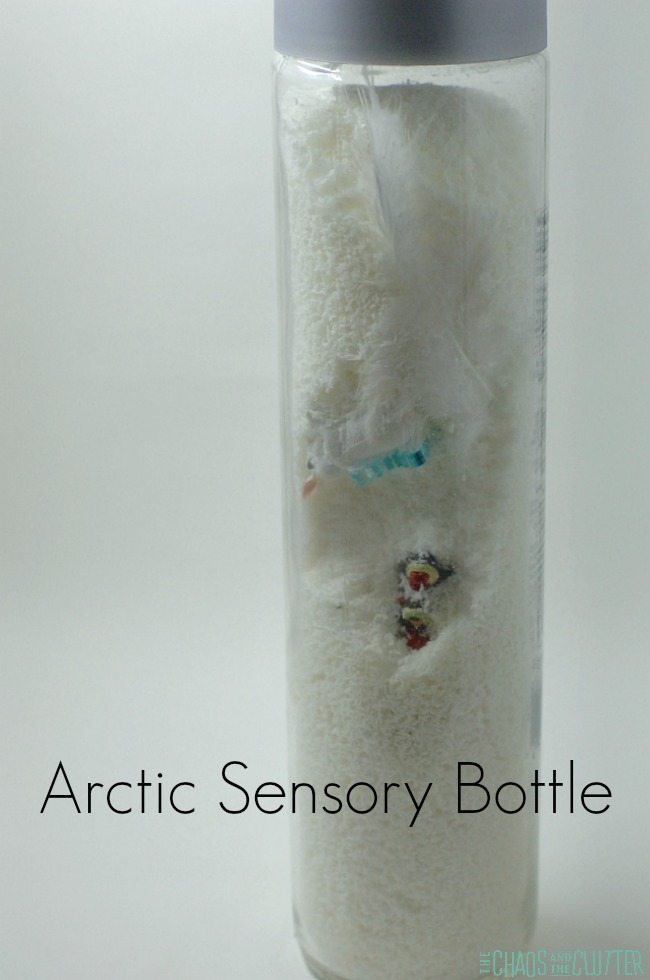
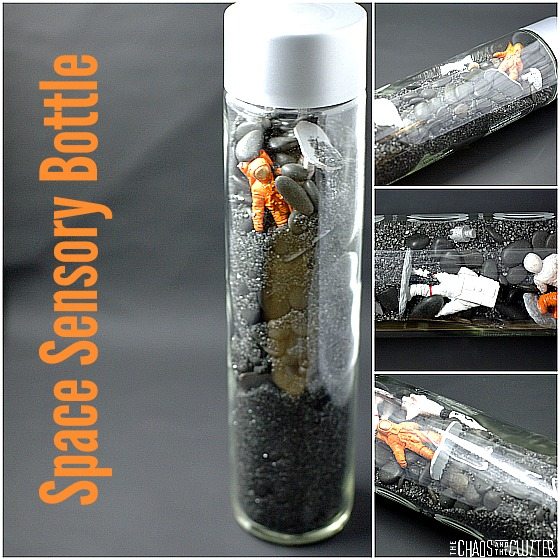
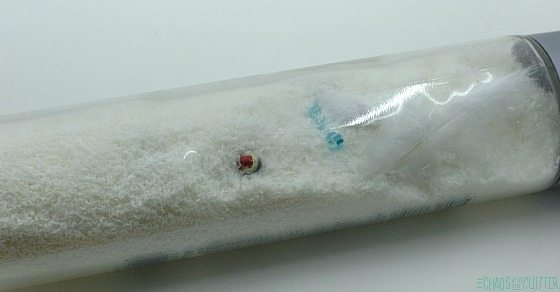 Once all the items are in, add the lid back onto the bottle and your arctic sensory bottle is ready to use for play. If you have younger children, you may want to hot glue the lid in place so that they can’t open it. As with all sensory and exploration activities for kids, adult supervision is of course recommended.