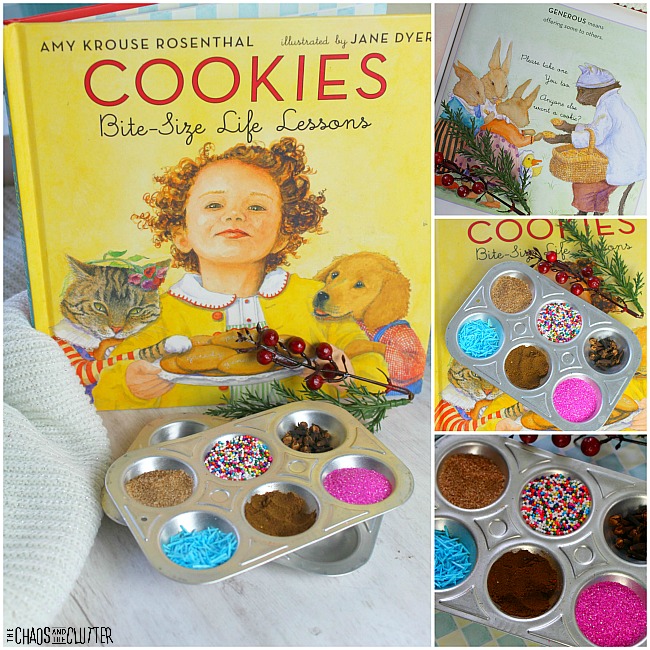
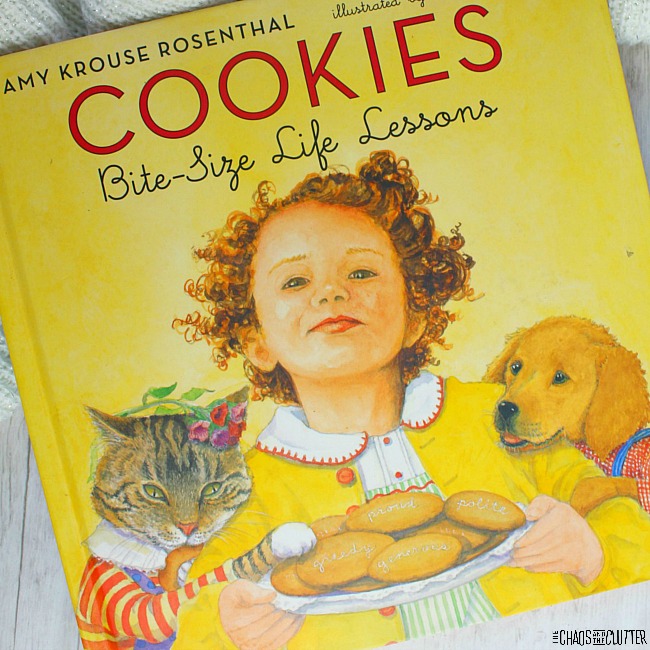
Nothing can bring a family together like baking cookies. In the book Cookies, Bite Size Life Lessons by Amy Krouse Resenthal, children can learn life lessons about love, kindness, and sharing all centered around their favourite food…cookies! Enjoy the book with your child, then take a look at these book based activities designed to extend the learning even further.
These activities are a great way to enjoy the themes of the story long when the book is done, and can help keep kids learning and engaged in a way that is fun and meaningful. 
Cookies Bite Size Lessons Book Activities:
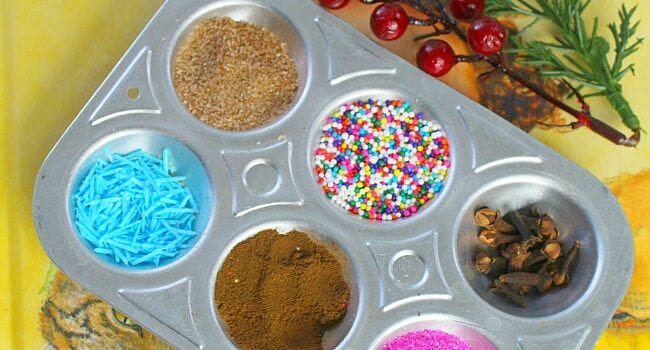
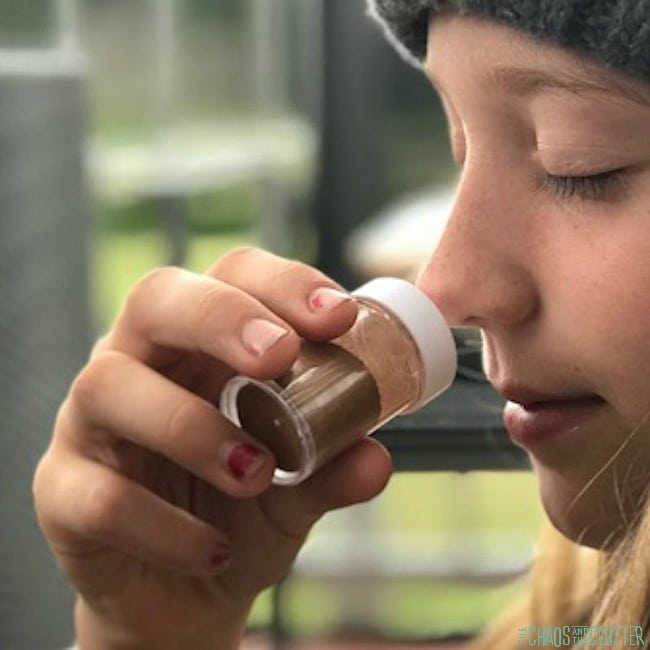
Activity #1: Cookie Baking Sensory Experience
In this activity, kids will experience the smells and feels associated with cooking baking in a hands on way. It engages the tactile and olfactory sensory systems.
Supplies needed:
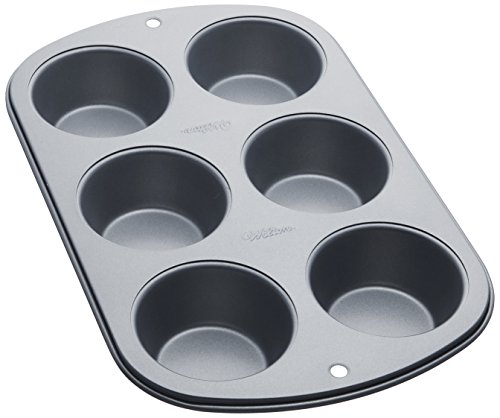
- muffin tin or muffin cups
- assorted cookie toppings such as candies, cinnamon sprinkles, candy sprinkles, sugar, cloves, and other spices.
Directions:
- Start by reading the book with your child. As you look at the pictures, talk about how we can use illustrations to “smell” the pictures. What types of items do you see that make you think of baking scents? Some examples include dough, sugar, candy, etc.
- Take a look at the samples you have collected for children to smell. Take turns smelling each sample. Some of the samples can include candy toppings, cloves, cinnamon, and sugar.
- Use your adjectives to describe the scents. Do they smell sweet? Spicy? Tasty?
- Let children touch and smell each sample and use their adjectives to describe what they are experiencing.
Activity #2: Comprehensive Book Walk
In this activity, children will take a book walk through the text and use this opportunity to ask questions, discuss their favourite pages, and more.
Supplies needed:
- book
- Post-it notes
- pens/pencils
Directions:
- Give each child a stack of post it notes as well as a pen or marker.
- Go through the book page by page. When children find a page that they have a question about, have them write a “?” on the sticky note and stick it to the page.
- When they find a page that excites them or is their favourite, have them write a “!” and stick it on the page.
- When you are done walking through the book, take the time to go back and address the sticky notes. These conversations help them develop further comprehension of the text and can help guide the conversation.
Activity #3: Bake and Share
A big theme in the book is sharing with others. For this activity, you will plan, bake, and share your own batch of cookies.
Supplies needed:
- book
- ingredients to make cookies
- construction paper, markers
Directions:
- Talk about the themes of the book such as sharing, caring, and love. Talk about who you would like to share cookies with and why.
- Bake a batch of cookies. Use this opportunity to practice those measuring skills. Let kids help plan, bake, and clean up.
- Take the construction paper and markers and create homemade cards to go with your cookies. Deliver them to family or friends who may enjoy them.
- Afterwards, sit down and talk about how sharing and caring feels.
Enjoy this book with your child, then give these fun and educational book based activities a try!
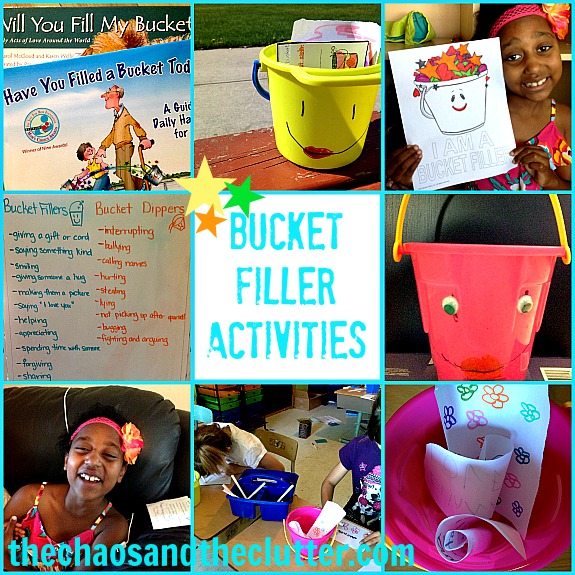
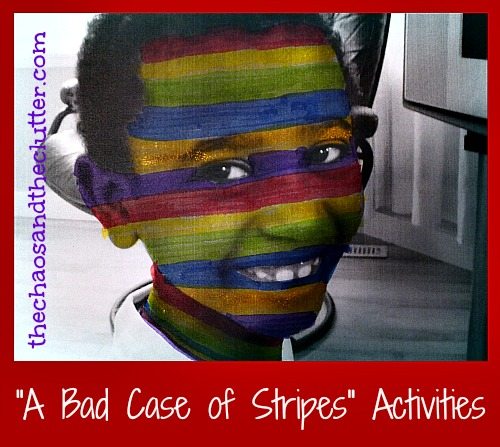
You may also enjoy these book activity ideas:

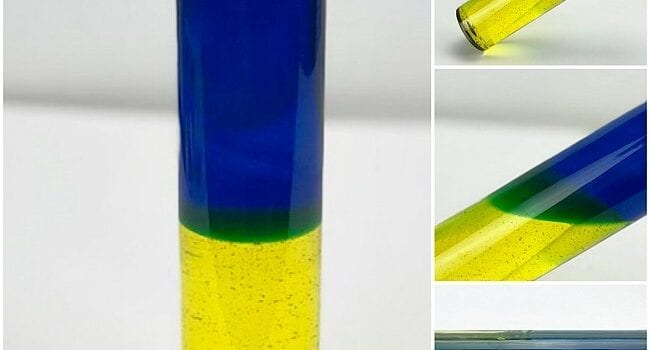
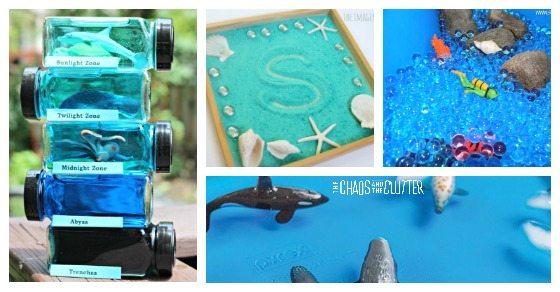
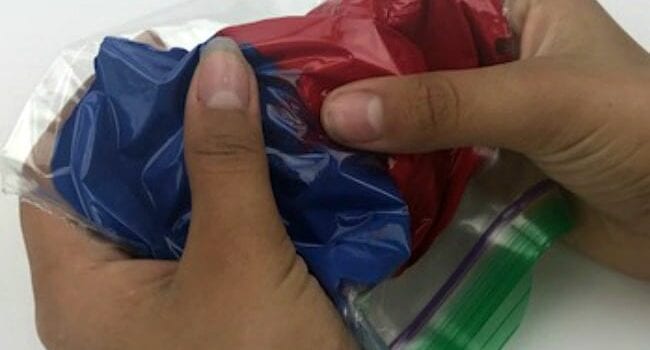
 This activity is effective for teaching the science concepts of colour (for younger children) and density (for older children. By using different densities, the two colours are able to mix to form a new colour and then separate again.
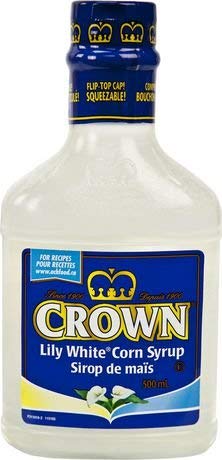

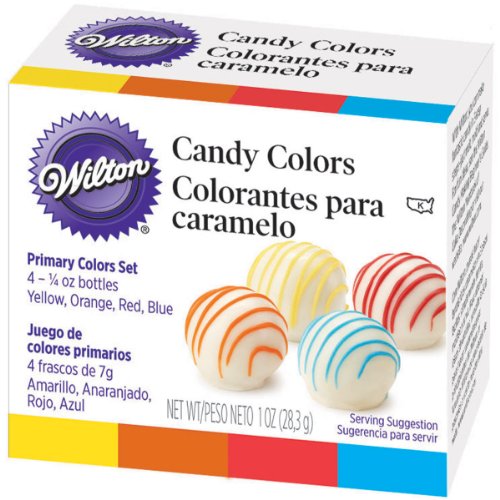
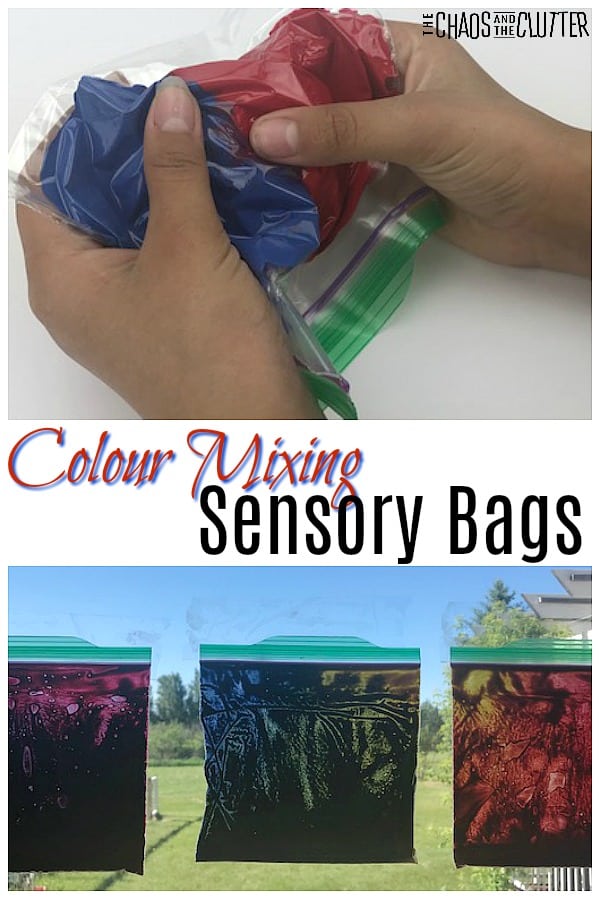
 The yellow and blue should stay separated when the bottle is upright. If you tilt the bottle, you will begin the see the colours combine to form green.
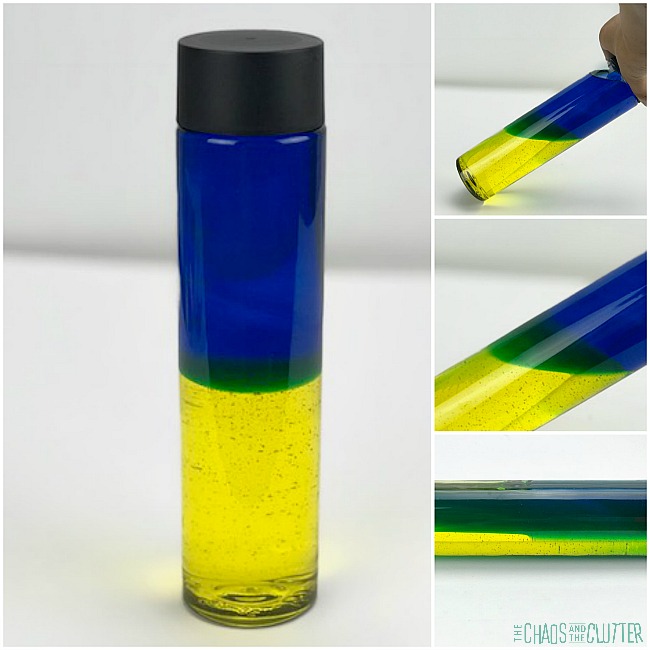 For younger children, give a simple explanation on density, but focus most of the science lesson on the colour mixing.
 We were inspired by
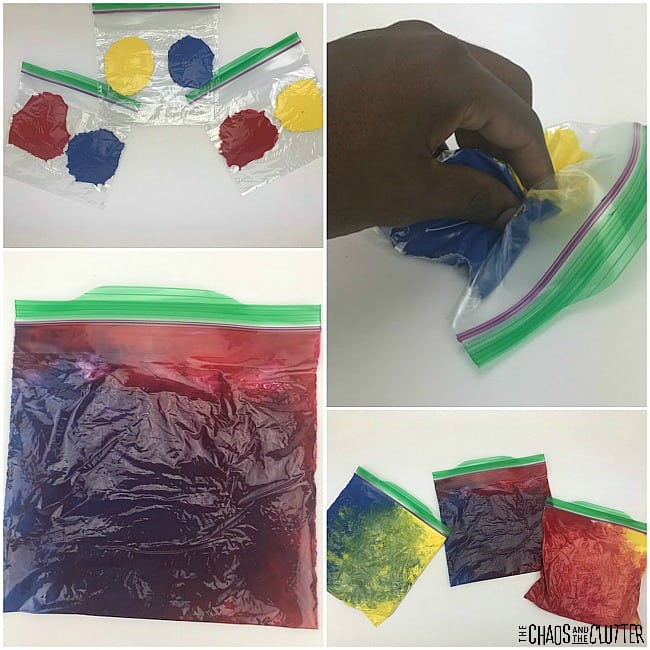 Instructions:
 Supplies needed:
 They loved this activity!
 The kids learned:
 Some of the books that we read that were related to colour:

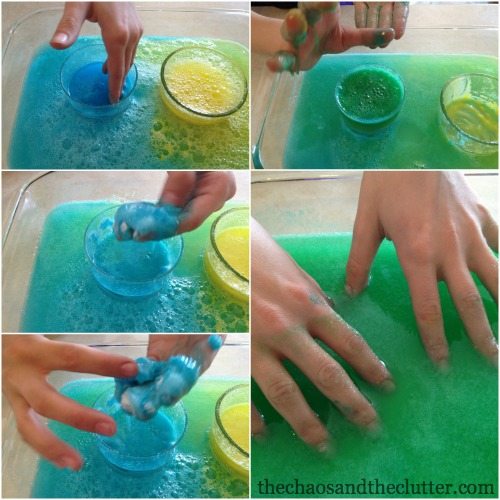
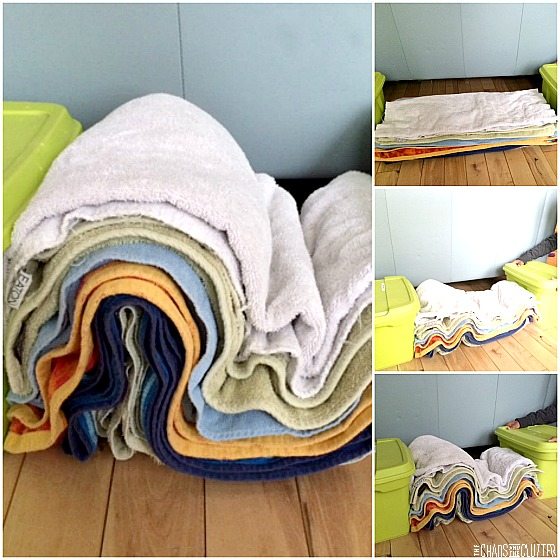
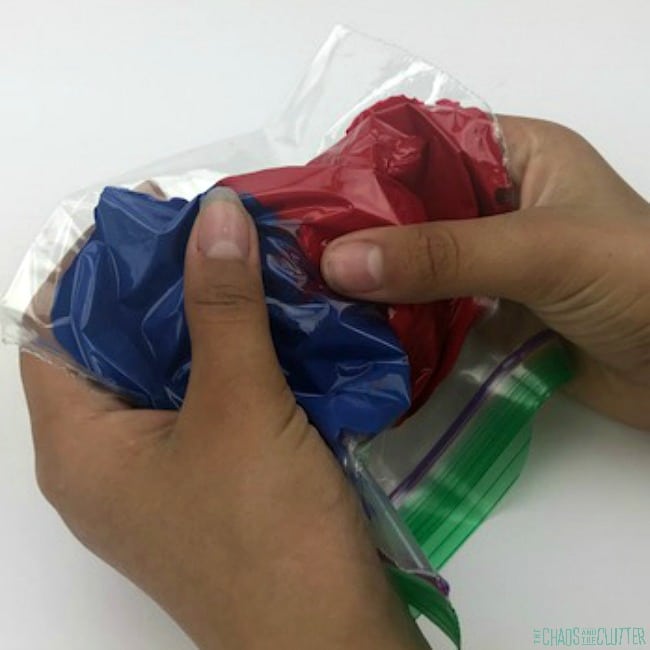
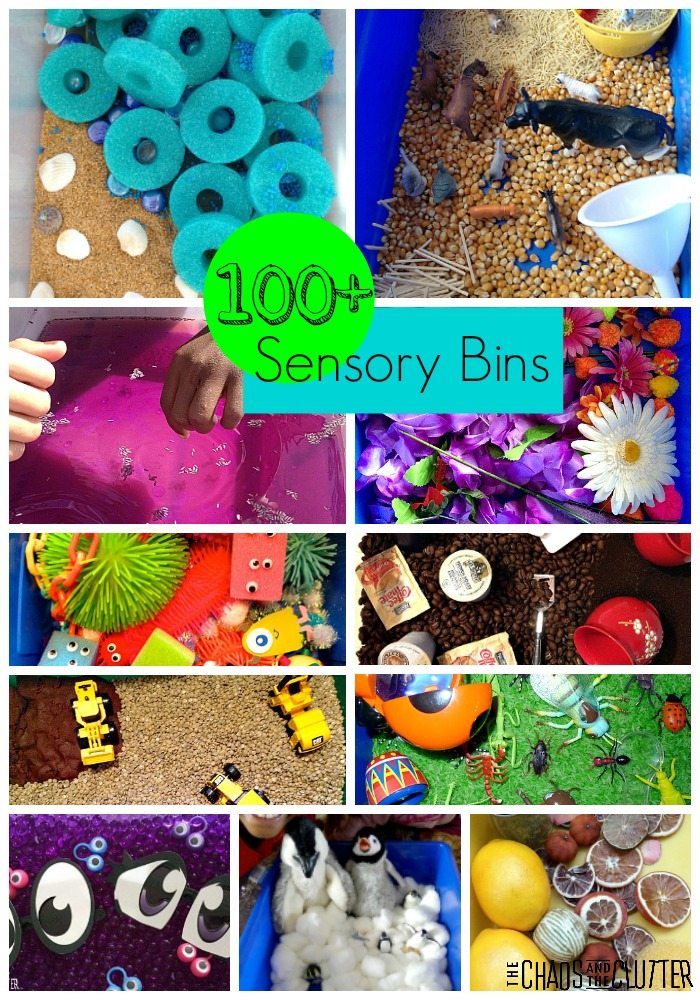
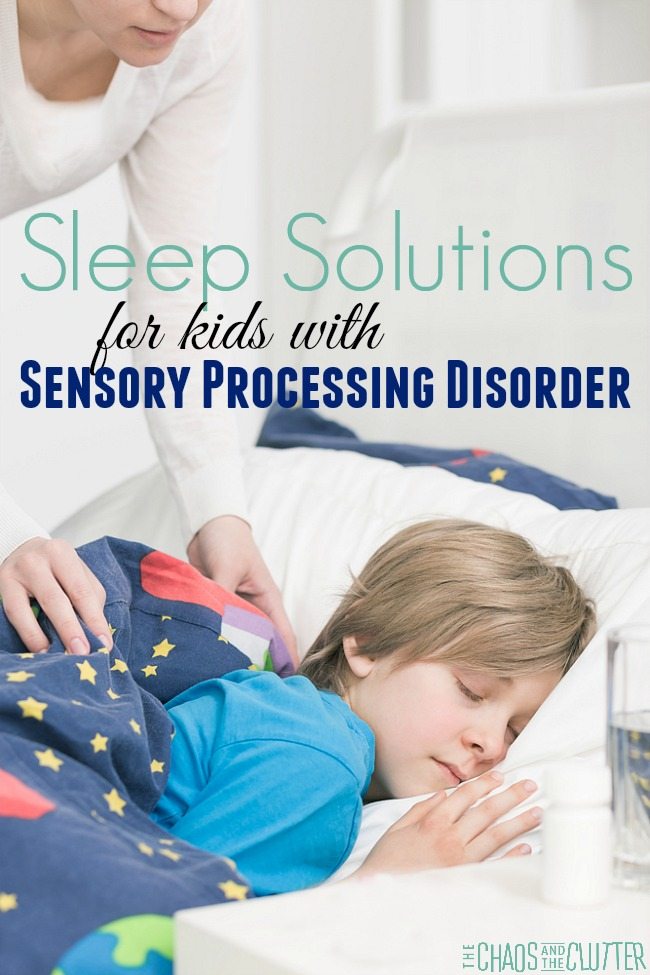
 Sensory play is important for all children at many of their developmental stages. It is even more critical for children who have sensory processing disorder (SPD). Sensory play is any activity that stimulates the sense.

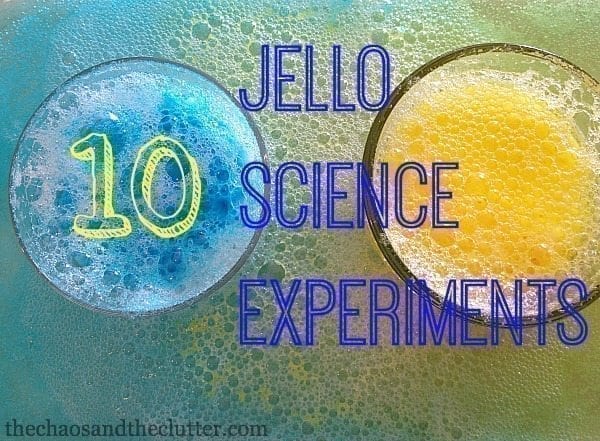
 I thought it would be an easy at home science experiment that wouldn’t take too much planning or prep on my part, but be cool for the kids. It was pretty fascinating actually!
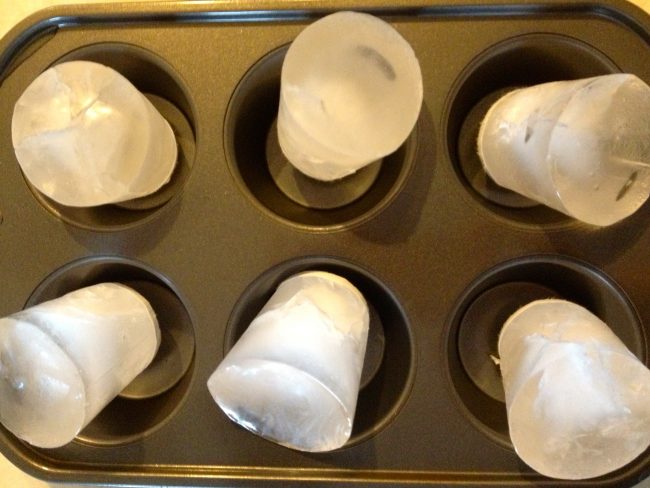
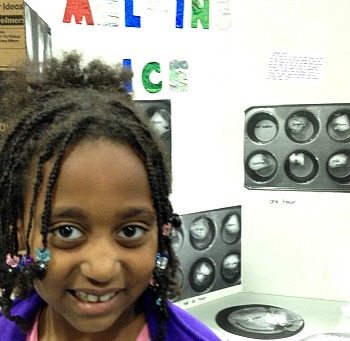
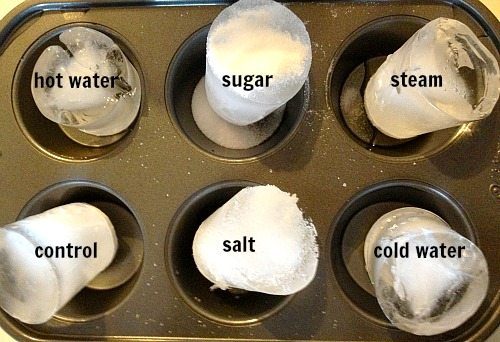
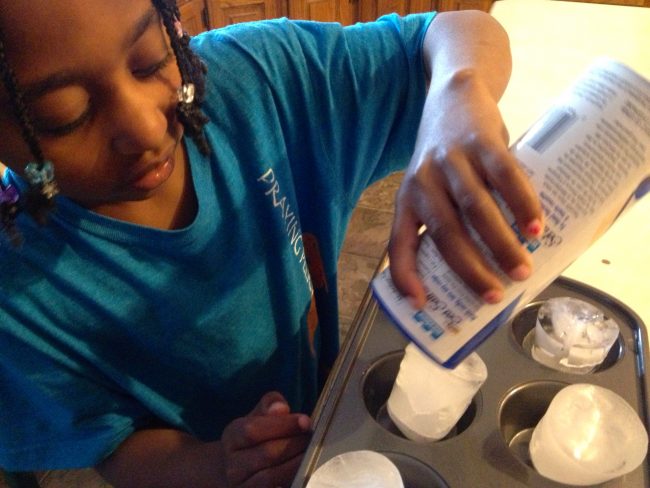 This is immediately after adding the variables to the ice:
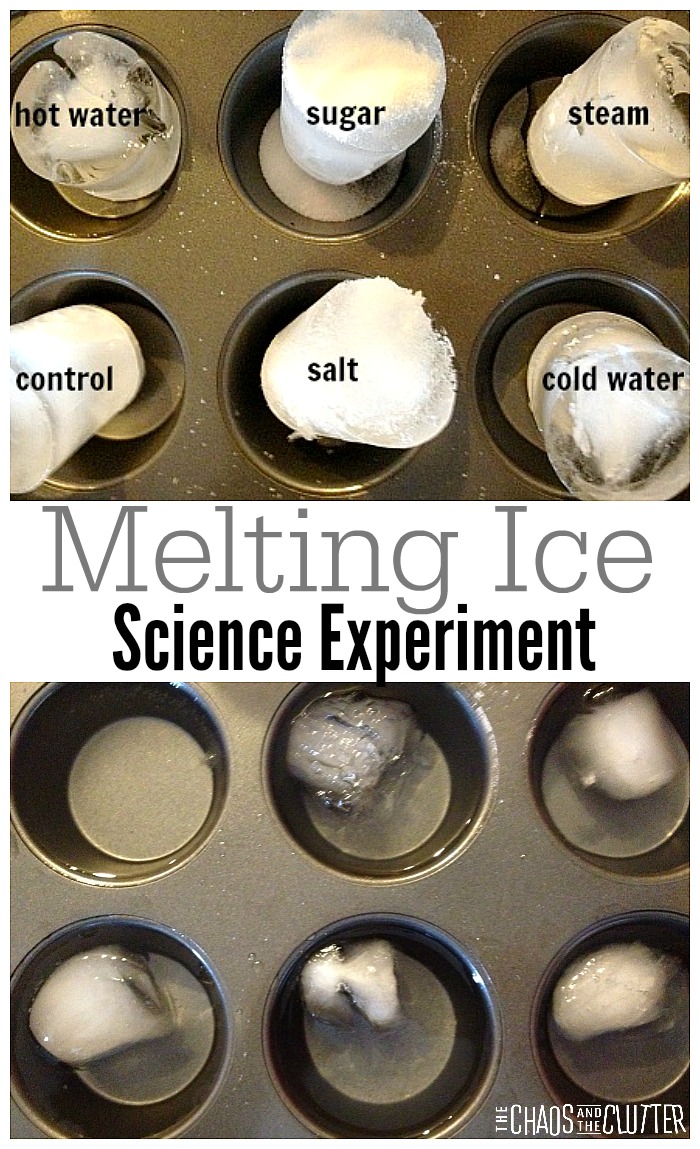
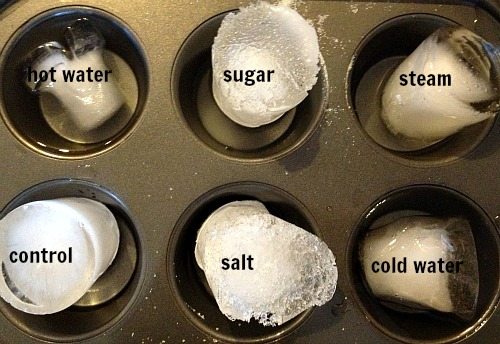 This is after half an hour:
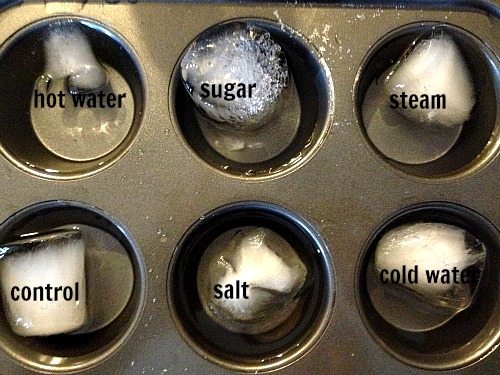 Here is what our ice looked like after one hour:
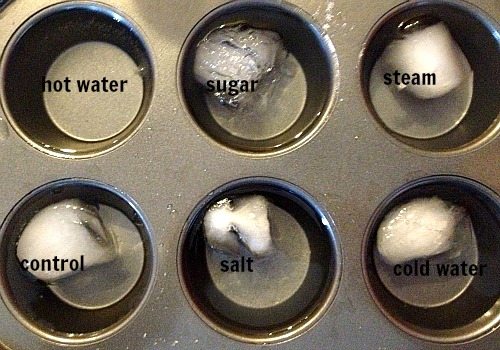 As you can see, the control did melt slower than any of the others. Hot water melted the ice the fastest.