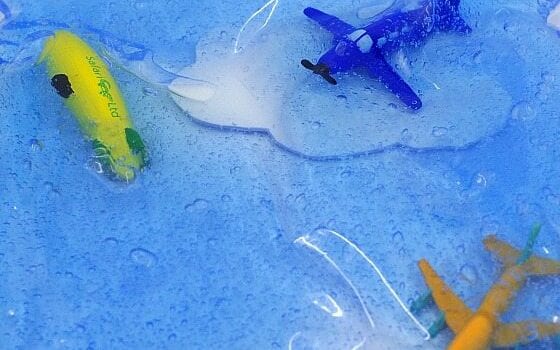
This squishy sky sensory bag is simple to make and you only need a few materials. Depending on the age of your child, they can even help cut out the clouds to make the sensory bag.
 Materials needed:
- medium sized resealable freezer bag
- blue hair gel or blue body wash
- white foam sheet
- In the Sky toob
- scissors
Using scissors, cut some cloud shapes out of the white foam sheet. If you are having your child help you with this step, you can lightly sketch the outline of a cloud with pencil and have them cut along the outline.
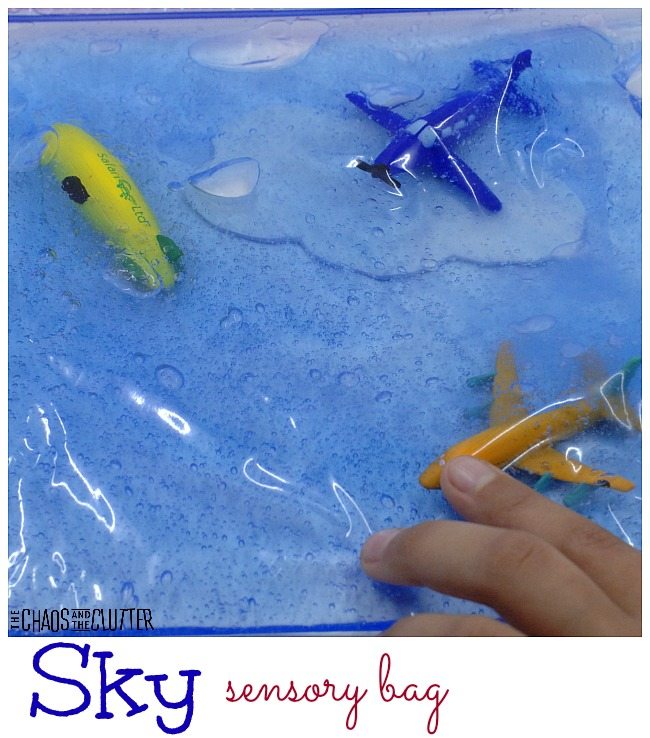
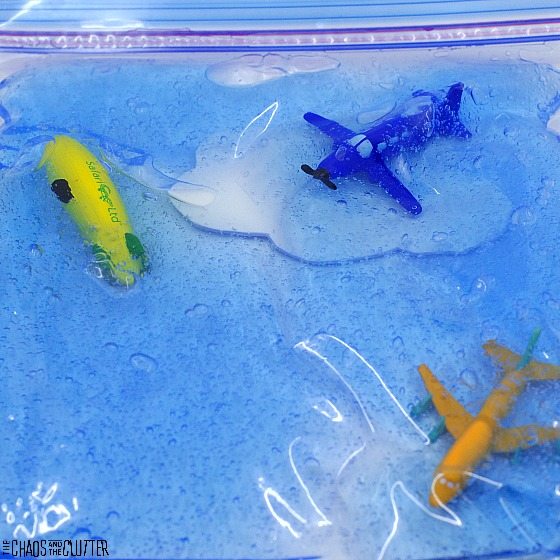
Place the foam clouds inside a resealable bag. Add a few items from the In the Sky toob and squeeze some blue hair gel or body wash into the bag. Remove excess air from the bag and seal.
I prefer to use a good quality freezer bag rather than a sandwich bag for sensory bags because they are more durable and I prefer the size as well.
 If you’re using these sky sensory bags with younger children, you can secure the opening of the bag by folding strong clear packing tape or duct tape over the top of the bag. You can also do this to all sides of the bag for extra durability.
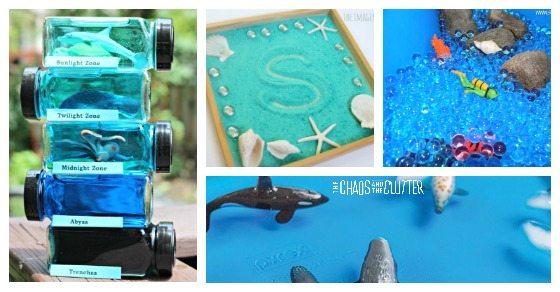
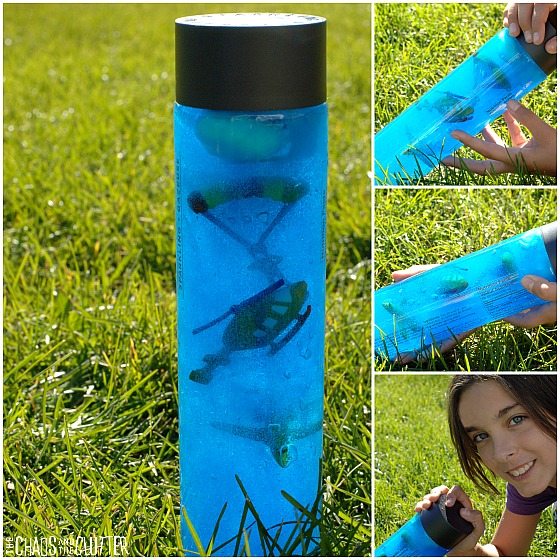
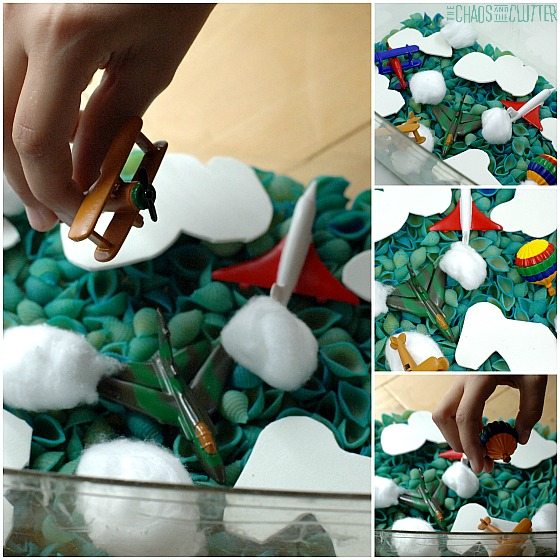
 I used the same In the Sky toob to make a Sky Sensory Bottle and a Sky Sensory Bin. All of these were perfect during our Flight Unit in homeschooling.
Join our free 5 part email series Sensory Solutions and Activities and get our Sensory System Behaviours Easy Reference Cards.
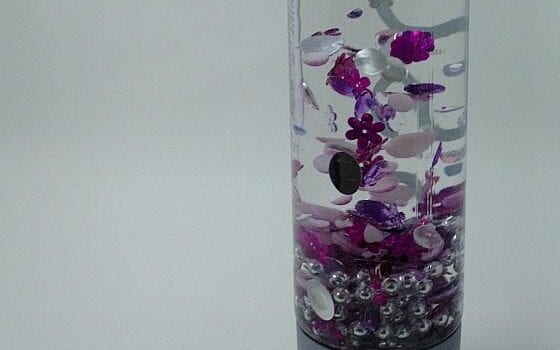
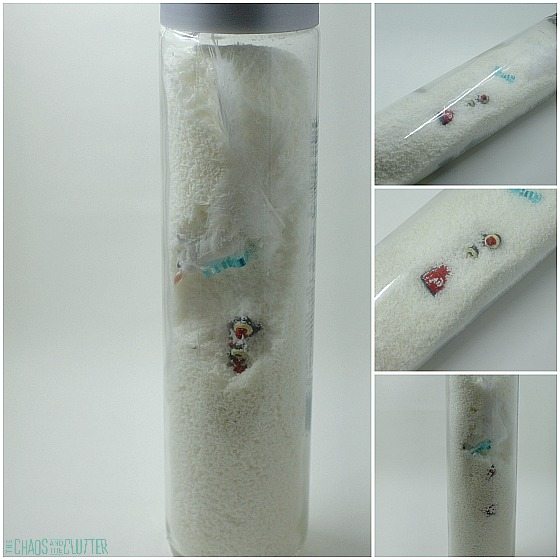
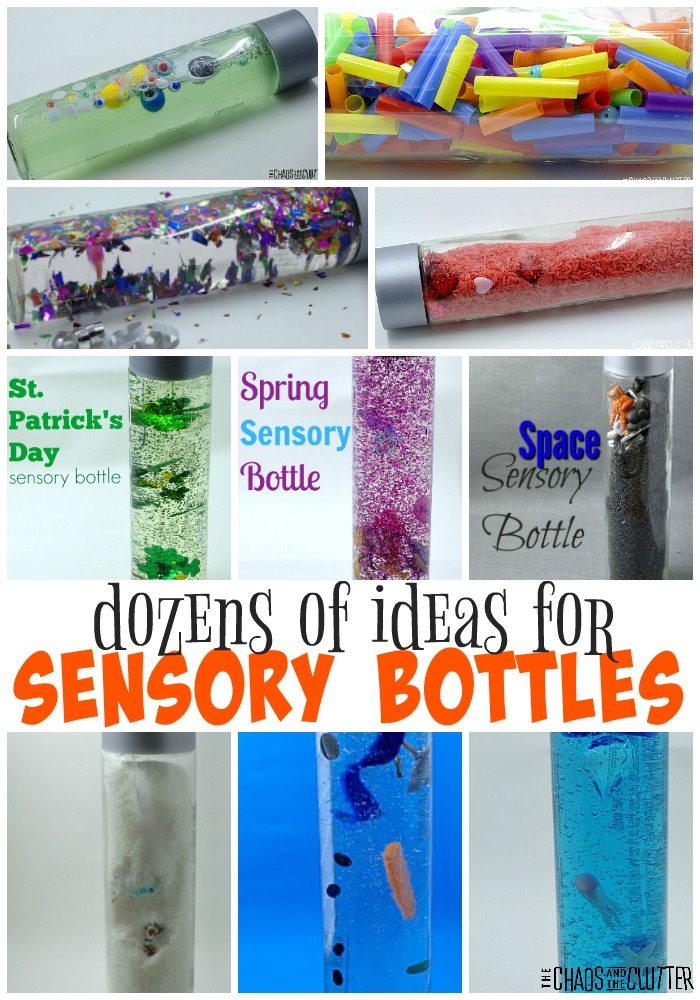
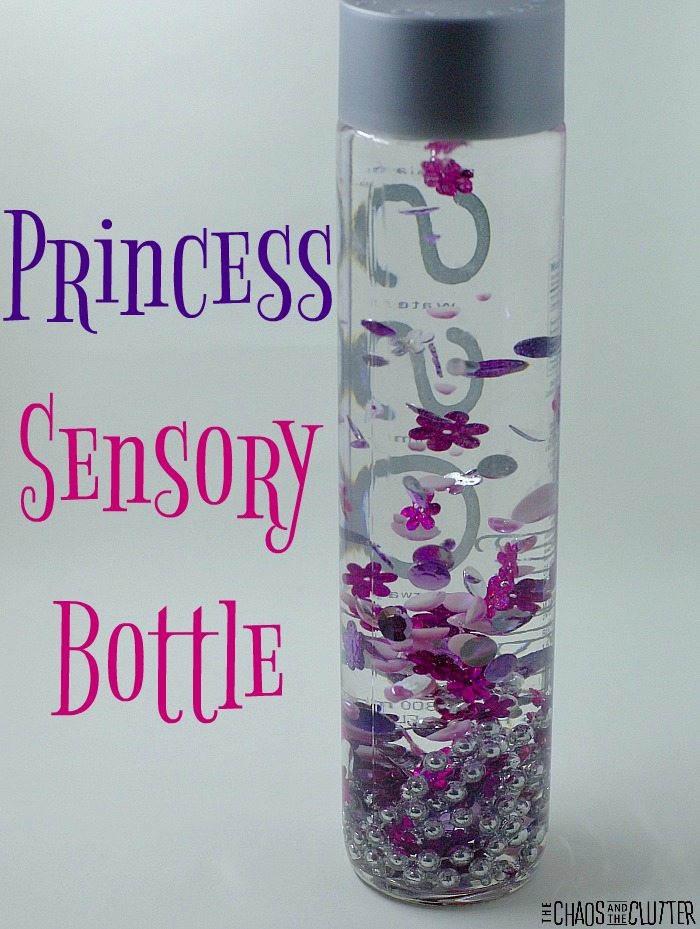 My girls liked listening to the beads and watching the gems and confetti sink down. They also liked how pretty this sensory bottle was.
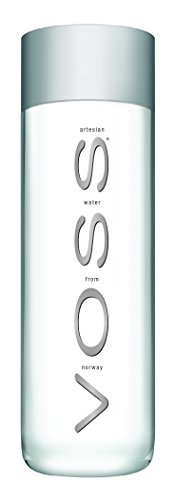
 Pour out about a quarter of the water in a water bottle. Place the
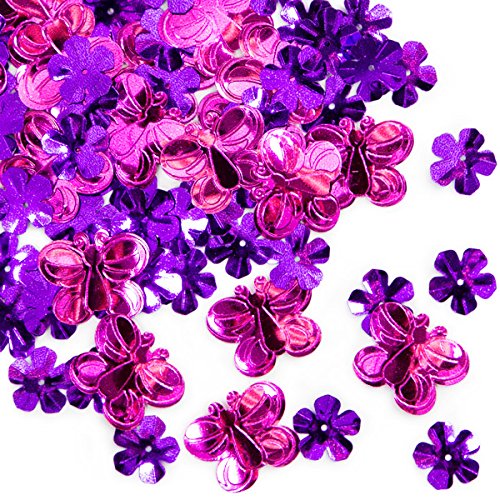

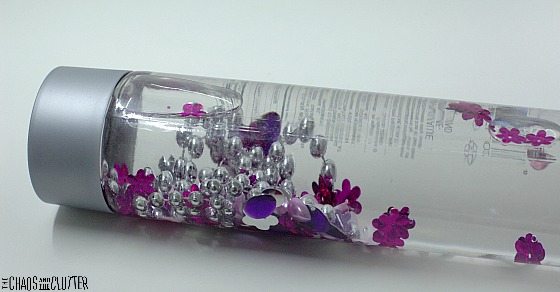 If you want to, you can add some pink or purple glitter before you add the water and give the sensory bottle a good shake.
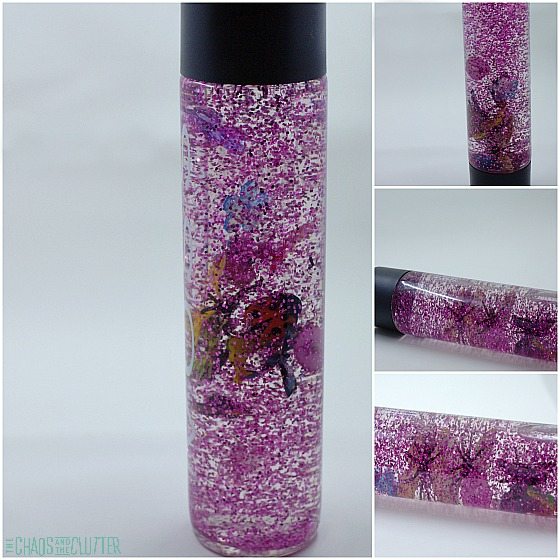
 Sensory play is important for all children at many of their developmental stages. It is even more critical for children who have sensory processing disorder (SPD). Sensory play is any activity that stimulates the sense.

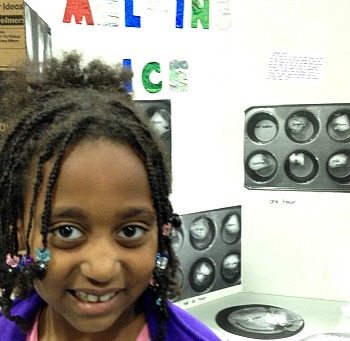
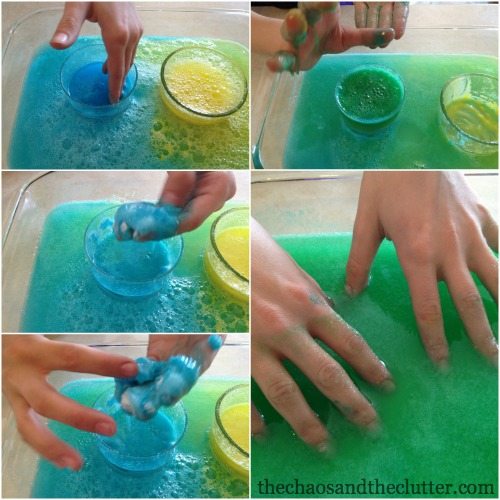
 I thought it would be an easy at home science experiment that wouldn’t take too much planning or prep on my part, but be cool for the kids. It was pretty fascinating actually!
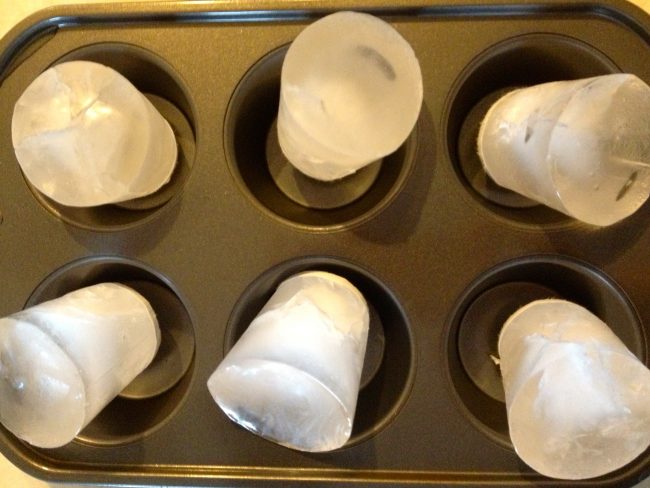
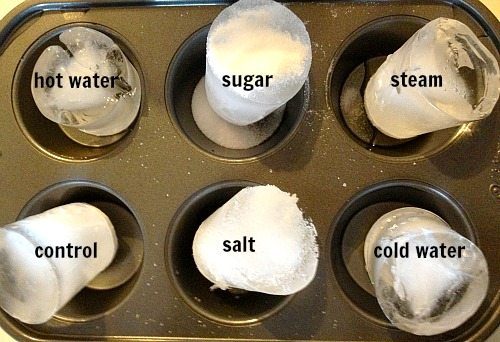
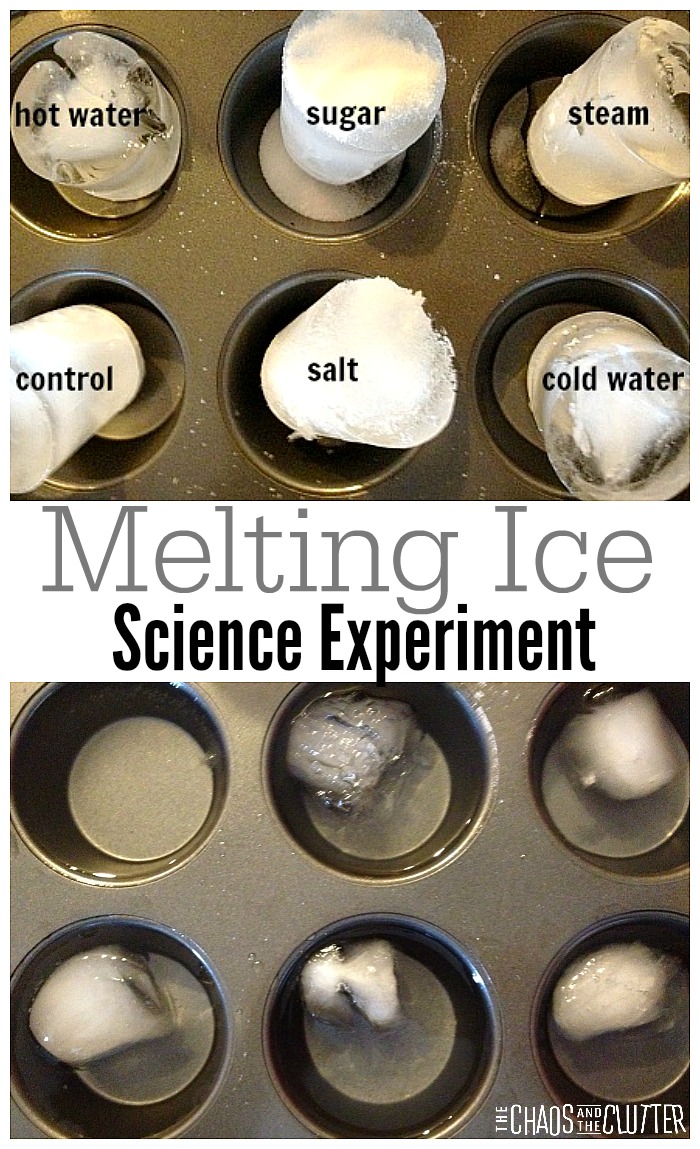
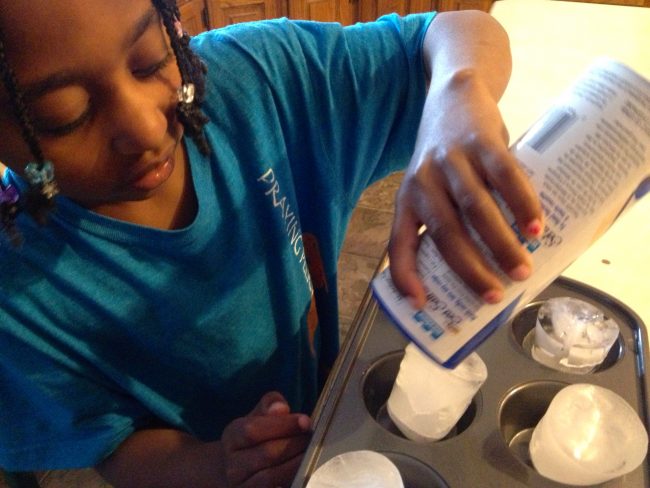 This is immediately after adding the variables to the ice:
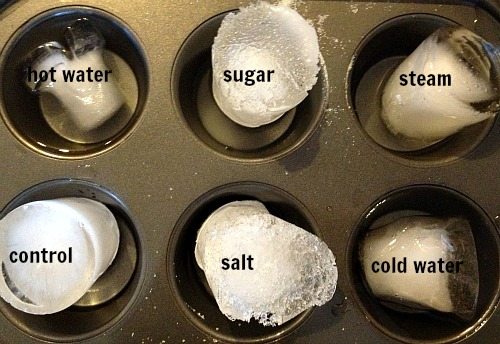 This is after half an hour:
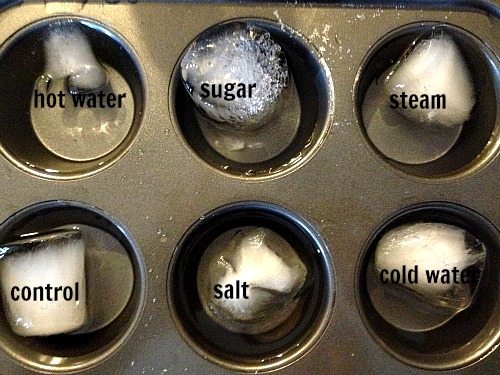 Here is what our ice looked like after one hour:
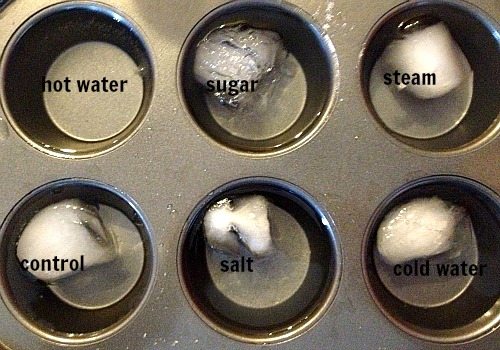 As you can see, the control did melt slower than any of the others. Hot water melted the ice the fastest.

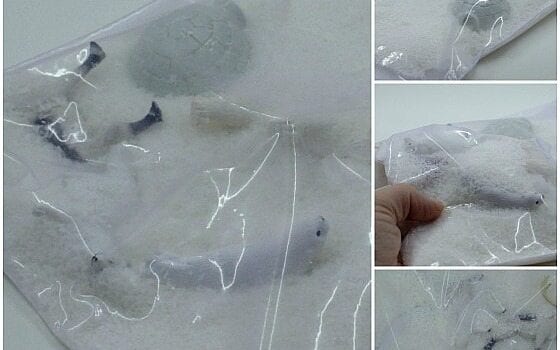
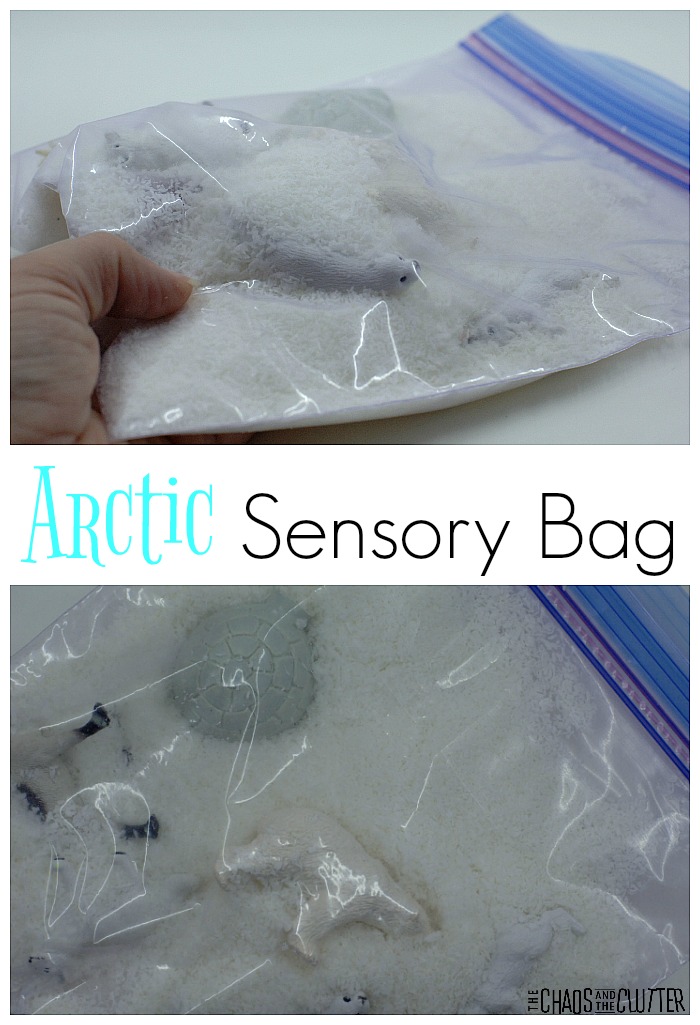 This sensory bag is particularly easy to make because it requires very few materials.
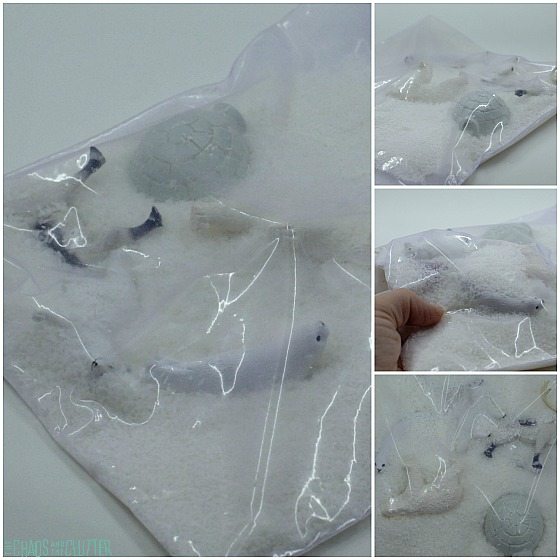 If you are creating this sensory bag for younger children, you will want to seal the bag with duct tape or heavy, clear packing tape after closing it so that they aren’t able to open it. You may also want to fold the tape over the other sides of the bag as well to reinforce it. I choose to use good quality freezer bags for
 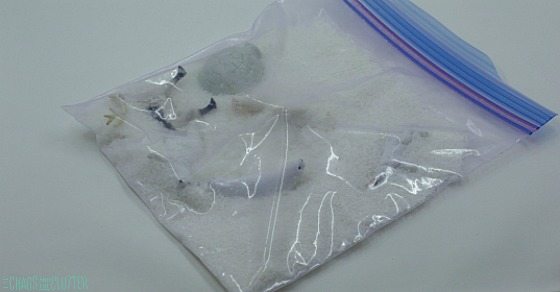 This arctic sensory bag and