
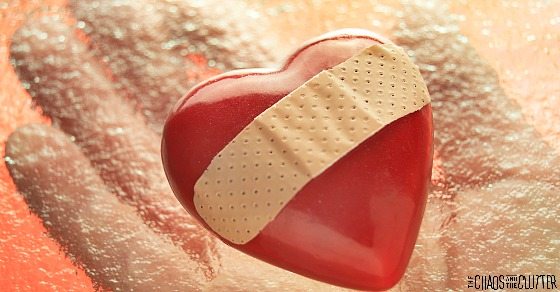
Parenting children who have RAD (Reactive Attachment Disorder) has been the single most challenging thing of my life. I had read about it, attended seminars about it, talked to other parents who were walking it, but none of that could have prepared me for the reality of it. Because I was not prepared even though I had all the head knowledge, it’s hard to write about this knowing that no matter how carefully I choose my words, they will not be able to fully convey what living this journey is like. I am also carefully structuring my sentences so that they speak in generalities and not about my children in particular.
 I hope though that in sharing this, others who are parenting kids who have Reactive Attachment Disorder will maybe garner a bit more compassion and understanding from those around them who read this.
This is what I wish you knew about what it’s like to be parenting a child with RAD:
- Children with RAD present very differently outside the home. They are often described as “charming” and “delightful” by others when things in the home are decidedly different. This dichotomy can further isolate parents as they worry that others won’t believe them if they share what the child is like at home.
- Children with RAD often have poor boundaries and therefore are socially indiscriminate. What you may see as “friendly” and “cute” may actually be a case of mommy (or daddy) shopping. We would appreciate if you would direct our kids back to us if they try to hug you or sit on your lap. We realize that you are trying to help by picking them up or returning their affection, but you may be further damaging their attachment to us. When in doubt, ask us.
- We know in our heads that love will not be enough to fix this, but our hearts often feel differently so we try to pour enough love into our child to replace what is missing.
- Parents of kids with RAD carry tremendous guilt. It is a heavy burden to carry the weight of something that was done to my child by someone other than me in a time before I even met them.
- These parents second guess everything. I know that all parents second guess, but when you are parenting kids who have RAD, it borders on compulsive and it is draining.
- Parents of kids who have RAD sometimes (or often) think they are losing their minds. Kids who have RAD can be expert manipulators, Philadelphia lawyers and extreme triangulators. This can lead to questioning of one’s sanity and second guessing facts that you know to be true. It also puts great strain on marriages or relationships with other caregivers.
- Parents of kids who have RAD are proficient detectives in their own homes. They need to be in order to keep from going crazy (see #6 above).
- We are tired every minute of every day. Our child’s hypervigilance can cause us to also become hypervigilant as we attempt to avoid any possible trigger for them. Our child’s emotional needs are often greater than the capacity we have as human beings to meet them.
- Parents of kids with RAD don’t tell you how bad things are because they don’t trust that you would understand the reasons behind their child’s behaviour and they would rather suffer silently than have you judge them or their child. We don’t tell you the worst because we want to protect our child’s privacy. Whatever we are telling you, imagine it at least ten times worse. Words like “rage” and “aggression” may be codes for “completely out of control for hours” and “physically violent”. We may be sugar coating in an attempt to protect. I would rather have you think that I’m a bad parent than have you think that my child is a monster.
- We love our child who has RAD. It hurts our hearts to be constantly rejected by them, but we hold on out of hope that healing is possible. We sometimes see a glimmer of the wonderful child that we know is in there and it makes us fight all the harder to love them through this.
 Join me for a free 5 part email series, Little Hearts, Big Worries offering resources and hope for parents.
You may also want to read: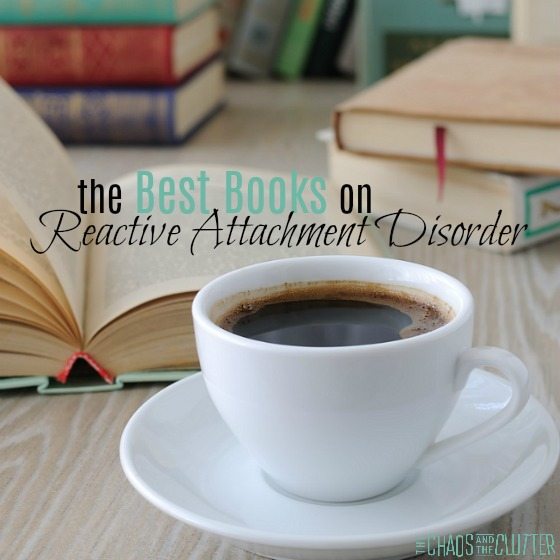
The Best Reactive Attachment Disorder Books

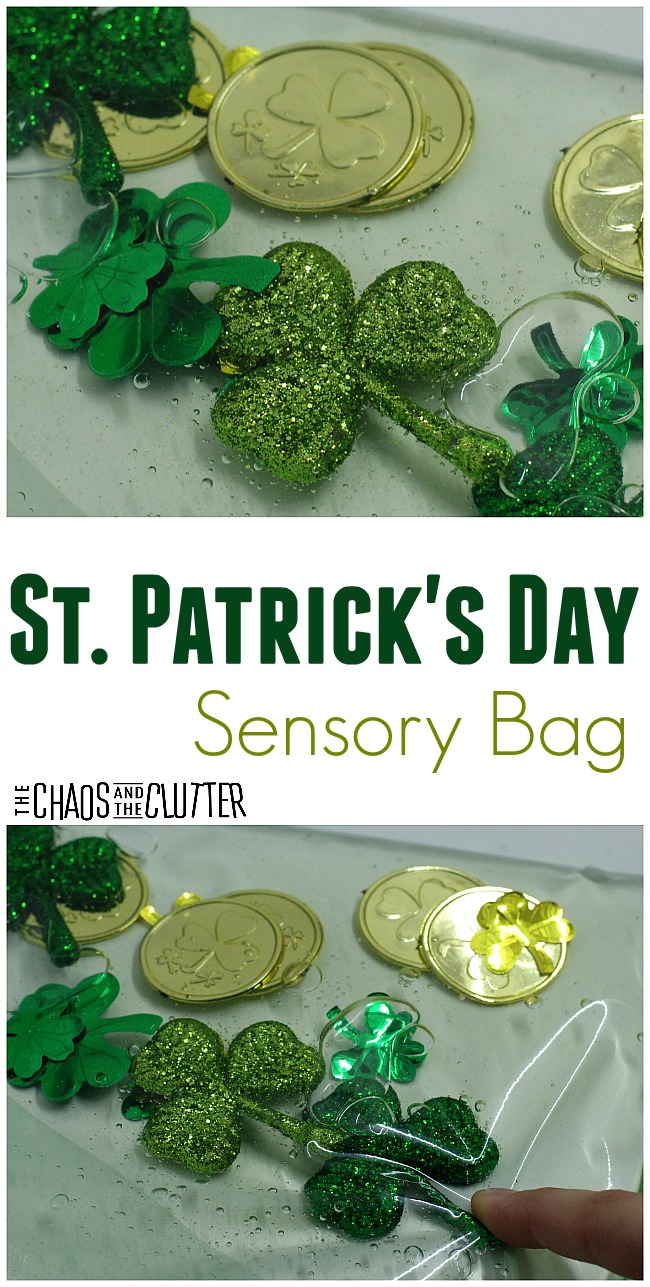 For my sensory bags, I use the medium size freezer bags because they are slightly larger and much more durable than sandwich baggies.
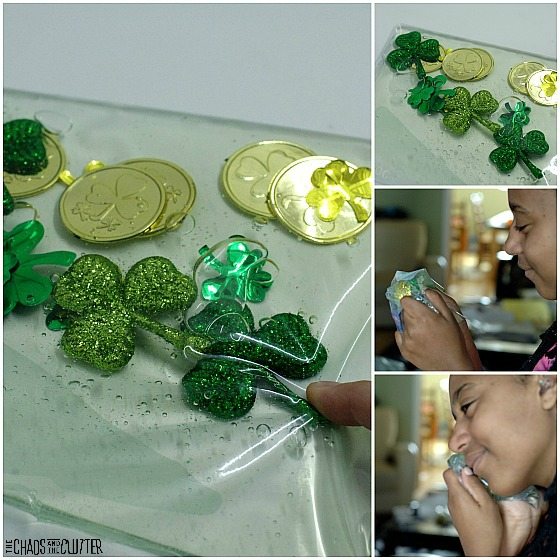 One of my daughters loved the squishy feeling of this sensory bag (as you can see from the pictures above!)
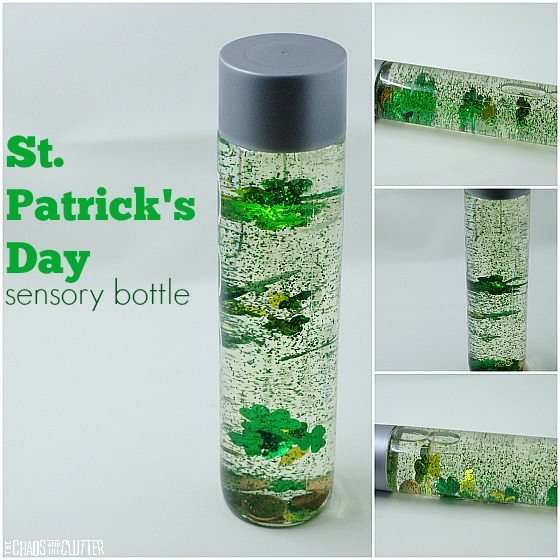
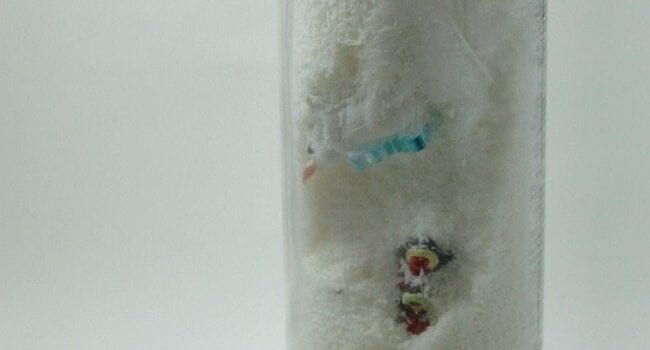
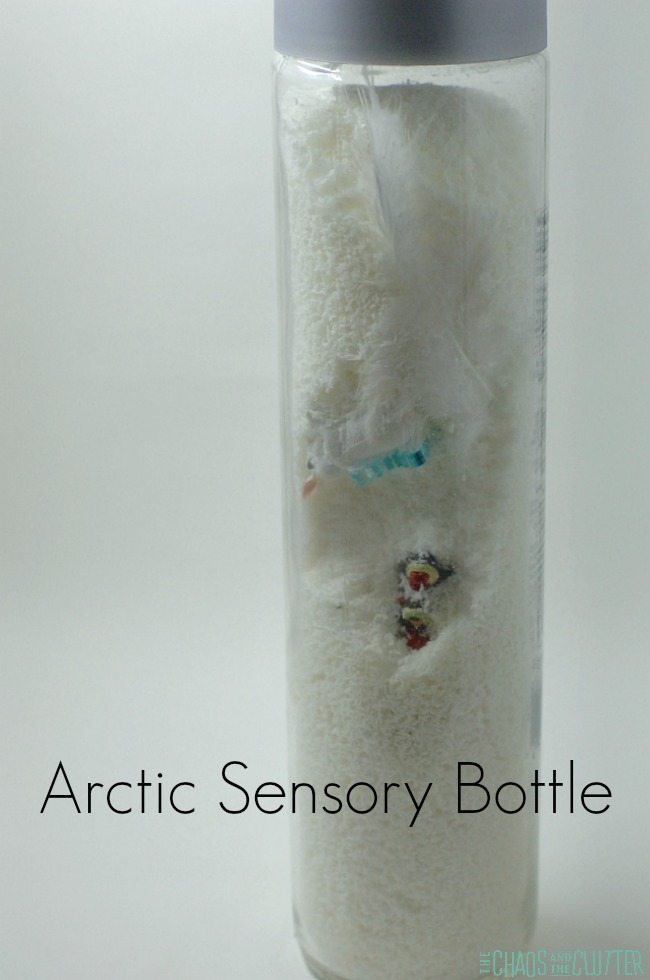
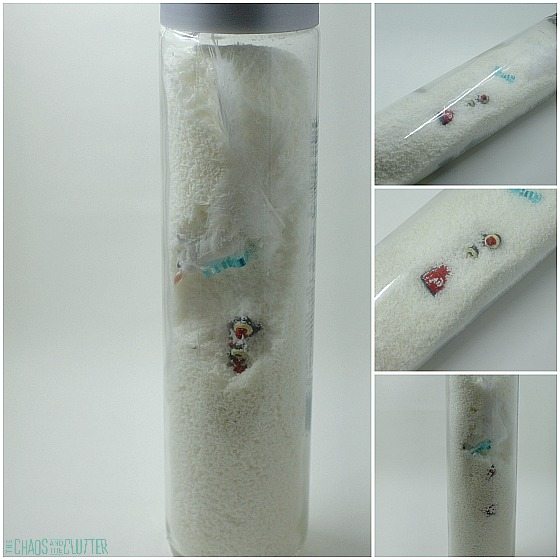

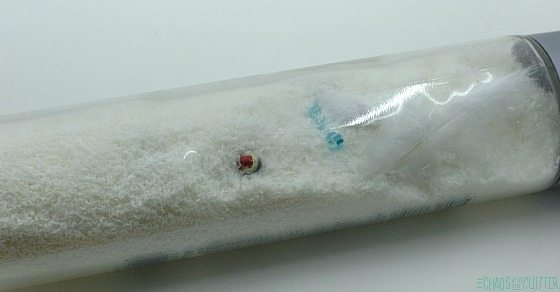 Once all the items are in, add the lid back onto the bottle and your arctic sensory bottle is ready to use for play. If you have younger children, you may want to hot glue the lid in place so that they can’t open it. As with all sensory and exploration activities for kids, adult supervision is of course recommended.
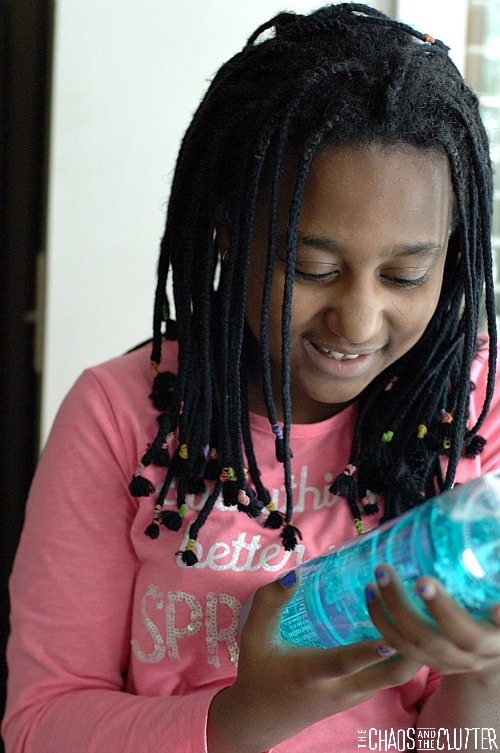

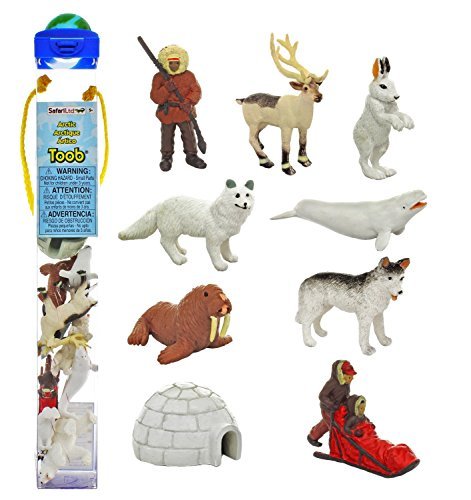
 For the decorations, I used our


 Elephant March.

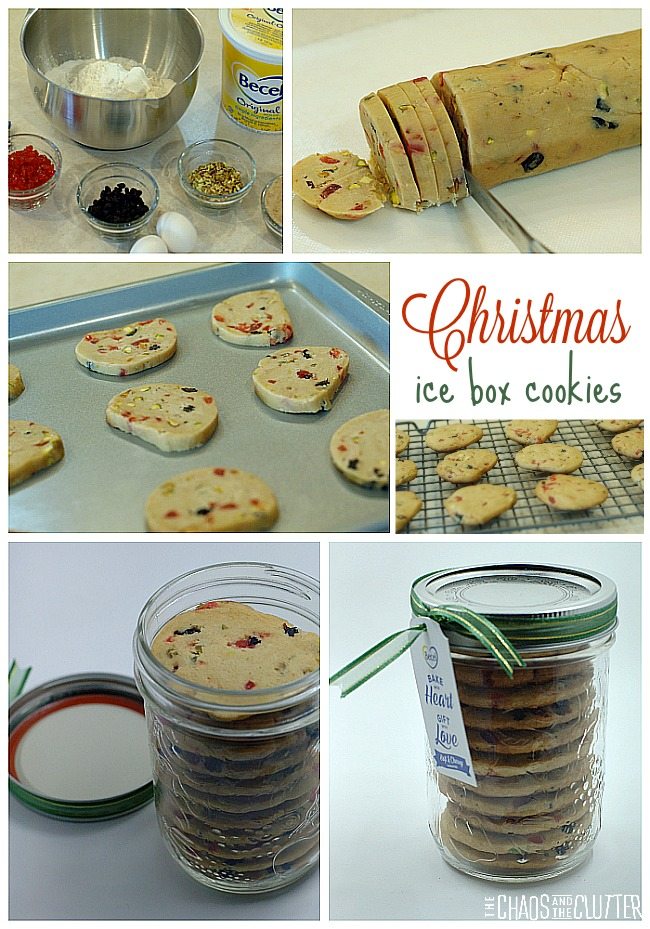 These Christmas ice box cookies are one of my holiday favourites. With the candied cherries and pistachios, they look like bits of Christmas on a plate! Making the dough ahead of time and slicing before baking makes them all very uniform in size which makes them look even prettier.
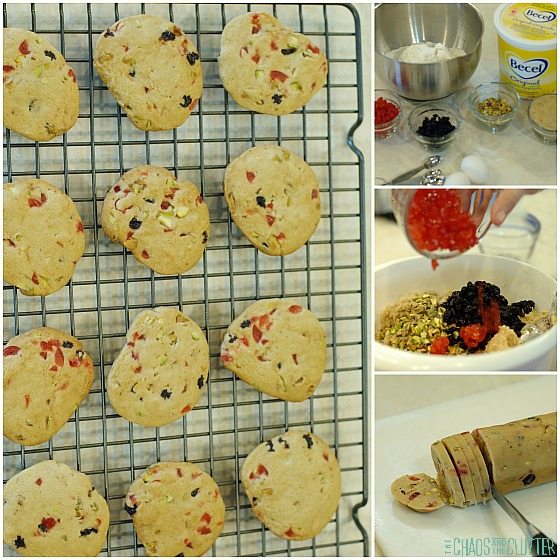 Cookies make a perfect homemade holiday gift.
  Inexpensive ideas for gifting cookies: