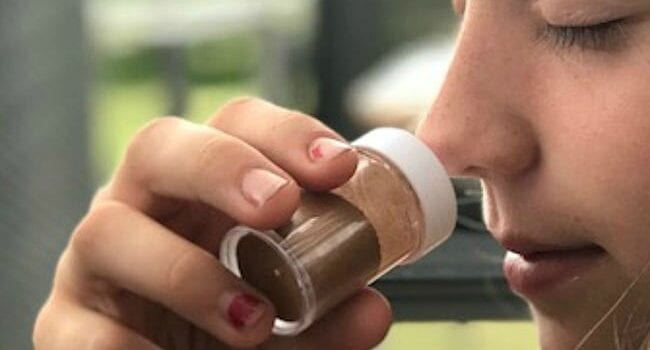
I’ve been wanting to make smell bottles for a long time. I first learned of them as a Montessori activity. They are also an amazing sensory activity for teaching about olfactory and providing sensory input. 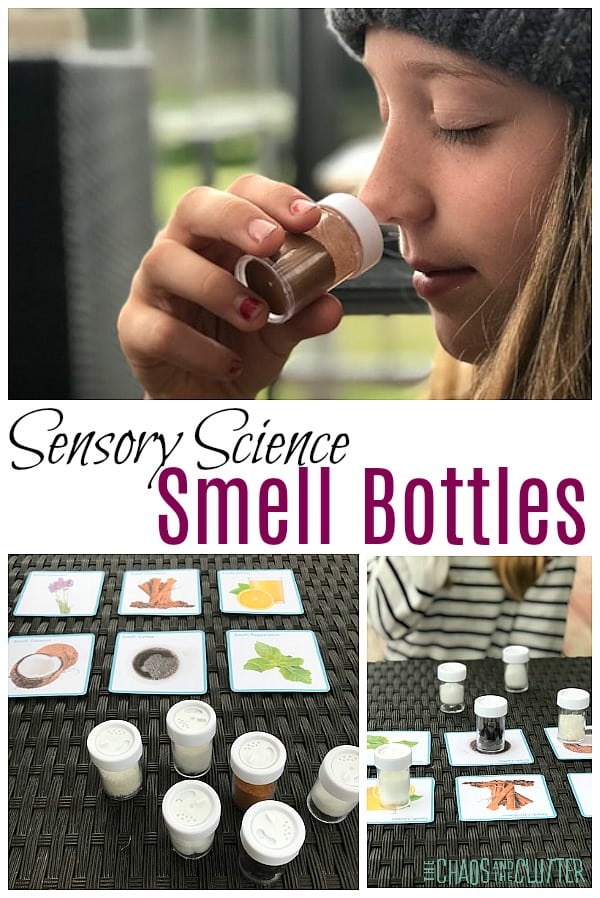 My kids really enjoyed this activity. Of course, boys being boys, I got to hear what other smells we could have bottled!!! How is it that boys can always find a way to find the gross factor?!
If you’re doing a unit on the Senses, this is a good way to introduce the sense of smell.
This is an inexpensive activity as you will likely have most of the supplies at home already. I found the travel spice bottles we used at the dollar store. You could also use leftover empty spice bottles if you have any.
How to Make Sensory Smell Bottles:
Supplies needed:
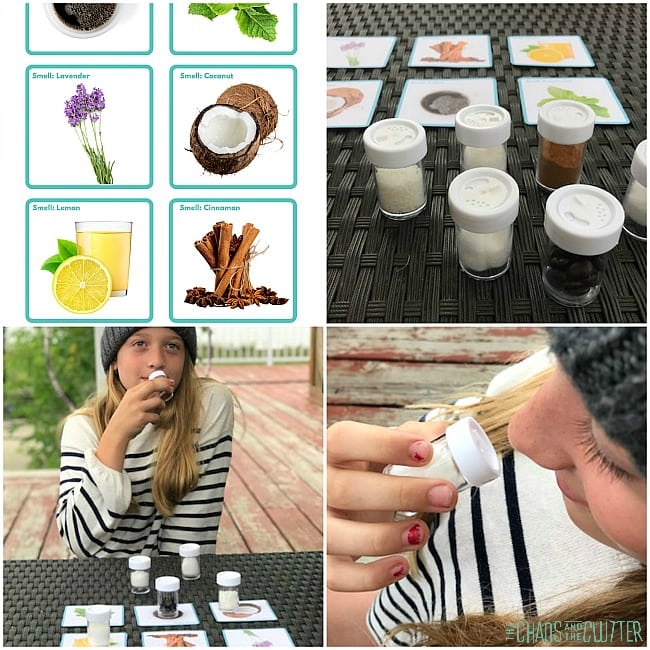
- travel spice bottles
- cotton balls
- coffee beans or coffee grounds
- cinnamon
- peppermint extract or peppermint essential oil
- lavender essential oil or lavender
- coconut
- lemon essential oil or lemon juice
Instructions:
- Put the coffee grounds or beans in one bottle, some cinnamon in another, some coconut in another.
- Put some peppermint extract or essential oil on a cotton ball, lavender essential oil on another, and lemon juice or lemon essential oil on another cotton ball. Place each cotton ball into a container.
- Have the child guess what each smell is.
 With younger kids, allow them to use their visual sense as well. They can look for clues such as colour and pair that with the smell to help them figure out what it is.
Help your child play “Sensory Detective”. If you print out the corresponding Smell Bottle Cards (available in the Sensory Science Book Volume 1), lay them out for your child to match the scents to.
With older kids, have the child try the activity blindfolded so that they are only using their sense of smell.
Try filling the bottles with more challenging scents to identify such as a flower, dirt, honey, pepper, salt, or orange.
Talk about what the smells are and how our sense of smell also affects what things taste like. You can find an explanation about smell and taste to share with kids here.
Note that just like all senses, some kids will be more sensitive. They may find some (or all) of the smells too strong or even offensive.
Allow them to go at their own pace. Let them hold the bottle further away or even smell through the lid. Some kids’ sense of smell is so strong that they will be able to smell it through the closed lid.
Find this sensory science activity and many more in The Sensory Science Book, full of engaging hands-on learning ideas.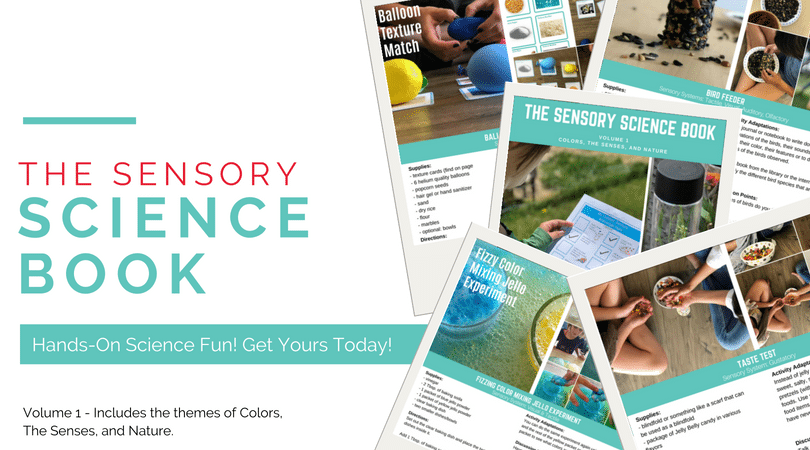
Check out these other sensory science activities:
Jello Colour Mixing Experiment 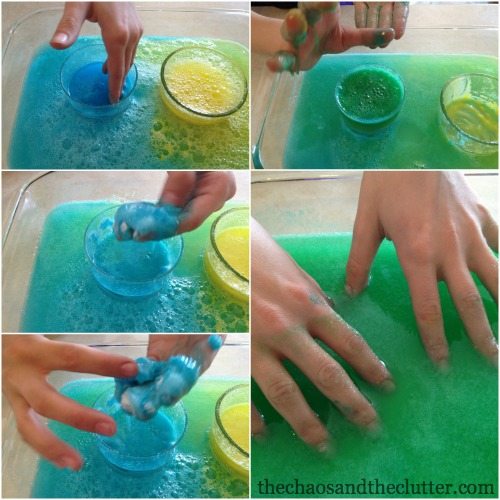
Outdoor Sensory Scavenger Hunt 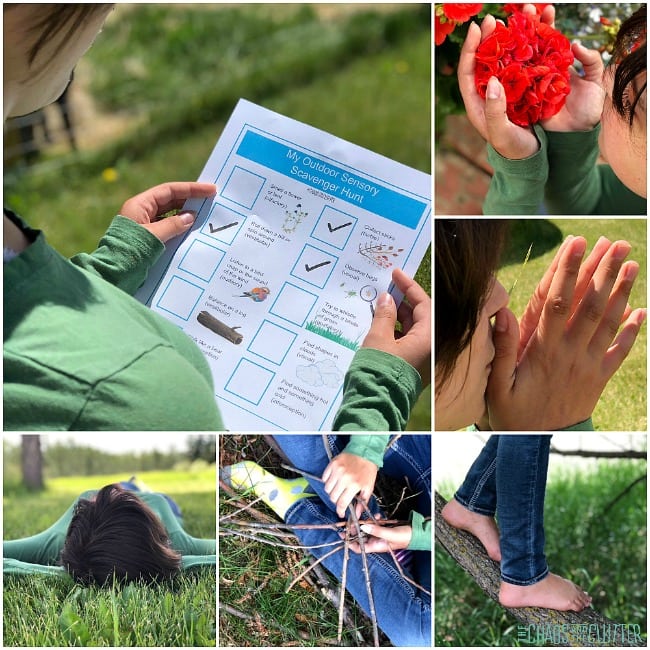
Join me for a free 5 part email series Sensory Solutions and Activities (just pop your email into the box below) and get a printable list of 175 Great Sensory Ideas.

 This statement she made impacted me immediately:


 In a lot of ways, things did not go very well. Do you see the truth behind the picture above? Look closely into our overtired, overwhelmed faces.

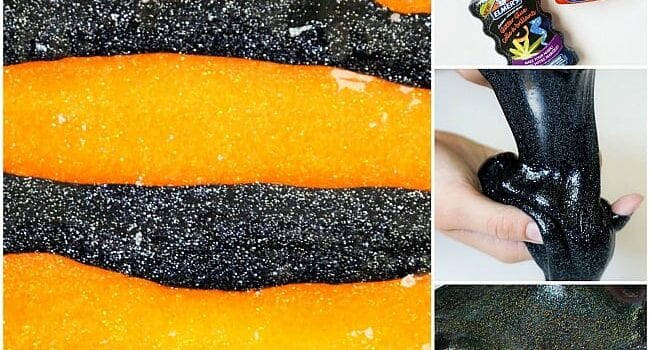
 The thing that makes this particular slime so simple is the glitter glue. You don’t have to mess with food colouring or paint or glitter because the glitter and colours are already in the glue. Super easy!
 Take out the mixture and knead by hand about five minutes, pulling, stretching, and pushing it until slime consistency is formed and it’s no longer sticking to your hands.
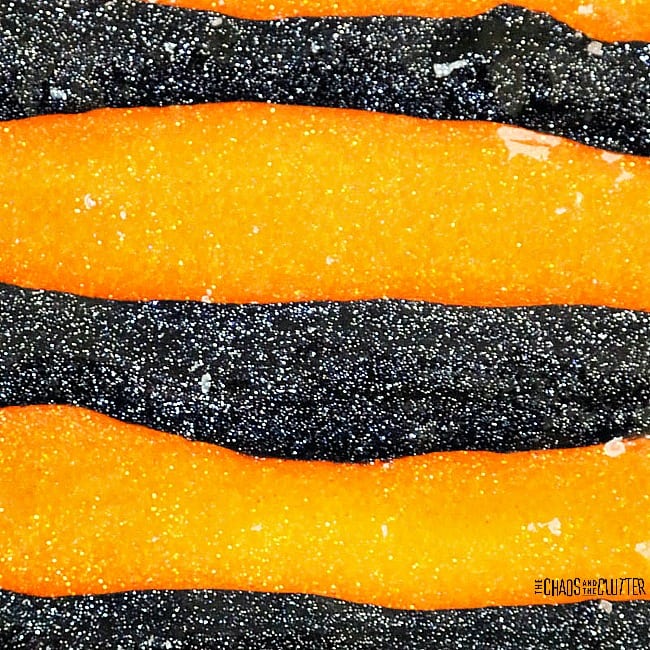 Please be aware that once you start to play with the colours together, they will mix and a black slime with orange and black glitter will form.
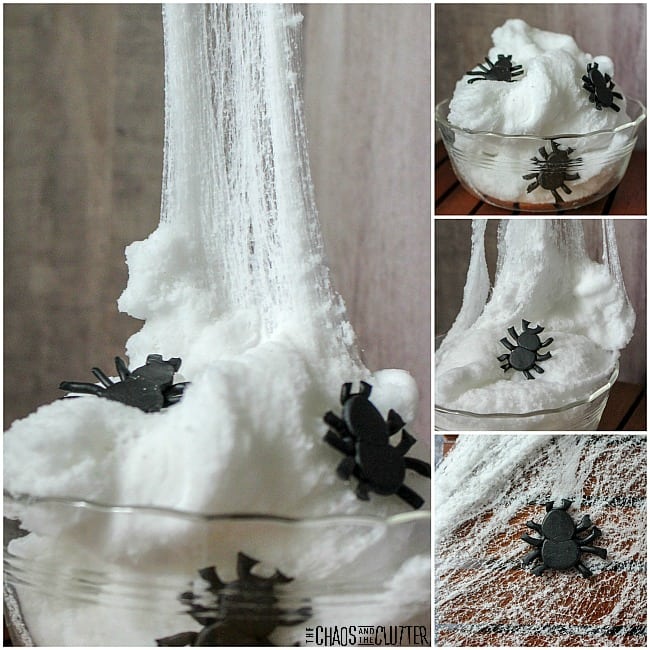

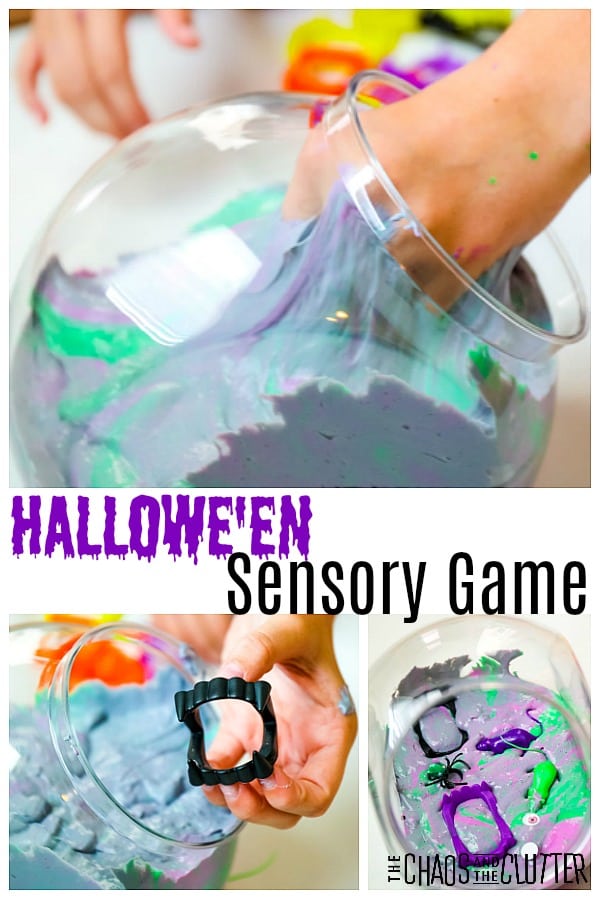
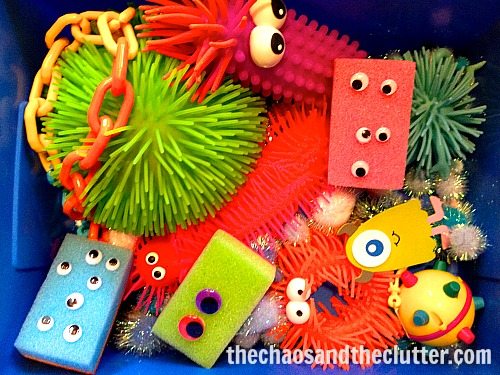
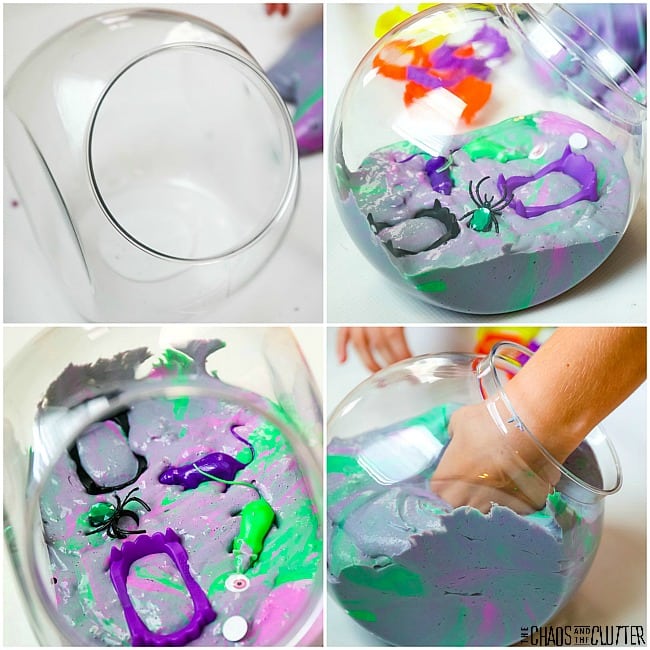 Ideas of toys to use:
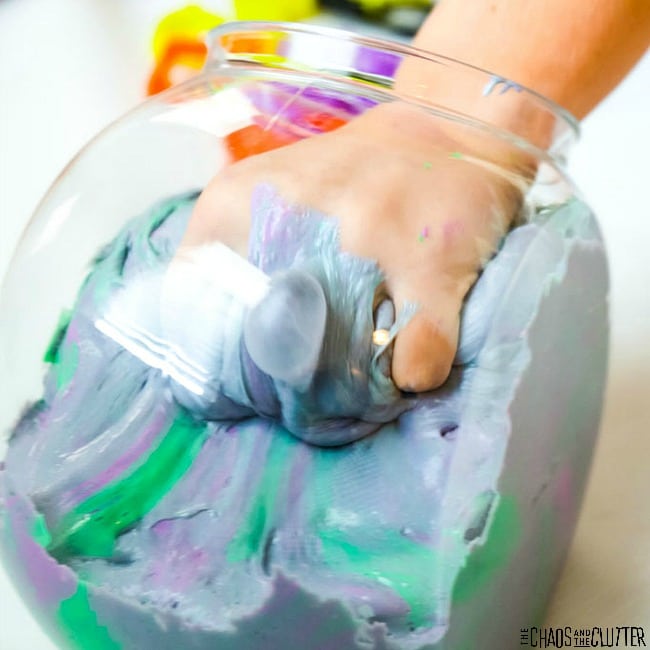 I hope you enjoy our little Hallowe’en sensory game. It would be fun for the classroom, home, or for a Hallowe’en party.

 Those pictures above are from a